


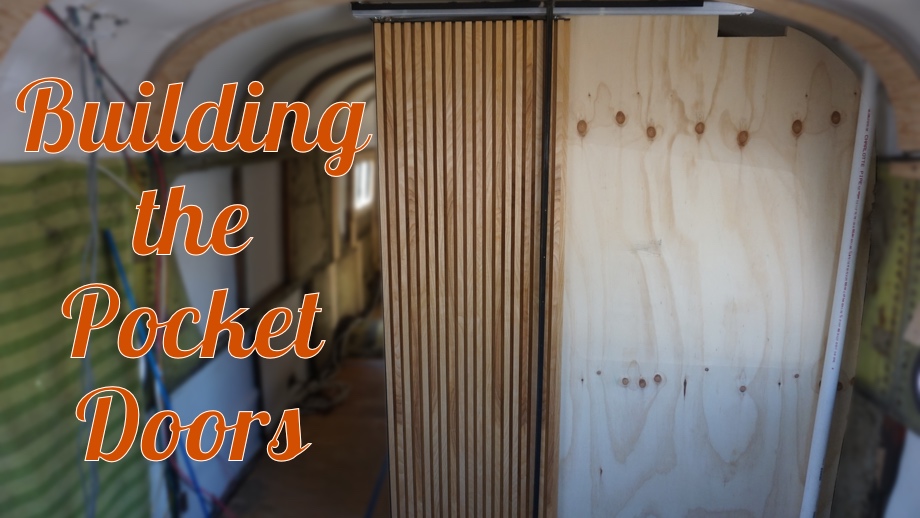
In last week’s video and post, we shared with you part of our design plans for our two pocket doors that will be for either side of the walk-through bathroom. After finalizing the plan, we got to work building the doors.
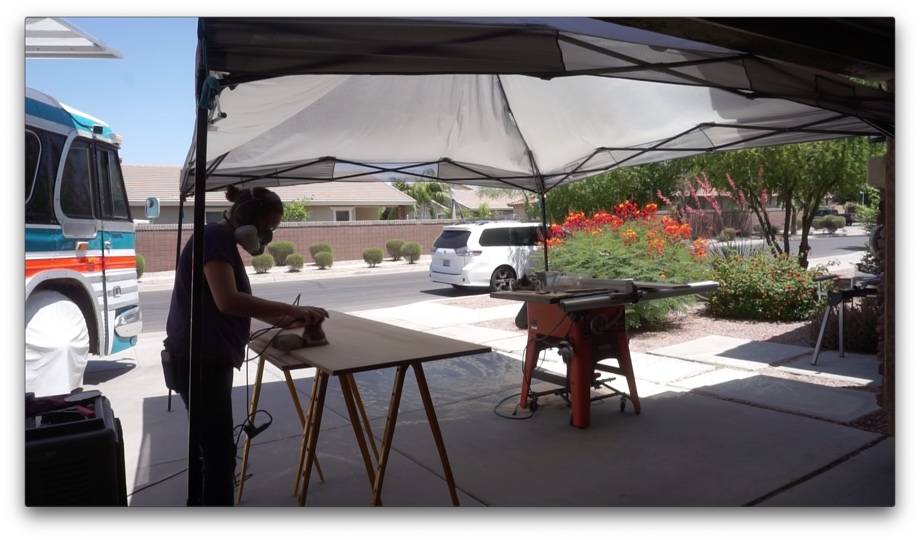
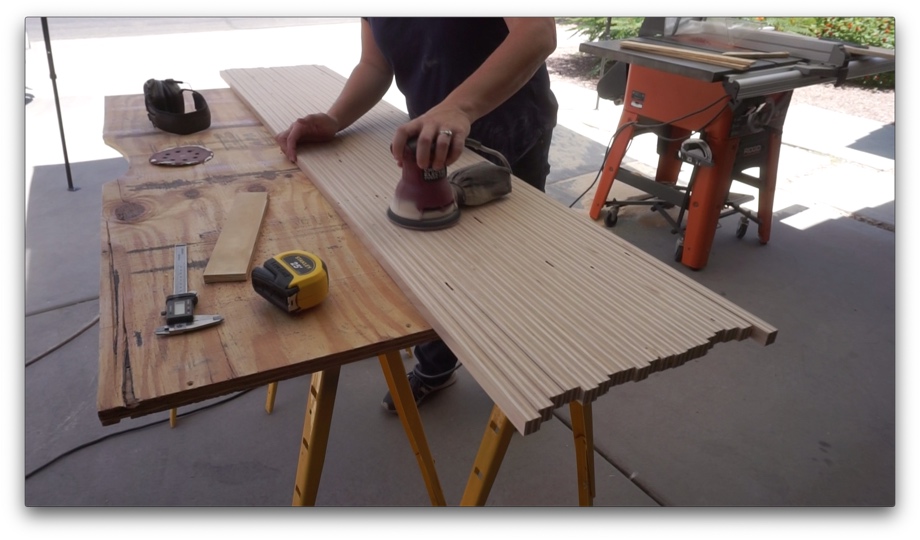
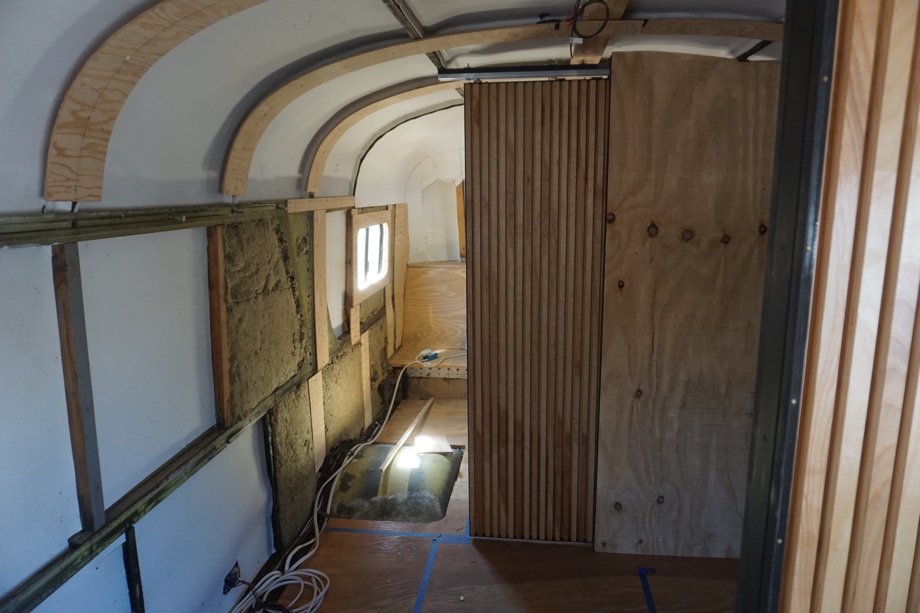
We started with a sheet of ¾” birch plywood cut to the size we needed for the door. Then, we started ripping all of the pieces for the vertical strips, again using ¾” birch. We decided to make the strips ¾” wide and then to leave a 1/2” gap between each strip. Next, we sanded everything down with 120grit and 220grit sandpaper with the orbital sander. We even finished off the tops of the strips with some 400grit to make them extra-smooth.
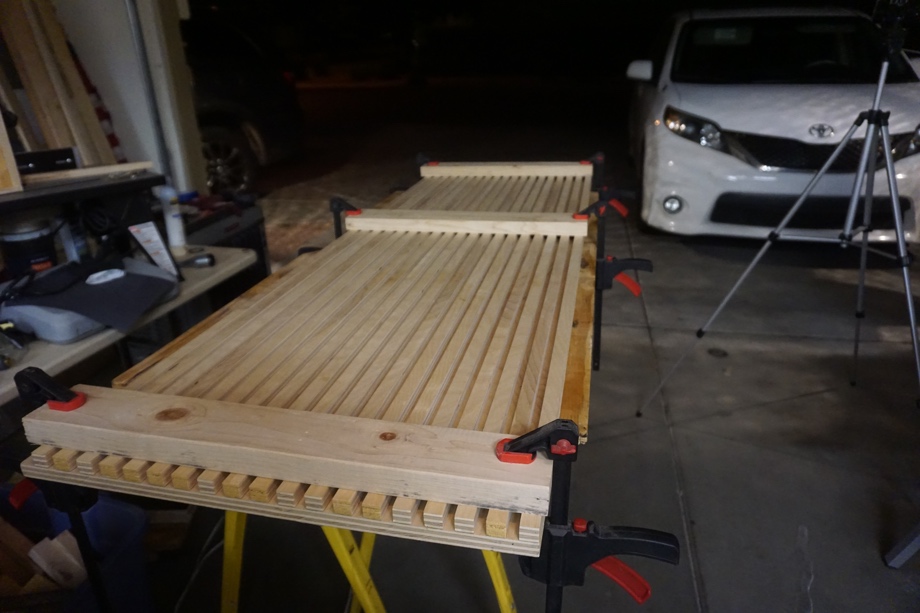
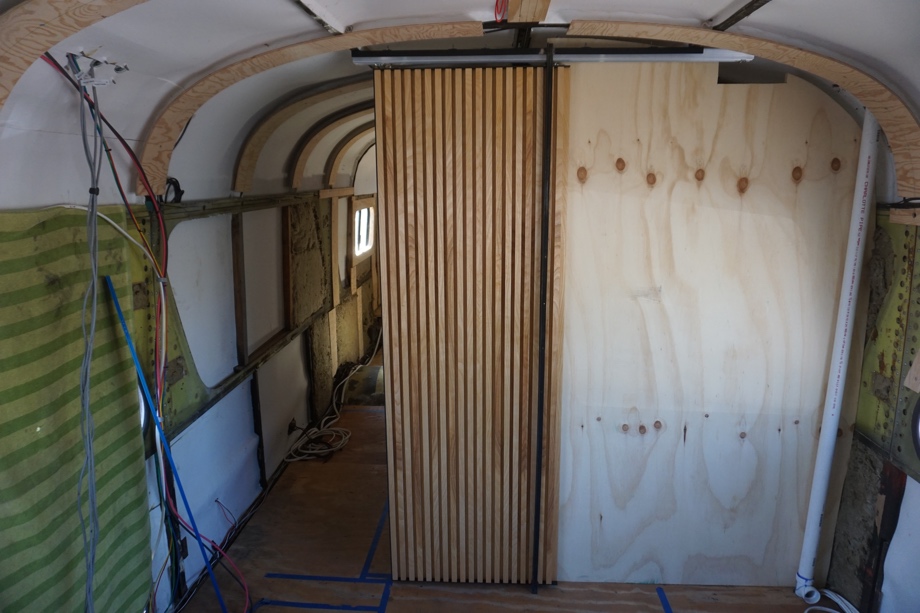
We glued each strip down, placed some ½” spacers, glued down the next strip, placed more spacers, glued down the following strip, and so on. We decided to put a brad nail in at the end of each strip from underneath the main sheet of plywood. The backside will get covered up when we move onto the flip-side of the door, so it didn’t really matter if nails were showing on that side. After gluing and brad-nailing all of the strips down, we clamped everything down while the glue cured.
The door was starting to take shape and have the look we wanted. It just needed a little color and finish coat. You saw last week that after testing all the different stains, we decided to go with no stain at all. But, we did like the slight warmth that the pre-stain conditioner gave so we gave everything a coat of that. Then, we finished with three coats of clear semi-gloss lacquer, sanding lightly between coats. We are so happy with the finish and feel that it gave the wood. It really feels so soft, with just a slight sheen.
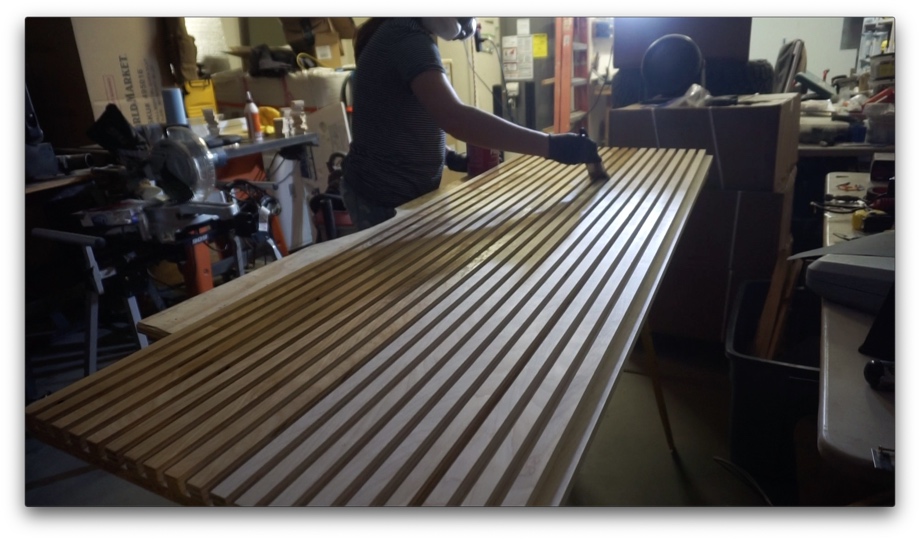 I have to share that we made it too difficult on ourselves for the first door, so we changed our finishing technique when we built the second door. On the first one, we glued all of the strips on, and then we used a small brush to paint the conditioner and then lacquer coats on between the strips. That worked but was very tedious. We smartened up, and on the second door, we did the conditioner and lacquer coats on the flat sheet of plywood and on the sides of the strips before we glued anything together. Then, once it was all glued, all we had left to finish was the tops of the strips. I simply brushed on the conditioner and then used spray lacquer to finish those top pieces. It was much faster.
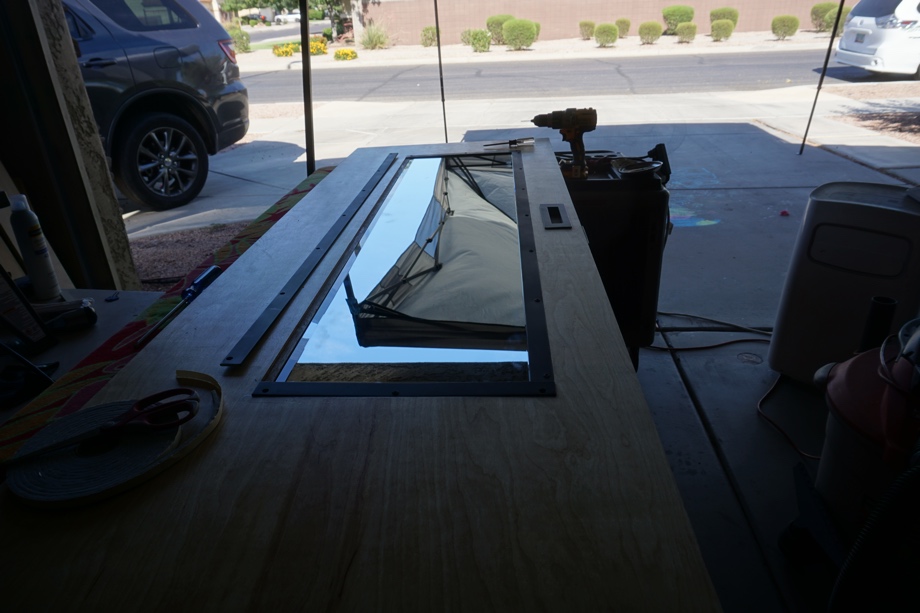
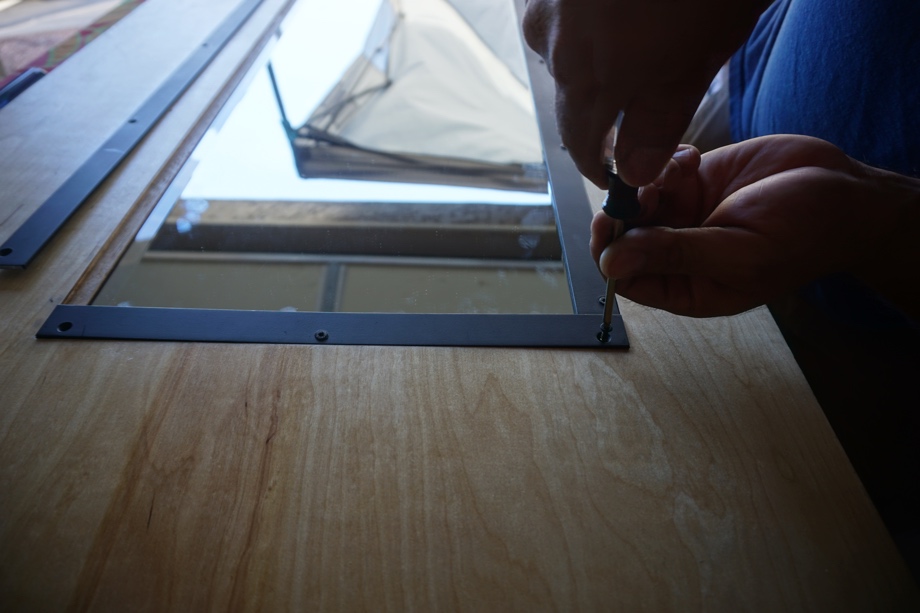
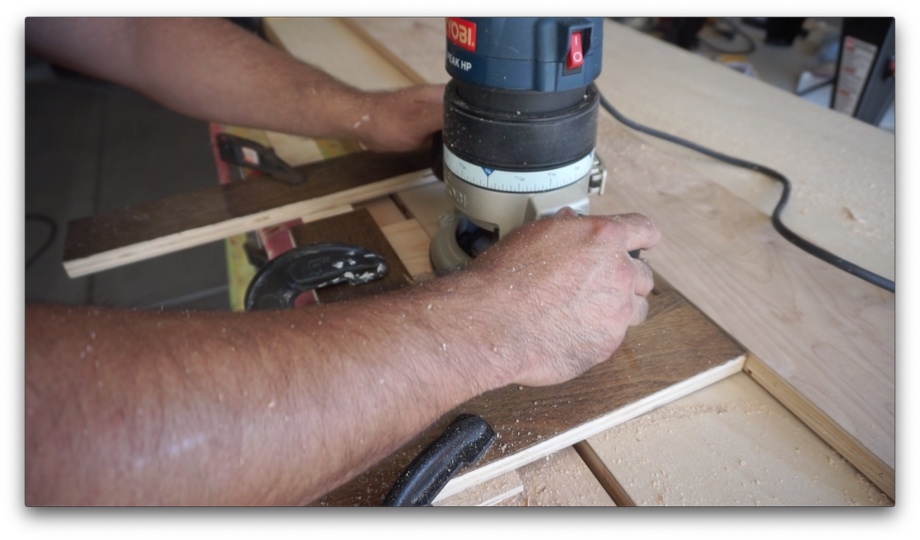
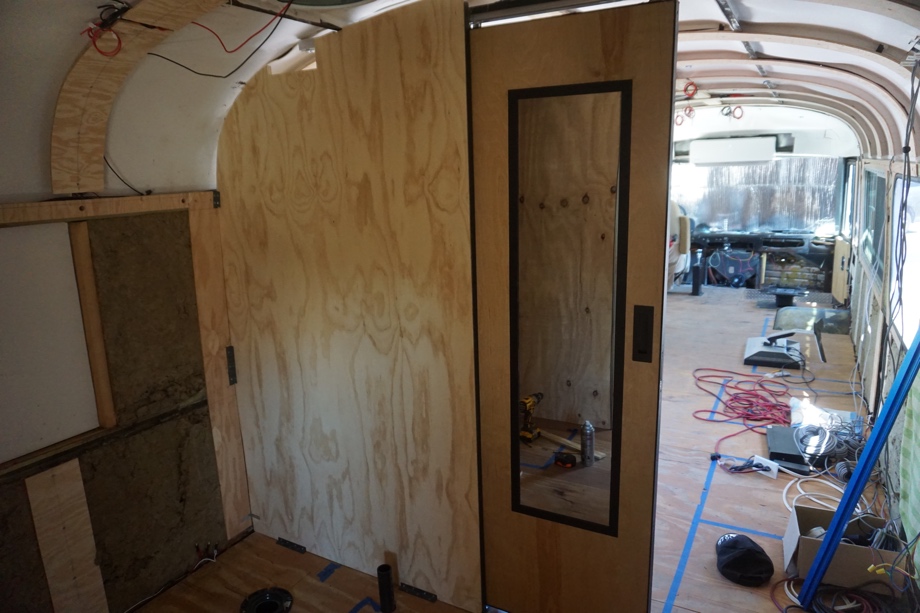
For the backs of the two pocket doors, we had different plans. The back of the first door will be inside the bathroom. We decided to inlay a standard full-length mirror (12”x48”) into a ¼” piece of birch plywood that we glued onto the back of the ¾” plywood piece we already made. We used our router to cut out the plywood for the inlay, leaving us really nice straight lines. The edge of the mirror is beveled which allowed us to frame out the mirror with aluminum, leaving the finished product completely flush with the plywood. The video shares more about how we used the frame to secure the mirror. We didn’t want to use any adhesive in case we have to replace the mirror at some point (who knows what the bumpy roads might do to our mirror, so we are trying to plan ahead).

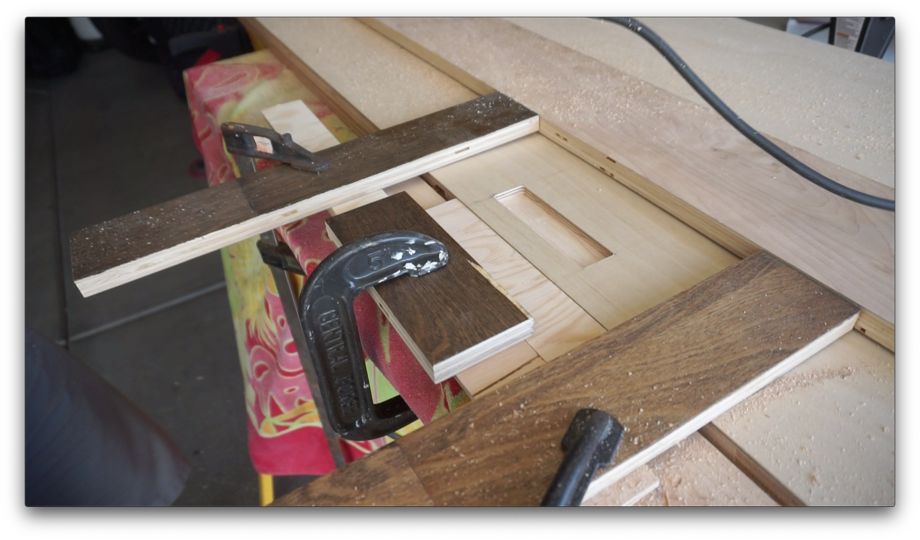
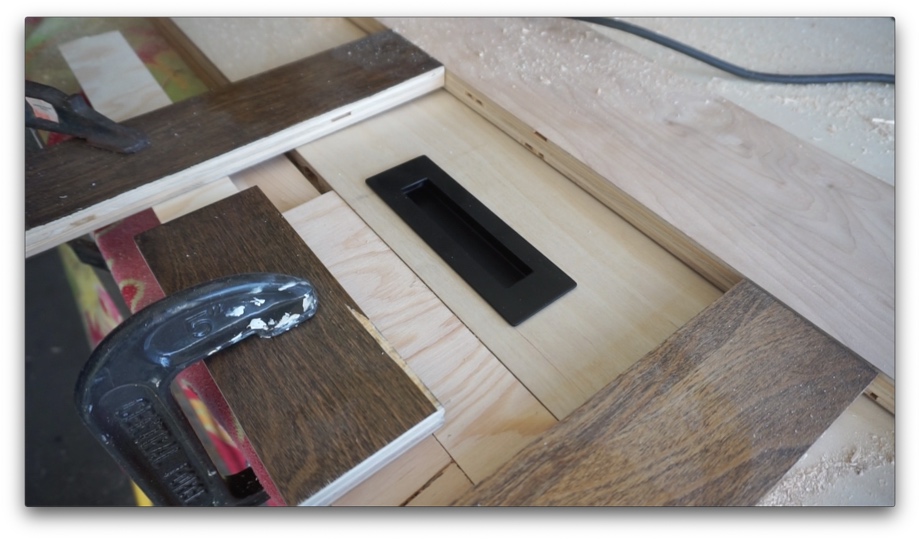
The next step in building these doors was installing the hardware. We carefully drilled and Dremeled out holes for the pull that goes on the side of the door. Then, we cut out a hole and installed a handle on the backside of the door. Finally, we made a framework for the top, bottom, and inside edge of the door out of ⅛” aluminum flat stock. We painted them black and screwed them in. The last step was installing the hangers to hook them to the sliding track. And, it was done! Well, the front door was done!


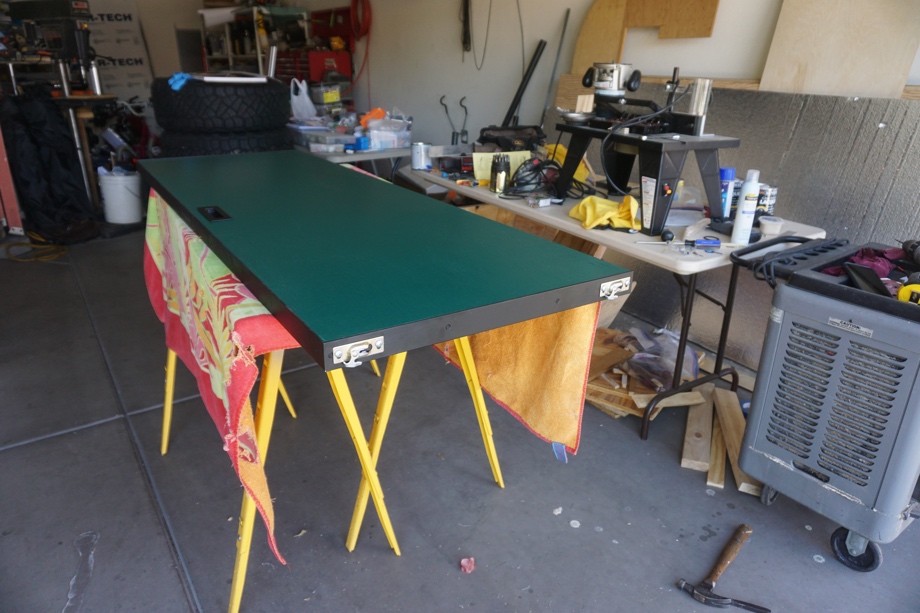
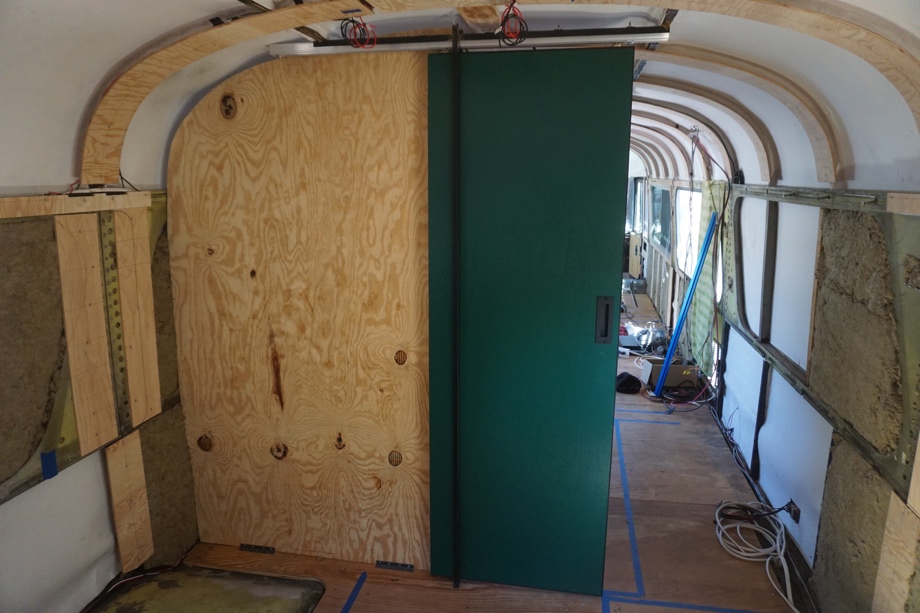
We repeated the entire process with the second door. The only difference was that we didn’t do the mirror on the back of that one. The back of the second pocket door is in the kids’ bedroom, so we decided to use the pocket door for a splash of color and fun back there. We painted the ¼” plywood back piece a really pretty emerald green color and glued that up to the back of the rest of the door. Eventually, the kids and I are going to put a fun graphic on that green door to really personalize it for them.
 We hung both the doors, adjusted them, and added some little felt pads at the inside of the bottom of the pocket frames. The pads keep the doors from banging at the bottom and keep them sliding straight.
 We are so happy with how the doors turned out. They fit and slide just perfectly. We love the soft open and close on them. They look just how we imagined. Most importantly, we think they really will function well for our family. Oh, and because I know someone will ask, they weigh in at approximately 50 pounds each. Yes, they’re pretty heavy for doors, but this big old bus can take the weight. We are building heavy in some areas and light in others and in the end, we should be just fine.
Next up: building the closet (or “wardrobe” as I like to call it because I’m British and it just sounds much more magical that way - LOL!)
Watch the video:
Click here If you cannot see the video.


0 Comments
Comments powered by Disqus