


The kitchen is the heart of the home...and also the heart of the bus. The kitchen is inches from the family room and about four feet from the kids’ room. It will function as a food prep area, laundry room, art table, work desk, school desk, and who knows what else. It needs to serve us well. We also want it to be warm and feel like home.
We chose butcher block countertops for the kitchen for two reasons. First, it is forgiving. Nicks and scratches can be sanded out if we want. Simple periodic oiling will keep it looking great. Second, with quite a bit of white and other flat, smooth surfaces, we wanted the warmth and coziness that wood brings to a home.
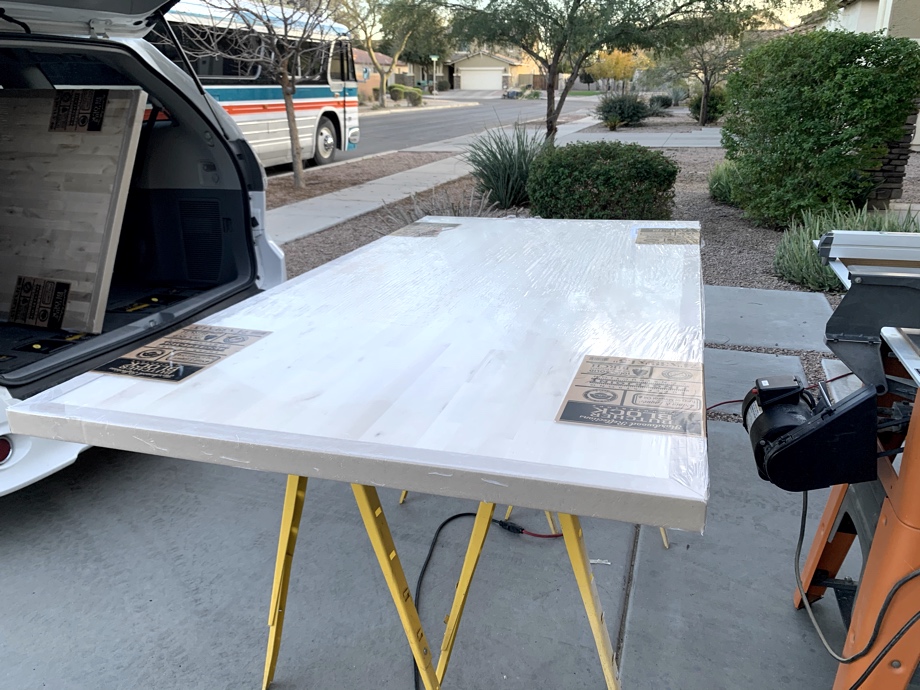
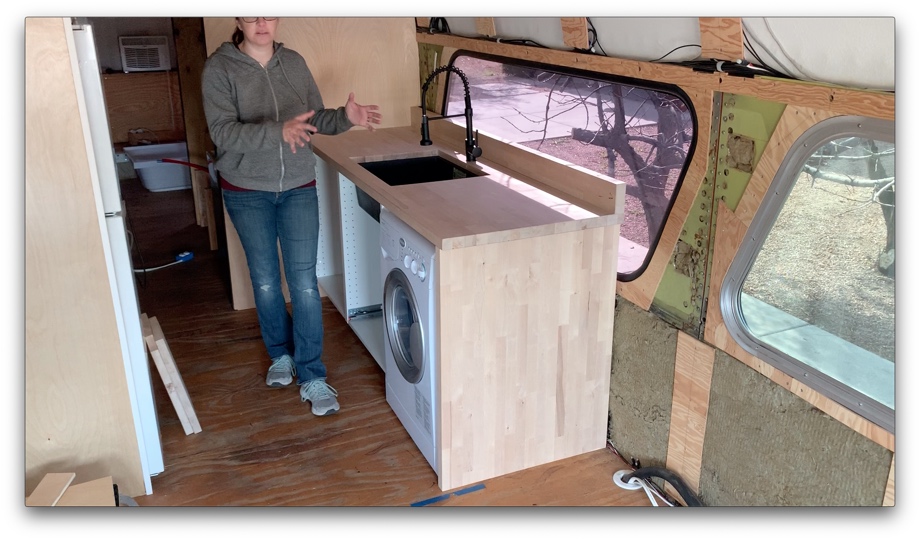
There are many different options for wood countertops that are all over the place in price and quality. After some research, we decided to go with off-the-shelf baltic birch butcher block countertops from Home Depot. Because our cabinets had to sit away from the window a bit, we made up for that with slightly deeper countertops. Home Depot sells several different sized butcher block options: one which is a standard cabinet depth and another which is deeper for an island. We bought the island depth (3’3”) which allowed us to push the countertop back beyond the cabinets just a bit, and then we had extra we were able to use to make a backsplash. This should prevent anything from falling between the cabinets and window. We also bought another piece that we used to make an end cap for the lower cabinets and inserts to cover the sink. We are making that end cap piece removable so that we can access the washer/dryer plumbing more easily (more on that next week).
Our trouble spot this week was the kitchen sink. We had trouble finding a sink we could buy off the shelf locally because most people’s kitchen sinks sit in a 30” cabinet. We have a 24” cabinet. That meant we had to order a sink online. The first sink I ordered arrived with a crack and the finish on it was poor.
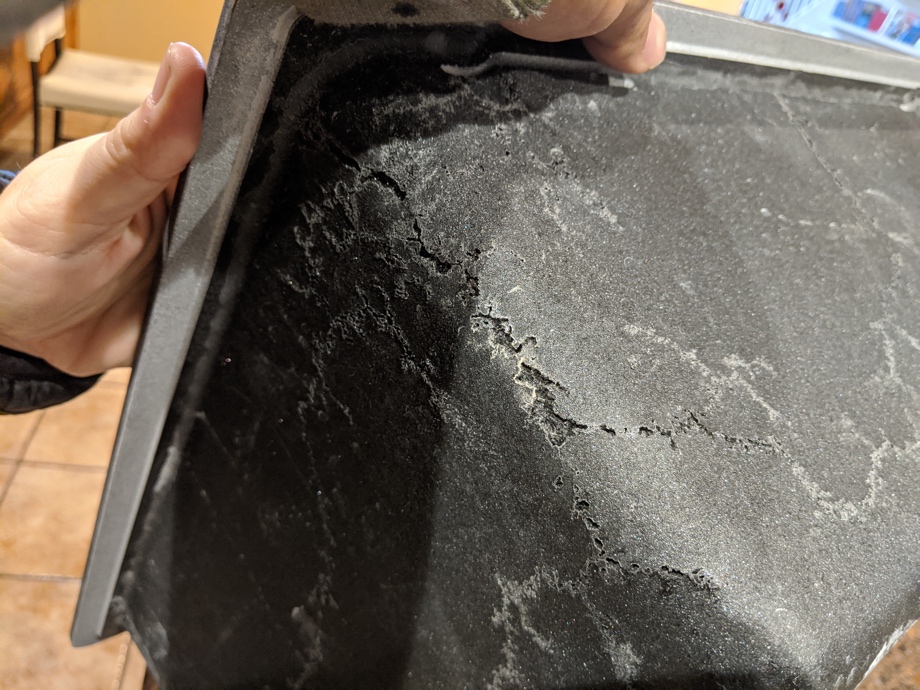
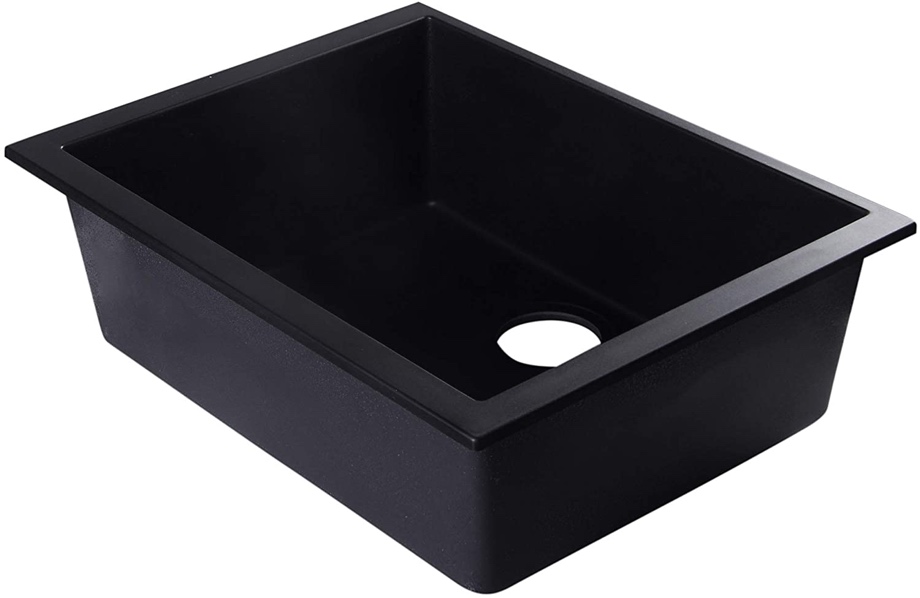
It was returned, and the search was on for something else. I found another great option and ordered it. Luckily, it arrived damage-free and the finish was exactly what I wanted - a smooth black granite composite. The composite sinks are heat resistant, nonporous, and scratch and water spot resistant.
Then, I realized we had a problem. After all my sink research for sink number two, I somehow misread the listing for this sink. It wasn’t a sink made for a 24” cabinet. It was a 24” sink. That means it is actually meant for a 27” cabinet. What I really should have bought was a 21” sink. I thought we were going to have to send it back and go on the hunt for sink number three. Fortunately, it turned out to be a happy accident.
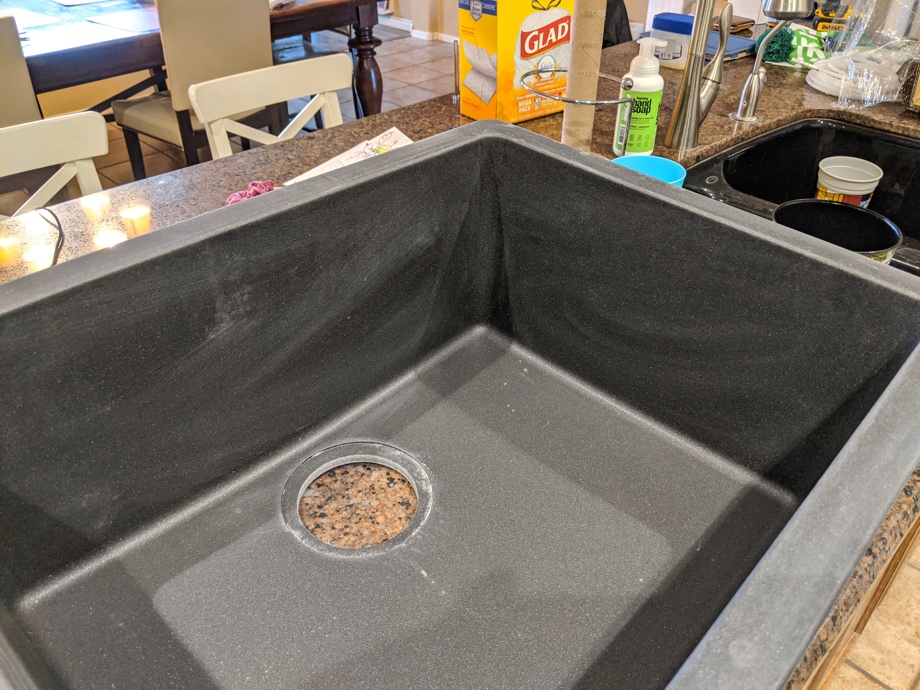
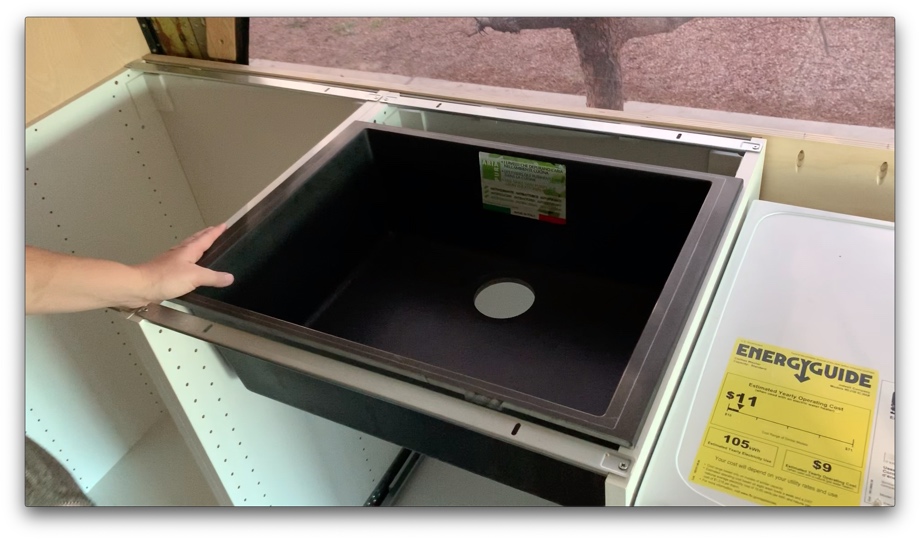
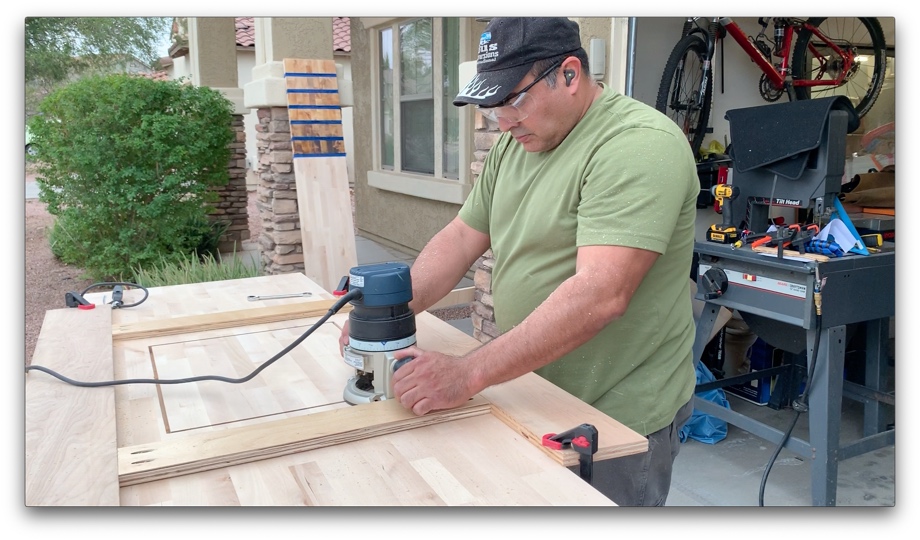
Before we sent sink number two back, we decided to just have a look at how it fit in the cabinet. As luck would have it, the lip of the sink rested perfectly on the top of the cabinet frame. We planned on undermounting the sink. Typically, an undermount sink is held in place with clips holding the lip of the sink and screwing into the underside of the counter. We were concerned with simply using clips to hold the sink in this way and then bouncing down the road. We had already planned on adding metal bracing under the sink to support it. Because the sink sat on top of the cabinet frame, we could forgo the clips and additional support. The sink could be completely supported by the cabinet box. Since we were using butcher block, we could simply rout out an inset channel for the lip of the sink. This would sandwich the sink between the cabinet and countertop making it completely secure. Happy accident! A 3” larger sink that can be securely undermounted.
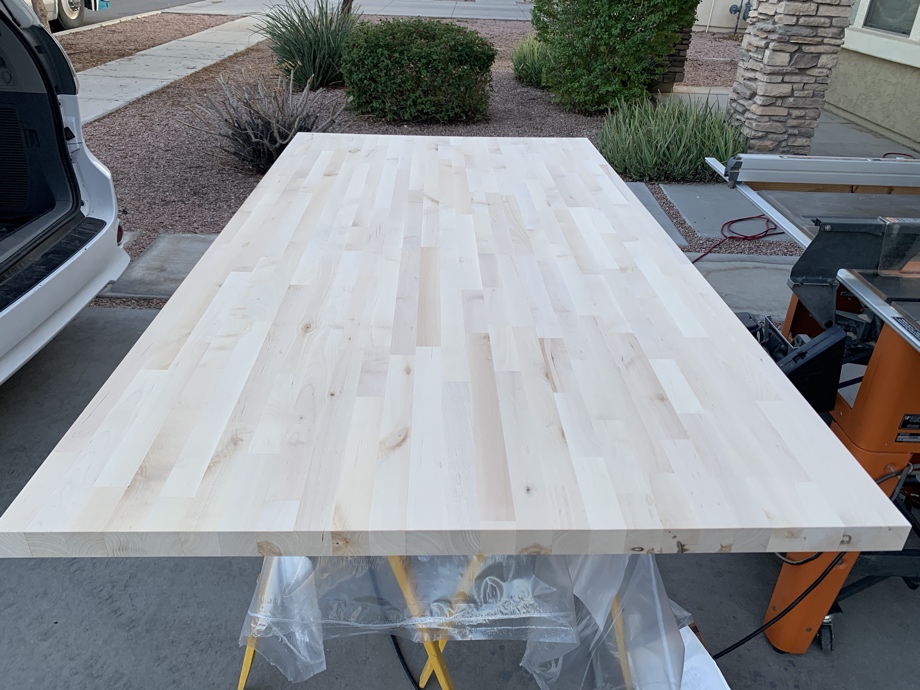
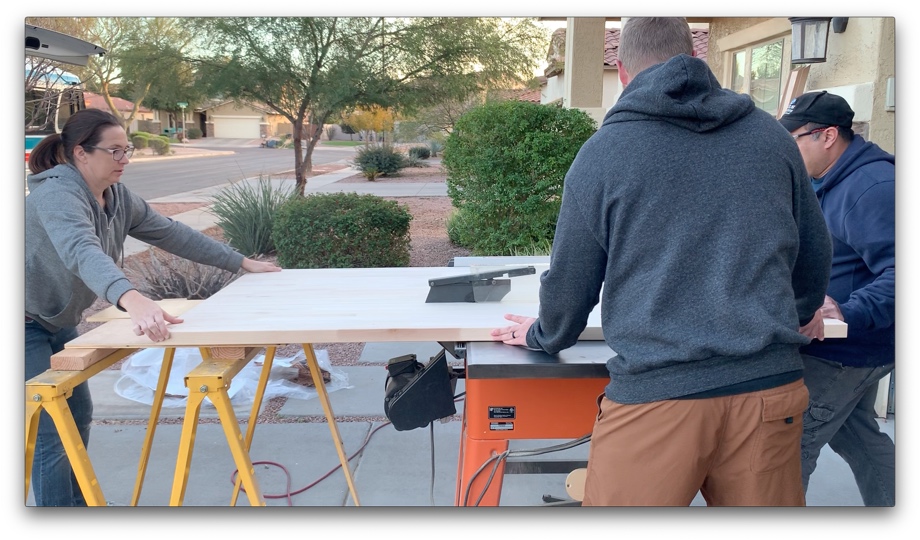
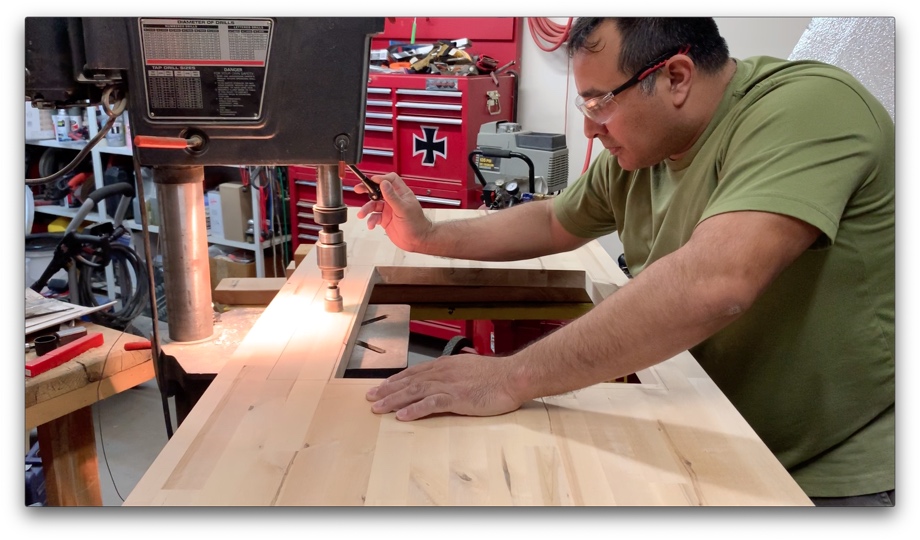
For the first part of the project, we cut all of our different pieces of butcher block: the 6-foot countertop, the backsplash, the end cap for the lower cabinets, and the sink inserts. We also used the router to cut the hole for the sink as well as create the inset channel for the sink lip. Finally, we drilled the holes for the faucets.
Next time, we will finish the countertop and install it with the sink and faucet.
Watch the video:
Click here If you cannot see the video.
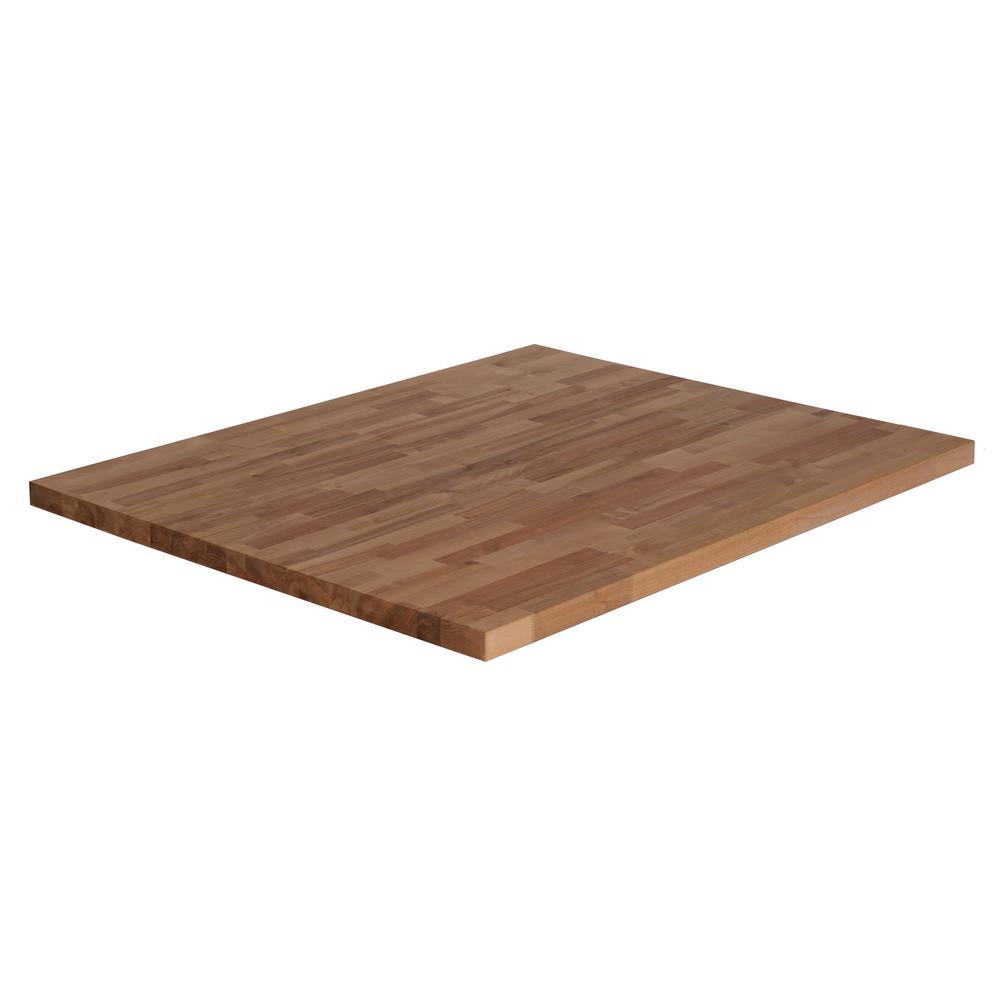 Birch Unfinished Butcher Block Countertop


0 Comments
Comments powered by Disqus