


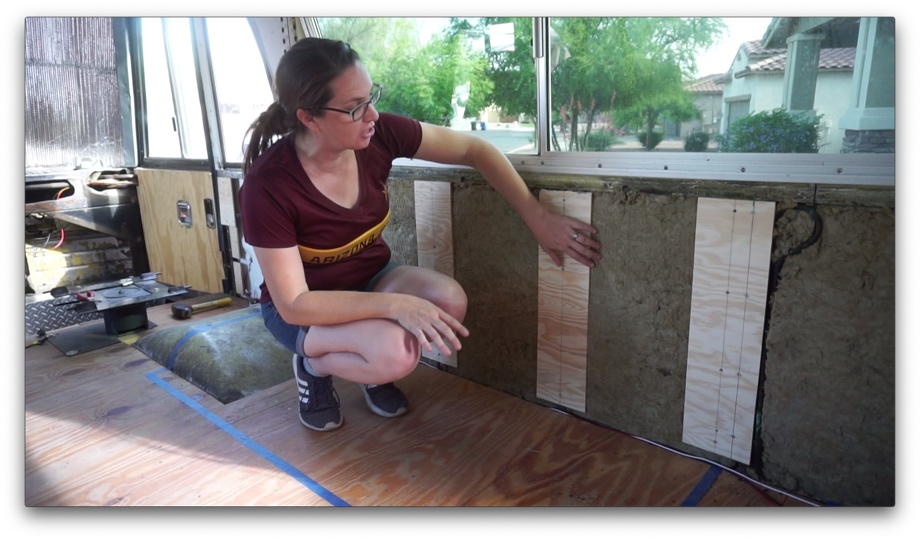
After we finished installing furring strips on the ceiling, we finished cutting and installing the furring strips on the lower part of the bus under the windows. Again, we made the 1/4" plywood pieces 6" wide, attaching them to the ribs. The extra width will allow us to tuck in the insulation underneath and give us larger mounting points for the wall planks. Working on these lower furring strips was much easier than dealing with the curves of the ceiling. Just a bunch of straight cuts. We left a small gap at the very bottom to allow for a wire run. When we finished with this section, we had to move on to framing out the windows.
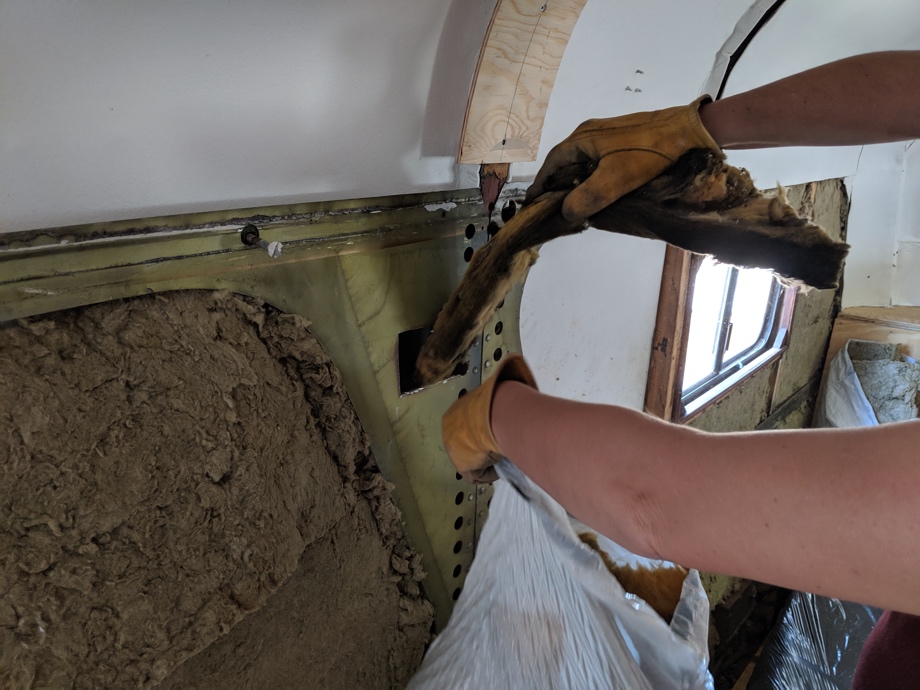
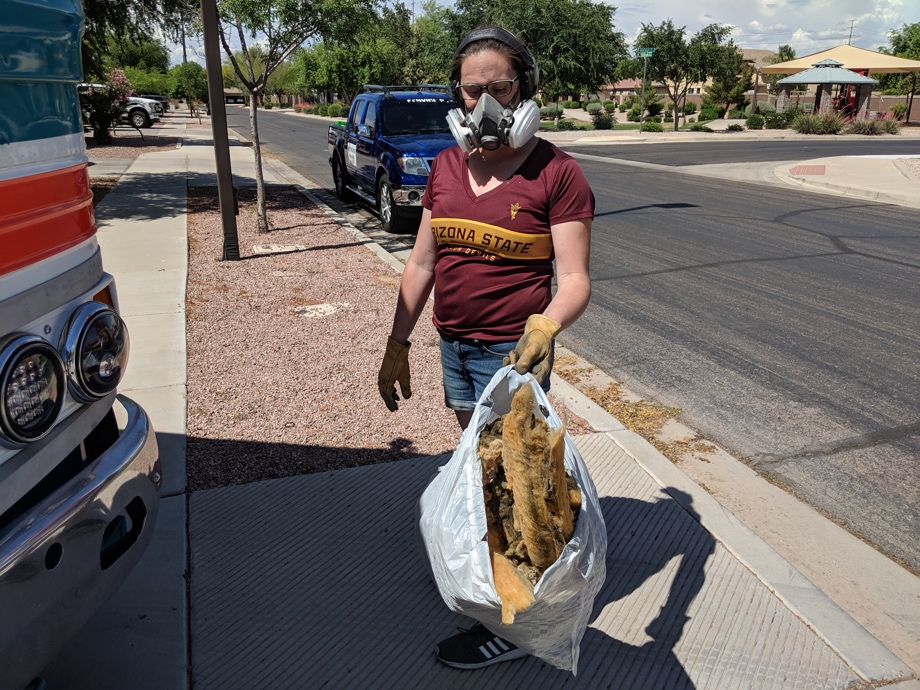
Before we could start on framing the windows, we had to deal with the final original insulation lurking under the inner skins in the center of the bus. We removed all of the rest of the original fiberglass insulation a long time ago but weren’t sure how we could get to the insulation under that skin without removing it. And, we were aren’t removing that inner skin. We asked on a couple of the bus conversion facebook groups if simply cutting into these skins would be safe or if it might damage the integrity of the structure. We were assured that cutting some holes would be okay. We proceeded to cut holes just large enough to reach in and pull out the old, rotting insulation and stuff the new Roxul up in those spaces. It felt so much better after that was done.
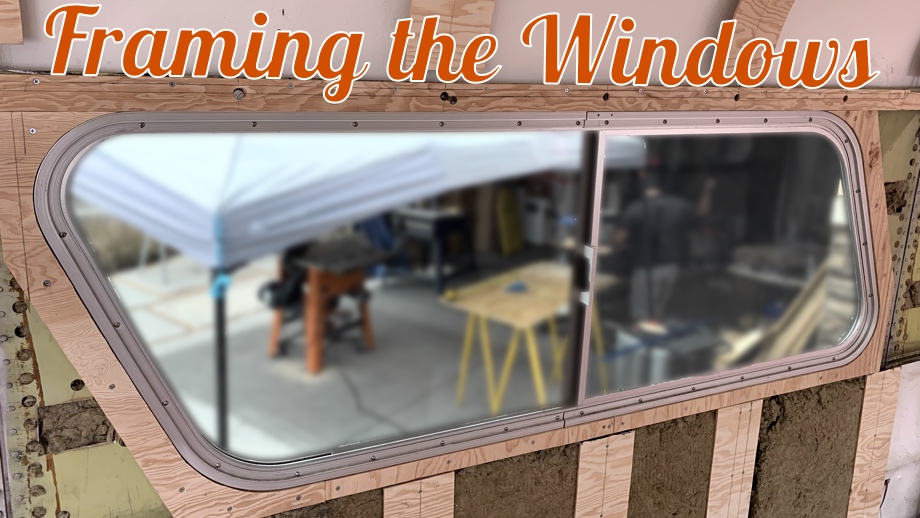
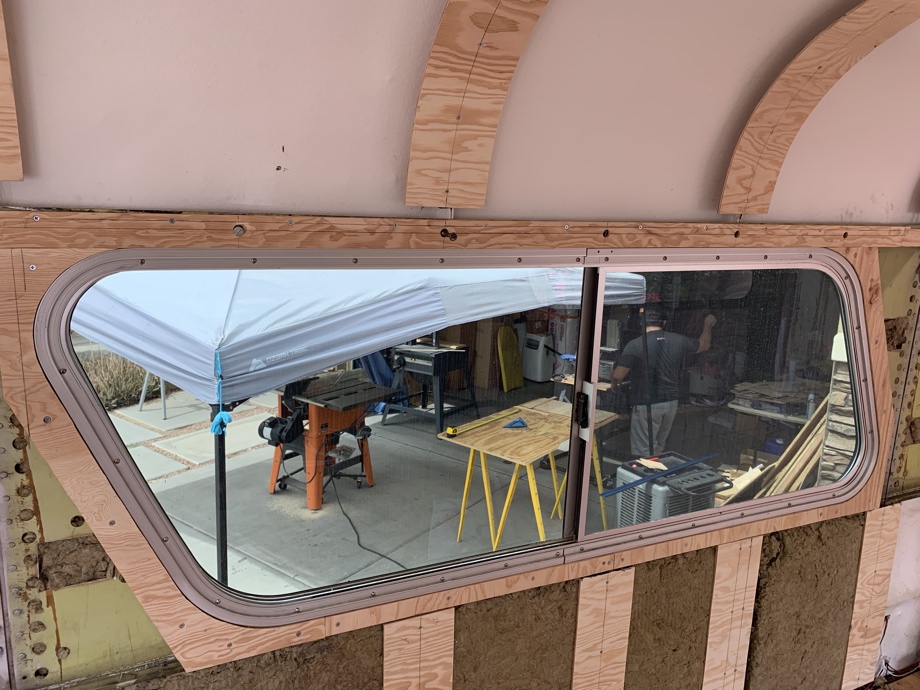
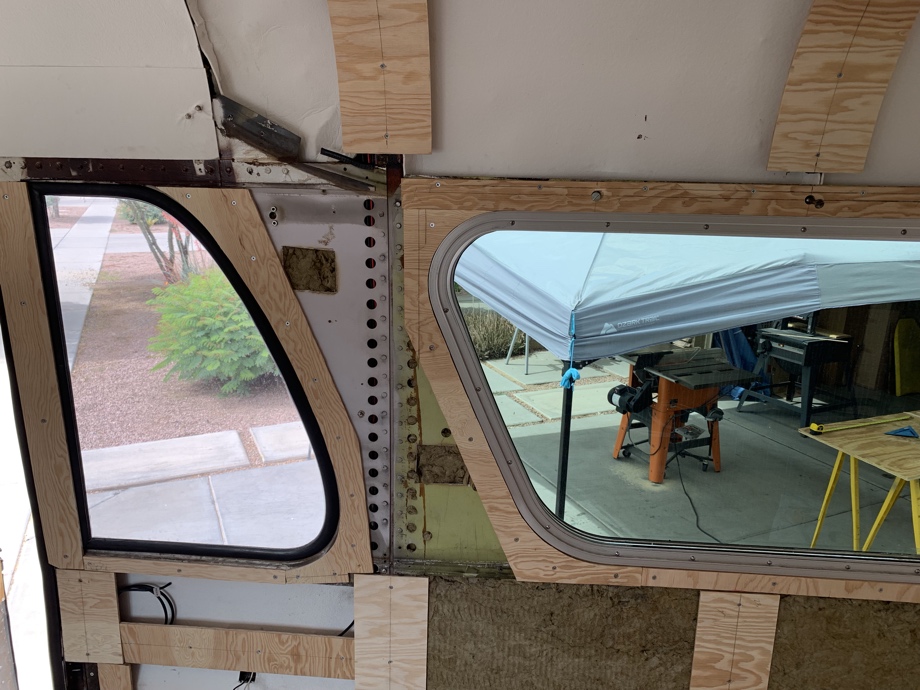
Moving onto the windows, we knew that we needed to trim around them as cleanly as possible as the edges will be slightly visible after the walls go up. We didn’t want to have any gaps or too many seams. For the large front bus windows, we were able to remove the aluminum frames and use them as templates. Even with that, however, we still had to refine each piece with lots of sanding. The second set of windows that we recently had replaced simply have a rubber gasket around them - no aluminum frame for a template. The trim pieces we made for the front windows were close, but not exactly the same. We were able to use those front window trim pieces as a guideline and then, again, sand, sand, sand, until we got each piece just right.

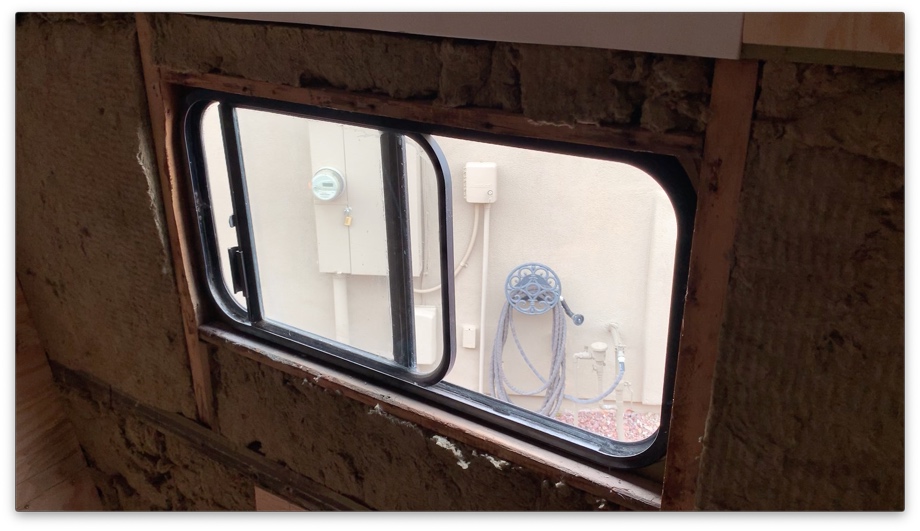
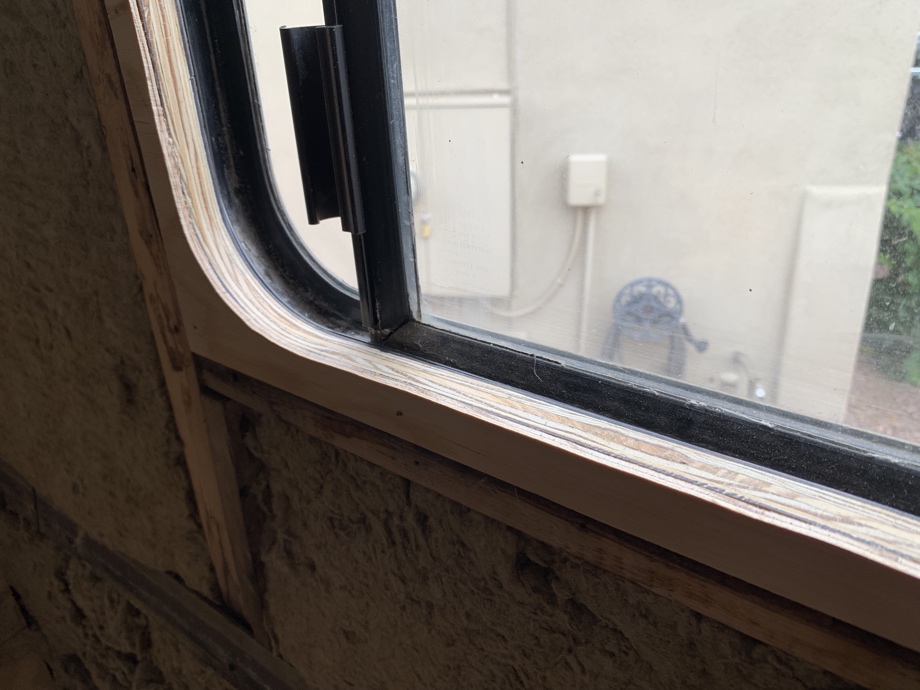
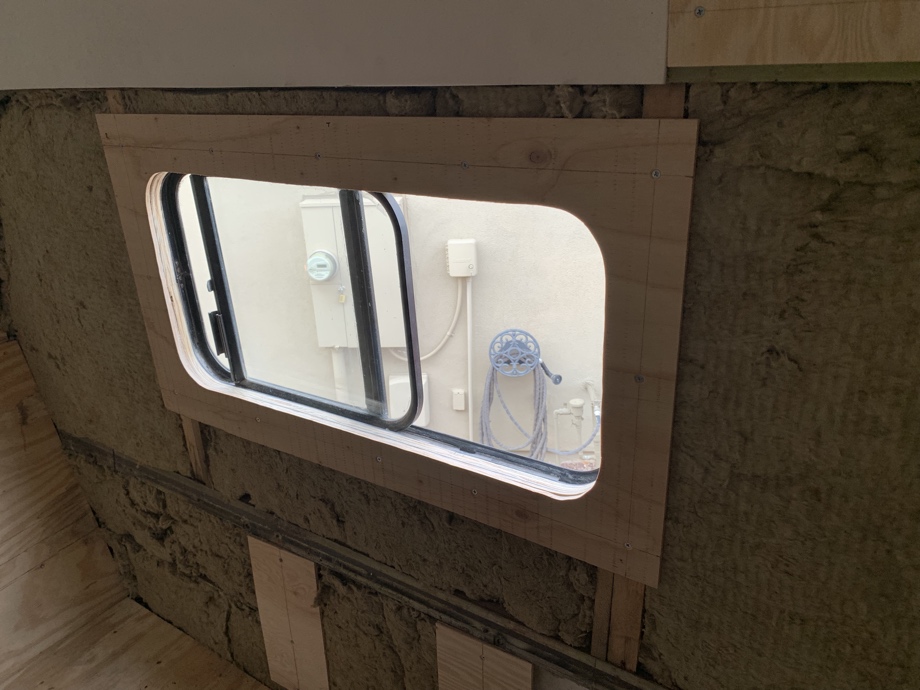
Finally, we moved onto the windows in the back bedroom. These are small RV windows that were installed and framed (very poorly) by the previous owner. The framing that was there was not square in any way - left to right, top to bottom. In addition, as we have shared in the past, it is not just the ceiling that is curved, the sides of the bus have a slight curve to them as well. Trimming out these windows was particularly challenging as the distance they are inset on the top is about ½” less than the distance they are inset on the bottom. We cut plywood and then had to keep layering it until it was the right depth in each area, and then sand like crazy until the tops and bottoms met smoothly. Another interesting tidbit we discovered was that the two windows that appeared to be the same are not the same at all. In fact, one of the windows is an inch wider than the other. And, of course, because we were working off the framework and installation from the previous owner which was different on each window, we couldn’t use the trim work from the first window as a template for the second window. We had to start from scratch again for the second one. It’s all part of the fun!
It was a long few days working on trimming out the windows. Not because it was physically difficult, but simply very, very tedious. We are also still "cutting our teeth" on woodworking, trying to become proficient with the tools (metal seems to be quite a bit easier for us). We were very glad to have that project checked off the list.
Next up: running the wiring for interior lights
Watch the video:
Click here If you cannot see the video.


0 Comments
Comments powered by Disqus