


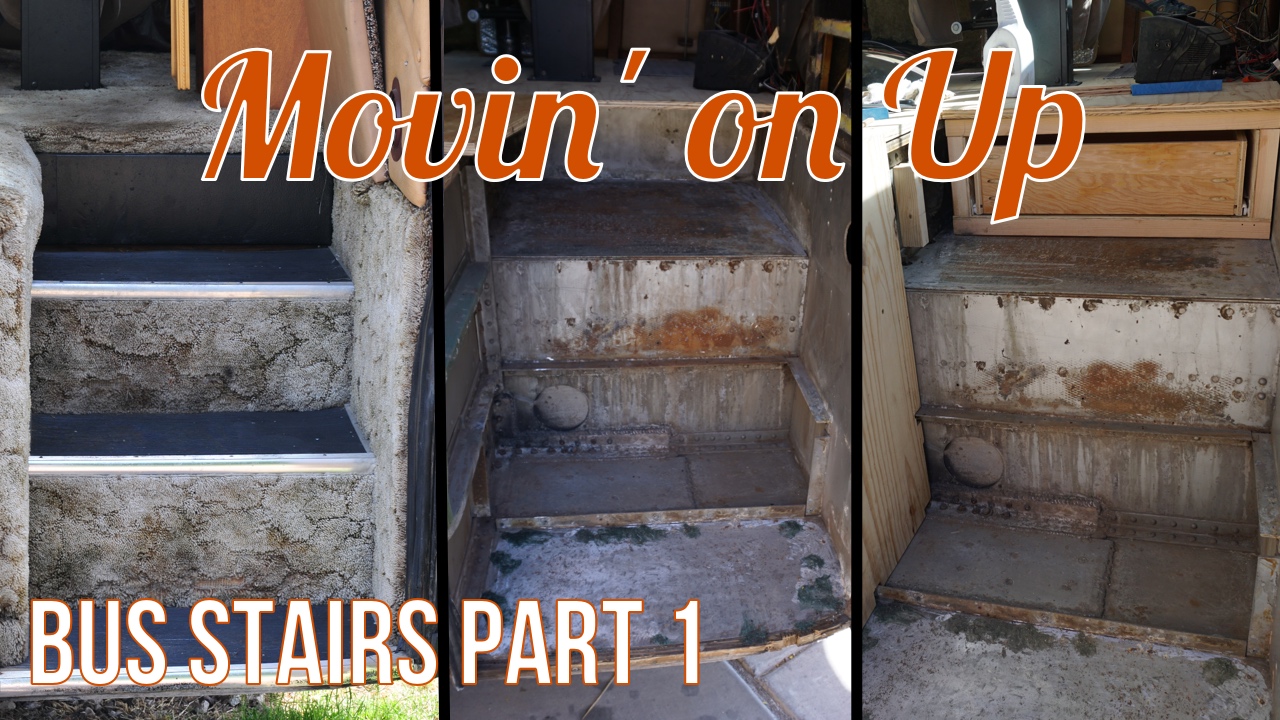
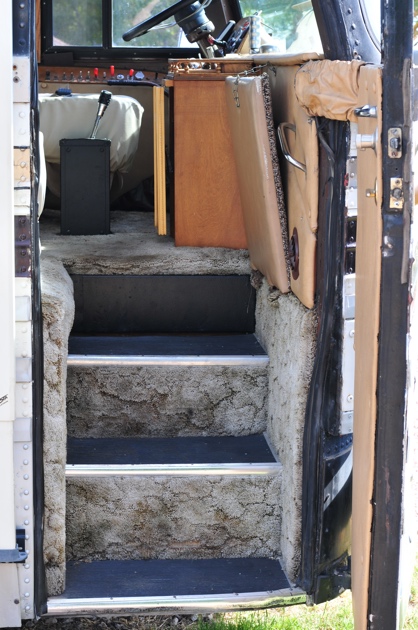
When we bought the bus, the entryway and stair risers were covered in carpet. The carpet in the bus was old and in bad shape, so pulling it out was one of the first things we did in the demo process. What remained underneath left a lot to be desired, so we were very excited when the day finally came that we could start building out the stairs.
We are absolutely not woodworkers. We have done some small building projects before, but building things with “square” wood in a bus that is anything but “square” proved challenging at times.
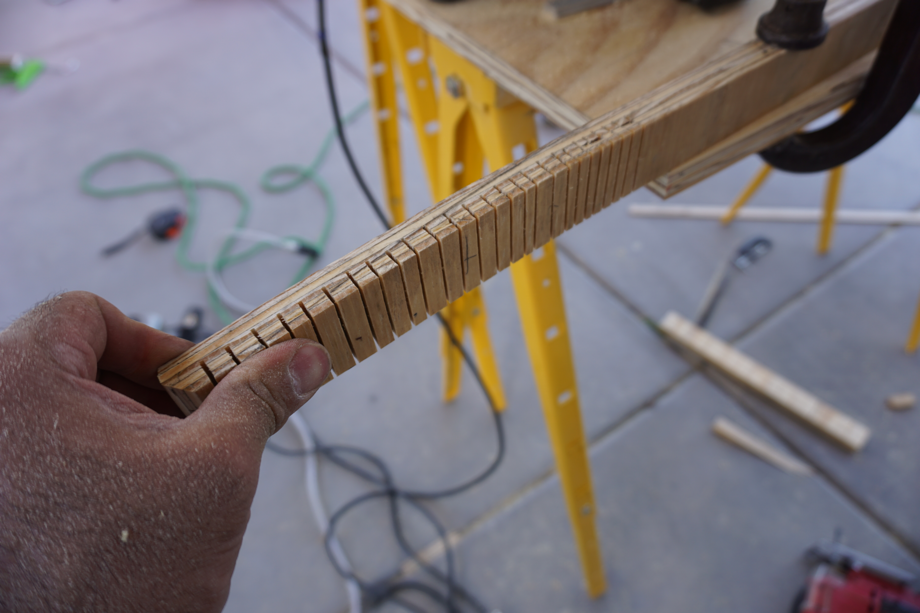
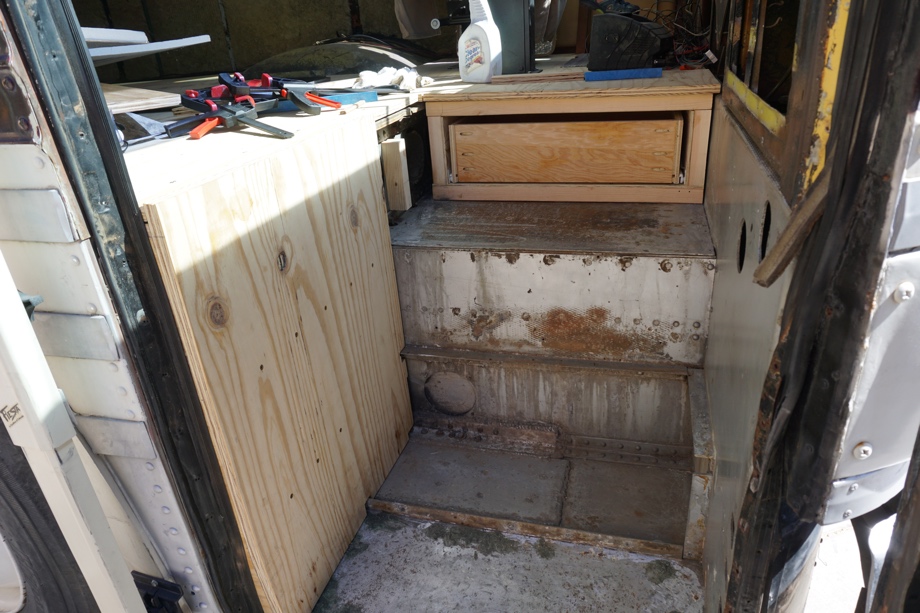
The first step was building the side wall to the left of the steps. The doorway is slightly curved, so the cutting the ¾” plywood was a little tricky. Juan pulled out some 7th-grade woodshop skills and kerfed the trim piece that follows the curve of the door.
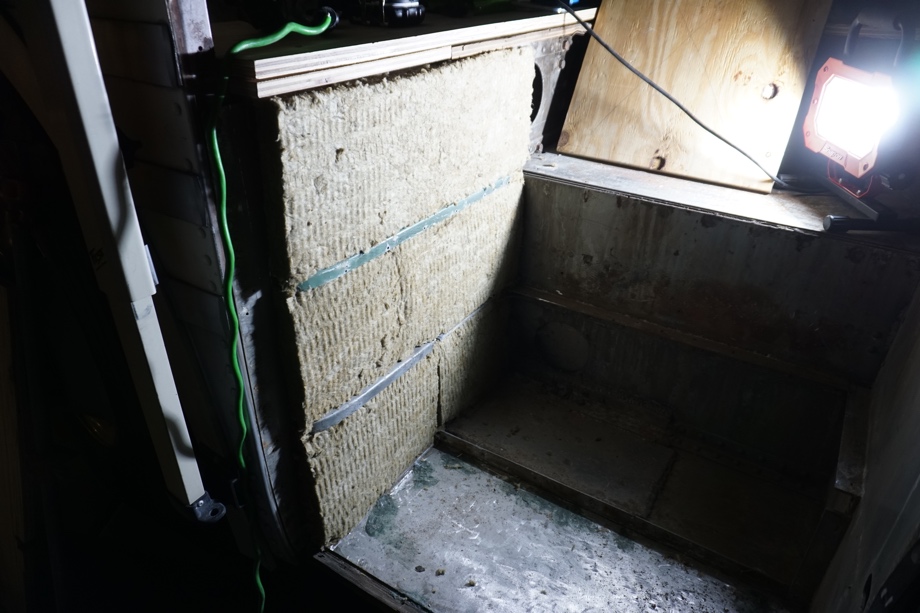
Then we were able to insulate the space with Roxul and then fasten the new wall piece to the metal support pieces behind.
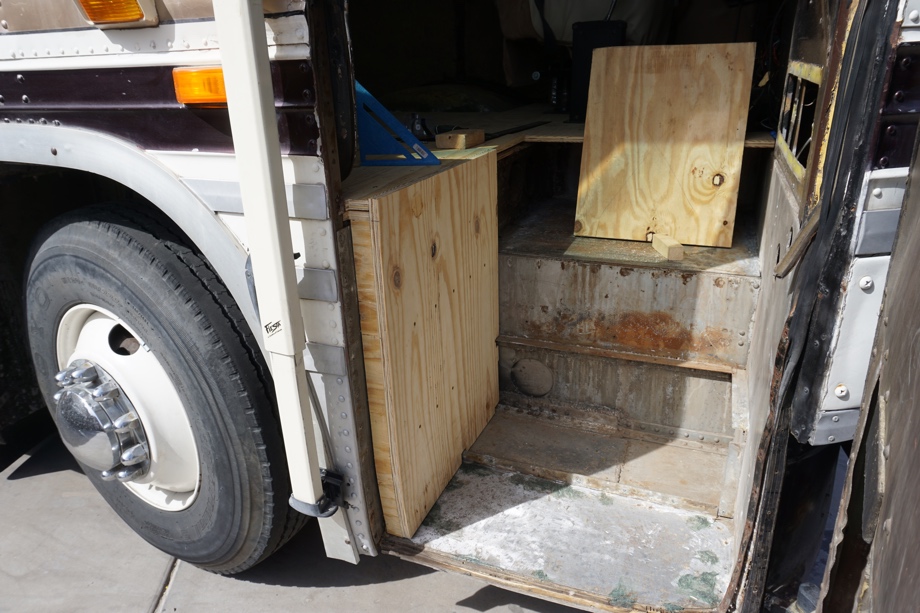
The next part of the build was the top step. Originally, as a working bus, the top step was a larger platform before turning to the center aisle. But, the previous owner took advantage of this extra space to add another step and create some additional storage. The step was actually a pull-out drawer. We liked the idea, however, unfortunately, the drawer wasn’t very well built for everyday storage and it didn’t fit that well. We took that out and decided to do it right.
Since this step needs to handle a family trampling on it throughout the day, we decided to overbuild the framework for it and used 2x4 construction. We used our Kreg jig to make pocket holes for screwing the 2x4s together.
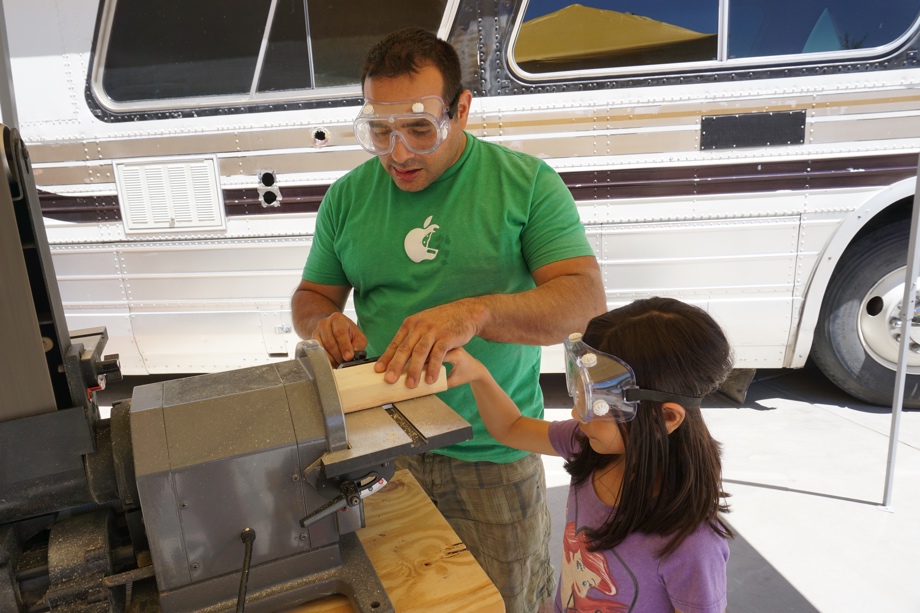
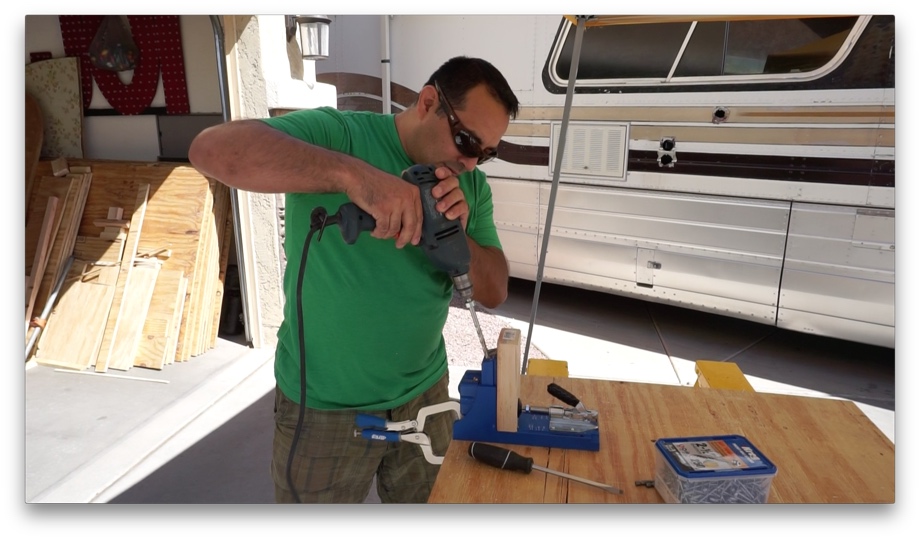 Seems simple enough. But, even though we picked out the very straightest 2x4s we could, they still weren’t perfectly square. We had to sand quite a bit as we squared up all the corners. (A planer is probably in our future tool arsenal.)
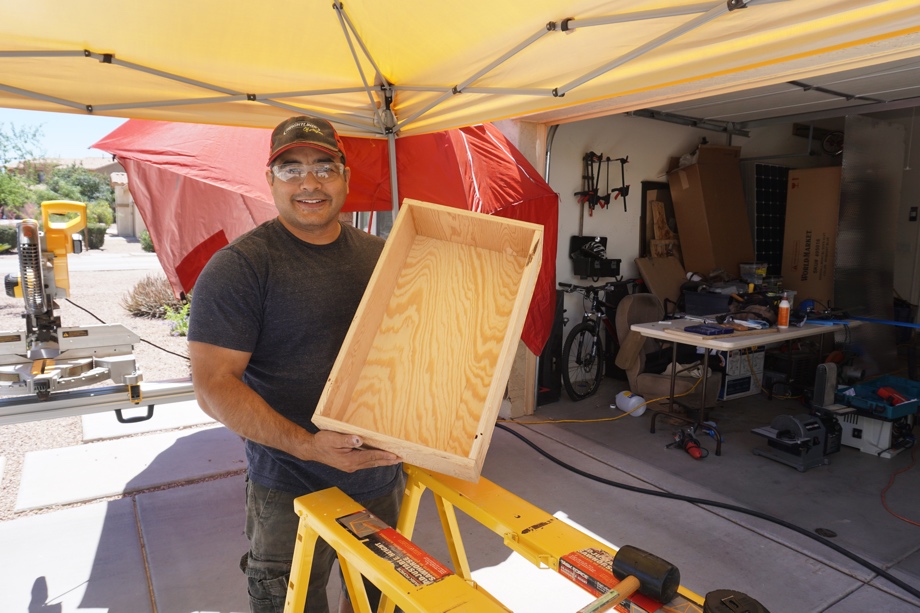
 After we finally had a square framework, we were ready to begin building the drawer. Just some 5/8” ply sides, a ¼” ply bottom, and we were done. We used this video as a reference. Then we attached drawer slides to the framework and drawer, and we had a working drawer.
Finally, it was time to secure our drawer-step in the bus. Underneath the floor of this step is the spare tire storage. We really didn’t want any screws poking out down there, so we decided to secure the bottom of the framework box to the metal platform with Liquid Nails. We only use this when we absolutely have to as we would prefer to screw everything down. But, in this case, we didn’t want to risk screws in the spare tire area. After the Liquid Nails dried, we simply screwed down the subfloor into the top of the framework box, put the drawer in, and we were done for now. We have a strong, functional, dual-purpose step. We will wait to build the drawer front until after we put flooring down on the treads of the steps.
 The next part will be to build one more new step (two of the original steps were in good shape, but one of them was a disaster) and then cover the side walls and risers with diamond plate. That will be coming up in Part Two of the Stairs Build.
Check out the video to see this project in action.
Click here If you cannot see the video.

0 Comments
Comments powered by Disqus