


I began riding motorcycles when I was fifteen years old. And when I wasn't riding, I was reading about motorcycles.
There was one picture from Motorcyclist magazine that became etched in my mind. A Kawasaki ZX-7R motorcycle with a "chrome" frame. 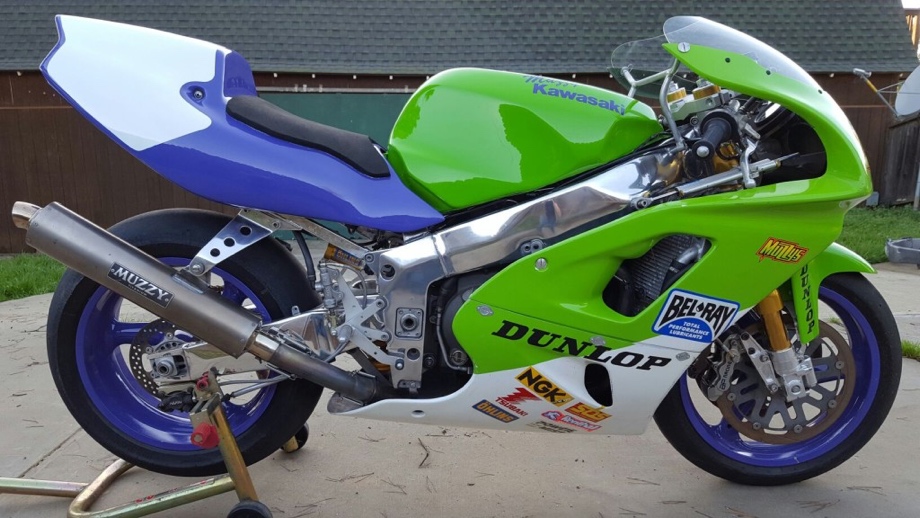 This is not the exact picture - I couldn't find the exact one but this is similar.
When I was 23-years-old, I bought the motorcycle I had been dreaming about for the previous three years. A 1995 Honda CBR900RR. One of the coolest things about this particular motorcycle (besides being ridiculously fast and extremely lightweight) was a very pronounced and attractive twin-spar aluminum frame. Could I make it chrome like my inspiration picture?
After some research, I learned that the frame on the ZX-7 was not chrome at all, but actually highly polished aluminum. AND, guys were getting this look with normal tools right in their own garages! I was hooked! Scowering the forums, I learned about the tools and techniques necessary to achieve the mirror-like finish as well as how hard it was. Challenge accepted.
It took me about two weeks of working almost every night, covering my entire person and my entire garage in a layer of black gunk, but I finally emerged with a frame, swingarm, and wheels that had the mirror-like finish I was after. It was so much work that for the last twenty years, I had not polished anything else like that.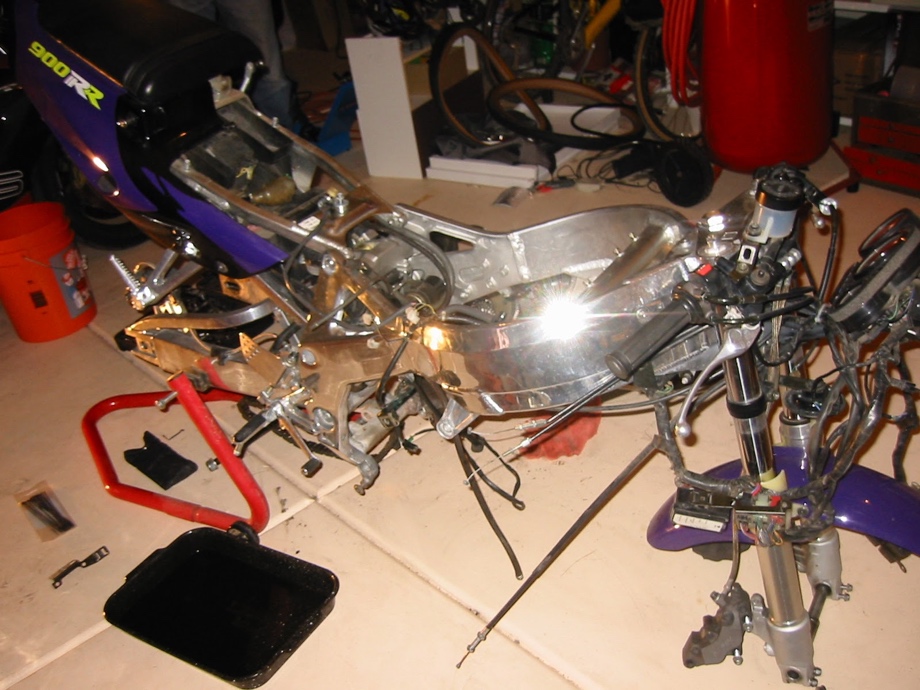
Until now.
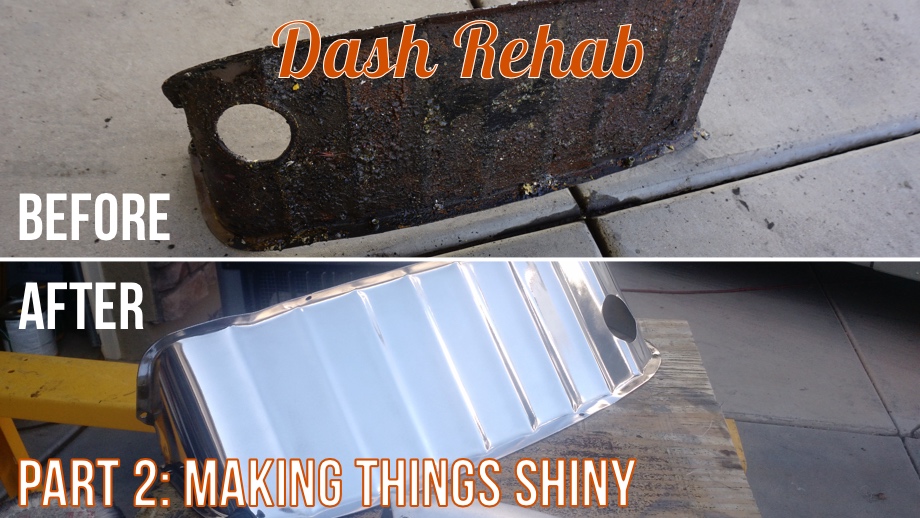
Since the manual handle that opens the bus door was a nice highly polished aluminum piece, we decided that a couple more polished accent pieces might look nice up front. I chose the door hinge cover and the dash backing plate which also includes a small defrost vent. These looked absolutely miserable. They were covered in a sloppy brown paint that was so thick it actually gave the otherwise smooth pieces "texture". The challenge was on once again to create that mirror-like finish!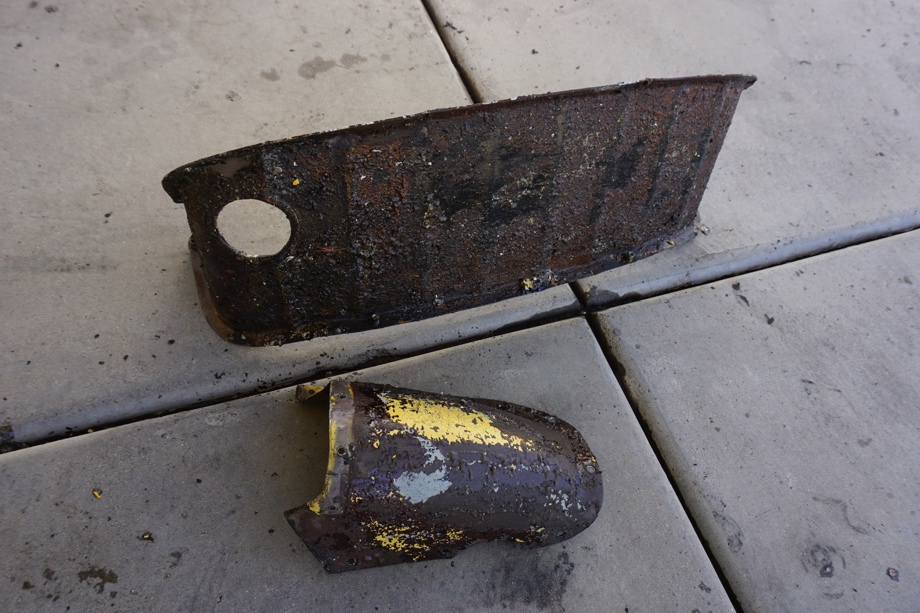
Tools and Materials:
- Goggles, gloves, breathing mask. There are some really dangerous chemicals to strip the pieces. Also, polishing itself is very messy and produces quite a bit of heat.
- Paint remover. We have had great luck with Jasco Paint and Epoxy remover
- Anodizing remover. We have had great luck with Heavy Duty Easy Off oven cleaner.
- Sandpaper 120 grit, 220 grit, 400 grit, 800 grit (wet) (a small random orbital sander makes the initial sanding easier)
- A grinder or bench grinder. Basically, something to spin your buffing wheels. In my experience, drills do not spin fast enough to do anything significant.
- Buffing wheels (at least 2 - one for cutting and one for final polish)
- Brown or Green "Tripoli" to do the initial "cut"
- White or Jeweler's Polish to really bring out that shine.
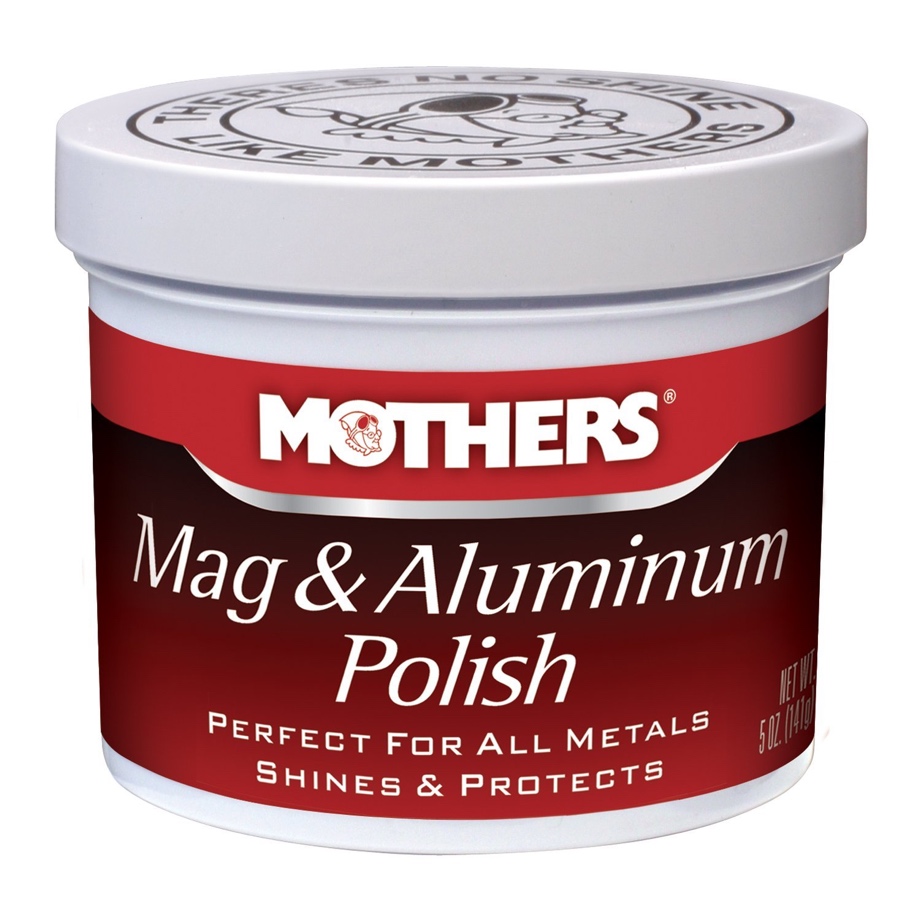
- Mother's Aluminum polish.
- Clean terrycloth towels.
Step 1: Remove That Old Paint.
I am pretty sure that GM painted these surfaces from the factory. But these poor pieces looked as if they had been painted over at least a half dozen times with no prep work. To remove the paint, we had very good luck on the bus panels with a product called "Jasco Paint and Epoxy Remover". I slathered on a thick coat of that and was pleased to see the paint "crinkle" up. Unfortunately, that only penetrated a single layer of paint at a time and was very slow. I did not want to scratch the aluminum since we would be polishing it, so I tried to use a high-pressure (3100 psi) washer. It helped tremendously, but it still took about 2 hours of fighting with it to completely strip the pieces.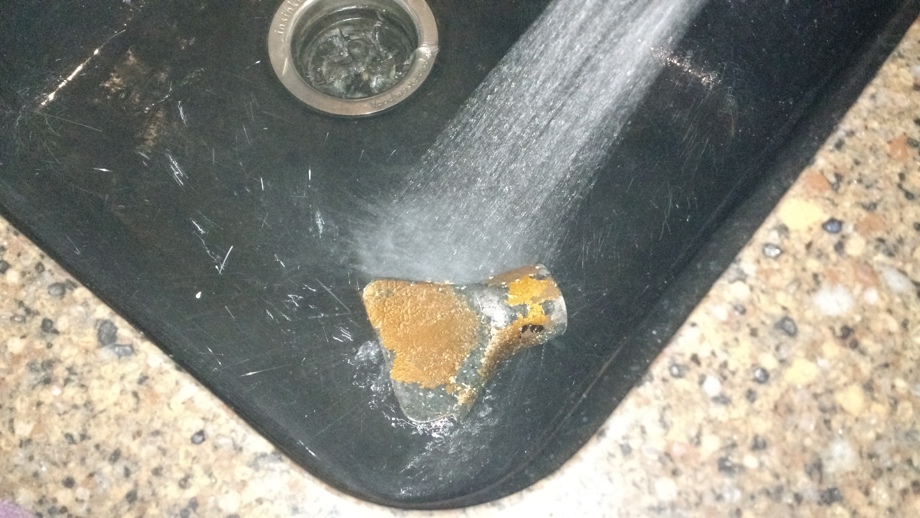
Step 1.5: Remove any anodizing
Anodized aluminum is VERY hard. In fact, most sandpaper is made from aluminum oxide, which is essentially anodized aluminum. To remove this, it is usually smart to use a chemical means if we can. 19 years ago I learned that "heavy duty" Easy-Off oven cleaner will actually remove anodizing from aluminum.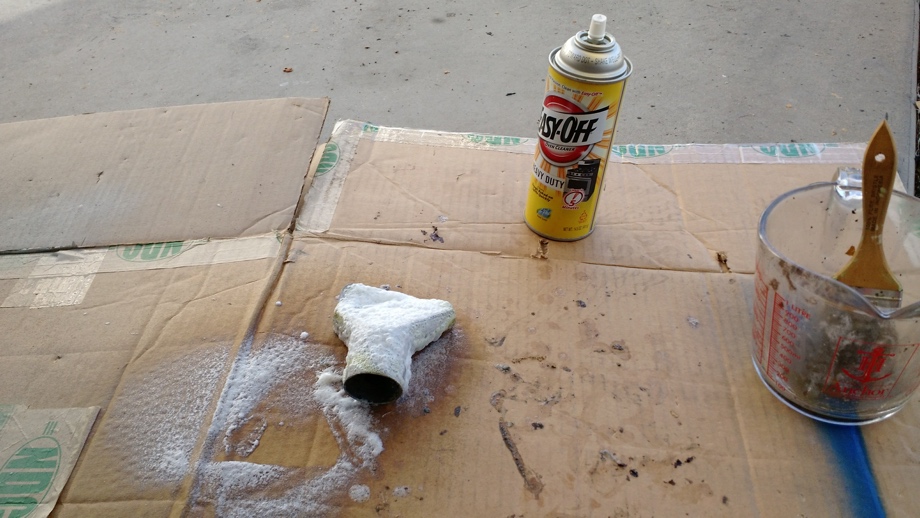
Step 2: Sand, Sand, Sand
Step 2 is arguably the most important part of the entire process. Way back when I was polishing my motorcycle, I learned that thirty extra minutes sanding would reduce hours of time needed for "cutting" (that is what they call the initial stages of polishing). I started by hand sanding with 120 grit sandpaper on areas that needed a lot of attention. I then moved on to a random orbital sander with 220 grit paper until the aluminum piece looked uniformly "cloudy". I again used the random orbital sander with 400 grit sandpaper until it again looked uniformly "cloudy". At this point, I started to polish but soon relearned my lesson from 19 years ago about more sanding. I went back and resanded (wet this time) with 400 grit and then 800 grit until the part felt almost "velvety".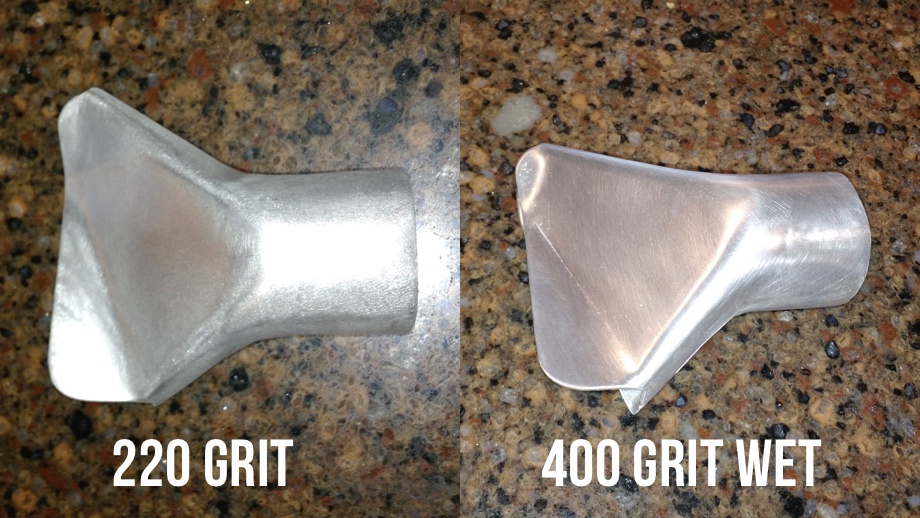
Step 3: The Initial "Cut"
Step 3 is where we actually start to see the aluminum really shine up. To do the initial cut on aluminum, most guys use a brown or green "Tripoli", which is essentially a mild to medium abrasive. If you have done your prep-work correctly, this step will actually have the part looking like a mirror. This step will also reveal if you have skimped on anything in step #2. Cutting will not remove any deep scratches.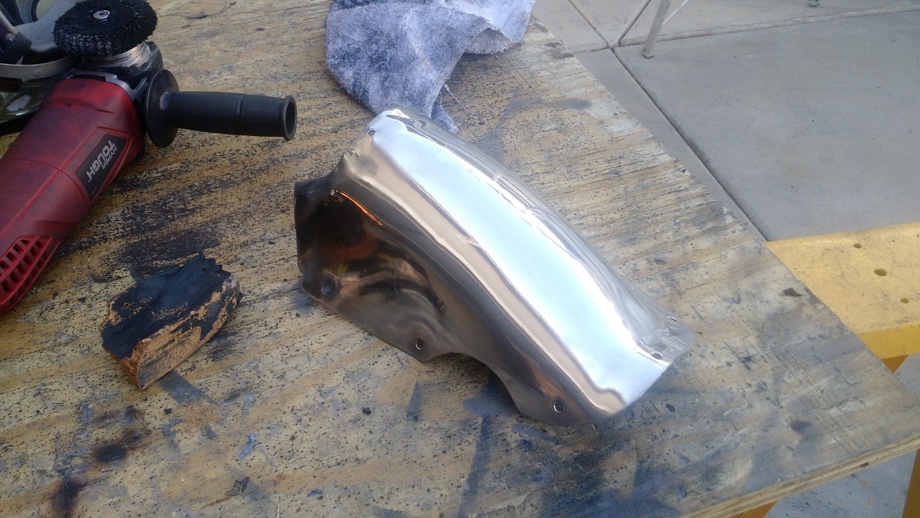
Step 4: The Final Polish
Once the initial cut is finished, this step will really brighten it up. This is done with a white "jeweler's" polish and a softer buffing wheel. By this point, you should clearly be able to see your reflection in the piece, and this final polish will really bring out the brilliance.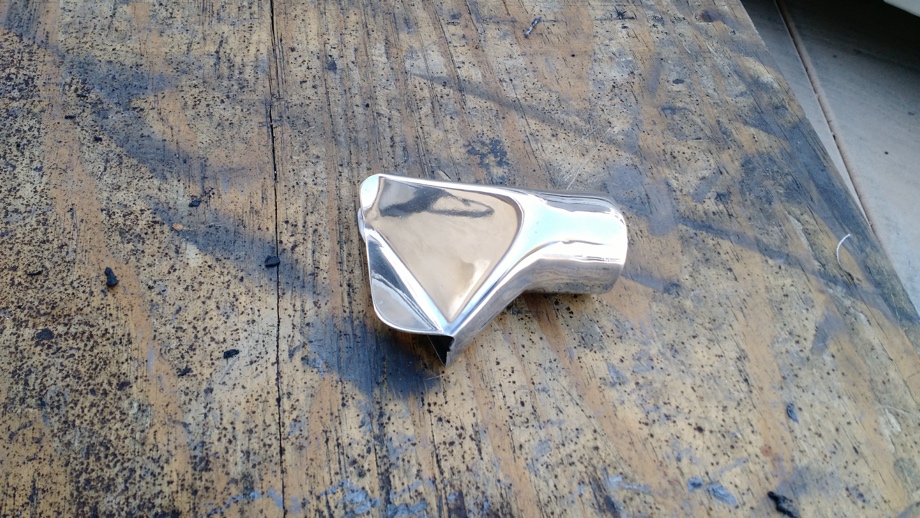
Step 5: A little help from Mother's
Now that you are completely covered in threads and a black, greasy film, bust out a new white terry cloth towel and some aluminum polish (just the kind that they sell at any automotive parts store). These polishes will help protect what you have done, because they leave a light finish layer that helps prevent further oxidation.
That was how I polished some aluminum pieces on my bus. I am pretty pleased with the results and may even tackle the bumper and some side pieces next. I polished all three pieces in about 4 or 5 hours and a good majority of that was fighting with the old paint! I used all the same stuff I used 19 years ago when I polished my motorcycle, but it all still worked exactly how I remembered.
Next up in the Dash Rehab series: we get the anodized pieces back from the anodizer and start working on the new sensors for the gauges.
Check out the video:
Click here If you cannot see the video.

0 Comments
Comments powered by Disqus