


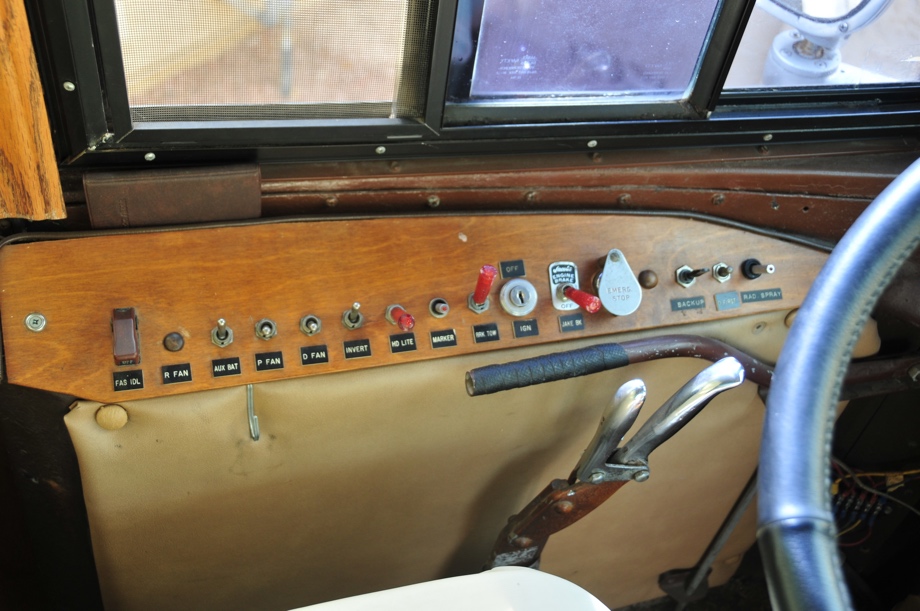
When we bought the bus, we knew that we would need to redo the dash and switch panels. The wood was cracking, was poorly cut, and was generally looking sad. In addition, some of the gauges didn’t work very well, and some didn’t work at all. The old indicator light panel was a piece of white plastic shower board with labels that were falling off or missing and lights that didn't work. I’m sure thirty years ago, it all looked great and worked well. But, now it was time for a refresh.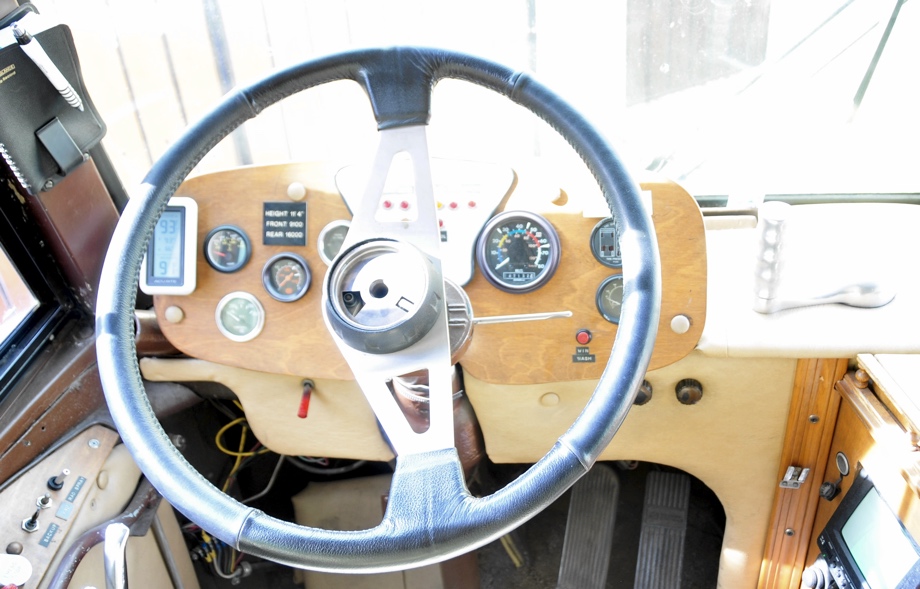
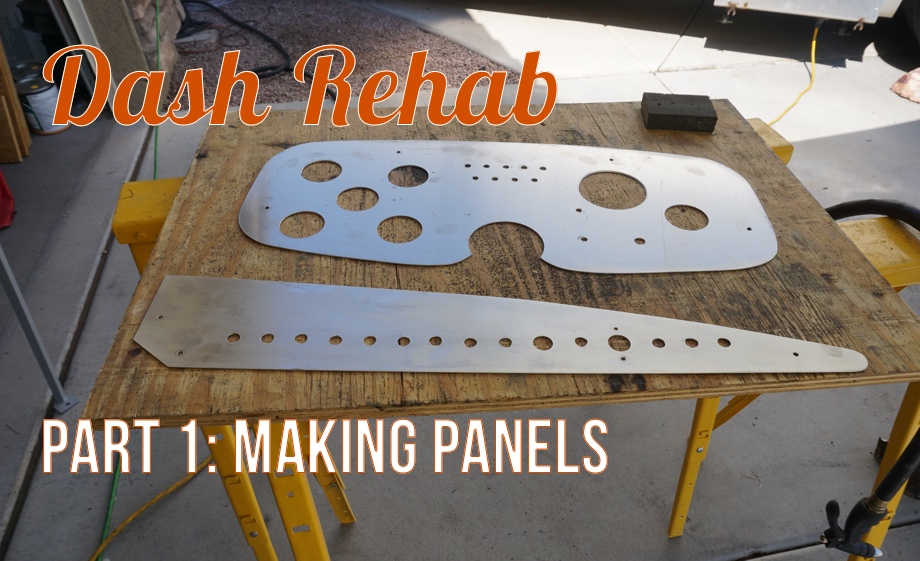
The first step in the dash rehab was to cut new panels. We decided to use 14 gauge aluminum. We used the old wooden pieces as starting points for a general shape. We tried to measure them a little more precisely, however. The old dash was not exactly symmetrical, so we corrected that on the new piece. The old switch panel was not cut to fit the space very well, so we corrected that as well.
After taking new measurements, I made a template out of cardboard. We test fit and trimmed and shaped that until it was just the way we wanted it. Then, we measured for all of our new toggle switches, gauges, and indicator lights. Again, I laid everything out on the cardboard templates to make sure everything was in exactly the right place before we started actually cutting the aluminum.
Once the templates were all ready, I simply traced them onto the aluminum sheets, and Juan cut them out with the jigsaw. I also marked the center points of each switch, light, and gauge so we knew where to set the drill to cut all of those holes. I marked what size bit or hole saw was needed for each of those marks, and we were ready to start cutting.
We did have to order the hole saws for the different gauges because they are not a standard size that the local big box store has in stock. The speedometer is 3 ⅜” and the smaller gauges are 2 1/16”. A quick order from Amazon and we were ready. 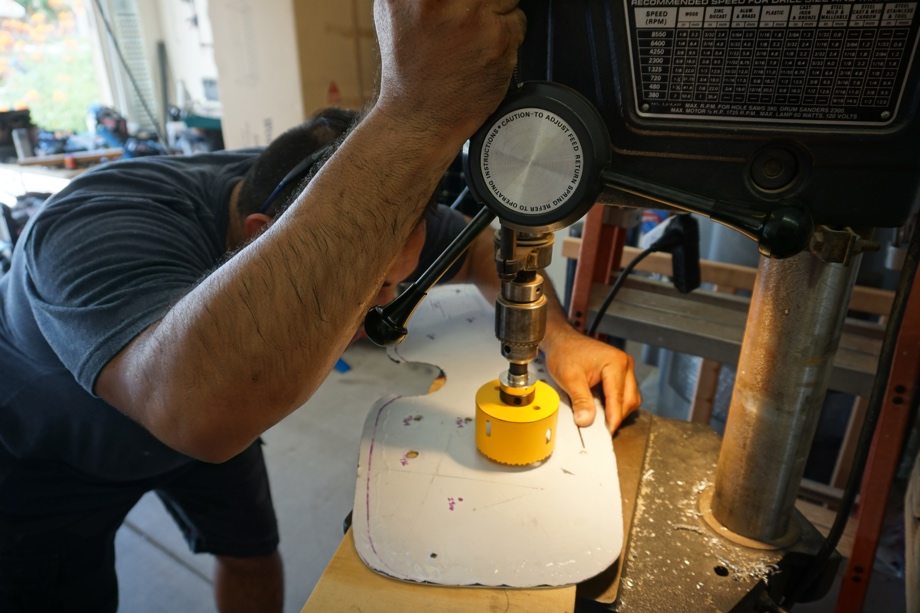
Juan got started drilling the holes for the indicator lights and quickly moved on to cutting the gauge holes. (side note: the Craigslist-find drill press is one of the most used tools in our arsenal, definitely worth the $250 investment) I finished off drilling the holes in the switch panel. 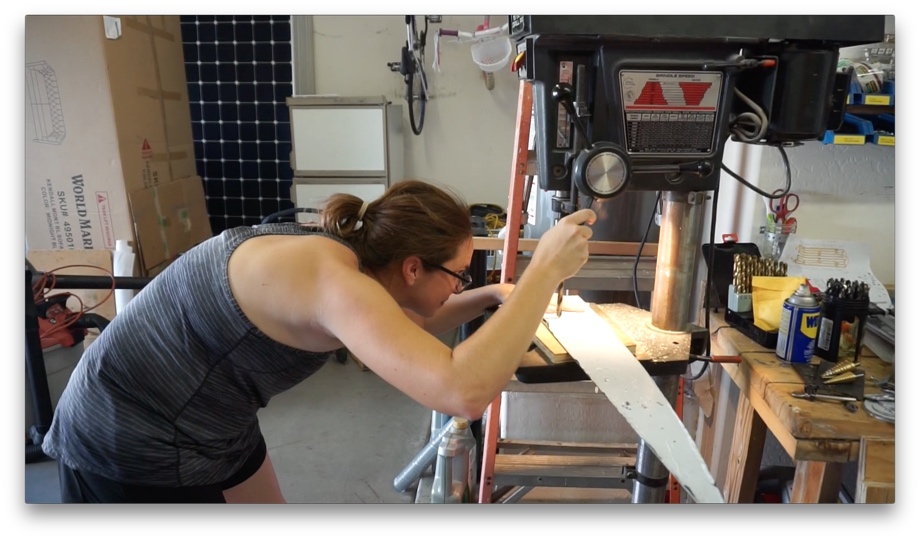
We decided to have the panels anodized in order to protect the aluminum from scratches, give them a really great finish, and also allow us to create some cool labels for the lights and switches. So, the last part of this first step of the dash rehab was to sand, sand, and sand some more. Juan sanded with 220 grit, then 400 grit, and finished by wet-sanding with 800. The final product was smooth and beautiful. It was ready to go to the anodizer. 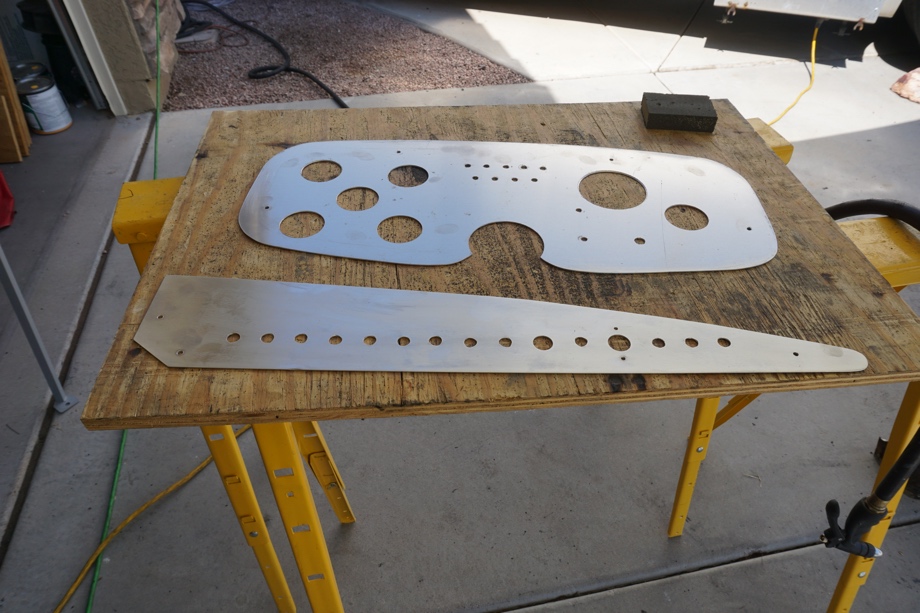
Next up in the dash rehab series: how we "shined-up" the old, grungy, multi-paint-layered aluminum dash support.
Check out the video:
Click here If you cannot see the video.

0 Comments
Comments powered by Disqus