


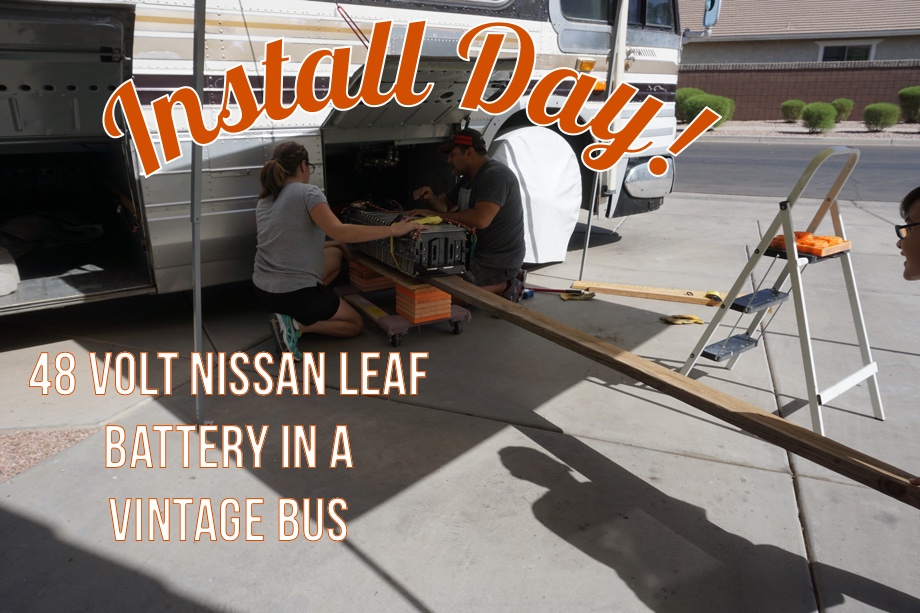
The time had finally come to install our Nissan Leaf battery into the bus. To be honest, this whole thing has been such an experiment, we were kind of surprised we actually got to this point.
When Juan took out the old factory bus heat and a/c components in what would become our future battery bay, he noticed that there was a piece of angle iron mounted to the rear wall in the bay. We decided that would be a great way to secure the top pack of the battery into the bus. So when we designed the stand it would rest on, all the measurements were based on getting the tabs on the back bracket to perfectly line up with that angle iron. 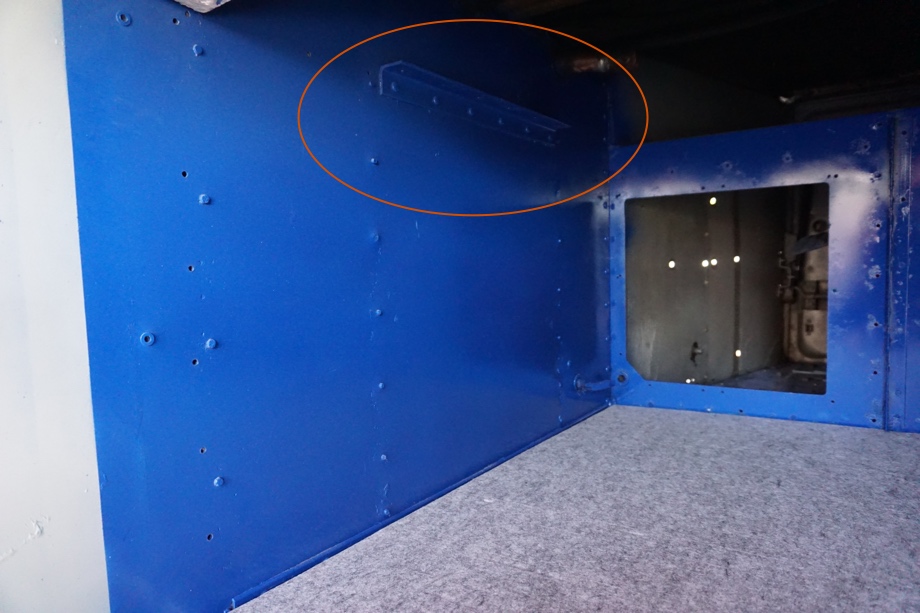
Then, we would be able to bolt four large bolts through that angle iron and through the tabs.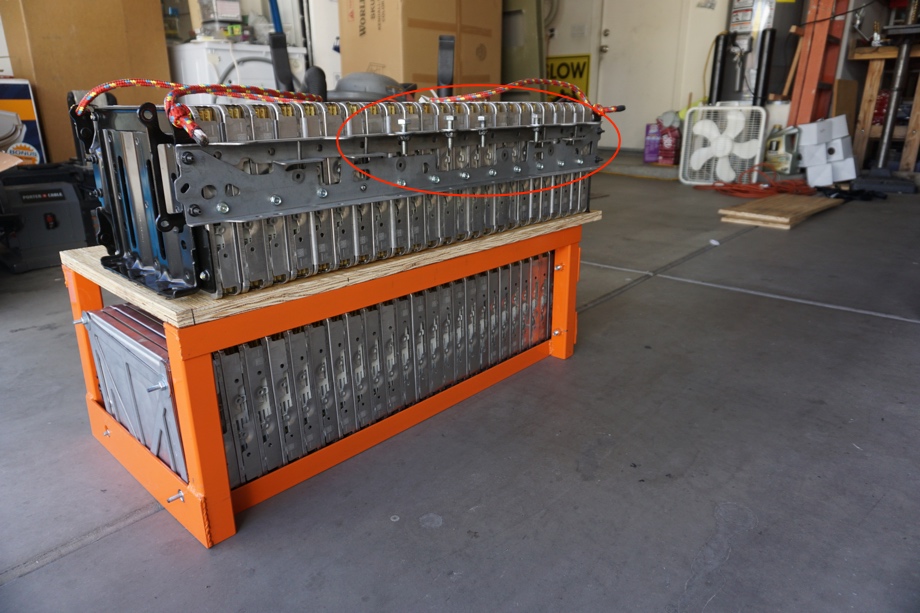
Before we ever even reconfigured all the modules, we took that back bracket into that bay and pre-drilled bolt holes into the angle iron.
However, this left us with a problem. The total height of the entire battery with the stand is several inches taller than the opening into the bay. There was no simple way to just put the stand in and then slide the battery pack in on top of it. We somehow had to put in just the top battery pack and then lift it up high enough to slide the stand in underneath it. And it weighs 200 pounds. We had to get creative.
We had a couple different people recommend renting a small forklift to carry the battery in and raise it up. That would have been wonderful, but would not have worked for us. The bay door lifts up and sticks out, so a forklift would not have been able to drive in close enough to that center part of the bay. Juan came up with another way to replicate the idea of what a forklift would do using a combination of a 2x6 board, a furniture dolly, leveling blocks, tie down straps, and a car jack.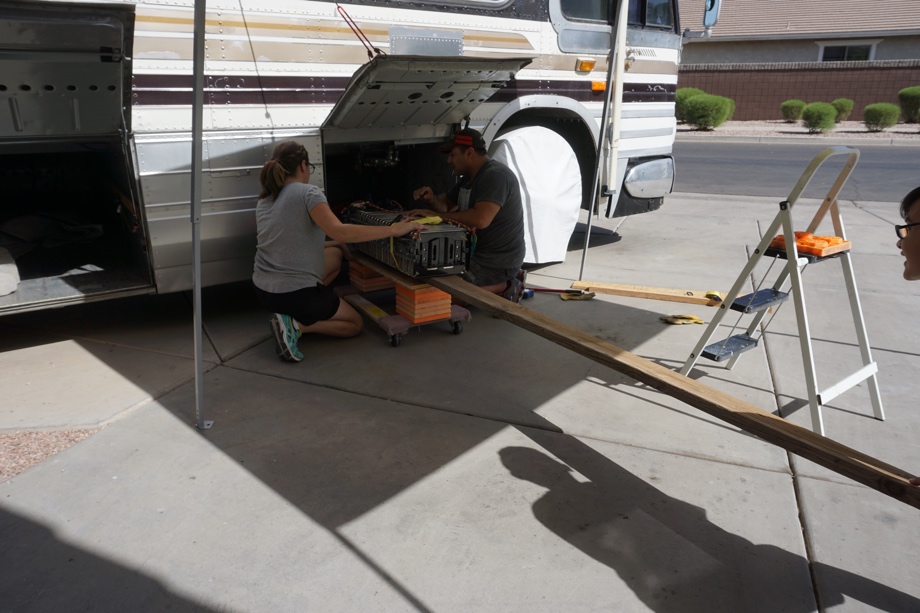
Our oldest two kids pitched in and helped, and here’s the basic rundown of how the install happened.
We rolled the top battery pack over to the side of the bus with the dolly. We lowered the battery down onto the ground and the kids started stacking leveling blocks onto the dolly. When we stacked it high enough, we then placed a scrap piece of ¾” plywood on top of them to create a platform. Next, Dominic and Juan carried over a long 2x6 and laid it on top of the plywood with one edge lined up right next to the bus and the other long end sticking out way past our dolly. Juan and I then lifted the battery dead-lift style straight up and over on top of the 2x6. Juan then carefully raised one end of the 2x6 while Dominic and I shimmied a couple of ratcheting tie-down straps underneath. We strapped them around the battery securing it to the 2x6. We had to be sure that pack didn’t slide off of the board.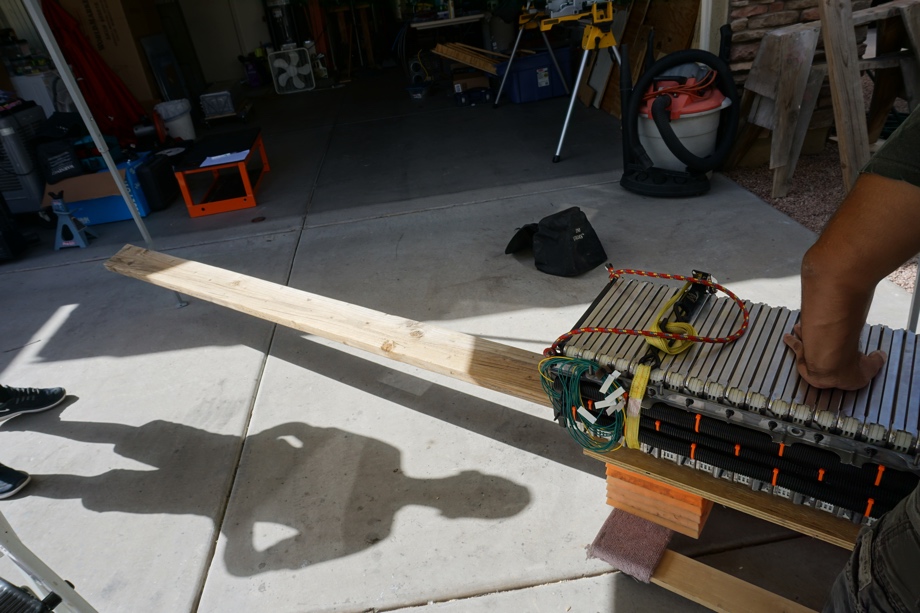
Okay, so far, so good. Whew! We were tired already. Our hearts were beating a little faster than normal. Was this really going to work? Please let this work!! Here goes nothing!
We positioned ourselves. Catia went around to the other side of the bay awaiting her time to stack blocks.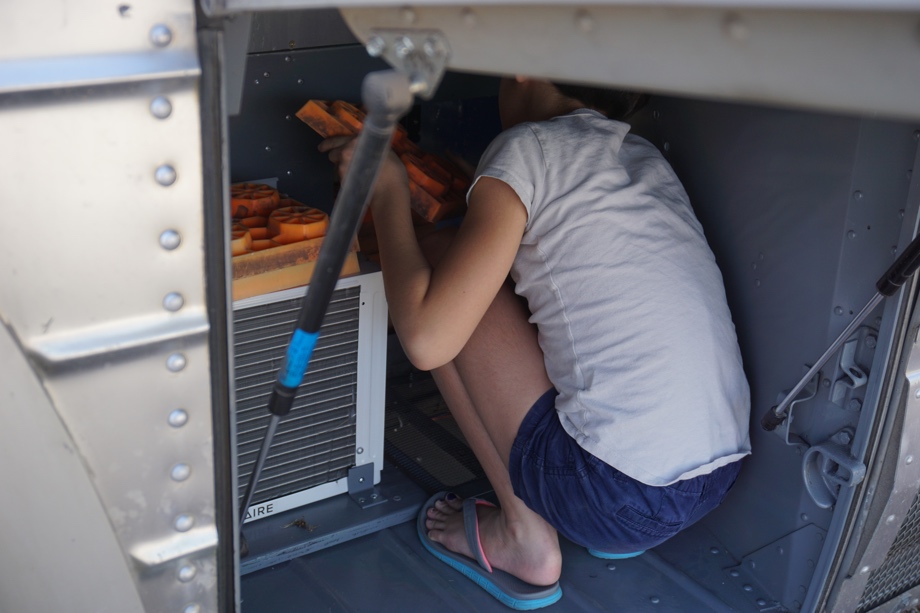
I slid myself into the bay, ready to help guide the battery into place, and then jack it up. Juan and Dominic then rolled the cart right up next to the bay and used the 2x6 to push the battery slowly into the center of the bay. Deep breath, step two was done. Next came the part that was giving me nightmares. Raising the battery up.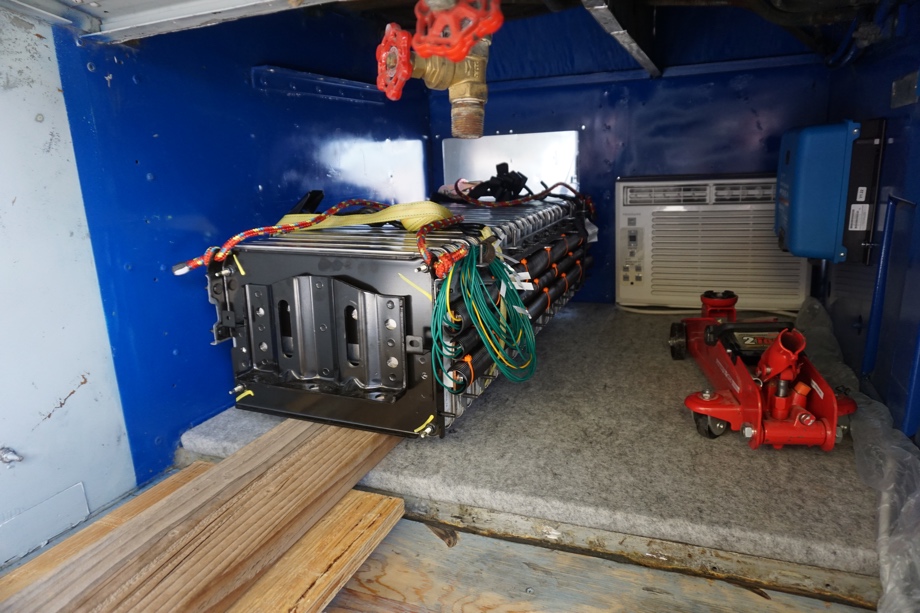
We had a small 2-ton car jack positioned in the bay. We didn’t even have room for the handle. I had to use a short wrench as a handle. Here is where the long 2x6 really came into play. Juan and Dominic were then able to push the 2x6 down, levering the 200 lb.pack up just enough that I could scoot the jack up under the center. Okay, my turn. Please, oh please, don’t let this battery fall over onto me! I lay flat on my belly, head and shoulders right next to the battery, and Juan says start cranking. 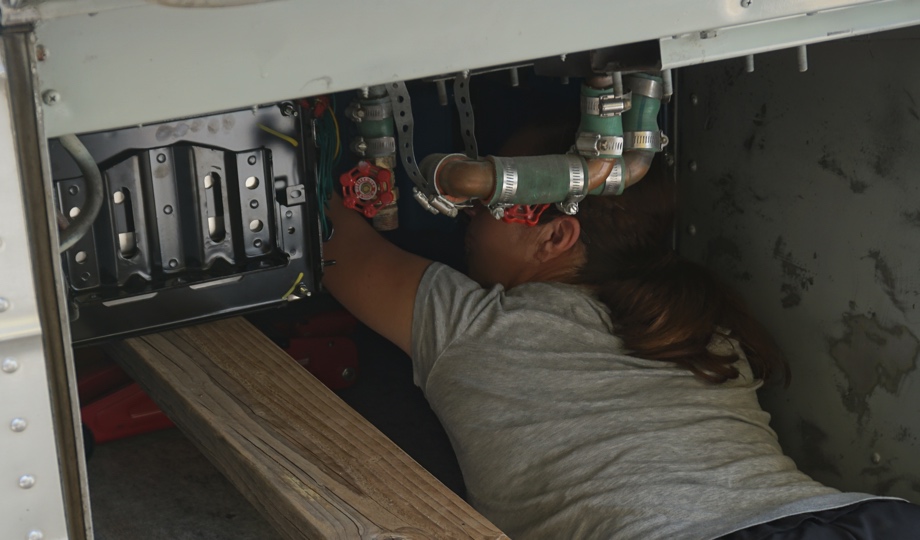
I slowly jacked the board up with one hand, reaching up with my other hand to balance the pack as it raised up. Catia began sliding leveling blocks underneath the board from the driver’s side, stacking them like legos the higher we lifted. Juan and Dominic were making sure to balance that board and the battery. Crank, stack, balance. Crank, stack, balance. Until we made it! Don’t celebrate yet.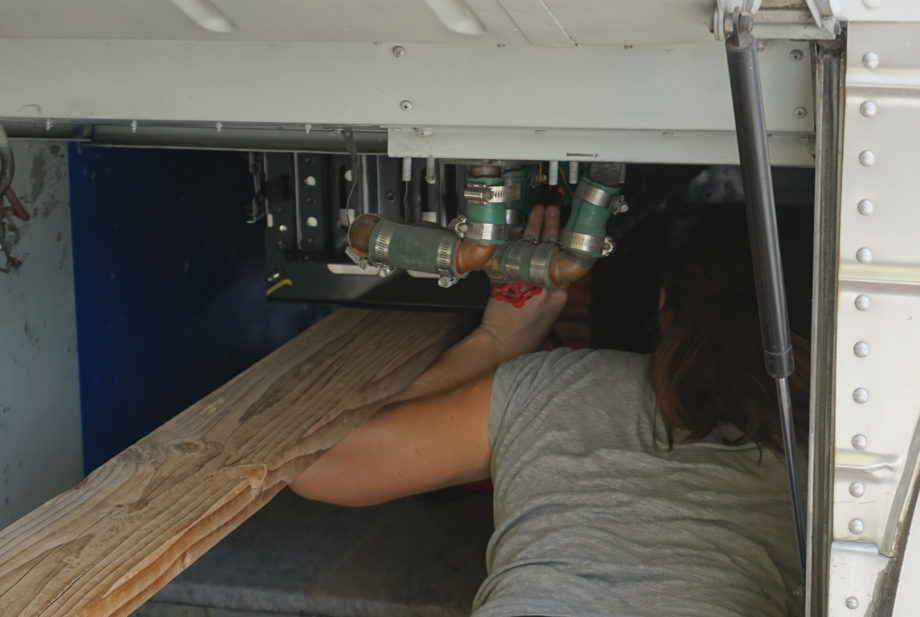
Dominic held the board steady, the battery balanced carefully on the jack, which was lifted as high as it could possibly go, and on the leveling blocks, and Catia stood by ready. Juan quickly got the stand and started sliding it in under the board. After pushing it about ¼ of the way in, I was able to lower the jack and move it out of the way. He pushed about ¾ of the way in, and we were able to remove the leveling blocks. He pushed it the rest of the way. We are almost done with this part!!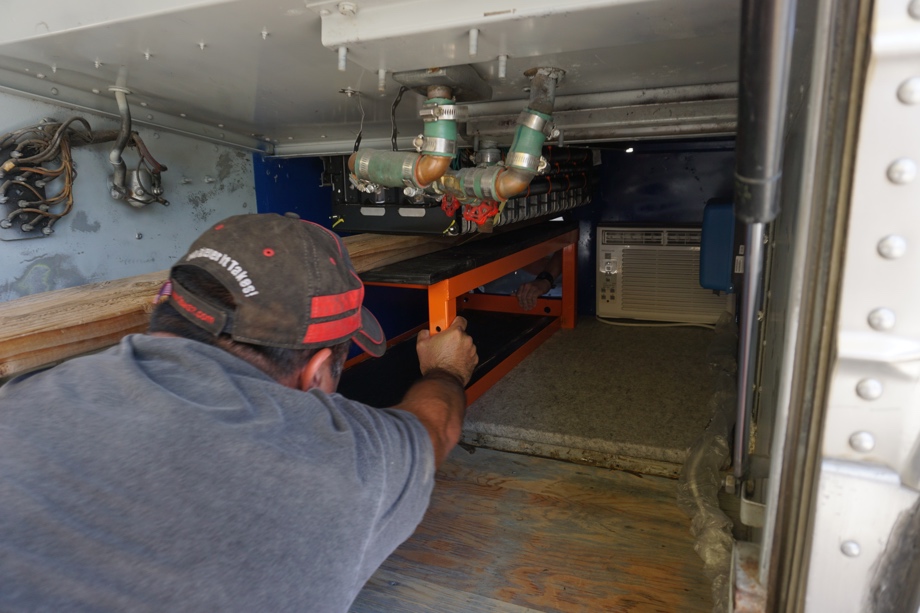
Final step, sacrifice the tie down straps. We couldn’t undo the ratchets in there, so we simply cut the straps and pulled them out. Juan carefully jimmied the 2x6 out from under the pack, and it was official. The top battery pack was in and on the stand. A little scooching and it was in place, the rear tabs lined up with the angle iron in the back. Just like Juan planned. Then, we celebrated!!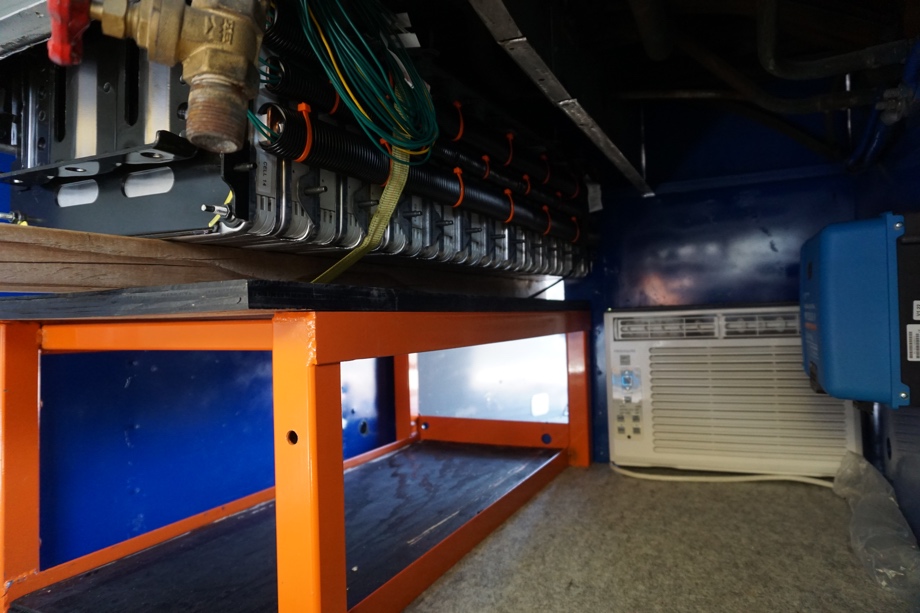
All of that took only about 45 minutes. But, it felt like months of dreams realized, and only a couple sore backs and a few more grey hairs worse for the wear.
The rest of this should be pretty simple. Right? Yeah, right! Remember those bolts that had to go in the back? We knew that we would not be able to reach underneath them once everything was in place, so we actually welded the nuts in place ahead of time. All we had to do was blindly reach over and behind the pack, find the correct hole, and twist down the bolt with a socket wrench. This part was worse than getting the pack in! First of all, it kind of hurts to twist our bodies up into that teeny space. But, mainly the threads were just being very difficult to line up. We thought we were going crazy. Juan and I took turns doing this part, because we were getting cramps and were frustrated. Finally, after a few hours of this, we had three of the four bolts in. Good enough! 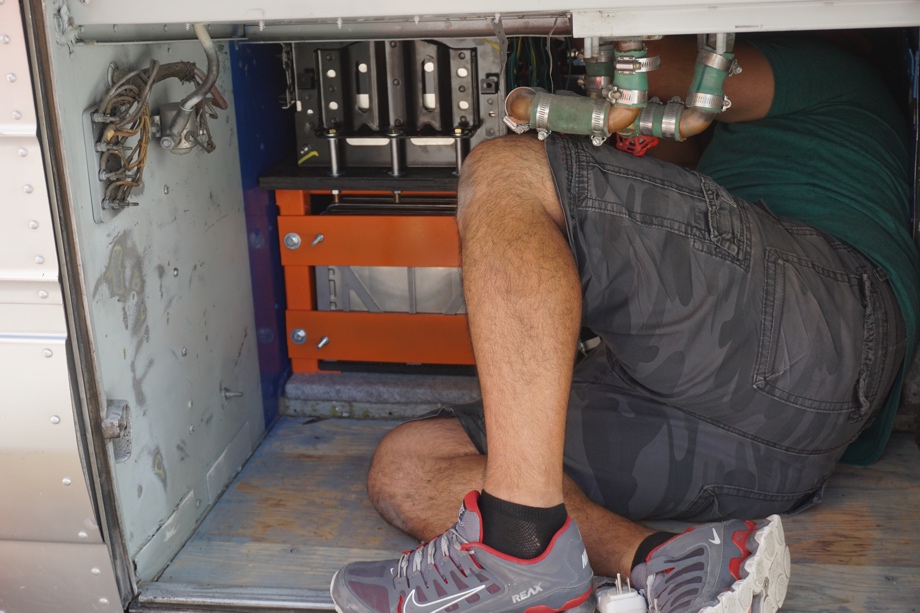
That night, we bolted the side brackets of the upper pack down through the plywood top to the stand. We put three large bolts on each side. Between those six and the three in the back, that baby isn’t going anywhere. Even when we are zipping down the freeway at 60mph (hey, that’s zippy for our bus).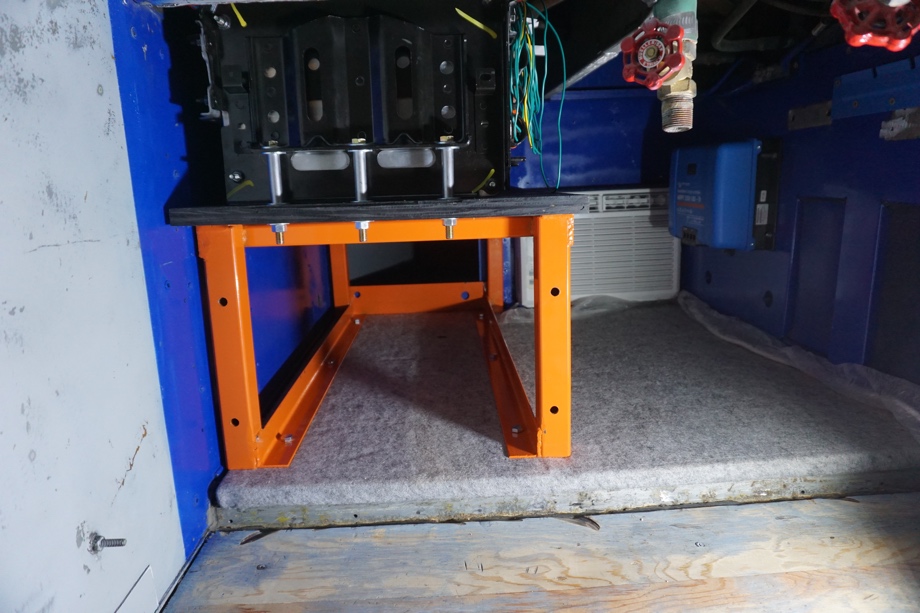
The next day, we laid down the plywood base for the lower pack. This pack was much easier to install. We lined up another piece of plywood with the stand, so it would be level as we slid it in. Juan and I lifted it up onto the board, and he just pushed like crazy until it slid all the way in. I stood on the other side of the bay, guiding it so the end bolts lined up with the holes in the cross support we made for them. Perfect! All that was left was putting the cross support pieces in on the entry side and bolting them down, holding the lower pack in tightly. 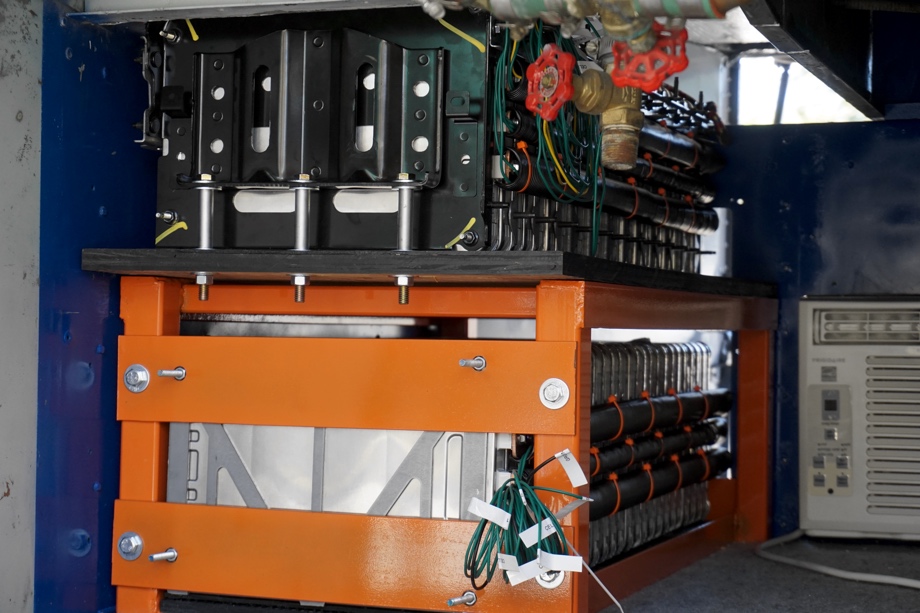
We attached the cables we made last time, connecting the upper pack to the lower pack. Then, we covered them up with the flex guard tubing to protect them and added some thick rubber to protect the very ends of the bus bars. Finally, we installed the temperature probes for our BMS - one into the top pack, and two into the lower pack. And, we were done! Juan’s crazy plan worked. We are so excited! We can’t wait until we can actually fire everything up. But, of course, there are still a few more steps.
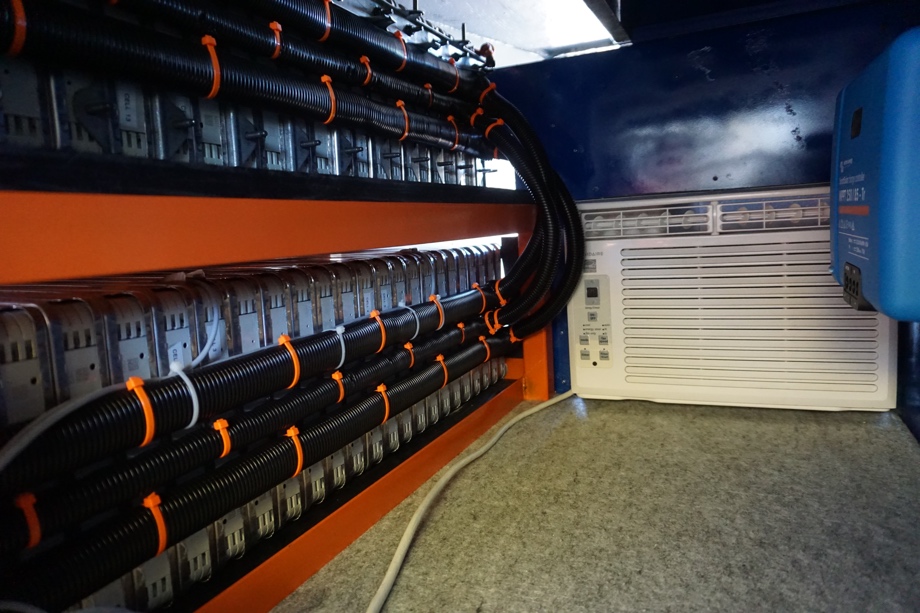
Next time: We will show you how we are putting together all of the fuses, breakers, shut off switches, shunts, etc.
Check out the video:
Click here If you cannot see the video.

0 Comments
Comments powered by Disqus