


In this post, we want to highlight how we make large (2/0) cables and introduce some of the tools we have really enjoyed using.
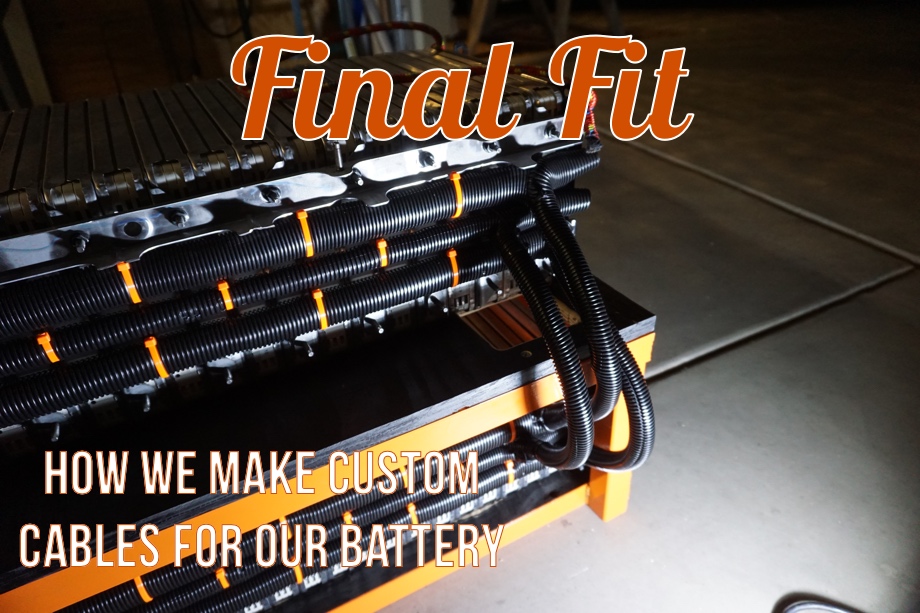
As discussed earlier, our Nissan Leaf 48 Volt module is comprised of 7 cells in parallel combined with 7 cells in series. This makes for a total of 49 modules. If you have been following along, you are well aware that this means one of the "cells" has to be split into 3 modules on top and 4 of the modules on the bottom. We used three short but thick 2/0 cables to minimize the resistance across this gap.
Cable
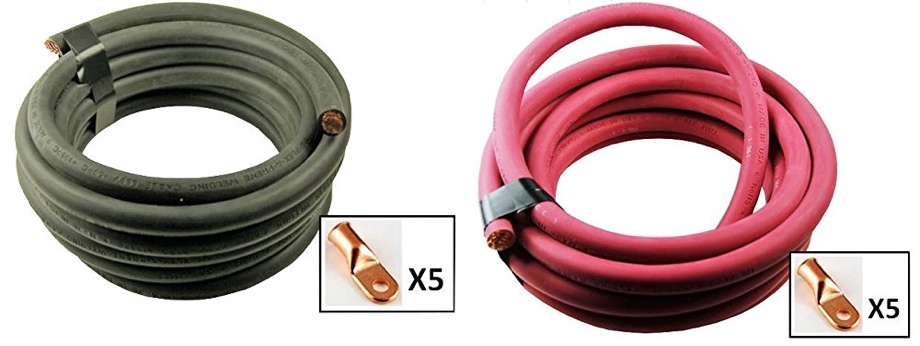
The cable we chose to use was "00" or "2/0" welding cable. We chose this cable because it was recommended in the Victron manual, and we have read that it is much easier to work with than cable with fewer "conductors". This cable is comprised of 1,196 tiny copper strands. That makes it extremely flexible. We paid $60.34 for 20 feet of the 2/0 Welding cable in black (with 5 free lugs) and $60.34 for 20 feet in red (also with 5 free lugs).
Tools
Cutters
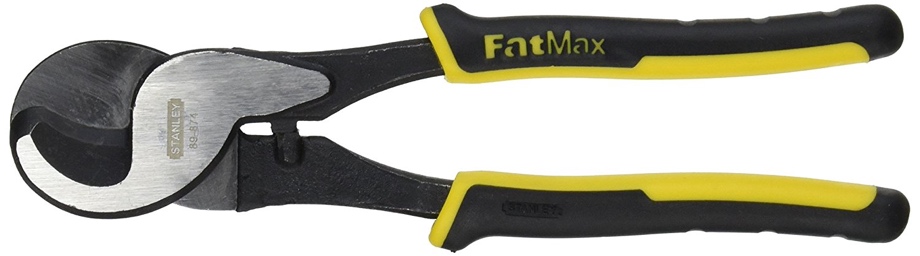
We expected the 2/0 cable to be pretty tough to cut through. We read several reviews about the little Stanley FatMax Curved Jaw Cable Cutter that said it did a great job. The reviews were correct, these little cutters performed amazingly well. We got them for $11.42 shipped through Amazon.
Large Crimpers
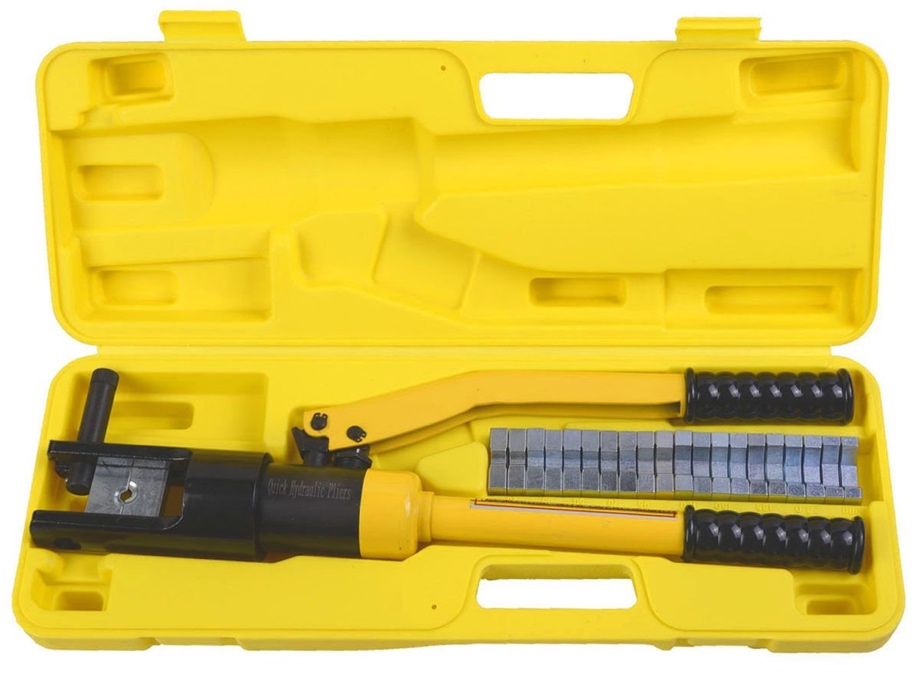
There are several ways to crimp these large cables. Many of them involve a hammer and a wedge to deform the lug. We did a bit of digging around and discovered that there was a set of hydraulic pliers that could be used that generated so much compression that it basically fused the copper contactors into a solid shape at the crimp. When we heard this, we had to try it. We got the 16-ton version of the hydraulic pliers, but honestly we could have gone with the smaller, more manageable ones and been just as well off. We bought ours for $36.99 on Amazon.
They performed beautifully.
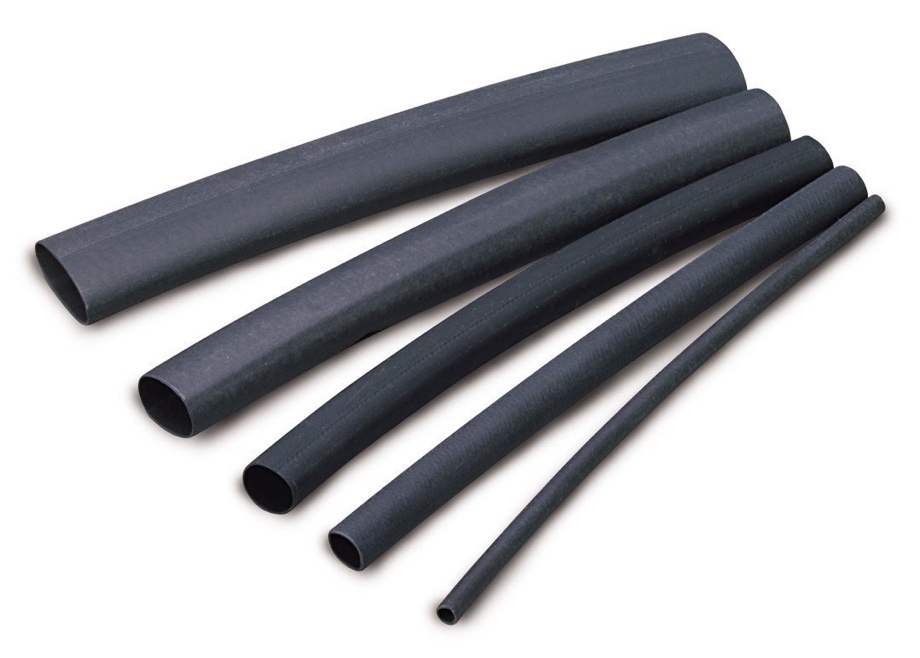
Marine Grade Electrical Heat Shrink
To keep everything protected and safe from moisture, we opted to go with "marine grade" heat shrink. The biggest difference between this and regular heat shrink is that it contains a heat activated adhesive that helps the prevent moisture from getting into the wire. We bought this from two sources: Lowe's ($8 for two tiny pieces) and Harbor Freight ($6 for a 42 pc kit). The heat shrink from both places worked great.
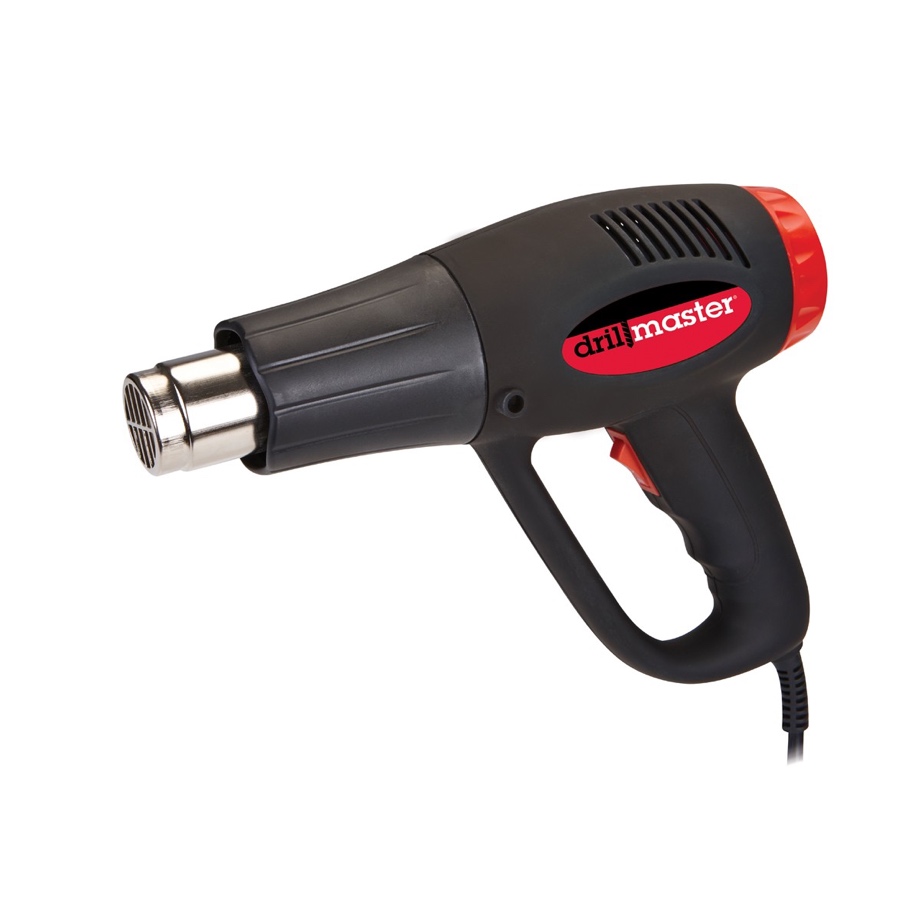
Heat Gun
To properly shrink the heat shrink, a heat gun works wonders. I have tried to do this with a lighter, soldering iron, or hair dryer and they never work as well as a true heat gun. Harbor Freight sells one similar to the one I use for $11.99 - well worth it.
Check out the video:
Click here If you cannot see the video.

0 Comments
Comments powered by Disqus