


We had been absolutely dreading this project. I kind of just wanted to go on vacation and pray it was magically done when we returned. Unfortunately, we have no magic bus building elves. So, we had to just suck it up and do it - build the cabinets in the front cab driver’s area. Why were we so apprehensive about this project? The curves, man, the curves! So many curves all meeting up in that front area. Not only are the sides curved, but the front is curved, and there is also a kind of “bubble” at the front. All of these curves meet in this area making compound curves that we had no idea how to deal with. But, we put our heads down and just dug in. Piece by piece we got it done.
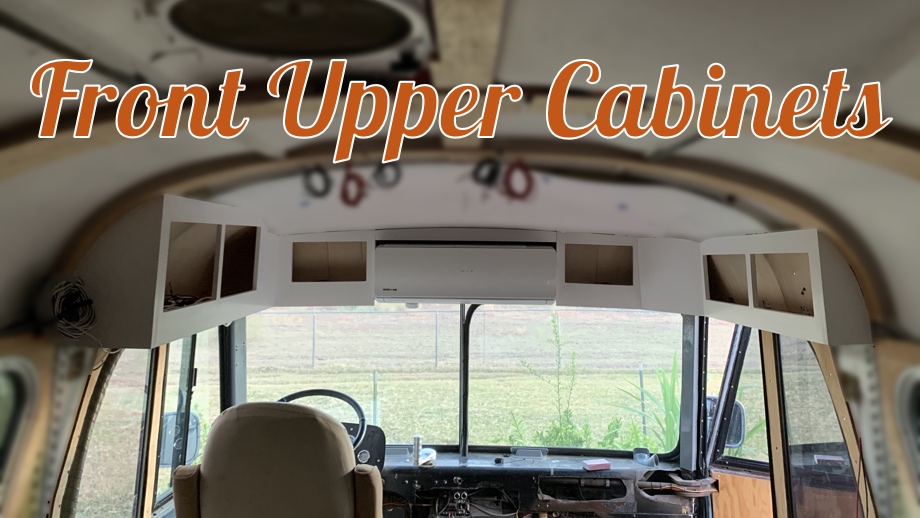
We had a few different goals for this project. First, we wanted to give the mini-split A/C at the front a “built-in” appearance, instead of sticking out like a sore thumb. We also needed to figure out a way to cover the point where all the curves meet up in the corners because we had no idea how in the world we would have been able to have a continuous ceiling covering in that spot. Finally, we wanted to have a little bit of storage up near the front for small things like maps or umbrellas or a first aid kit, etc.
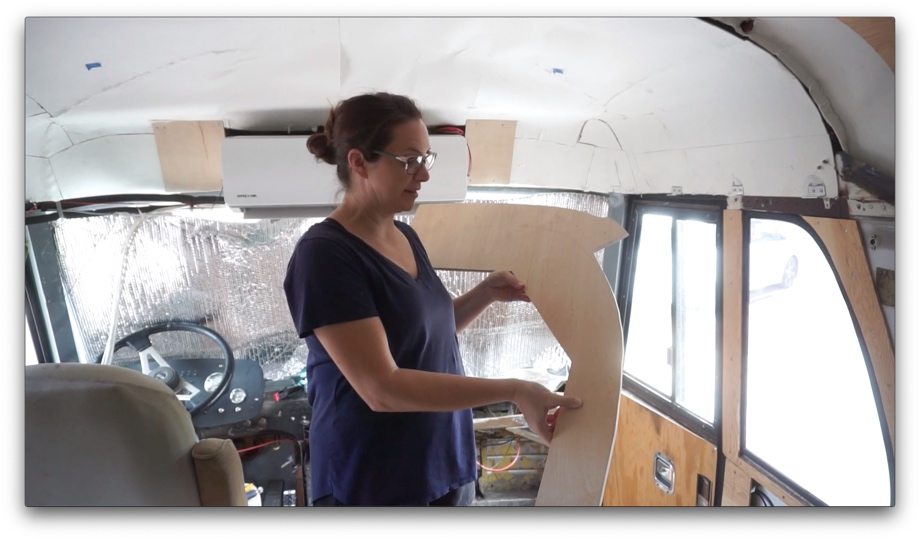
We decided to make cabinets that wrap around from just behind the front passenger seat and driver seat and across the front meeting at the sides of the mini-split. Then, we would make a header piece to go over the mini-split connecting the two sides of the cabinets, giving them the appearance of built-ins.
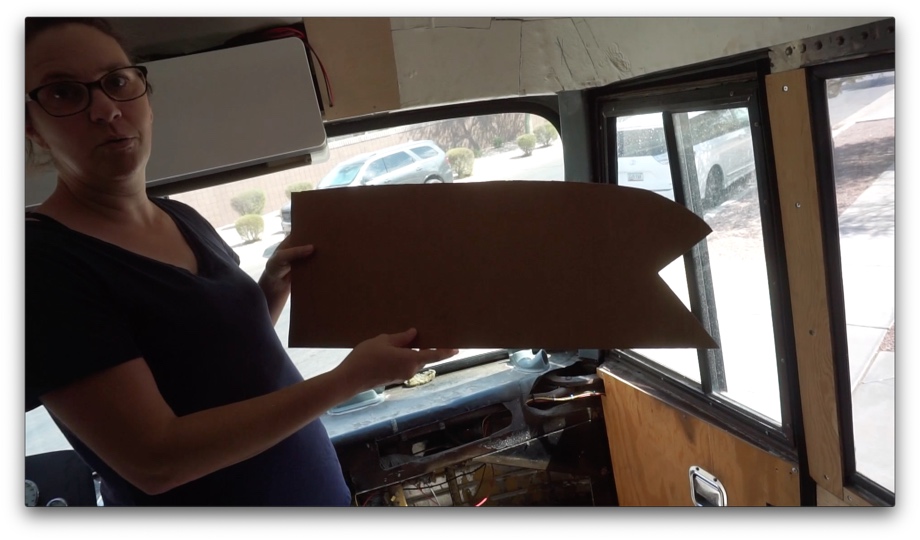
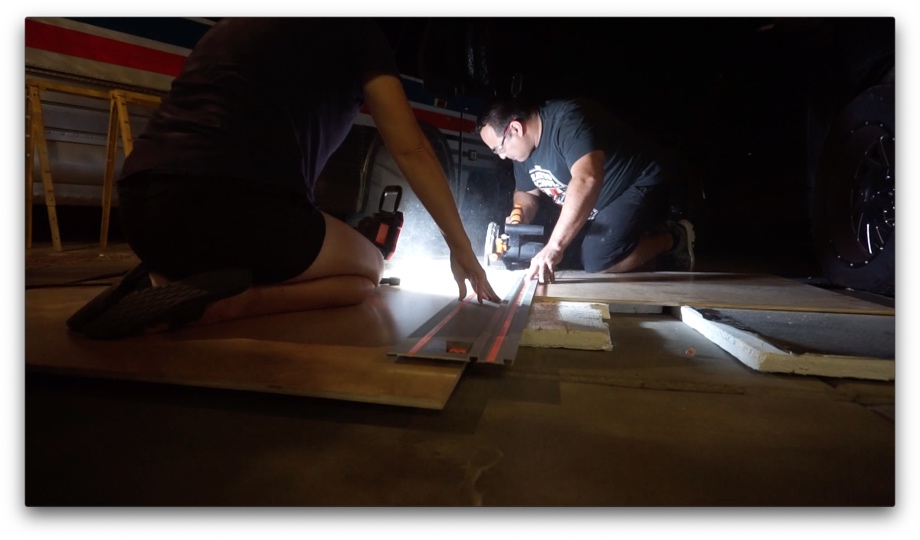
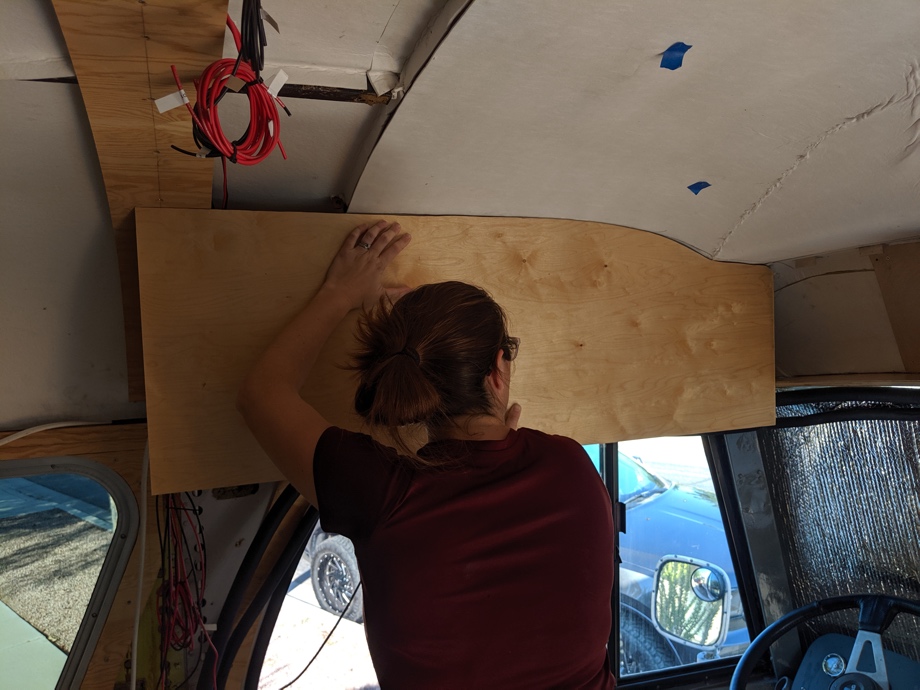
The first step was making the bottom of the cabinets because that had to be the main support. Above the windshield, we used a multi-step process in making a template for the curve and weird corner area that we show in the video. It started with wood, next cardboard, then putting a few pieces of cardboard together, then finally to the final piece of wood with some minor sanding. This weird, crazy looking piece of wood became the bottom of one side of the cabinets. In the front, we were able to screw it into the metal above the windshield. On the sides, we had to make L-brackets out of aluminum angle that we screwed into the side of the bus, and then we were able to screw the wood into that.
![]()
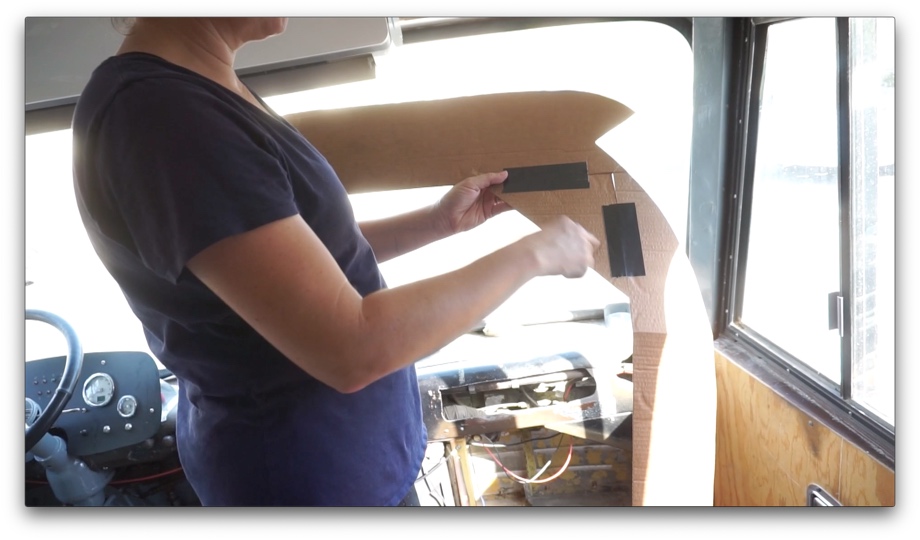
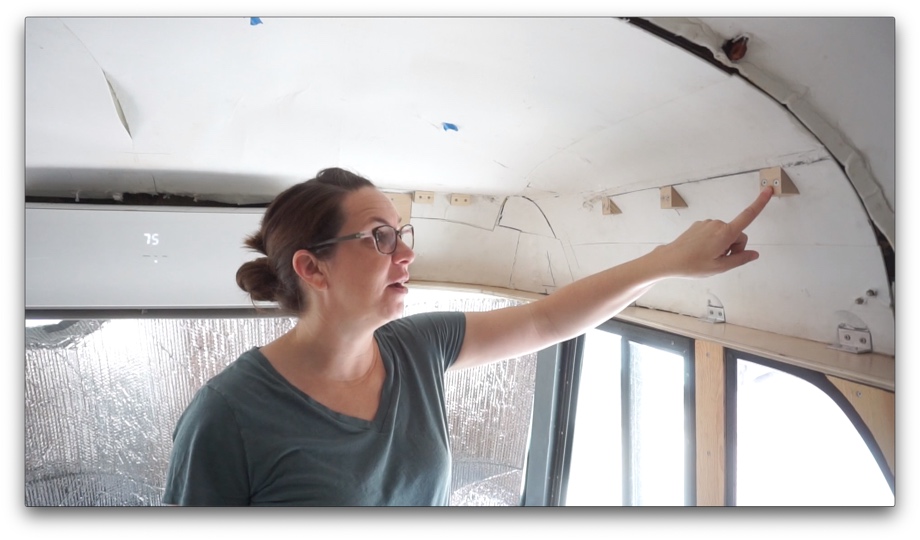
 Next, we made little cleats to screw into the curve of the ceiling to give us somewhere flat to attach the front of the face frames. That was a tedious chore. It took us a while to even determine the exact right angle - turns out it was 49°, not 51 or 50 or 47 or 48 (all of which we tried).
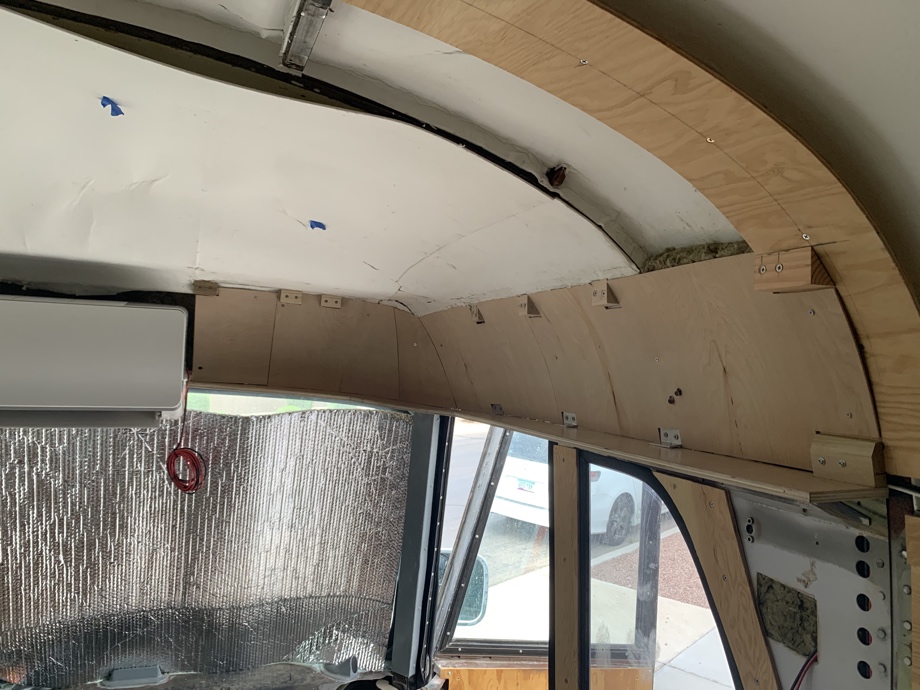
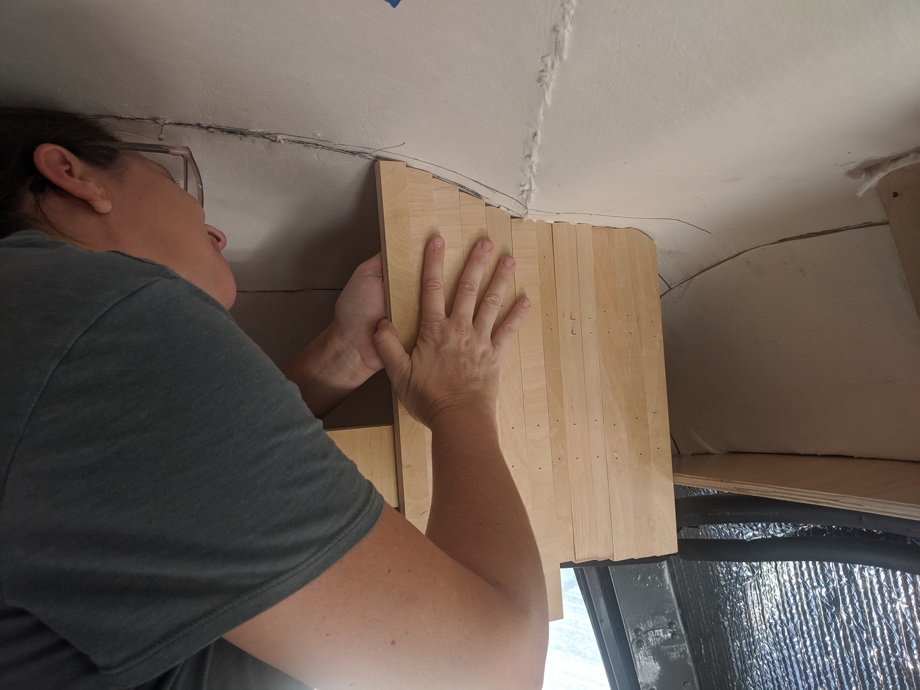
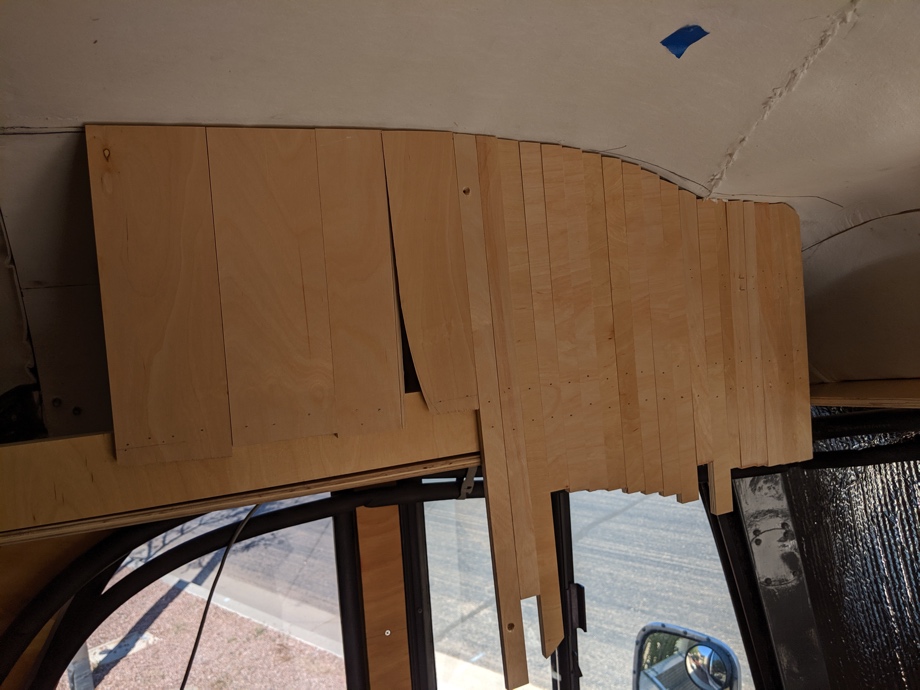
 To cover the curved walls on the backs of the cabinets, we pieced together ¼” plywood, cutting around all of our brackets.
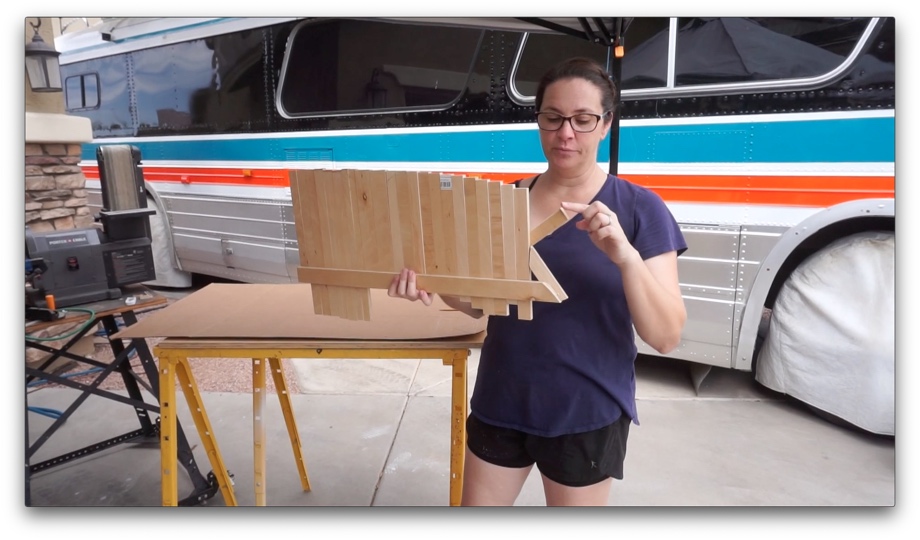
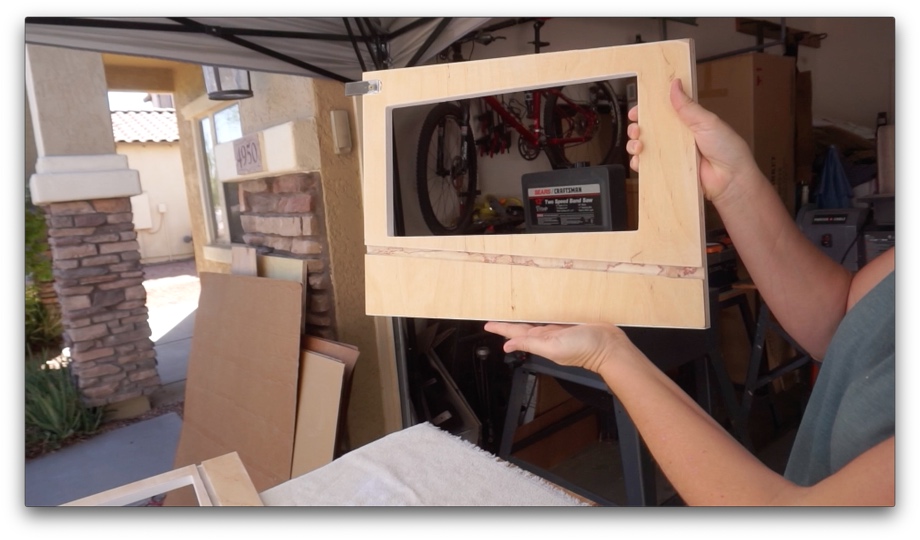
 Once that was done on both sides of the bus, we were able to move onto making the face frames. Because these cabinets are so shallow, we knew we wouldn’t be able to make rails and stiles and pocket screw them together in the way we made the rest of our cabinetry. We can’t fit a drill or screwdriver inside the cabinet. Instead, we decided to make the frames one piece and then use the router to cut out the openings. We used the same template technique to make a template for the face frames.
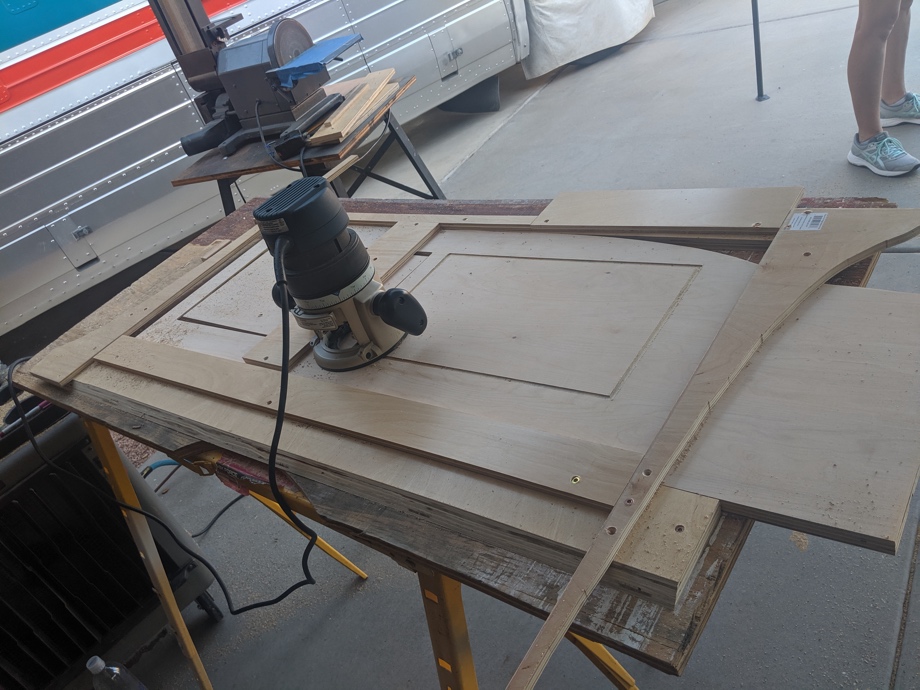 Next up, we routed out a slot on the back of each face frame that the bottom shelf would slide into. This does two things. First, it gives an overhang of the frames in front of the bottom shelf which both hides the fact that the shelf isn’t level up in front of the windshield (the curves!!) and also allows us to hide the mini-split line-set up under the cabinets. Second, the slot allows us to glue the bottom shelf to the frames since we can’t screw them together.
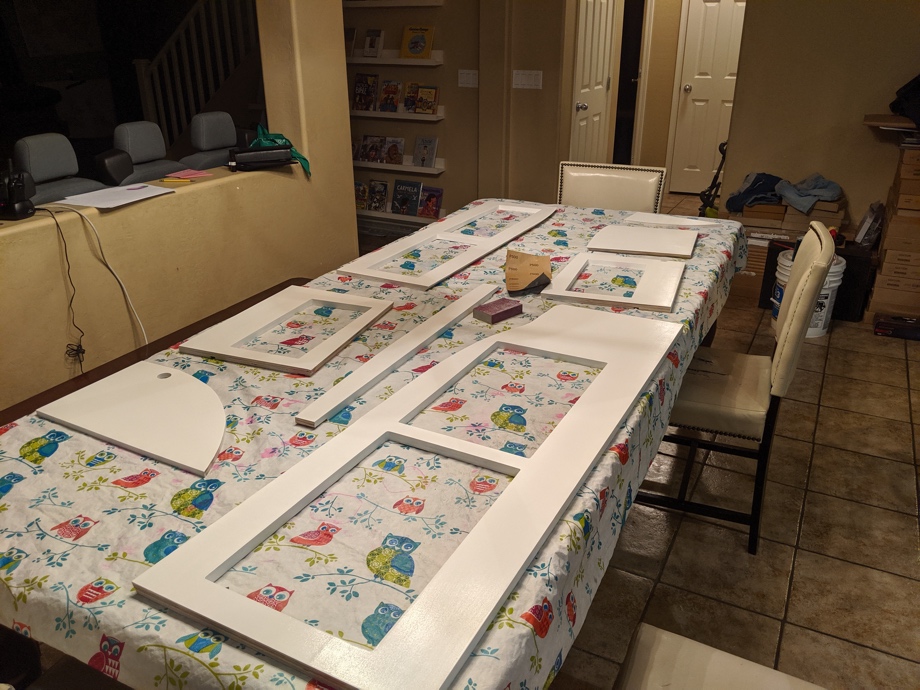
 Finally, we made end cap pieces, painted all the frames, and then glued up all of our pieces using our favorite 3M 5200. The very last thing we had to do was make that header piece to go over the mini-split. The tricky thing about this piece is that it needs to be removable. We need to be able to have access to the space above and behind the mini-split because there are marker lights in there and we also want to be able to clean out the a/c filters or remove it if necessary. In order to make this piece removable, we put steel bars sticking out from behind the frames next to it and then glued magnets on the back of the header piece. Then, we can just stick it up there magnetically and remove it when necessary.
 The cabinets were finally done! Just like with the rest of our cabinetry, we are waiting until we are closer to the end of the build to make all of the cabinet doors.
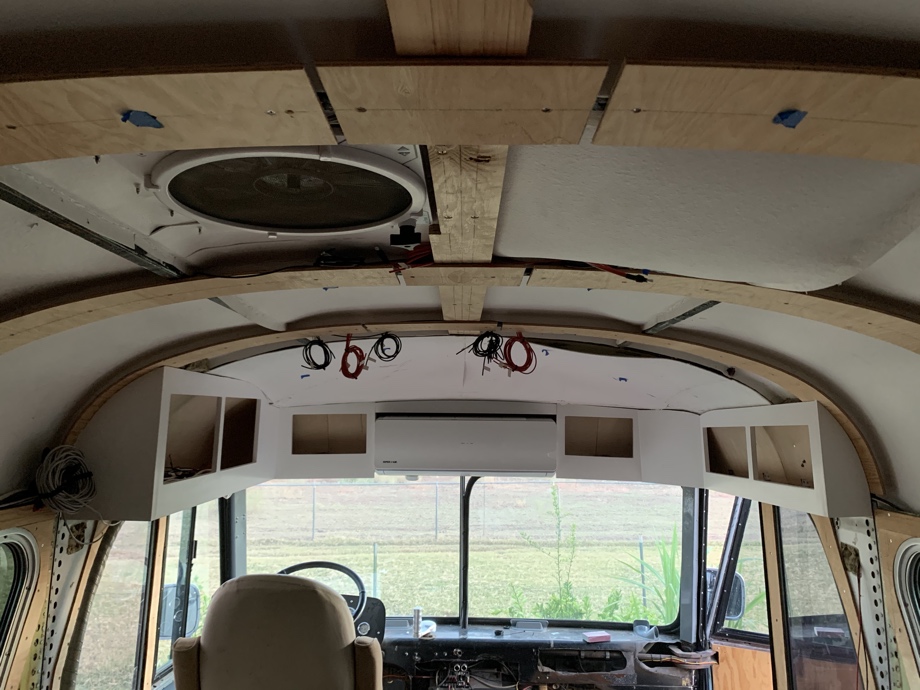 This project was a beast, but in the end, when it was all finished, we were really pleased with how it turned out. They are solid as a rock, give us plenty of storage up there, and make the mini-split look more like part of the bus.
Watch the video:
Click here If you cannot see the video.

0 Comments
Comments powered by Disqus