


When we first bought the bus, we noticed that several of the rubber hinges on the bay doors were cracked and needed to be replaced. It was one of those projects that just wasn’t high on our priority list, however. We knew we would do it at some point before we hit the road, but for nearly two years of owning it, that project never made it to number one on the to-do list. That is...until one of the rubber hinges finally gave out and ripped through completely. Luckily, even without the rubber hinge, the door still holds securely to the bus with the latching mechanism. It just meant that if we wanted to open that door, it would fall off and we would have to pick it up and physically put it into place with the latches. Needless to say, this project moved a bit higher on the list.
Originally as a passenger bus, the bay doors were held up with metal channels that were secured with a pin. The rubber hinges were plenty strong to hold the door to the bus and seal the bay from dust and water. When we bought our bus, all of those metal channels were long gone, having been replaced with gas struts. The gas struts are nice because they make opening the big doors so easy and they hold them up well - until they lose a little juice and the doors don’t stay up nicely anymore. That’s exactly what had happened with the old struts when we bought the bus. I even gave myself a nice goose egg on the forehead on one of those low-hanging doors. So, one of our earliest projects was replacing all of those gas struts that had seen better days.
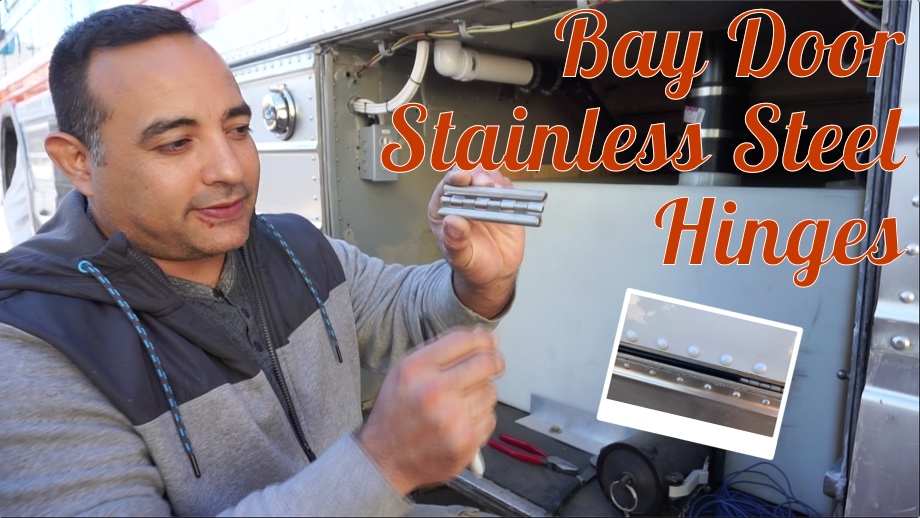
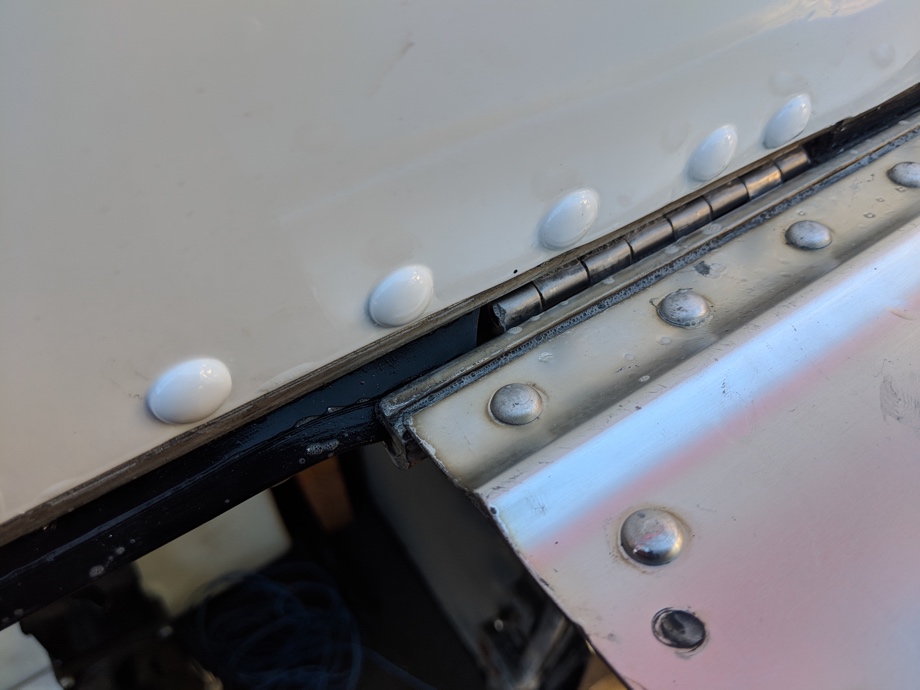
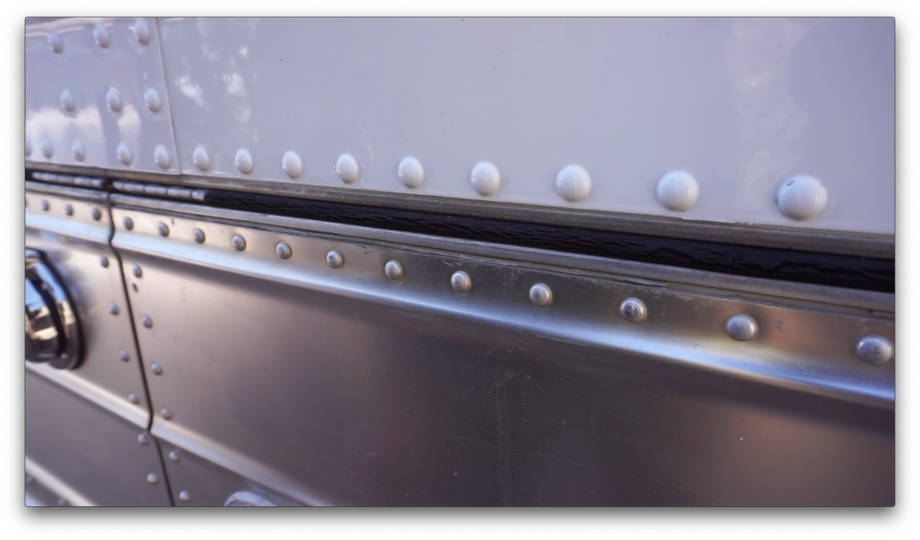
The gas struts do introduce a problem, unfortunately. They lift with much more force than simply manually lifting them and propping them open with the old metal channels. This ends up decreasing the lifespan of those rubber hinges. The struts really push and pull on the rubber. Thankfully, someone got really smart and started making stainless steel hinges specifically for these bay doors. We, of course, bought a supply of these hinges from Luke at US Coach, along with new rubber hinges.
The new stainless hinges go on each side of the bay door and are much more suited to taking the brunt of the force of the opening and closing with the gas struts. The rubber can then simply fill in the rest of the gap between the stainless hinges. It then no longer is acting as a hinge. The rubber is simply a seal against dirt and water getting into the bay.
We had heard what a hassle changing out these hinges can be and tried to read several forum posts and facebook threads and watch some youtube videos on the best way to accomplish the task. Going into it, we knew it might be difficult (mostly manhandling the largest of bay doors, maneuvering them off and on the hinges), but we were as prepared as we could be and would just figure it out as we went along.
Things were going along fairly well getting the doors off and adding the new stainless hinges. That’s when we ran into some trouble. The rubber hinges didn’t want to fit at the same time as the stainless hinges. They wouldn’t line up so that we could slide the doors back on. We were stumped.
After a lot of frustration, we turned to our best friend - plan B. Since the rubber hinge no longer had to actually be the hinge, we decided the rubber didn’t have to be that exact hinge shape. It just had to fit into the channels and act as the seal. Could we use something else that we could make work with the stainless hinges? Sitting in our garage was a roll of ⅛” rubber mat leftover from some other projects. We cut that into 1 ⅛” wide strips in the appropriate lengths and tucked it into the slots between the stainless hinges. It fit perfectly. Phew! It worked.
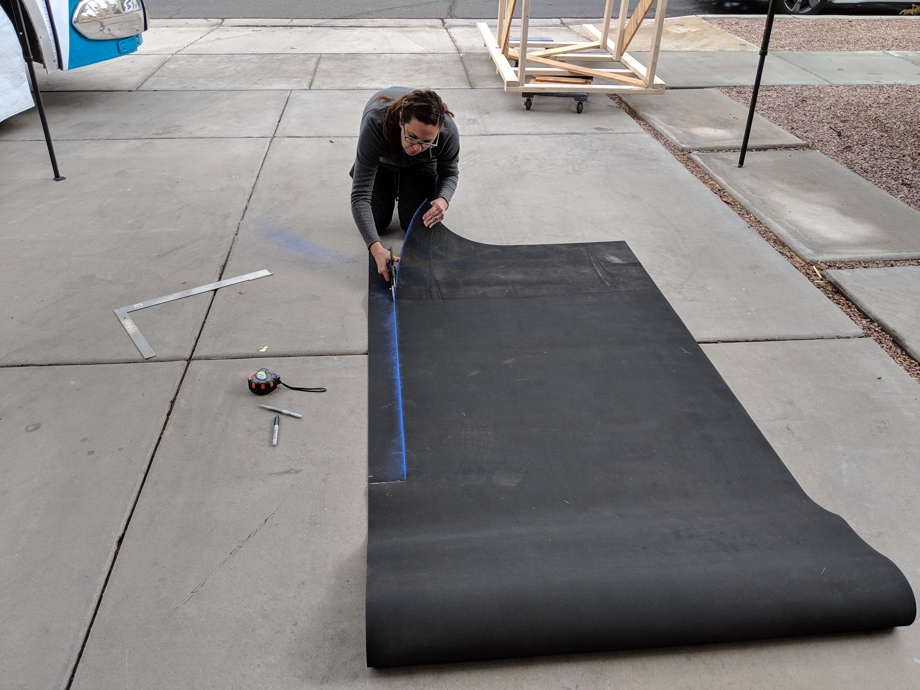
We water tested all the doors and everything seemed good. Since this rubber wasn’t exactly made for this, we decided to wait and see how it did before we posted videos or wrote any blog posts. Thank goodness for that foresight. It did not hold up well at all. While the rubber was doing what it was supposed to do in terms of keeping the bays watertight, after just a month in our harsh Arizona sun, it was severely cracking.
Time to do some more research. We had thought that the rubber mat that we had was UV resistant, but when I looked back at the product description, it wasn’t. Clearly.
It turns out that we needed a specific type of rubber called EPDM Rubber (Ethylene Propylene Diene Monomer). It is made for outdoor use and is resistant to heat and UV. We ordered some of that, and lo and behold, it looked exactly like the type of rubber that the regular rubber hinges were made out of. In fact, something interesting we noticed was how it smelled. The EPDM rubber (including the new rubber hinges) smell like a new car tire. The rubber mat that didn’t hold up in the sun smelled more like a rubber football or basketball.
We removed all the rubber mat and replaced it with the EPDM rubber, cut to fit. We can happily report that after another two months in the increasingly hot Arizona sun, it looks brand new still. The combination of the stainless hinges and the EPDM rubber strips are working perfectly. Now, we feel confident that what we have done worked and are happy to publish our project to the Internets.
There are a few bay doors that we don’t access on a very regular basis that don’t have gas struts. They simply have a metal rod that props the door up. On those doors, we did not use the stainless hinges. We used the actual rubber hinges all the way across the door like the original.
While the project wasn’t the easiest, it wasn’t as bad as we thought it might be. As long as we cleaned out the hinge tracks well, lubed everything up, and had two to three of us holding and positioning the doors (especially on the really big doors), it was a manageable project.
The stainless hinges should last longer than we do, and the new rubber should last a nice long time. It will eventually need to be replaced long down the road, but now we know what we are doing and (as with all new skills we are learning during this conversion), it will be much easier the next time around.
Watch the video:
Click here If you cannot see the video.


0 Comments
Comments powered by Disqus