


We hope you have all had a wonderful holiday season. We have been enjoying time with family and friends while continuing to work on the bus on weekends as usual. Also, as usual, we are a bit behind on the videos from where we are in real-time. So, let’s start getting caught back up. Last we left off, we had just finished the driver’s area upper cabinets. So glad those are over!! Moving on.
We were ready to get back into plumbing. Quite a while ago, we plumbed drains for the toilet, bathroom sink, and kitchen. All we had left for the waste tank plumbing was the shower drain. So that’s where we started for this project.
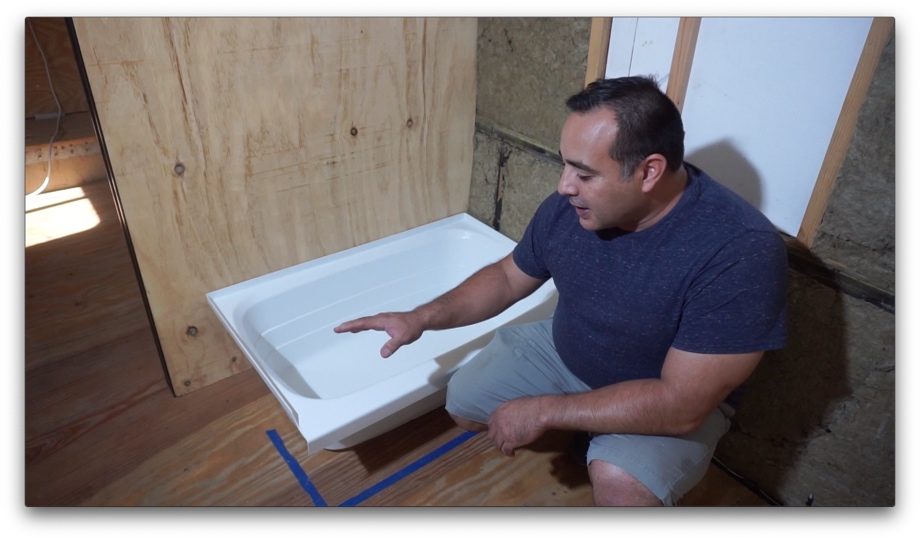
Before we could actually plumb that drain, we needed to build in the bathtub so we would know exactly where to drill the hole for the drain. We had an approximation for the drain drawn on the subfloor a long time ago. Let’s see how close we were.
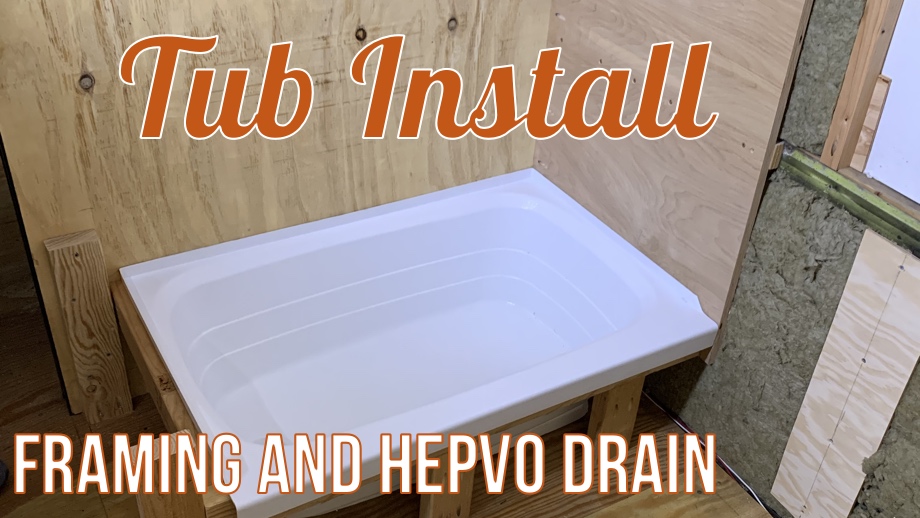
For most of this bus, we are not using standard RV equipment or supplies. However, for the shower, we decided to just go with the common Lippert 24”x36” RV bathtub. It’s obviously small. Too small for a real bath for almost all of our family. We won’t be using that much water for showering most of the time anyway, so why did we get this tub? A couple of reasons. Number one, it’s easy. In this bus, we are custom building 99% of it, so simply buying something felt a little like cheating. But I don’t care, we needed a break from custom building every little thing. We have plenty more of that to come. Ha! Second, we do still have a couple of smaller children. Although they won’t be able to stretch out all the way in this little tub, they can at least sit down and lie back. When they’re sick, this will be really nice.
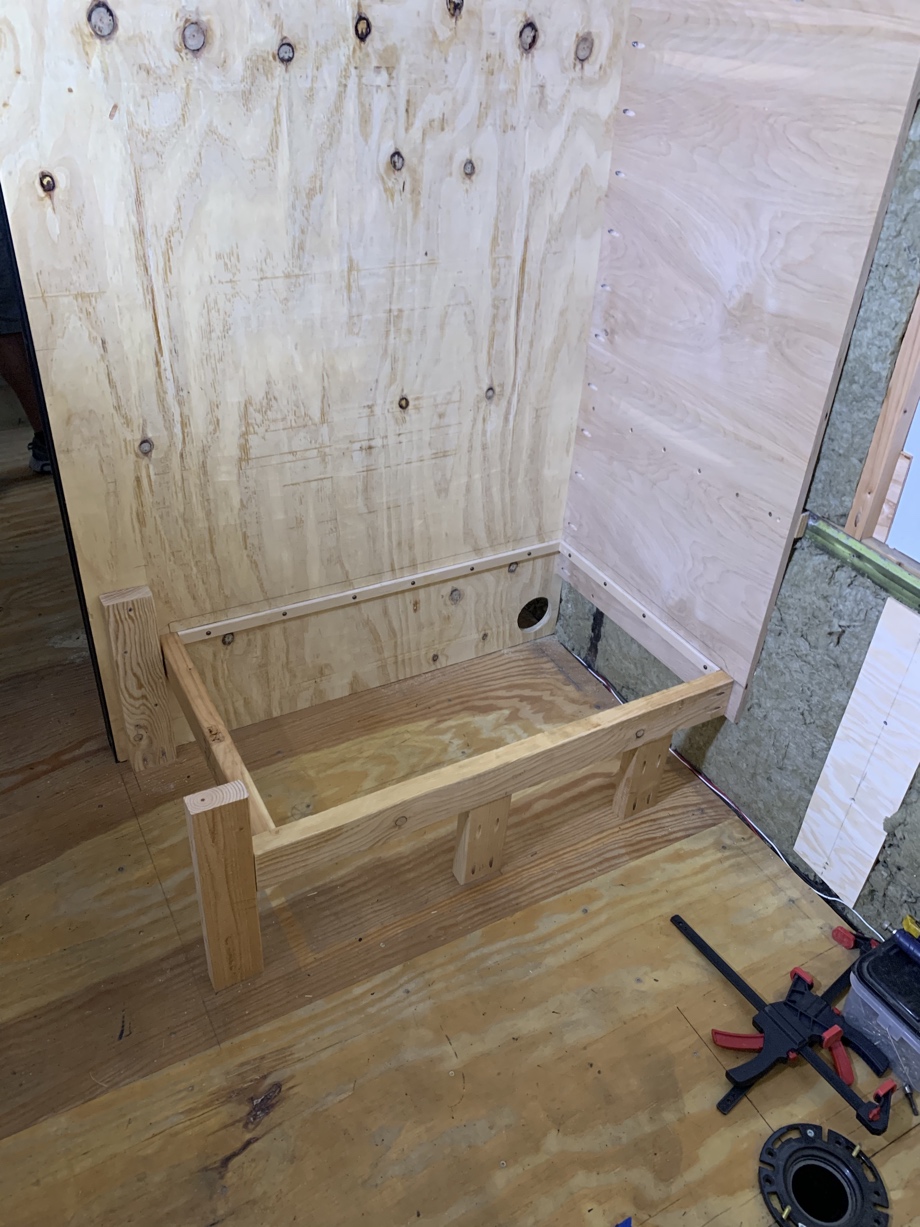
 We used 2x4s to construct a framework on two sides and ¾” plywood strips attached to the two walls to support the other two sides. Originally, we were going to put the supply plumbing behind the side wall (behind our pocket door). However, we came up with a new plan during the process of building this. We had a little space left at the end of the tub to create a small (tiny) bench. The bonus is that this little space will be just enough to run the plumbing up inside, giving us easier access in case of any leaks or issues. This change in design plans added a little extra to our bathtub framing, so we framed up that little bench as well.
 With the frame in place, we slipped the tub into place and saw how close our drain hole was to the place we had drawn it on the subfloor a long time ago. It was only about ⅛” off. Not too bad of an estimate. Time to drill a hole.
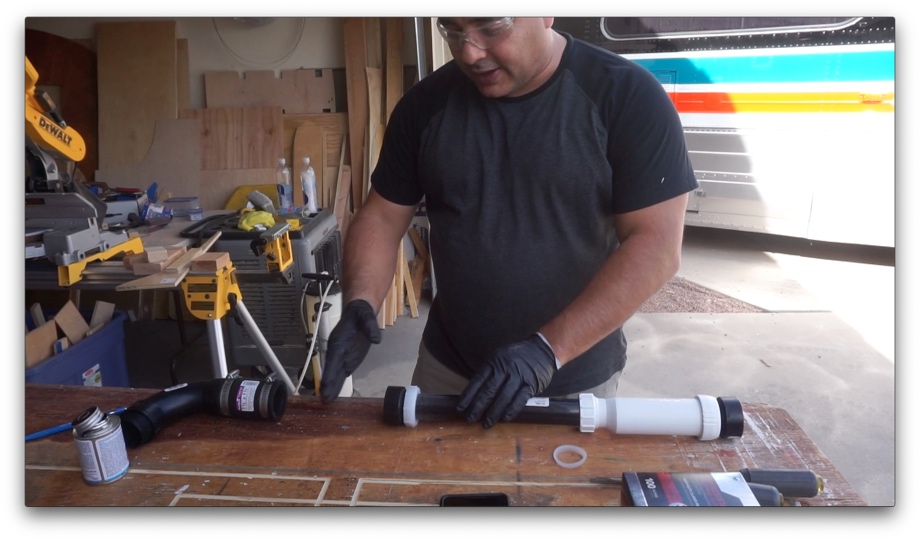
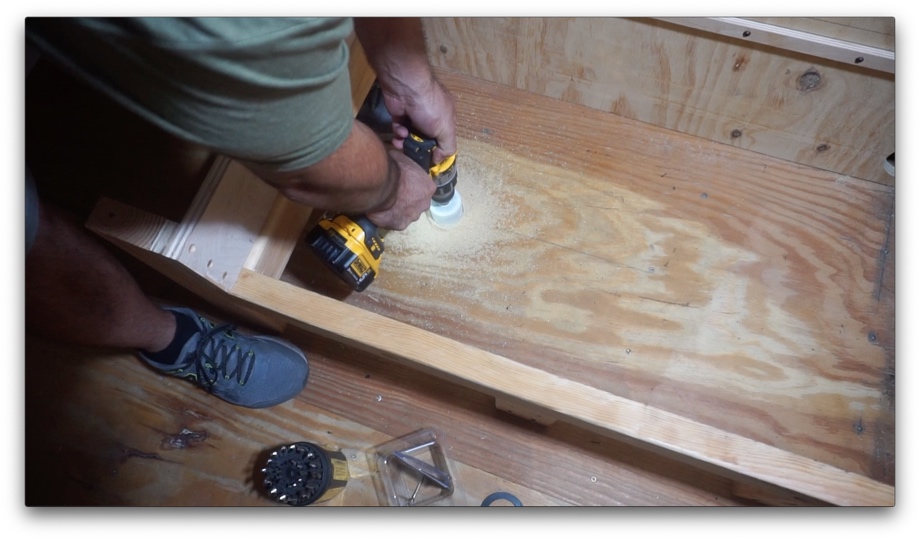 We pulled the tub back out and drilled the hole, and finally, we were able to get to work on the drain. Back when we were designing our custom water tanks, we decided on using Hepvo waterless valves instead of P-traps for all of our drains. They are such a space saver in tight spaces and you don’t have to worry about the water sloshing out of them while driving as you do with a standard P-trap. By using the Hepvo valve, it allowed us to make our tanks taller because we didn’t need quite as much space above for a P-trap for the shower.
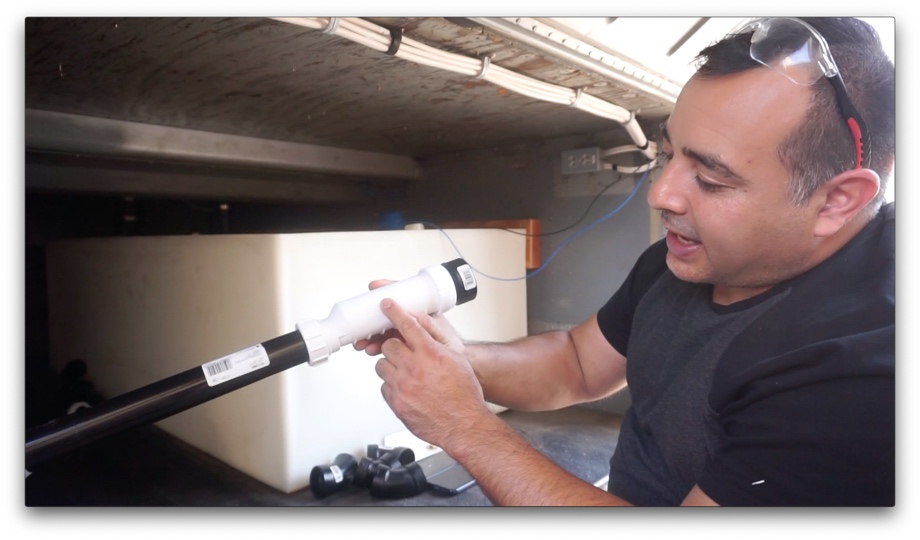 We figured out all of the parts and pieces needed to get from the shower drain to the Hepvo and then on to the inlet into the waste tank. We worked piece by piece, test fitting, cutting to size, triple-checking, etc until we had all the right pieces fit and at just the right slope to get to the tank. Finally, it was just gluing and screwing everything together.
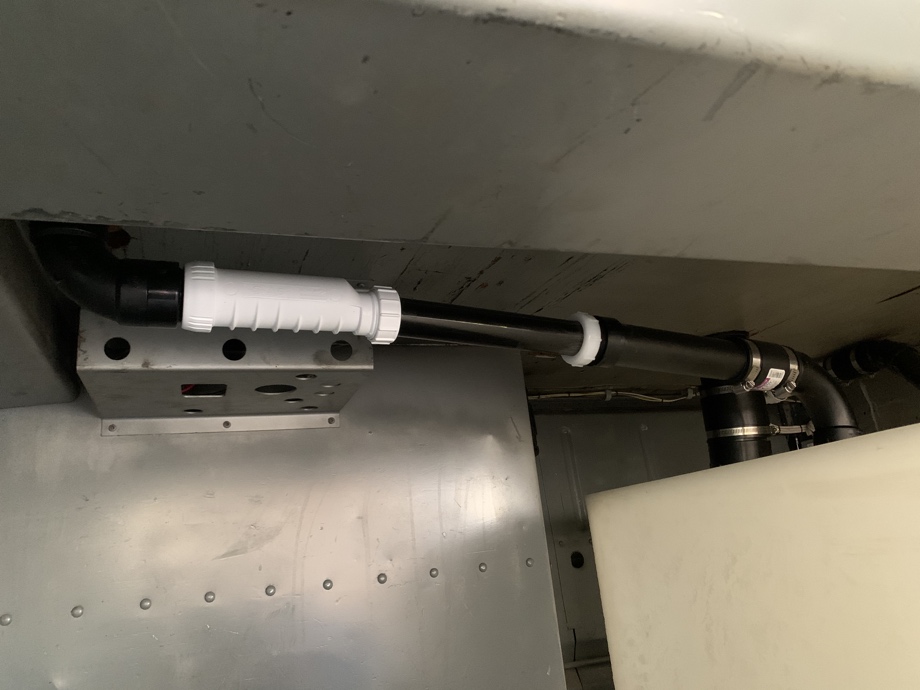 We put the bathtub in, screwed the drain fitting in place, and tested the drain for leaks with a big pitcher of water. No leaks! Phew. We were finally ready to finish securing the tanks and move onto the supply side plumbing. That’s what’s coming up next.
Watch the video:
Click here If you cannot see the video.


0 Comments
Comments powered by Disqus