


While we don’t want to do much night driving, we do want to be as visible as possible when those occasions come up. Since we needed to redo the headlights and their wiring (coming soon), we decided to add LED marker lights and turn signals down the lengths of the sides of the bus. These lights should help quite a bit with being seen at night, especially when changing lanes. Previously, the bus had only one turn signal light on the sides of the bus. We decided to change that out for one that could be a marker light as well. Then, we added three additional lights down each side.
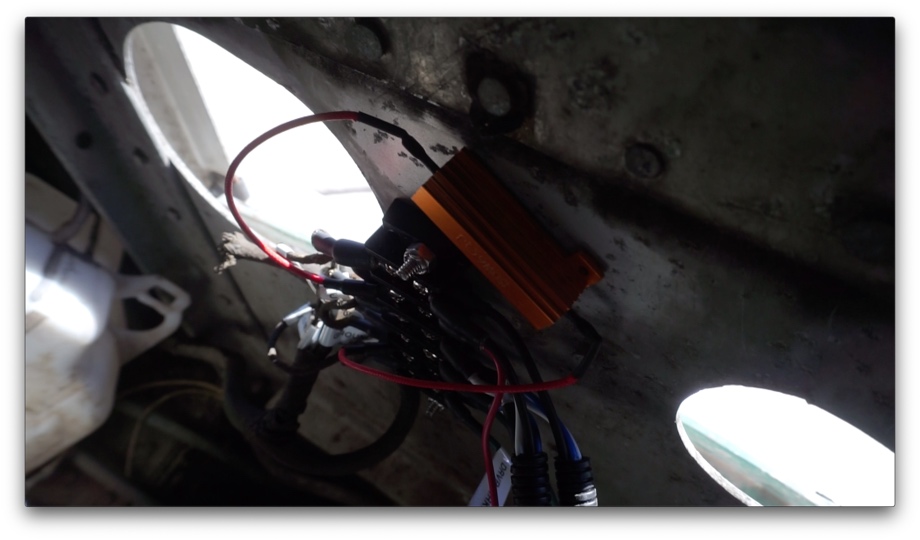
Last year, before we knew we would be changing out all of the tail lights and headlights fixtures, we switched out all the bulbs from incandescent to LEDs. Doing this, however, seemed to "break" the turn signals. We realized that they need the resistance of the filament and we would have to add resistors if we want LED turn signals. At the time, we simply put the front turn signals back to the original incandescent bulbs, knowing we would address this later. Now is later...so we added resistors to the wiring for the front turn signals and we were a go to work on the side lights.
Because the bus already had the one turn signal on each side, we were able to run turn signal and ground wires off those. On the passenger side, there also happened to be an unused marker light wire nearby that had probably originally been for the small destination sign that is next to the door. On the driver’s side, we had to run a new wire for the marker lights from the electrical panel next to the driver’s seat (it is terminal #6 if any of you have a PD-4106). Once we had wires, we were ready to go.
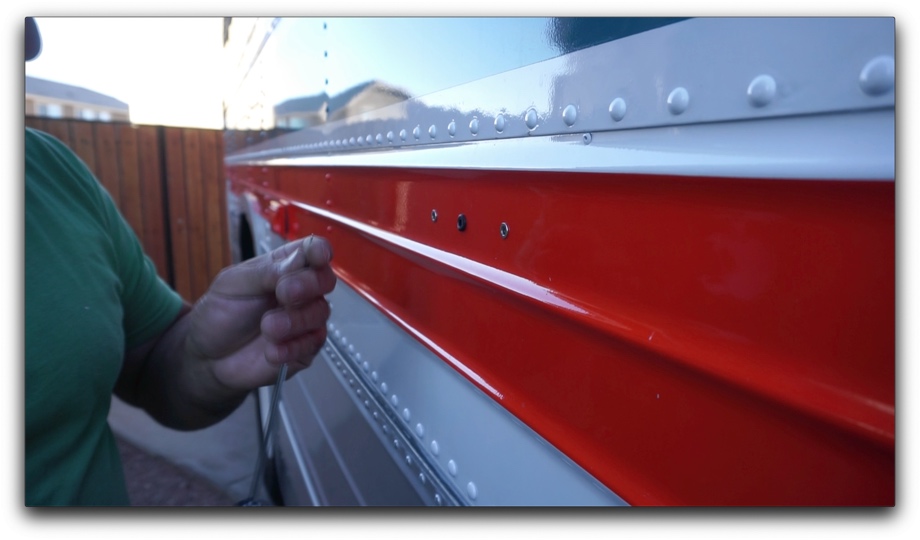
We decided to use amber fixtures and place them on the orange stripe. This will allow the lights to be somewhat camouflaged when not in use. We used stainless steel rivnuts and stainless steel screws to secure each light through the side of the bus in order to keep it as secure as possible. We also used a rubber grommet on the hole for the wires. This will prevent the wires from rubbing against the edges of the metal.
We used 14 AWG wire for the main wire runs and then crimped in 18 AWG wires to run up and out of the bus through the grommeted holes.
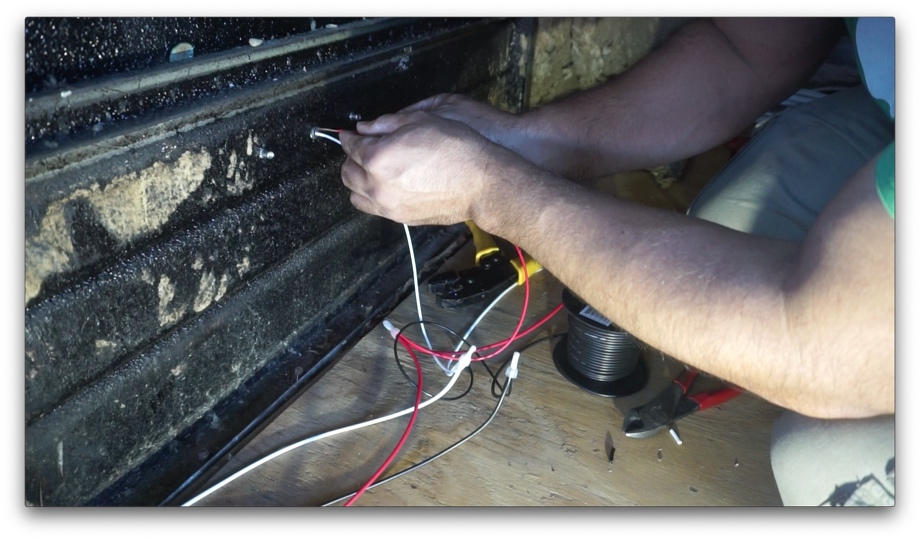 Once we had those 18AWG wires out and ready to go, we simply soldered them to the wires on the lights, using marine heat shrink to protect the connections. Those skinny wires tucked up nicely under the lights. (If a light ever needs to be replaced, we have plenty of extra wire sticking out that we can simply snip the wires just below the solder and solder on a new light.) Finally, we screwed in the lights and tested the new system.
Marker lights - check!. Turn signals - check!. They look nice, and the LEDs are nice and bright. Success! This will definitely help us be seen on all sides.
Up next: New, awesome LED headlights and a bonus on our front turn signals!
Watch the video:
Click here If you cannot see the video.
Parts We Used
Amber LED Side Marker Light
50W 6 Ohm Load Resisters
14 GA Single Conductor Stranded Wire
18 GA Single Conductor Stranded Wire
Closed End Crimp Terminal
10-24 Stainless Steel Rivnuts
Rubber Grommets


0 Comments
Comments powered by Disqus