


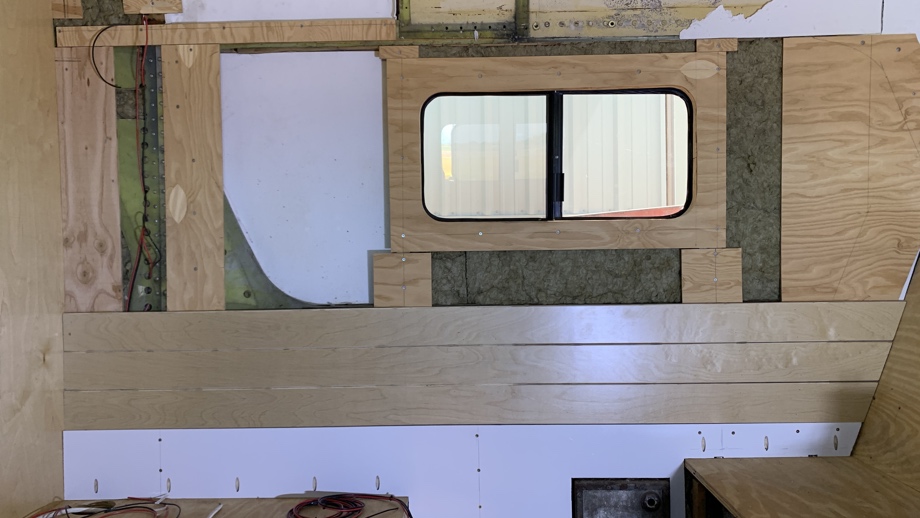
Every time we get to cover up more of the “ugly” in the bus, it’s an exciting day. When we started covering the bare metal, insulation, and furring strips on the walls, it was a very good day. The shell of the kids’ room was just beginning to come together, starting with the rear wall and bookshelves. For this project, we covered the wheel wells and then moved onto putting up the wall treatment.
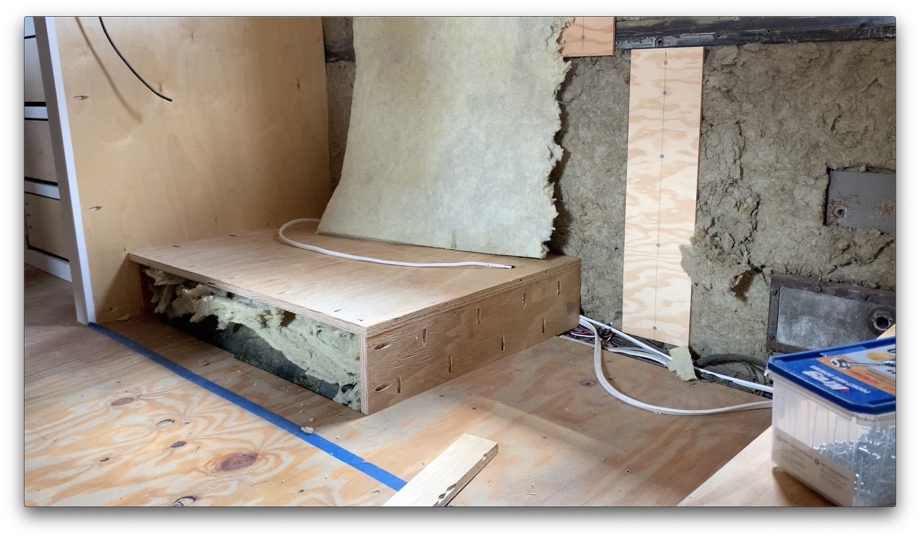
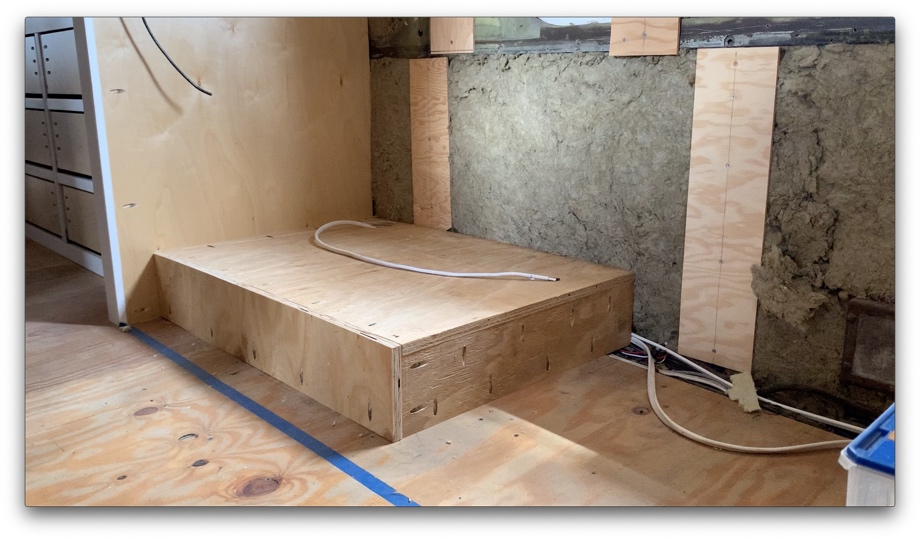
The rear wheel wells will end up under the lower bunk beds, but we wanted to box them in for a few different reasons. First, the box provides a way to contain insulation, and we definitely wanted to insulate over the wheels. Second, while the wheel wells will be under the beds and largely unseen, the platforms for the beds will be slatted so you will be able to see in there if the mattresses are lifted. We didn’t want to look under there and see the ugly, green wheel wells. Third, a box is easier to stand on than a curved wheel well when we are building out the rest of this room like the walls and ceiling.
We made a simple top, front, and side for each box. Those were joined together with pocket holes and screwed into the floors and side walls. We insulated inside the box, covering and surrounding the wheel well with rockwool. On the driver’s side of the bus, we had to leave a space for the diesel heater hose to lie over the wheel well as it will tee off and follow through into the bathroom.

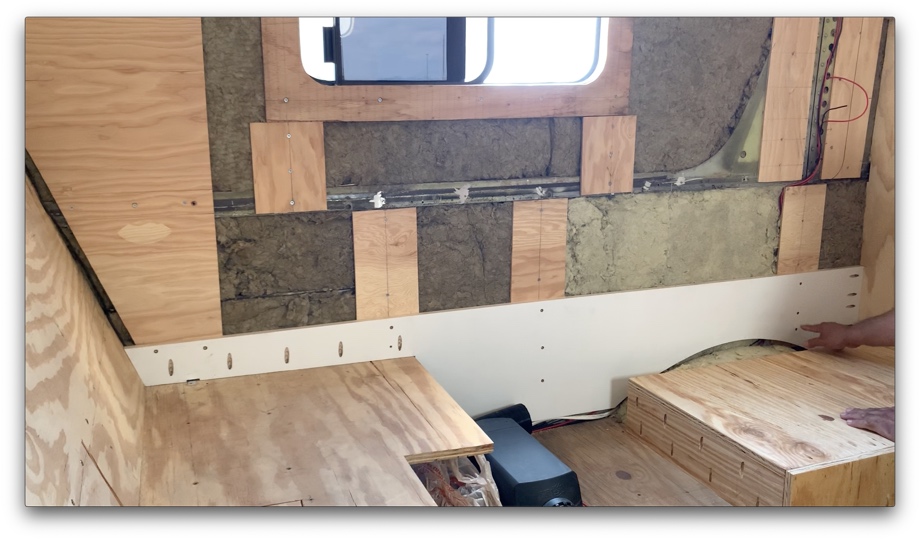
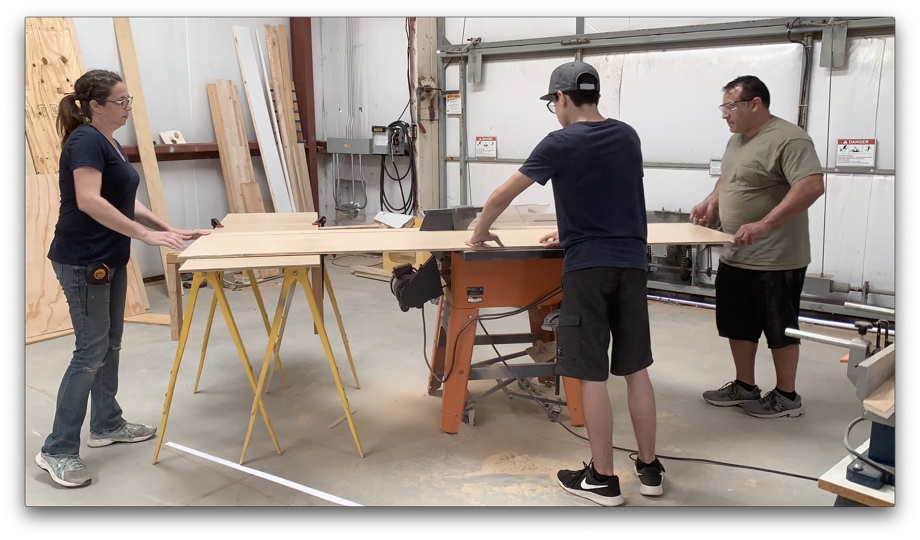
Moving onto the walls, we started from the floor and worked our way up. The lower bunk rails will need to be attached to the side walls, so we used strong ¾” plywood screwed into the ribs of the bus for the lowest pieces of the wall.
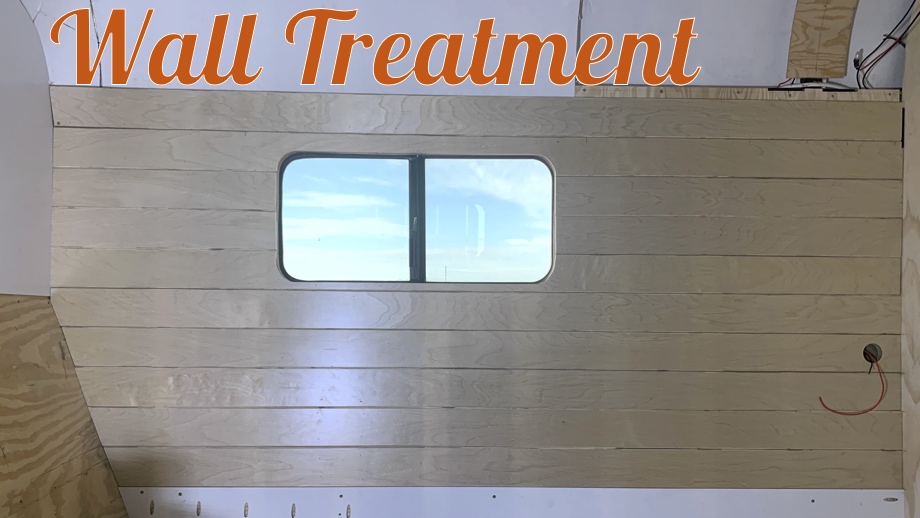
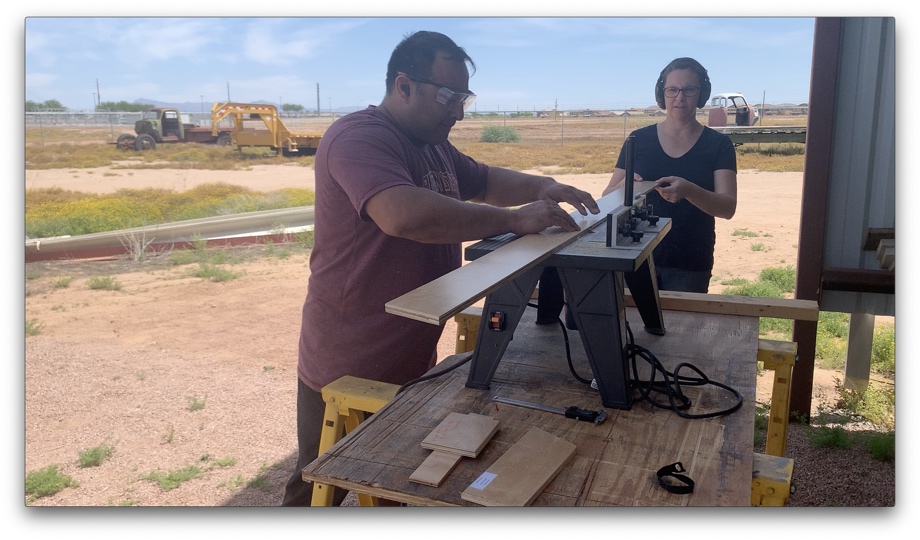
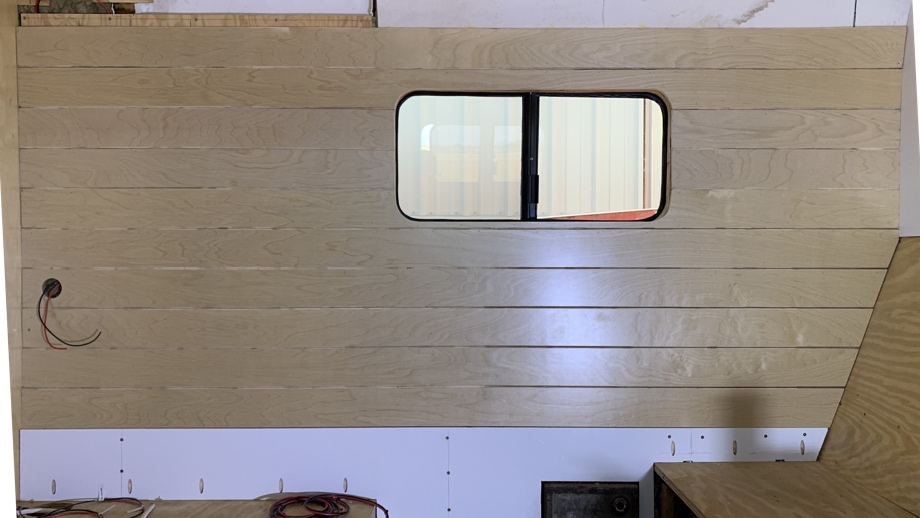
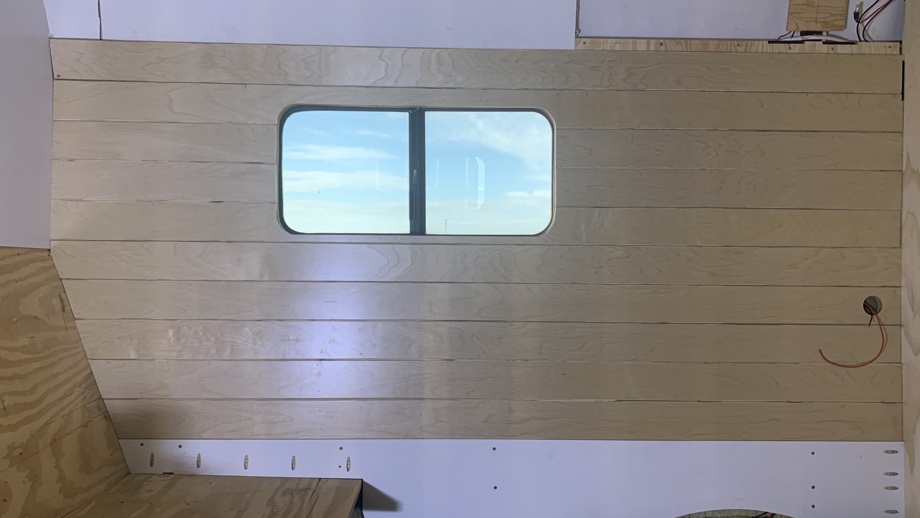
 From there on up, we made 4” walls slats out of ½” prefinished birch plywood. We chamfered the edges on the router table so that when two pieces of the wood are laid next to each other, it gives a look of tongue and groove without it actually being tongue and groove. We used this same process on the ceiling slats in our closet and pantry.
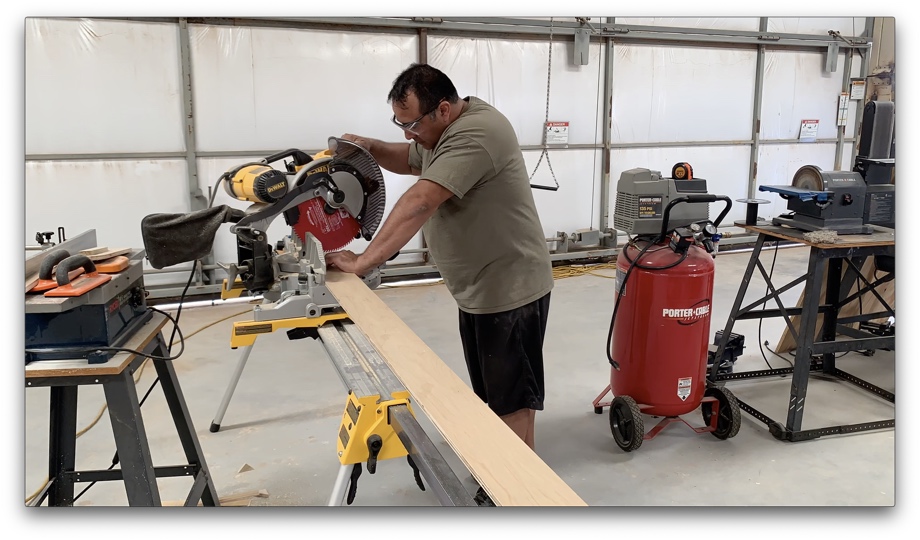
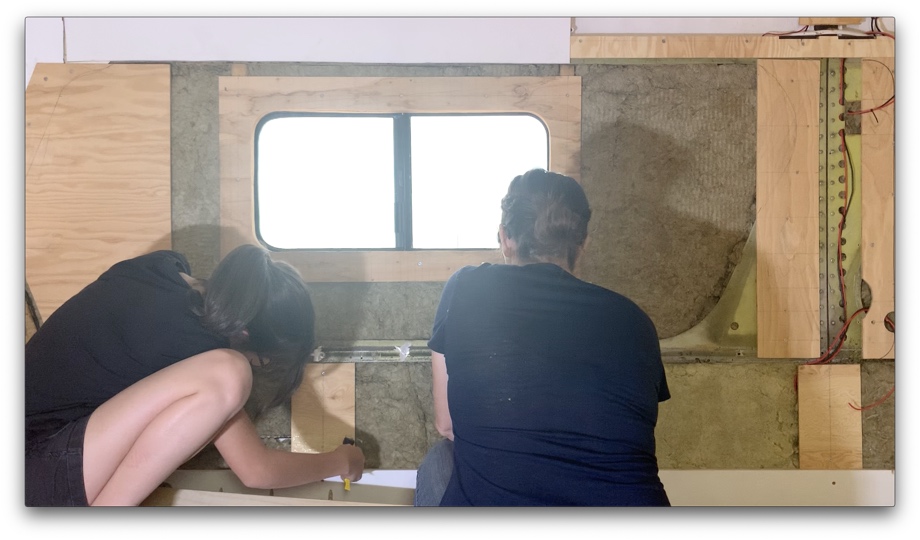
Each piece had to be cut at the perfect angle to lie against the back bench area. To attach the pieces, we painted wood glue onto our furring strips (which are all screwed into the ribs), held the board in place, and then brad nailed into the furring strips to hold as the glue cured.

We continued this process of cutting to fit, gluing, and nailing each slat up as we worked our way up both side walls. We decided to leave the wood on these walls their natural birch finish. We are having a mixture of painted wood and natural wood in our bus. This location was a better fit for the prefinished natural birch color and finish. It is very, very easy to keep clean, and these walls will be right next to the bunk beds. Dirty hand and feet prints will be able to be wiped clean very easily.
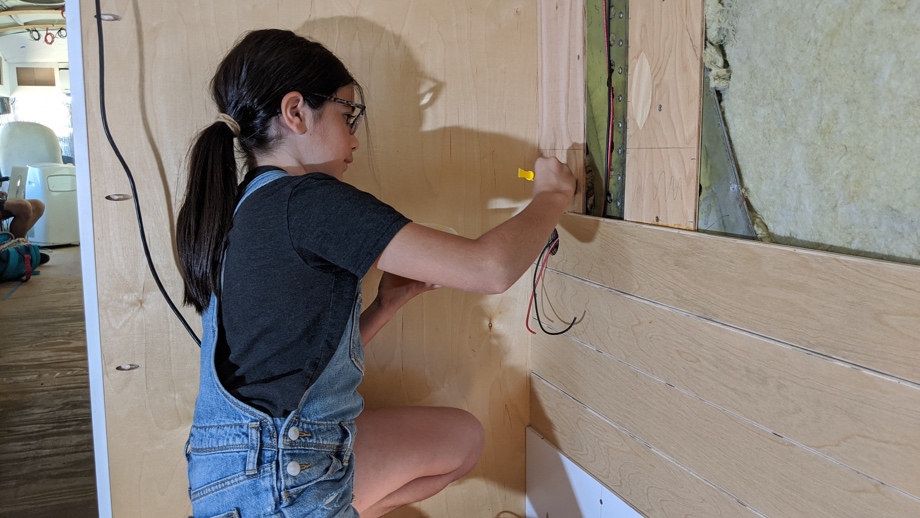
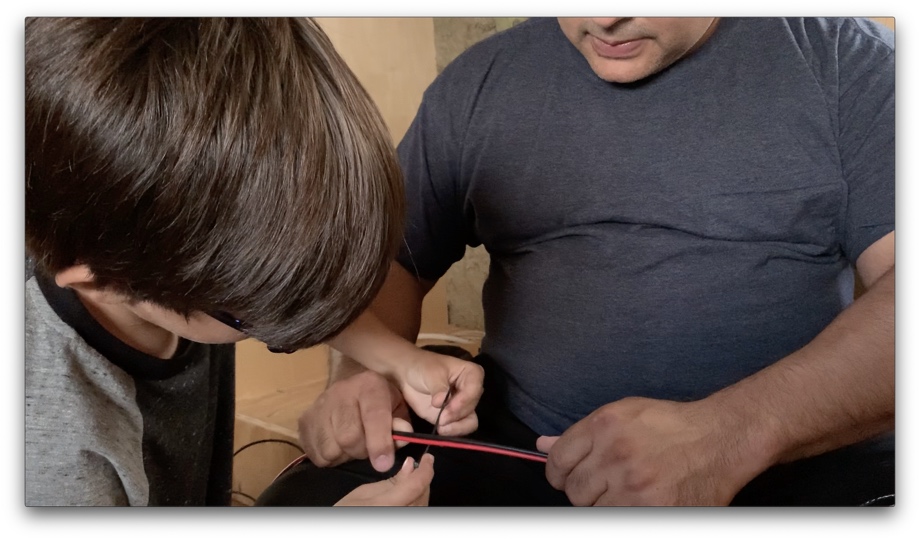
One additional thing that we did before and during the wall installation was to run 12V wiring in the walls. Each bunk will be getting its own 12V reading light and USB charger. We determined the size hole we would need for that and the location for each charger/light. Then, we cut holes with a hole saw into those particular slats before installing them.
After finishing both side walls, we started to feel pretty excited that this room was starting to actually look like a room we could imagine our kids in. Coming up next: Ceiling Treatment for compound curves.
Watch the video:
Click here If you cannot see the video.


0 Comments
Comments powered by Disqus