


Building this bus into an RV has been a long project...a very long project. The one good thing about that is that there has been plenty of time to soak up as much knowledge from other RVers and renovators as possible. One of the common issues we have noticed in standard RVs and also in some renovations is a lack of storage for cleaning supplies - specifically, brooms and mops. They are tall and awkward and don’t fit in typical storage cabinets. Most people seem to just prop them up in a corner somewhere or put them in the bathtub or under a bed or something like that.
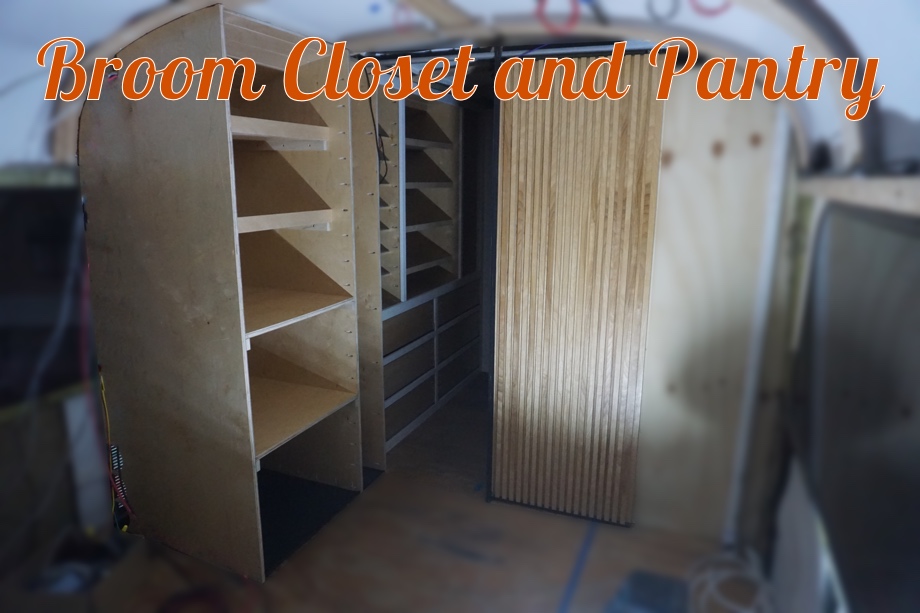
In our bus, there are no random corners, so we decided to sneak into our design plan a small closet specifically for a broom, mop, swiffer, and dustpan. It sits next to the wardrobe on the “kitchen” side of the front pocket door. Just like my excitement over having a place for all the devices in our charging station, I’m thrilled that all of my cleaning supplies will be out of sight when not in use. Next to the broom closet, we will have our pantry.
If you followed along for our wardrobe build, we built the structure for these two spaces in the same way. We used ¾” prefinished birch plywood for the walls and the back, pocket hole screwing them together. Then, we made our own “faux tongue and groove” for the ceiling by cutting 4” planks out of ½ ” prefinished birch plywood, chamfering the edges with the router. Those are glued and brad nailed into the furring strips.
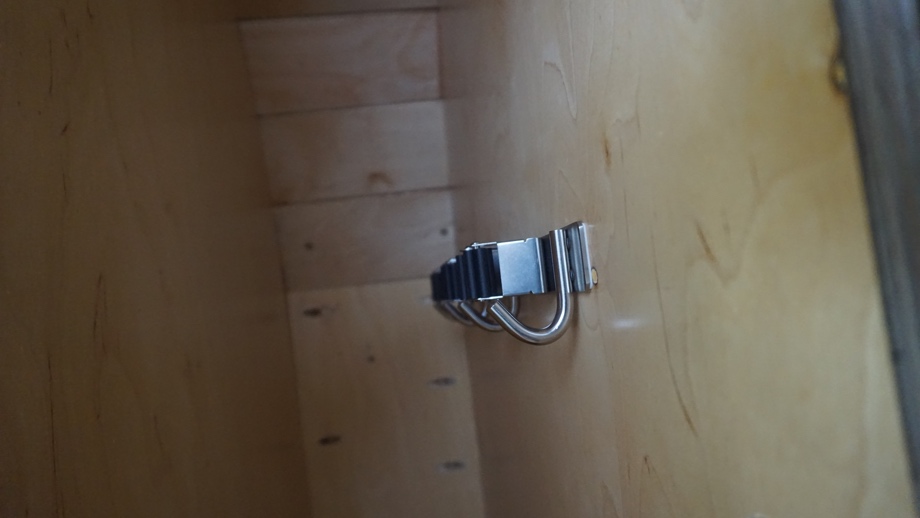
The last things we did in the broom closet were attaching a wall-mounted broom and mop organizer and putting a rubber mat on the floor.
In the pantry, we made four shelves. Our convection microwave oven will sit on the bottom shelf, so we wired an outlet into the back of that shelf. The top shelves will be our pantry space so they all will have lips on them to prevent food from sliding out. We thought a lot about building shelves that pull out of the pantry. However, we changed our plans once we finalized the measurements. The pantry shelves are wide and not terribly deep. In fact, they are a very similar size to the pantry in our home. I believe they will function just fine for us the way we use the similar shelves in our home. Most of our food is stored in bins - a bin of cereals, a bin for snacks, a bin for rice and noodles, a bin for baking supplies, etc. If I can’t reach something easily, I can simply slide the bin forward or pull it out and set it on the counter. This method works for me and keeps me organized. I think it will work just as well in the bus.

The very bottom space was originally planned to be a litter box space for our cat because the old refrigerator vent is there. We planned on venting it with fans out that old vent door. Well, as we shared with you earlier this year, our very old cat passed away from cancer. For now, we will use that space for additional food or kitchen storage.
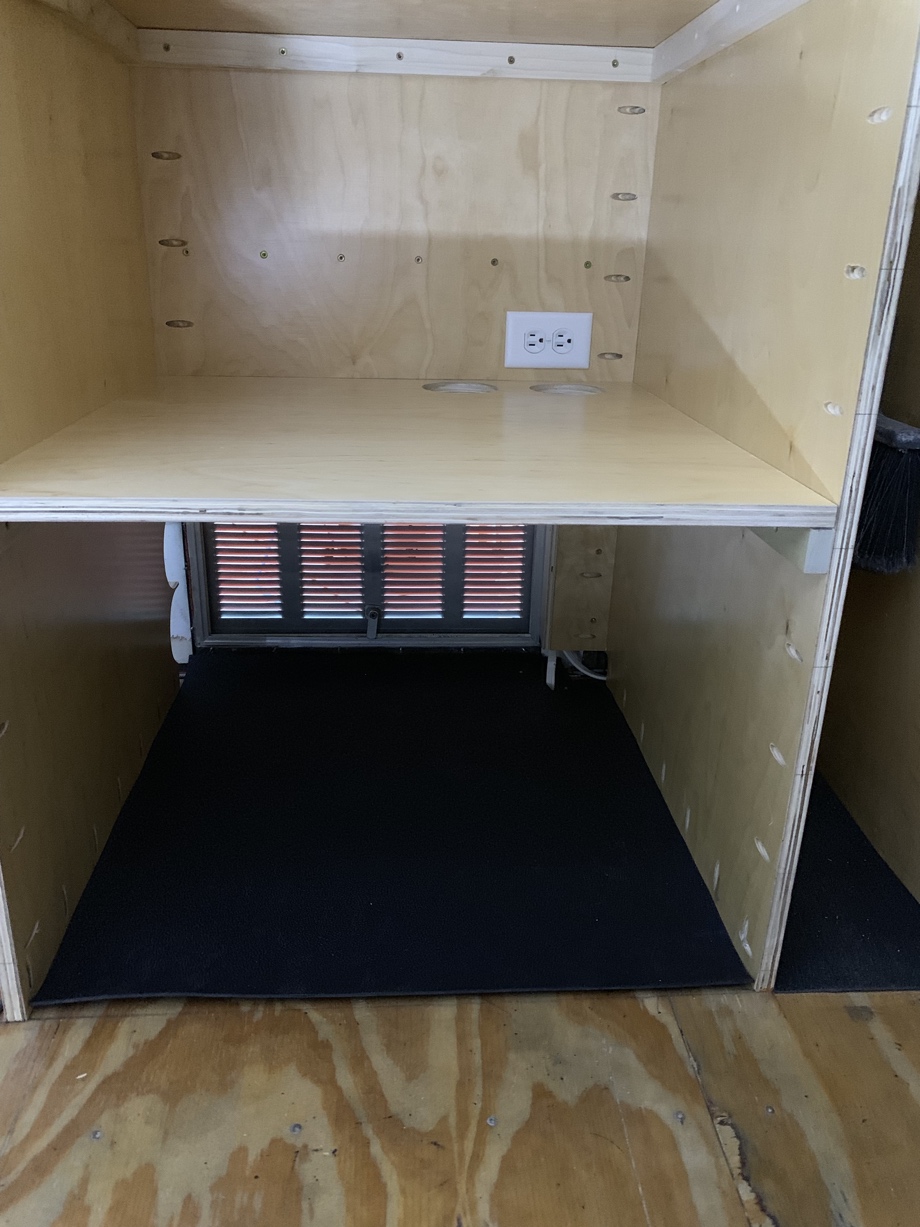 Because we have the microwave sitting right above that vent door and we have the refrigerator and all of our tech cabinet electronics going in right next door, we drilled a bunch of holes for fans that will suck hot air out of those places and push it out that vent door.
In the video, we share a few of the obstacles that we had to deal with on this part of the build (like building a cabinet in front of a window), and Juan shares a little more about the fans and vents.
Just like on the wardrobe, we are not going to build any of the cabinet doors until later in the build. So, the next project in the queue is the refrigerator and tech cabinet. We finally, finally, finally get to organize ALL OF THE CABLES! That’s what’s coming next.
Watch the video:
Click here If you cannot see the video.


0 Comments
Comments powered by Disqus