


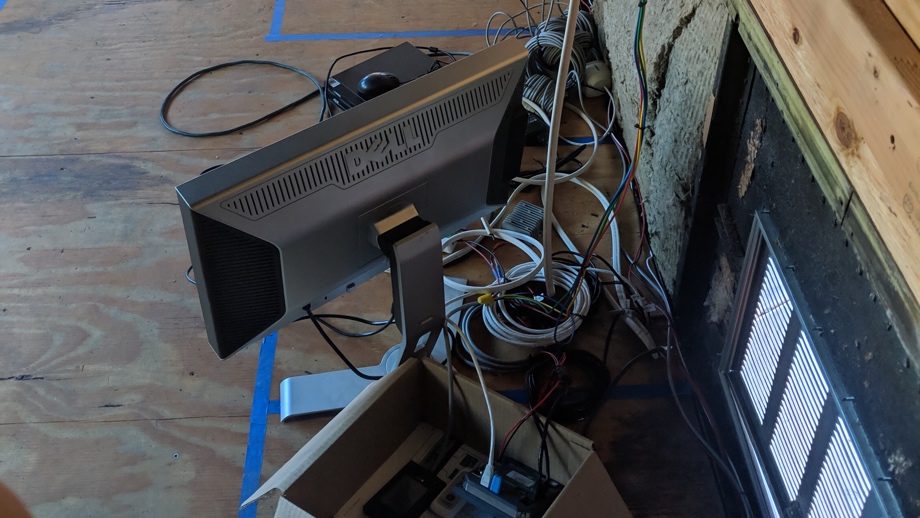
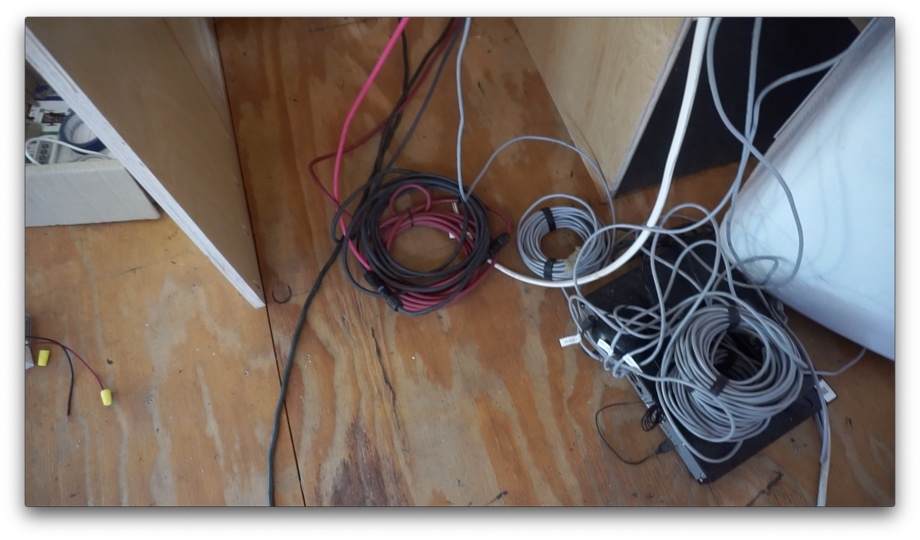
The day had finally arrived!!! We were somewhat giddy to start this project - the Tech Cabinet. For months and months, all of our electronic gear has been sitting on the floor of the bus in a box just waiting to have a home. When we wired everything in, we purposefully left all of the cables really long so that we could cut them to the exact length once everything was permanently installed. Needless to say, we had a giant mess of cables and components. We could not wait to finally get rid of the mess.
We started out by building the cabinet walls, back, and ceiling in the exact same way we built out the pantry and wardrobe. As part of this step, we added 120V outlets for the refrigerator at the bottom of the cabinet and for tech equipment at the top of the cabinet ceiling. Next, we built the shelf that will divide the refrigerator from the Tech Cabinet above.
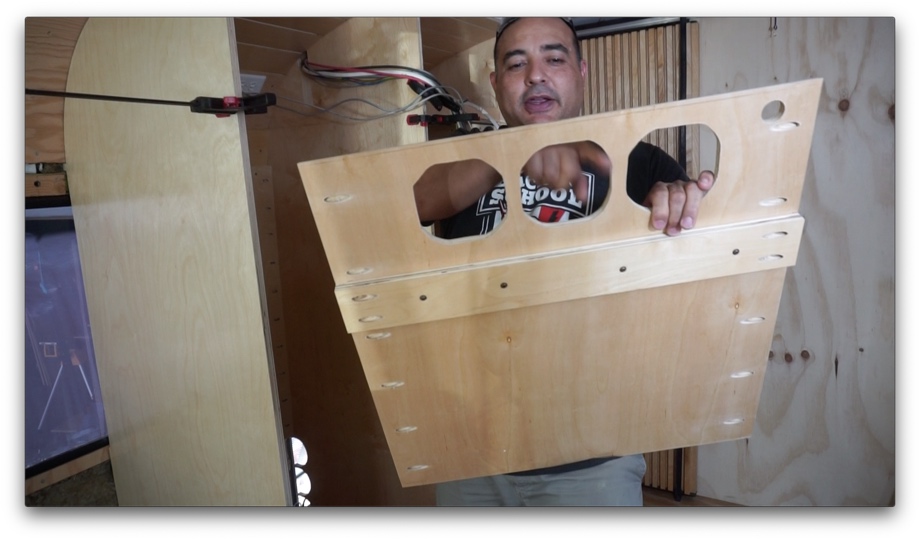
Sitting on the back of this shelf will be three fans that will suck hot air from the electronics and exhaust it behind the frig. If you remember from the pantry build out, we also will have three more fans at the bottom of the cabinet between the refrigerator and the pantry. These will then suck out the hot air from behind the frig and exhaust it out the vent in the bottom of the pantry.
In order to make a place for the fans, we drilled three large holes in the back of the shelf for the fans. We also drilled a hole to run wires that come up from bays and then up behind the frig and into the Tech Cabinet. One final piece we had to add to the shelf was a support brace for the frig. The shelf sits an inch or so above the frig, so this brace that goes across the bottom of the shelf is simply another ¾” piece of plywood that will sit just ½” above the frig. We will be bolting the front of the frig through the floor (next week’s project), but this brace near the rear should prevent the frig from being able to pop up or lean forward in an emergency.

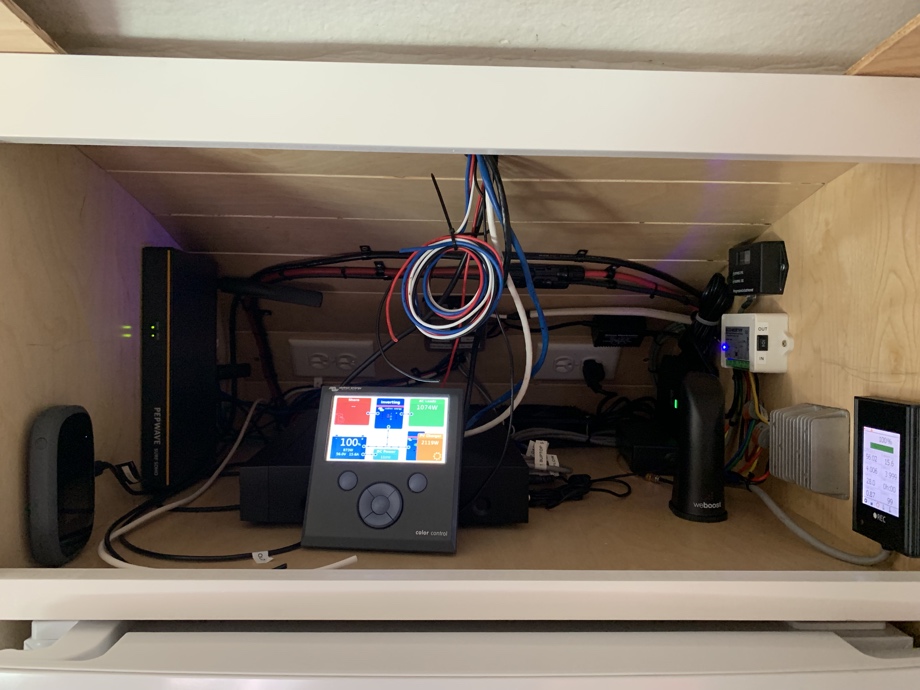
Once we installed the shelf, we were finally ready to begin placing our components. Here’s a quick list of what we have (or will have soon) living in this cabinet.
- REC BMS Battery monitor
- 48V-to-24V DC-DC Converter for Solar Panel Linear Actuators
- Remote Control Motor Control Box for Solar Panel Linear Actuators
- Progressive EMS Monitor
- WeBoost Cellular Booster with Indoor Antenna
- Outdoor OTR antenna is attached to the ladder at the rear of the bus
- PepWave Soho Cellular Router
- External Wifi Antenna mounted on the roof
- Verizon (Have Now) & ATT Hotspots (Coming Soon)
- Lorex Security/Driving Camera DVR Box
- NUC Computer (Coming Soon)
- Victron CCGX
- SeeLevel Tank Monitors (Coming Soon)
- Solar Cables (coming through from the roof down to the basement)
- 120mm 200CFM cooling fans
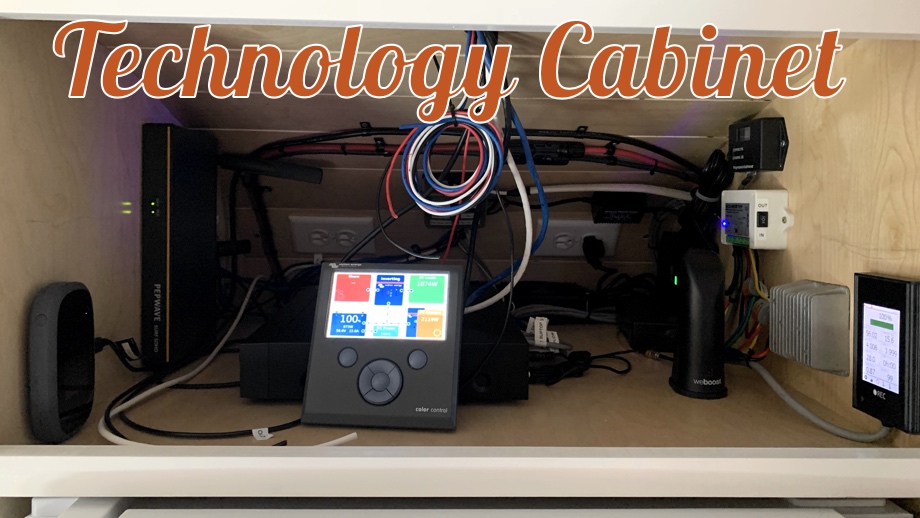
Because many of these things run on 12V, and we have a single 12V source cable on a 20Amp circuit coming in, we decided to install a 12V fuse block on the ceiling in the back. This will allow us to individually fuse each of these components at either 2Amps or 5Amps, depending on their power requirement.
All of the components that we have now were installed and wires were cut to size and routed as neatly as we could. There are just a couple more things we will add later, but for now, we are thrilled.
 One big plus, we finally have functioning Internet in the bus. Even though we park in the driveway of our own house, we hadn’t ever been able to connect to our own wifi when working inside the bus because of the aluminum shell. With the router and antennas working, we now actually have internet in there. We can also now track the battery function while we are parked at storage with the Victron VRM Portal. These are all very exciting things in our lives! Hahaha
While we don’t go in-depth into all of the systems of these components here in this post or video, we promise to do that at a future date. Once we have been traveling and have been able to really see how all of this functions in "travel-mode", we will be sure to do a thorough “walk-through” of both the electrical system and the internet system.
Next week, we install the refrigerator! Yay - cold drinks!
Watch the video:
Click here If you cannot see the video.
Products we used:
 REC BMS
48V-to-24V DC-DC Converter
Remote Control Motor Control Box for Solar Panel Linear Actuators
Progressive Industries HW50C Hardwired EMS Surge & Electrical Protection
weBoost Drive 4G-X RV Cell Phone Signal Booster
Wilson Electronics 19-inch 4G Truck and RV Spring-Mount Antenna
Pepwave Surf Soho MK3 Router
Outdoor Omni-directional Antenna
Verizon Wireless Jetpack 8800L
Intel NUC 8 Mainstream Kit (NUC8i3BEH)
Victron Color Control GX Monitor
SEE LEVEL Tank Monitoring System
120mm 200CFM cooling fans


0 Comments
Comments powered by Disqus