


We have needed to replace the windshield and rubber gasket on the bus since we bought it. We put it off for a long time for a few reasons. First, we had to wait for the rubber gasket to be remanufactured. Luke at US Coach was able to find a company to remanufacture the gasket and we immediately put our names on the waiting list to get one once they were ready. We also waited because we wanted to have the painting done before we addressed the windshield. Lastly, to be honest we were kind of nervous to do this project. The windshields are curved and the gasket is a locking strip and it all seemed a little tricky. But, Luke assured us that if he and his 78-year-old brother could do it, we could do it. He talked us through all the steps of the process and we knew we could call him if we got stuck.
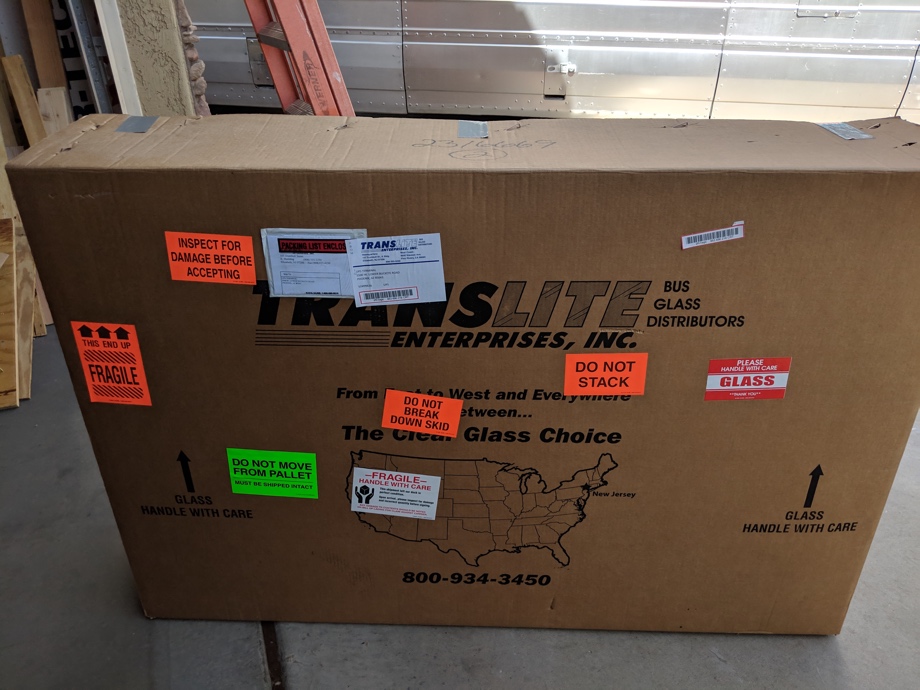
We priced out how much ordering the glass and shipping it from Luke in New Jersey would be. Just about $700.00. For comparison sake, we did find one local company in Phoenix that could get the specialized windshields for us (the previous glass shop we worked with for our side windows can’t do curved glass). They would have to have it shipped to them from Las Vegas. Funny enough, their shipping price from Vegas to Phoenix was the same as the shipping price from New Jersey to Phoenix. Hmmm?? Also, this company would only install it, not just sell us the glass. Their estimate to order the glass and then install it for us was $1850.00. For that price, we were willing to try doing it ourselves. We could break the glass, have to order more, and it would still be cheaper than $1850.00.
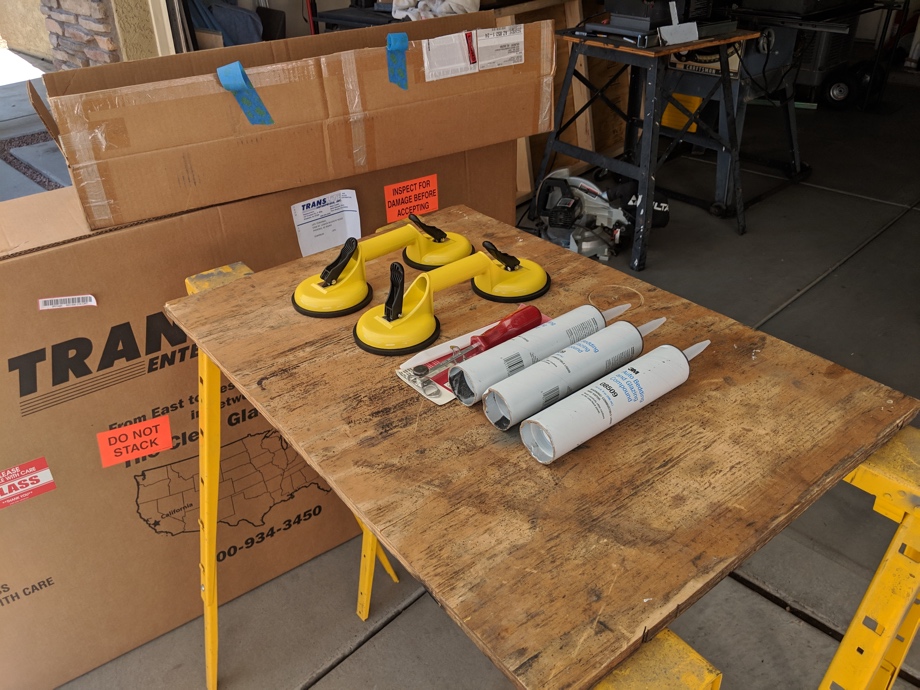

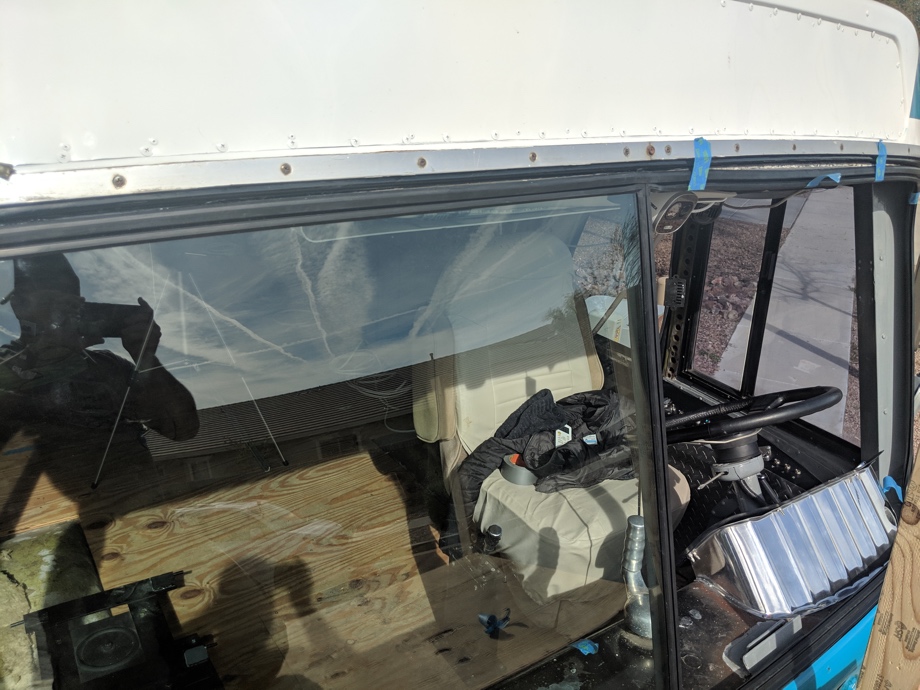
Finally, after a winter where it felt like it rained every weekend, we were ready to tackle the windshield. The first step was to remove the old rubber locking strip. We practically had to chisel it out of there. It was so hard, it had basically become plastic. Way overdue! Once we removed the strip, we used glass suction handles to pull out each side of the glass. Then, we had a lot of clean up to do.
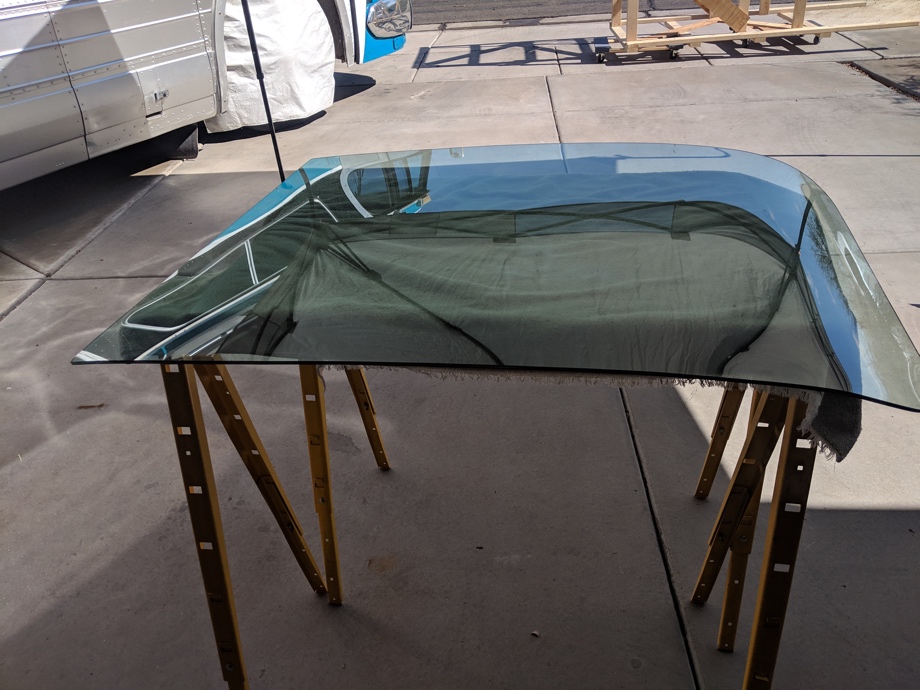
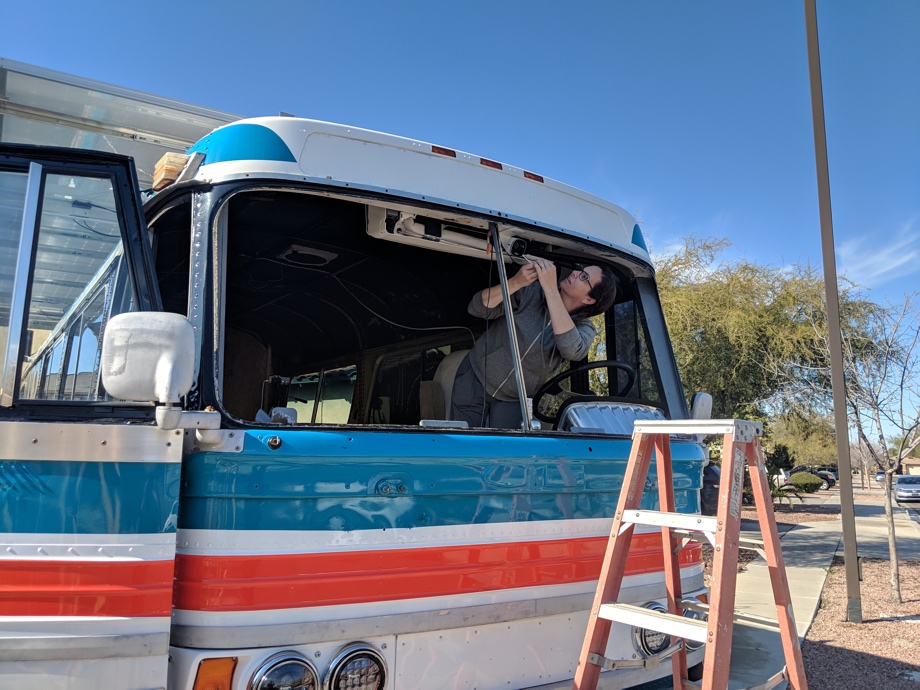 Next, we put the new rubber gasket in, being sure to mark exactly where the center vertical bar goes (it moves a bit without the windshield and gasket holding everything tight). Then came the time to actually fit in the new glass and secure it into the gasket. We followed Luke’s instructions to set it in at the bottom first and then work it up the sides and across the top. All was going pretty well. We were able to secure the first side, and our confidence was growing.
 We were ready to try the second side. I’ll let the video share the rest of the story.
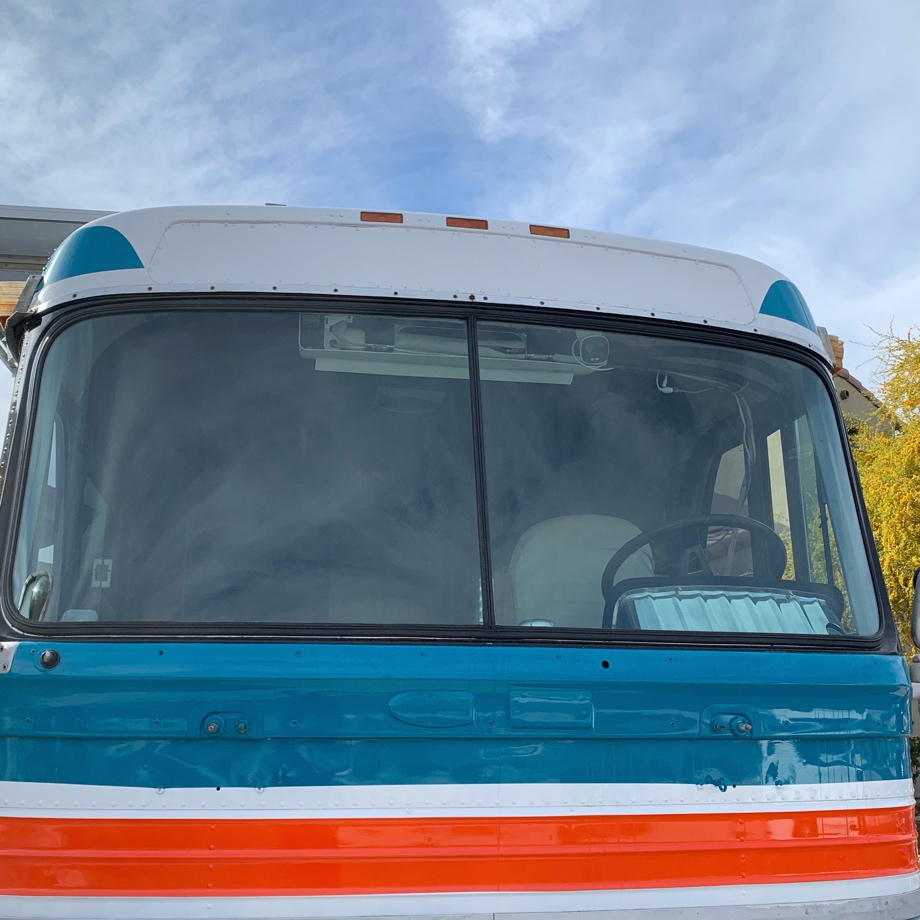
In the end, we are glad that we did this project - it is funny what things we are nervous about like this while other things seem so doable like our battery and solar project. We learned new skills and ended up with a clean new windshield and a new rubber gasket with no holes in it.
Learning new skills is a huge part of this journey for us, so we are calling this project a win!
Watch the video:
Click here If you cannot see the video.


0 Comments
Comments powered by Disqus