


We were so close to being done gutting the interior...but not quite...so here we go again!
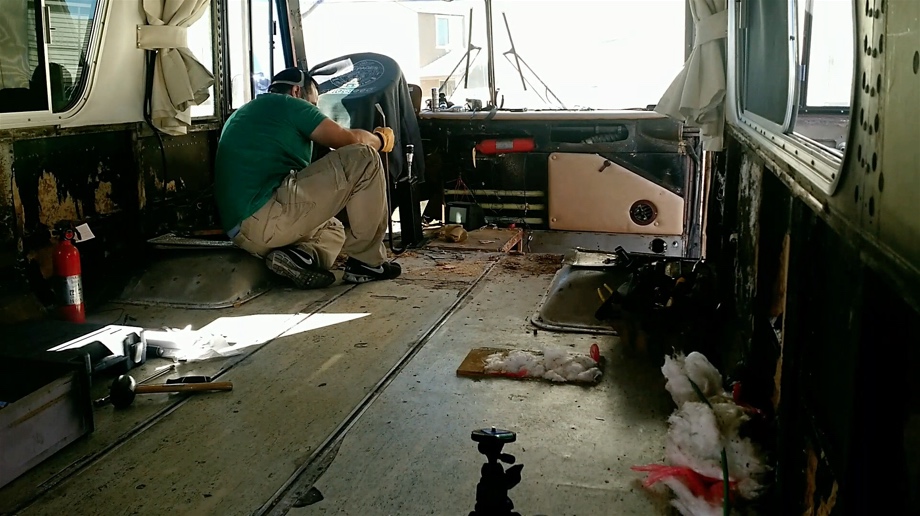
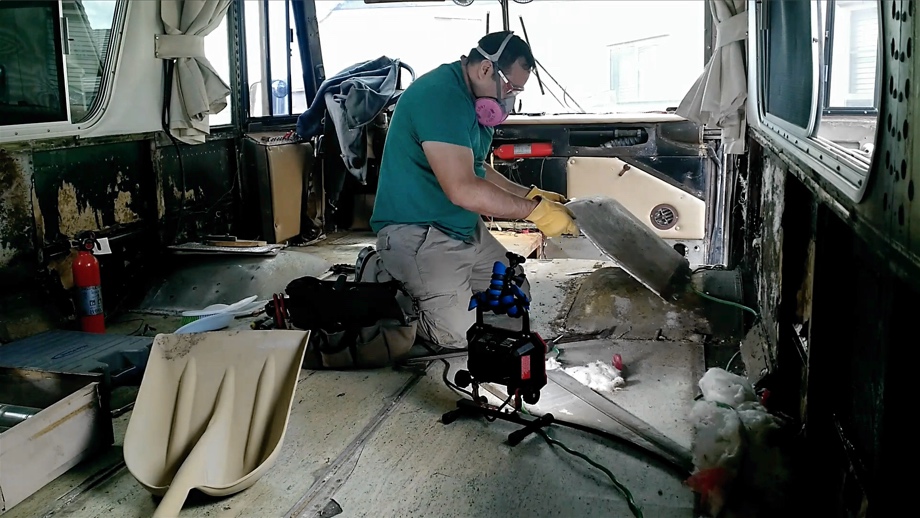
The previous weekend, we chiseled out most of the old subfloors, but we hadn't had time to finish all of it. So that is where we started. We had to remove the subfloors in the very front of the bus under and around the passenger and driver’s seats. The first order of business was removing the base for the passenger seat (we had previously removed the chair itself). Of course, the bolts were old, rusty, and ended up mostly breaking off. Moving across the aisle, we took out the driver’s seat, the base, and loosened up the gear shifter. Finally, we were able to remove the last of the subfloors. More of the slow, chiseling process, but we were so, so happy to have that done.
Next up was removing the wheel well covers. Of course, Juan ended up having to grind off most of the screws and rivets that were holding them on (this is starting to become a pattern). Uncovering the wheel wells showed some damage underneath which we will show you in the next post.
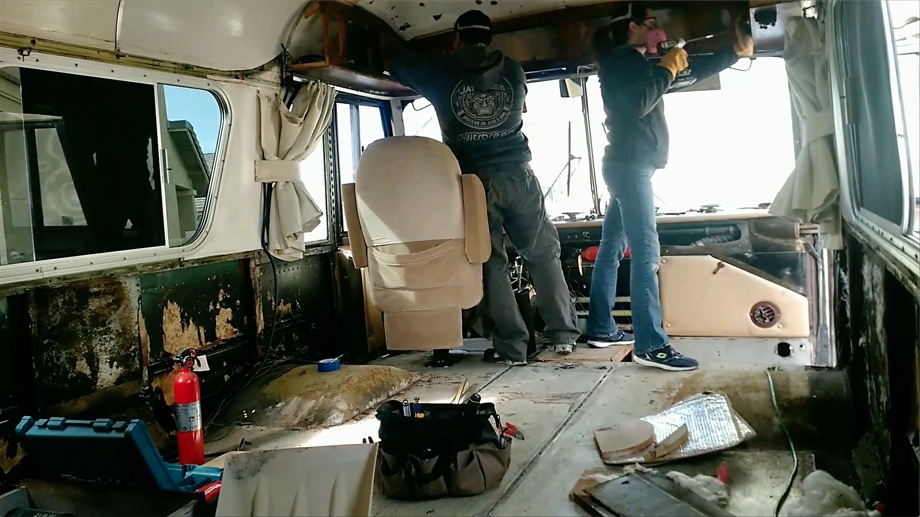
We put the driver’s seat back on and tightened up the gear selector again to make it drivable quickly. The last project for the day was removing the cabinets and wiring above the windshield. Once again, we found the wiring situation to be quite a mess. We will just add it to the growing list of things that need to be redone. As we were cleaning out the cupboards, however, we found a detachable screen for the front door. That was a fun find.
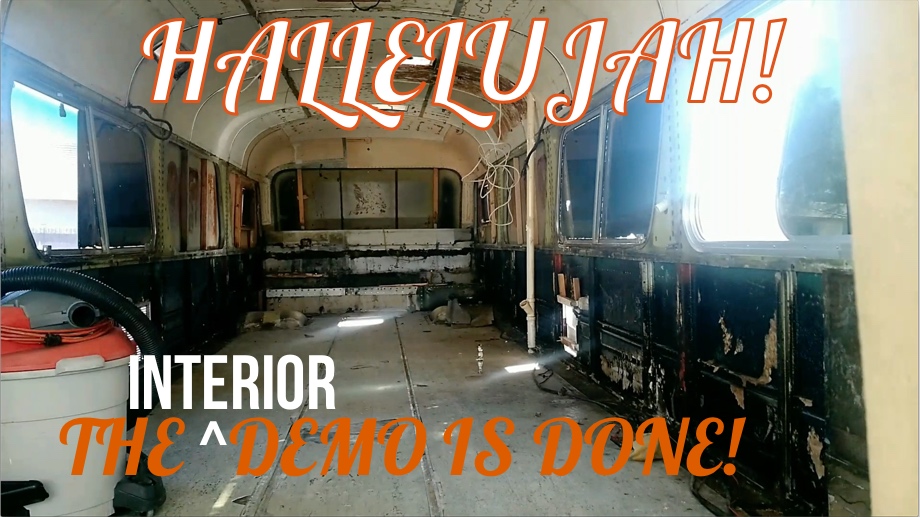
The next day, we were finally at the very end of the interior demo. The last thing that needed to come out was the plywood and insulation covering the engine bay. It didn’t look awful, but there were a couple of reasons we decided to take it out. First, it wasn’t designed in the way that would work best for our bedroom plans. Second, there is an access panel to the rear of the engine, and the way it had been built left no easy way to get to it. So, it all came out. Finally, the interior was done, empty, and ready to rebuild. Hallelujah!!

The last project for this weekend was to clean out the storage bays...AKA "the basement". The previous owner had left all of his stuff in there - everything from old camp chairs and tables to tools and spare parts. To be perfectly honest, we didn't even know what all was down there.
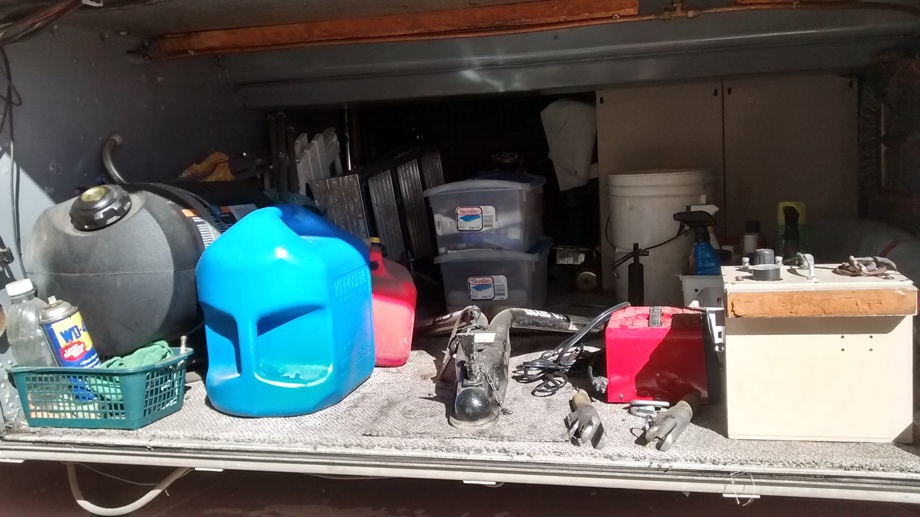
As we pulled everything out, we trashed some of it and set some things aside to decide on later. Anything that we decide to keep will need to be cleaned up and reorganized. Juan also pulled out the Honda EV4000 generator and its gas tank.
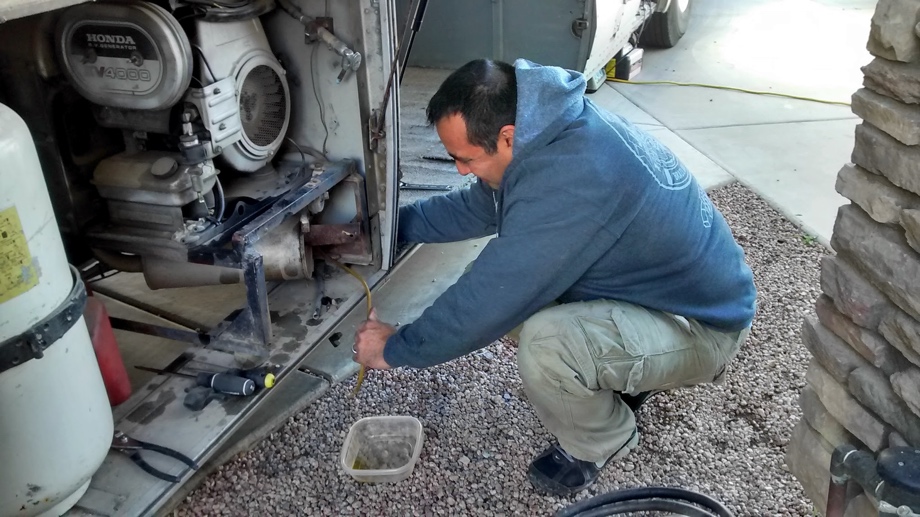
It worked well when we first bought the bus, but it doesn't want to start consistently right now. So we will service it and then decide if we will keep it or not. It's super loud! And we are hoping that with our large batteries and solar, we won't have to run a generator often if at all. We may be able to get away with something smaller and less noisy. TBD later. When everything was finally out, we could see how much storage space there will be. Plenty!
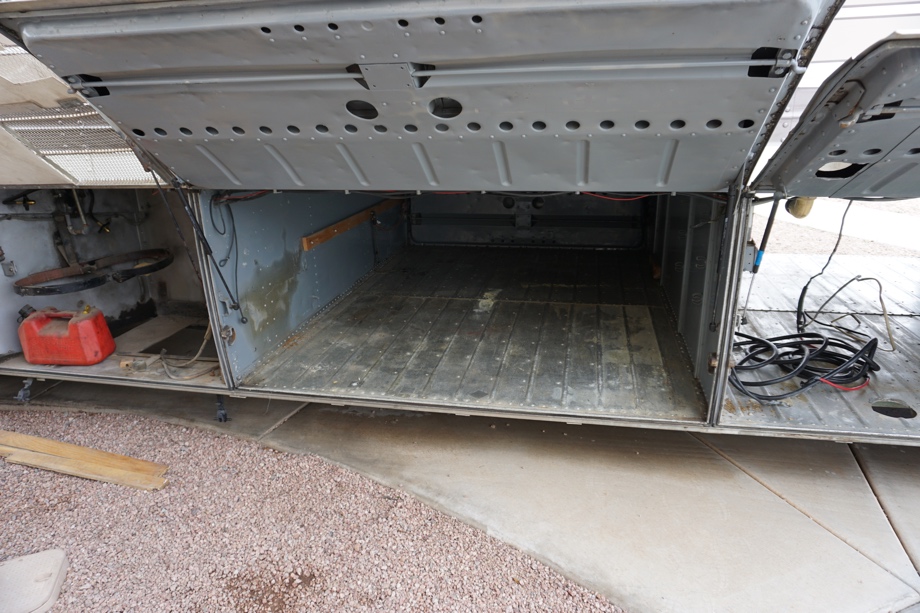
That is, if we can create more space for our batteries in a different bay hint hint so that we don't have to put them in this big pass through bay. That's what's coming up next time. See you all then!
Watch the video here:
Click here If you cannot see the video.

0 Comments
Comments powered by Disqus