


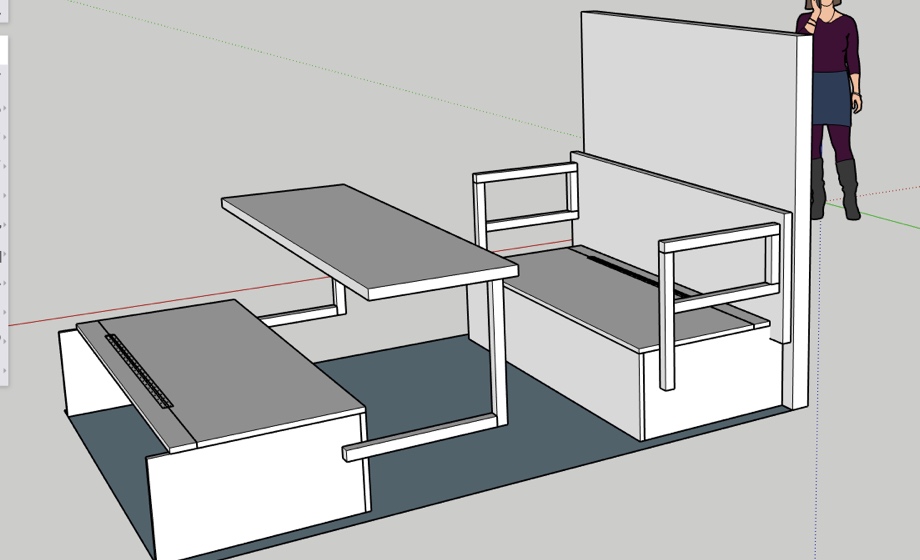
After finishing the first couch base last time, we moved onto figuring out the hinging arms (which also become table legs). We followed the measurements from our Sketchup design plans to cut and weld together the different pieces that make up the arms. We also made our own hinges using steel rod and tube. Finally, we tested out the pivoting arms and were able to see how close our digital measurements were to working in real life. After that, we were able to make the bench tops and move onto building the second couch. Last, we figured out a way to create telescoping legs that will allow the tables and couches to become a large bed.
Arms
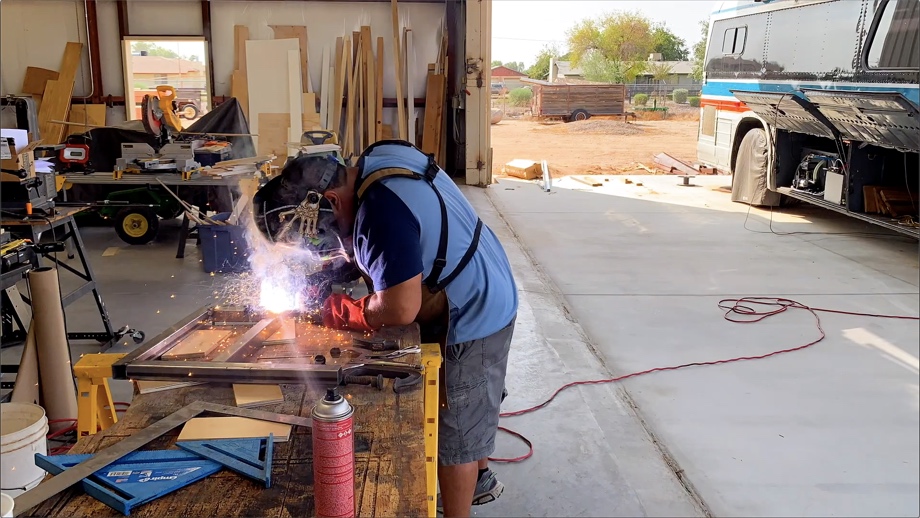
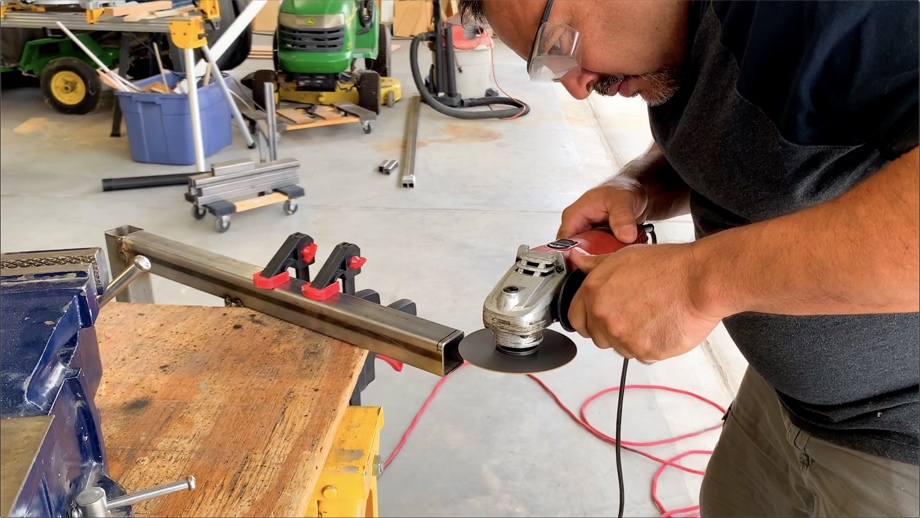
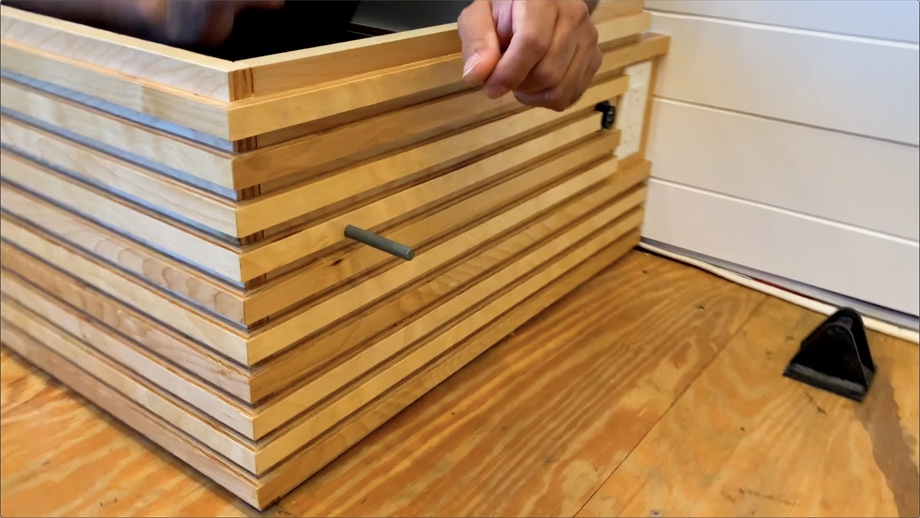
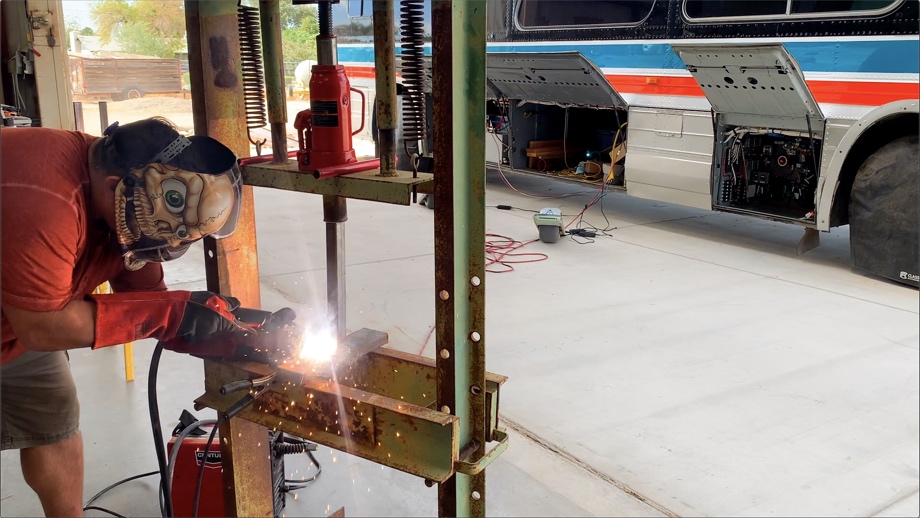
For the arms of the couches, which are also the supports for the table, we used 1 ½” steel tube. We created a rectangular design with one long side for hinging. Juan welded it all up and we were able to move onto the hinge design.

Hinge
We looked and looked at many different styles of available hinges and did not find anything we liked for this application. We didn’t want anything bulky. We didn’t want to have to build additional supports for it next to the couch. We knew we could figure out something simple. Juan decided to create his own by simply taking ½” steel tube and using it like a bushing. We could then use ⅜” steel rod to slide inside and the tube could rotate on the rod.
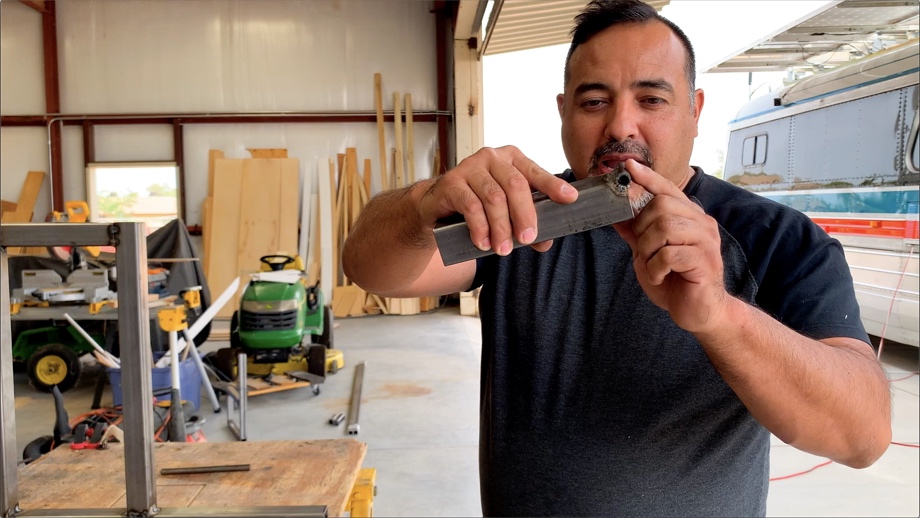
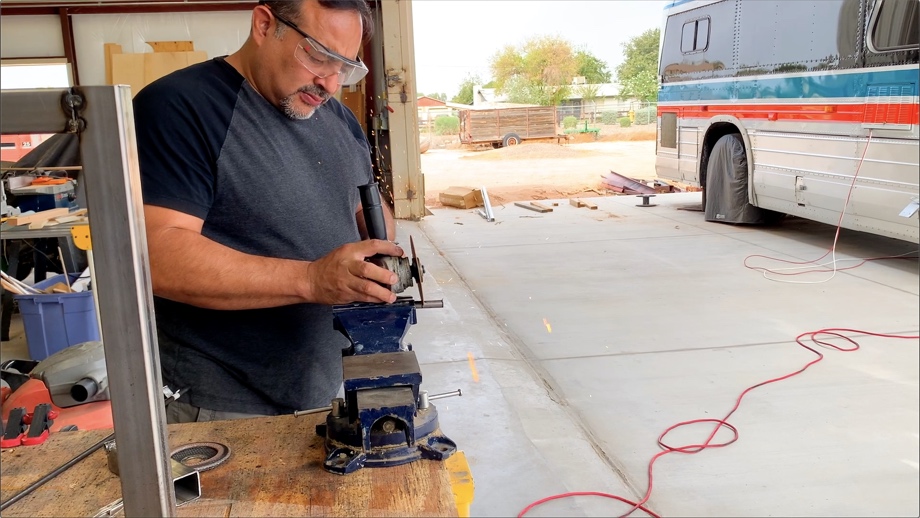
In order to get our pivot point in the exact right spot, we notched out the end of the 1 ½” square tube arm and welded in a 1 ½” piece of the ½” tube.
Then, Juan welded some ⅜” rod to some 2” angle iron. We drilled some holes in the angle iron and drilled a hole through the side of the couch. We put the rod through the side of the couch in our exact pivot point and screwed the angle iron to the inside of the couch.
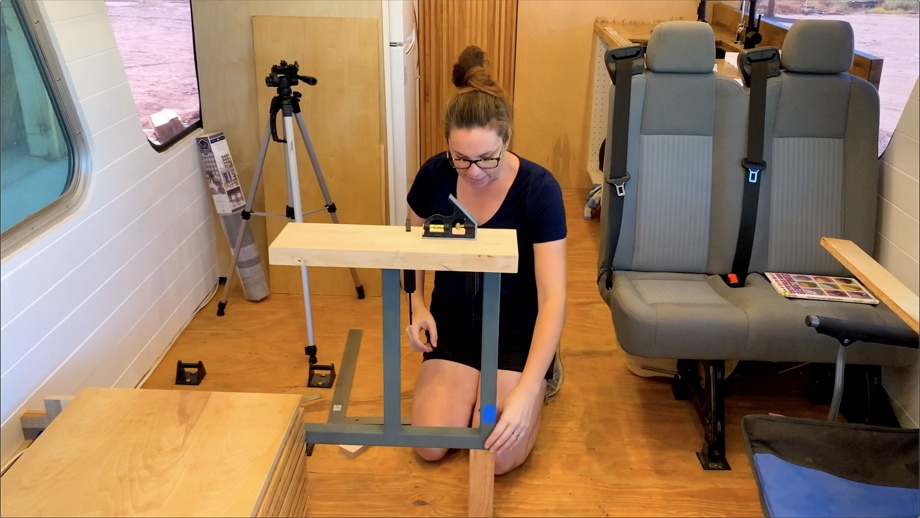
Testing the Pivot
We slid the arm onto the rod and it pivoted great. That was a success. What we did not know was whether or not our measurements were correct. Would the table top hit the wall when we pivoted it back into “couch mode”? Would the table top rest vertically behind the couch? Would the table top hit the back of the bench top? Time to test it out.
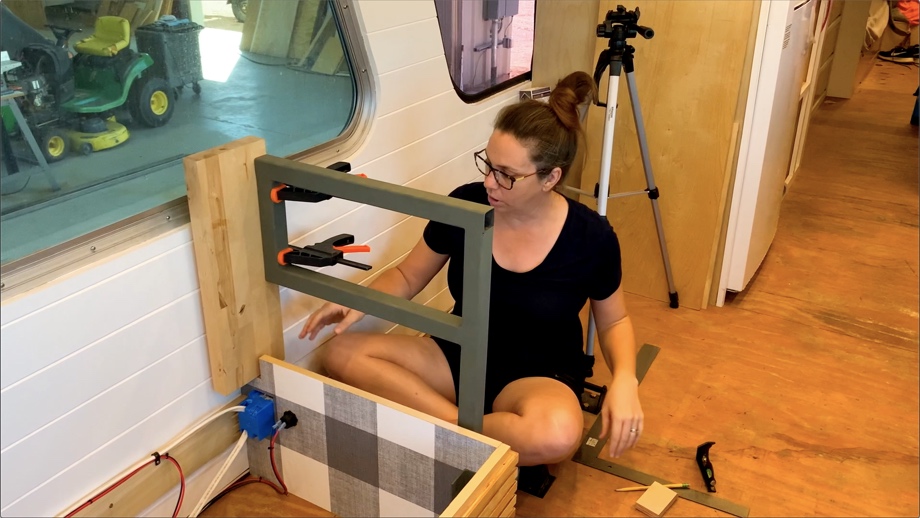
For the tabletop, we decided to use the same butcher block we used for the kitchen counters. Using a scrap leftover from the kitchen, we clamped it to the top of the arm and tested the pivot. Thankfully, it “mostly” worked. It did not hit the wall. It rested vertically behind the couch. However, it did catch a bit at the back of the bench top. That meant we had to do a little trim to the back of the bench top and the lip of the couch. No big deal. Other than that, we were very happy with how it all functioned.
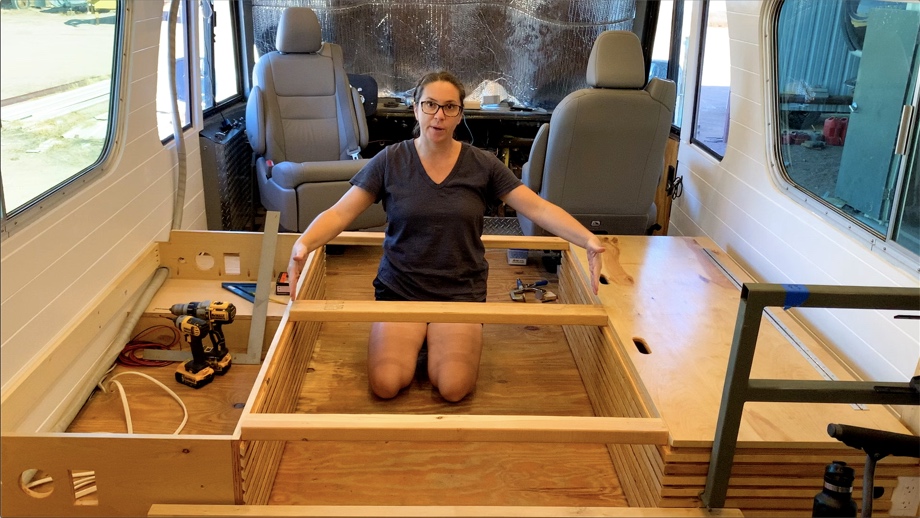
Bench Top
One of the great parts of this couch is the large amount of storage inside. We need to be able to access that easily. When creating the bench top, we made it in two pieces to allow the lid to hinge. First, the narrow piece in the back is attached to the couch box with blocks that are screwed into the side of the couch. The main large bench top is then connected to the narrow piece with a long piano hinge.
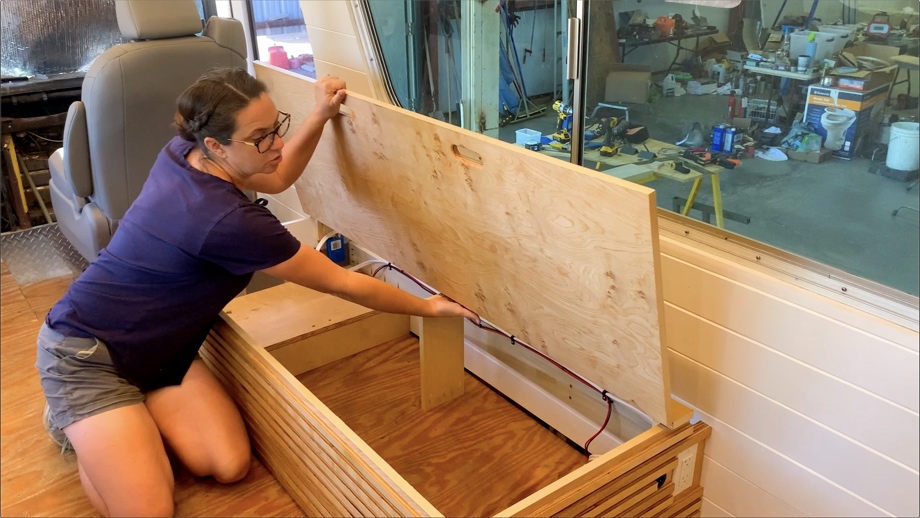
Juan routed out two handholds in the front to lift the lid easily. We will also add gas struts to assist in lifting the lid and holding it up. Finally, we added a small center support under the back of the lid to prevent any bowing in the middle as we sit three or four people across.
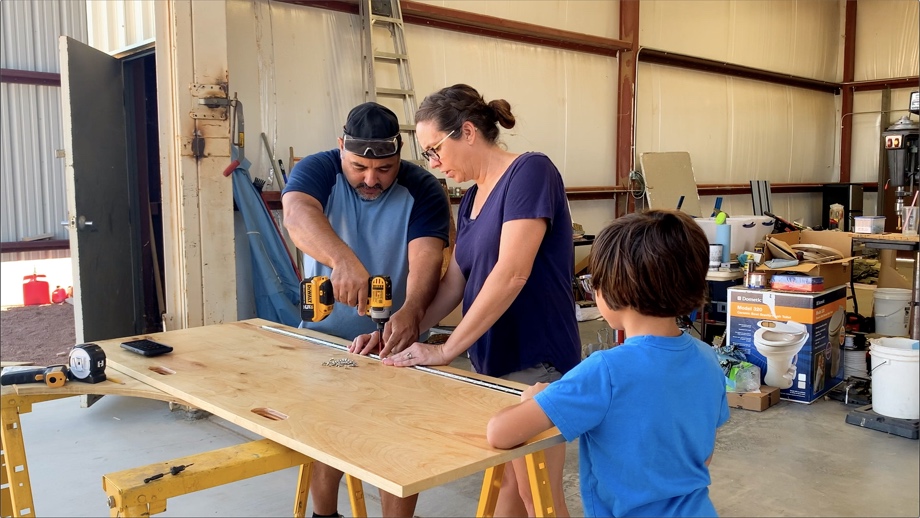
Second Couch Build
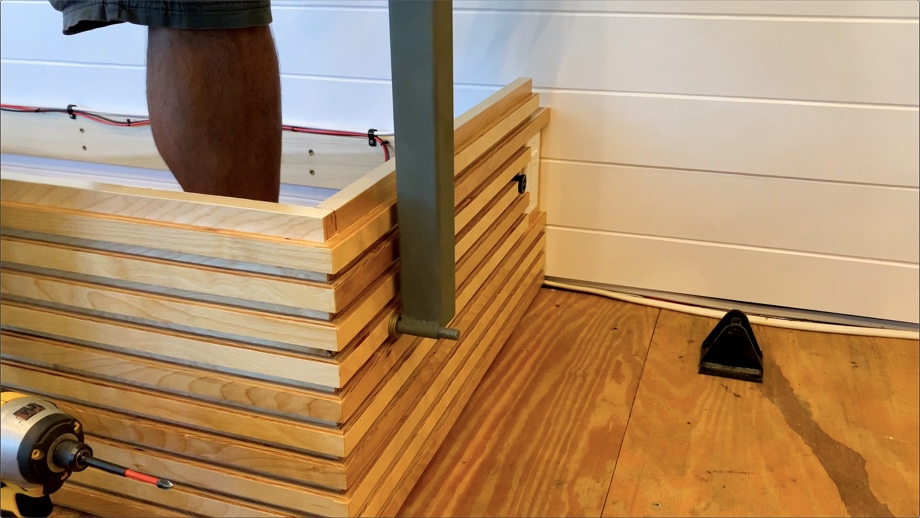
After we worked out all the kinks on the first couch, we were able to put the second couch together a bit more quickly. The only difference between the two couches is that the second couch has mini-split air conditioner lines running inside of it, and we also installed a diesel heater in it which vents out both sides of the couch.
The most important part of installing the second couch was the alignment with the first couch. In order for the tables to meet in the middle when they are in “table mode”, the couches have to be perfectly aligned front to back. In order for the table to become a bed, everything has to be 100% square in the middle. We cut some 2x4s to the exact distance we needed between the couches to keep it all square, and we used a long board to align them both front to back. With these boards in place, we pocket holed the second couch down into the floor.
Bed Legs
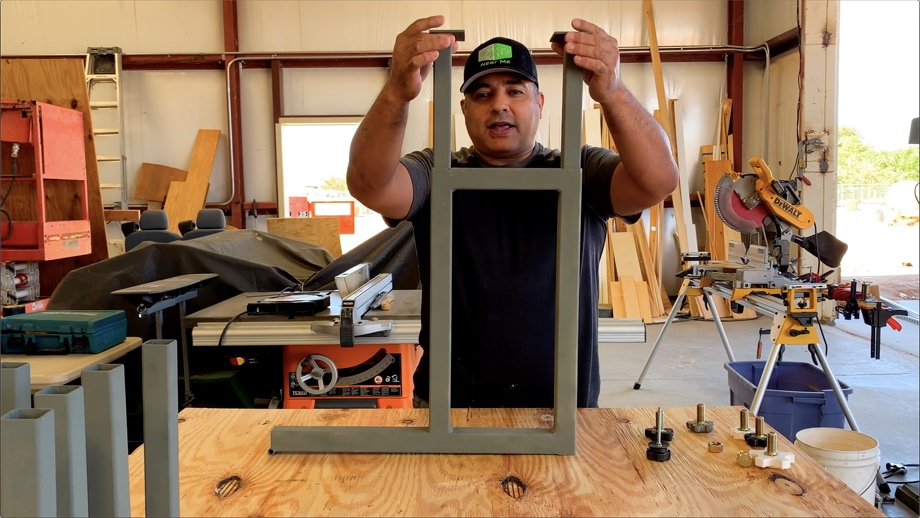
We were so thankful to find the Evans family and their table/couch plan on YouTube. It helped us get two-thirds of the way to our couches/table/bed goals. Because their design does not turn into a bed, we had to start from scratch with a plan for “bed mode”. The Evans family used a telescoping leg that dropped down out of the arm to become the table leg. That was originally our plan, as well, and we were hoping we could do the same type of thing for a bed leg. Unfortunately, the arms are not long enough to hide both a table leg and a bed leg inside. We had to compromise somewhere.
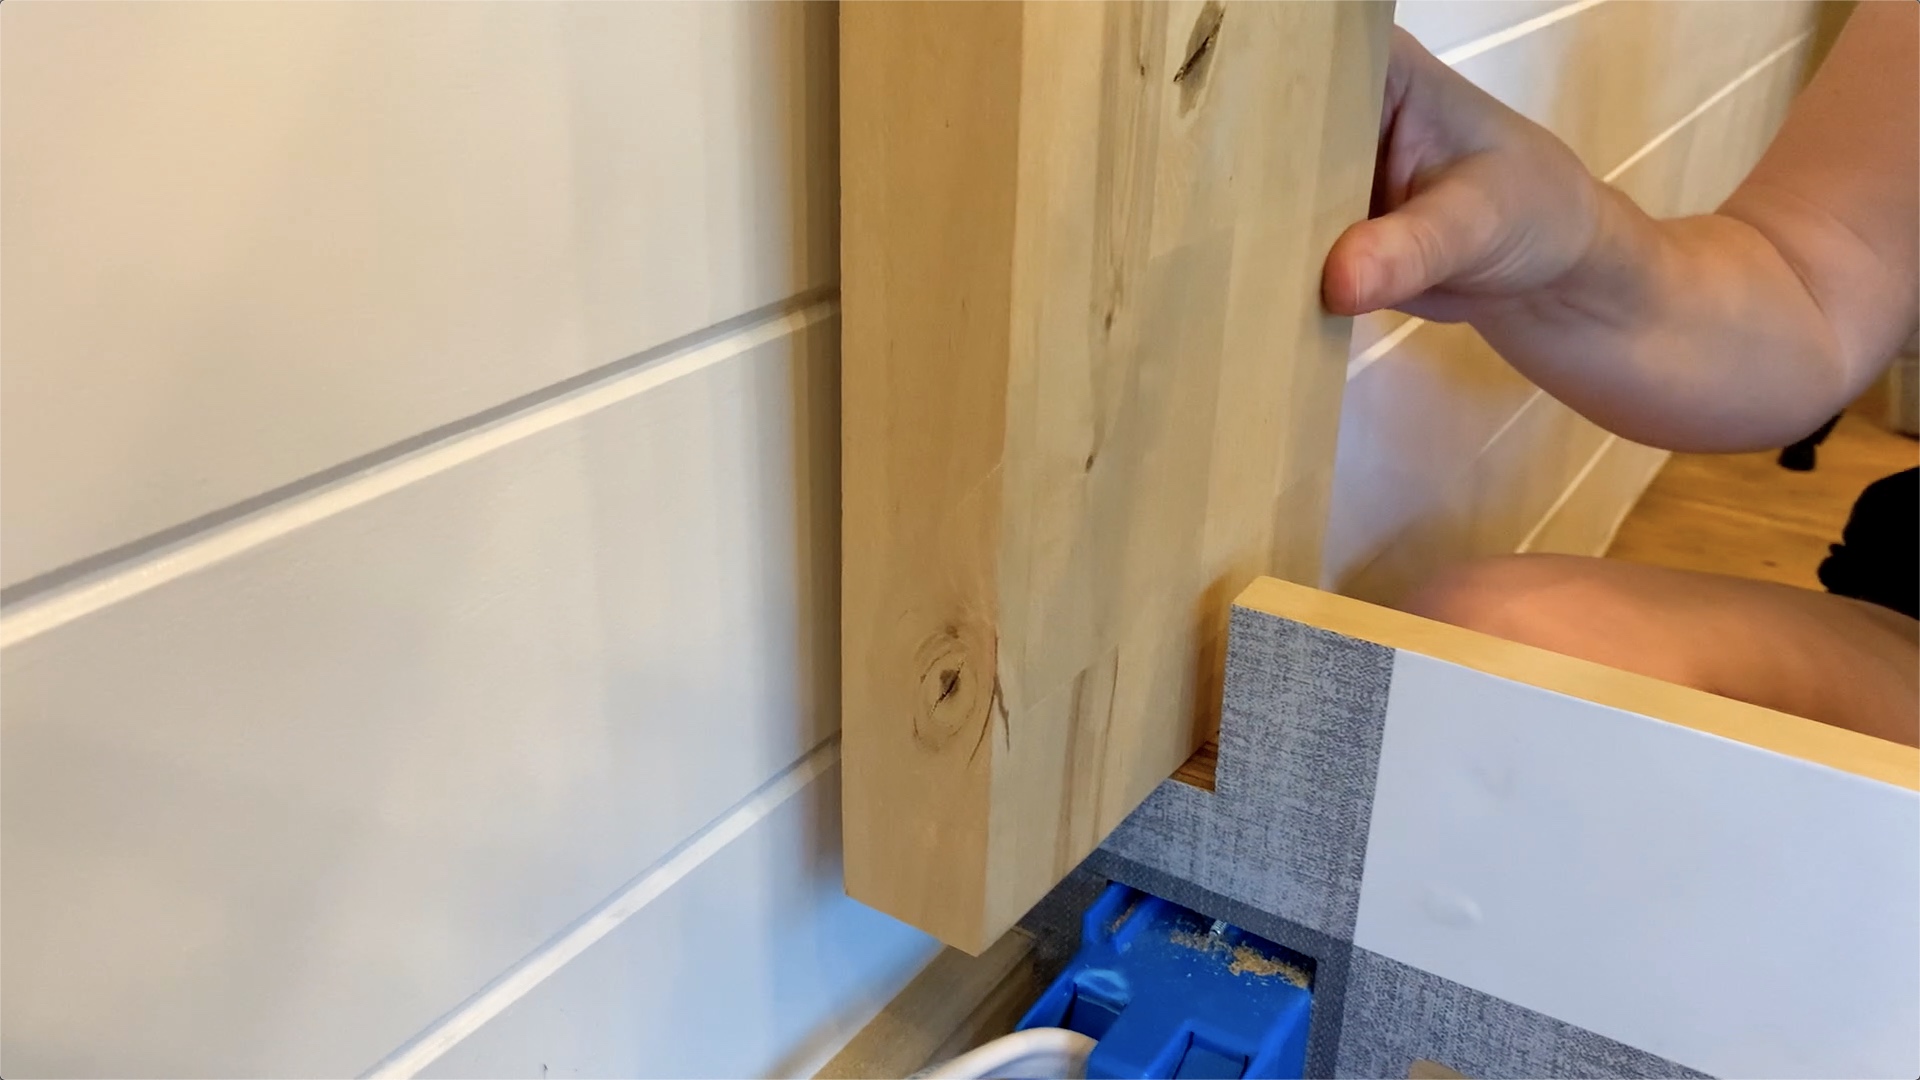
After quite a bit of tossing around different options, we landed on what worked best for us. The bed legs would telescope down into the arms and then we would figure out a removable table leg extension.
Time to make these bed legs. The reason that we changed the original table support design from the way the Evans family did it was that we wanted each side of the table to have four legs. That meant we needed each arm to have two “legs” for the bed legs to telescope into, hence the rectangular design of the arms.
We used 1 ¼” square tube with a welded piece of ⅛” flat steel on top. The 1 ¼” square tube fits perfectly inside the 1 ½” square tube of the arms. The flat steel top will be recessed up into the table and screwed in. The idea is that we would be able to simply lift up the tabletop and the smaller legs would slide out of the arms. Then, we move the arms out of the way and the tabletop is now just a really short table that sits on the floor at the exact height of the couch, being supported by the legs and also resting on the top slat of each couch. When both table tops are down low in between the two couches, it makes one large flat surface for a bed.
Coming up Next in this Project
We build the tabletops, encounter a problem with the bed legs, fix that problem with the bed legs, find a solution for the table legs, and finally put it all together for a finished product.
Watch the video:
Click here If you cannot see the video.


0 Comments
Comments powered by Disqus