


In Part 1 of our Dash Rehab series, we showed you how bad the dash panel looked. The gauges were no exception. A couple of the gauges didn’t work at all, the speedometer did a needle-bounce under 20mph, there wasn’t a tachometer at all, and they were all mismatched. So, we decided to buy all new gauges.
We ordered them from Speedhut. They have all sorts of customizing options, and we took full advantage. We can’t wait to show them to you because they are awesome! But, you will have to wait just a bit before we get to the fun, pretty part.
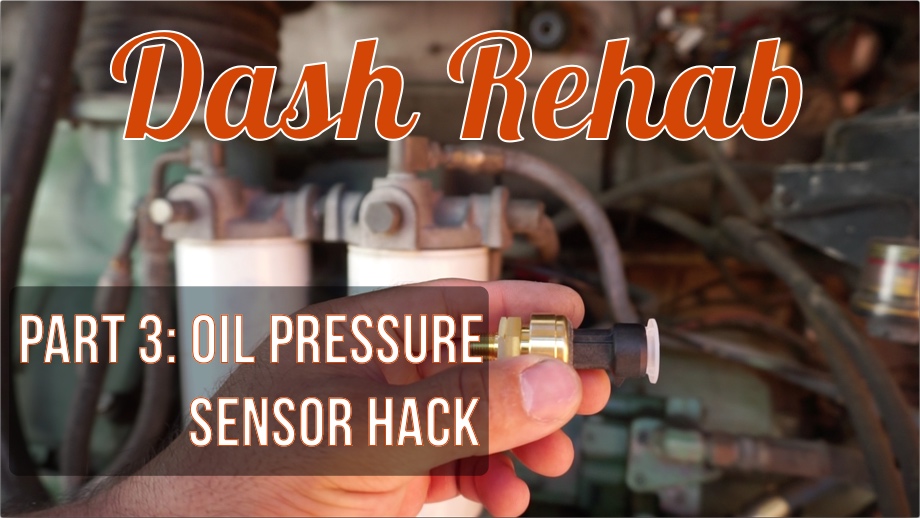
First things first - installing all new sensors. Today, we are focusing on the new sensor for the oil pressure gauge. This one was a little tricky because the wiring for the new sensor was different than the wiring for the original sensor. The original sensor had one wire that ran from the back of the bus to the front of the bus - probably 40 -45 feet with the run from the engine bay, under the bus, and then back up into the driver’s area and into the dash (the bus is 35 feet long).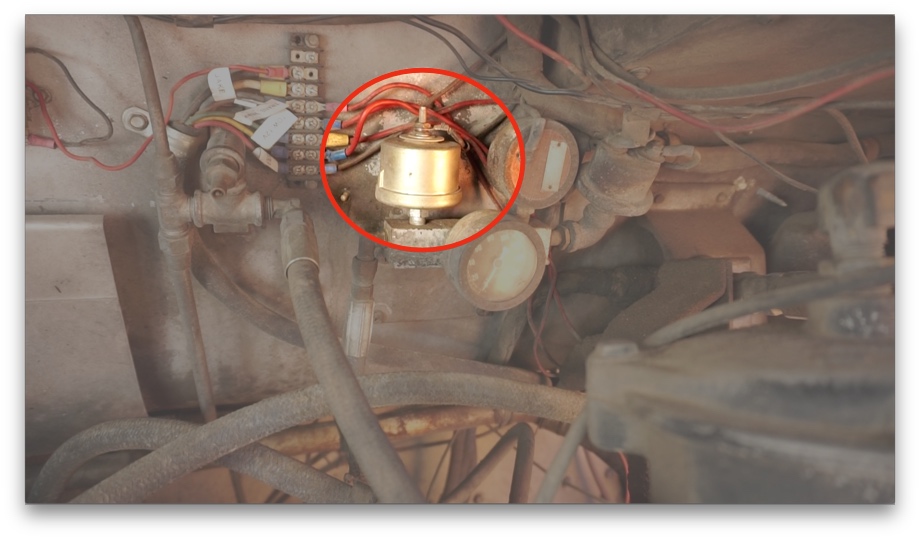
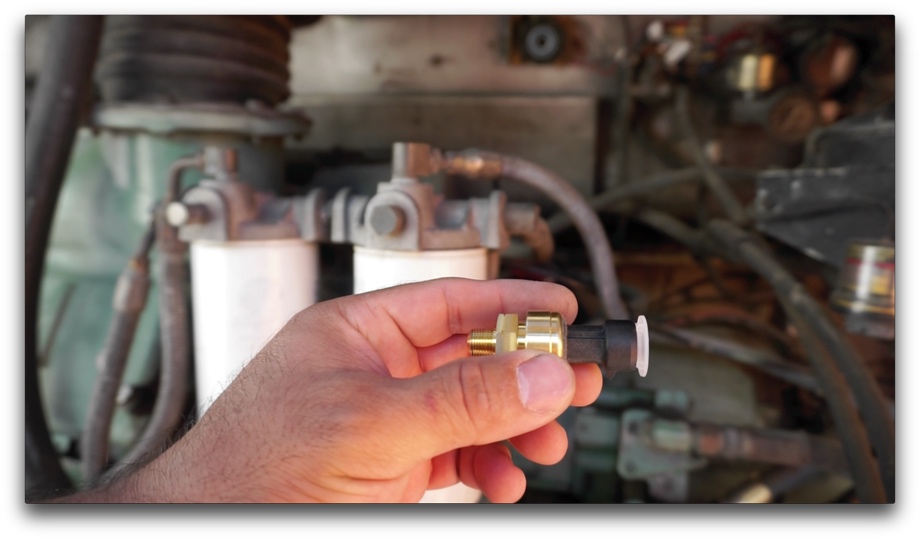
However, the new sensor has three wires. One wire is ground, one wire is the signal, and one wire gives 5V. And, because these gauges and sensors are mostly used in cars, they only come with about six feet of the wires. We really didn’t want to have to run three new wires all the way from the back to the front of the bus. So, Juan got creative.
He came up with a plan to reuse just the one signal wire already in place. First, however, he called the tech at Speedhut to verify that his plan was okay and would work with the gauge. The tech was extremely helpful and gave him the A-OK.
Juan’s idea was to generate 5V and wire the ground in the back of the bus. That would eliminate those two extra wires needing to be run to the front. Luckily, there is an electrical panel on the rear passenger side of the bus, just in front of the engine bay. In that panel, we found a terminal providing 12V that was no longer needed for any current functions on the bus. (The one we chose had been used for an alarm buzzer.) And, we also found a ground terminal.
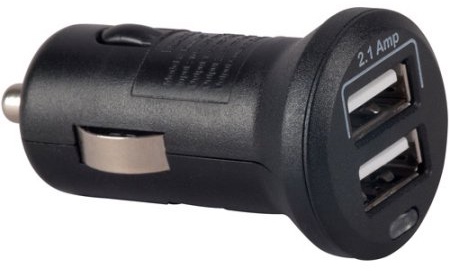
The tricky part came in generating the 5V. Luckily, USB chargers are basically a 12V to 5V converter. Juan went and bought a really simple USB charger from Walmart (a cigarette lighter type) and took the casing off.
Then, Juan soldered JST battery connectors (pigtails) to the USB charger circuit board. He took the other end of the JST battery connectors and put some ring terminals on them. The ring terminals were then connected that to that 12V terminal and the ground terminal in the electrical panel. He connected the pigtails, and we had 12V and ground going into our converter. So far, so good.
Next, Juan simply soldered another JST battery connector to the other end of the charger circuit board. He took the other side of those connectors and soldered them to the original 5V and ground wiring for the new sensor. 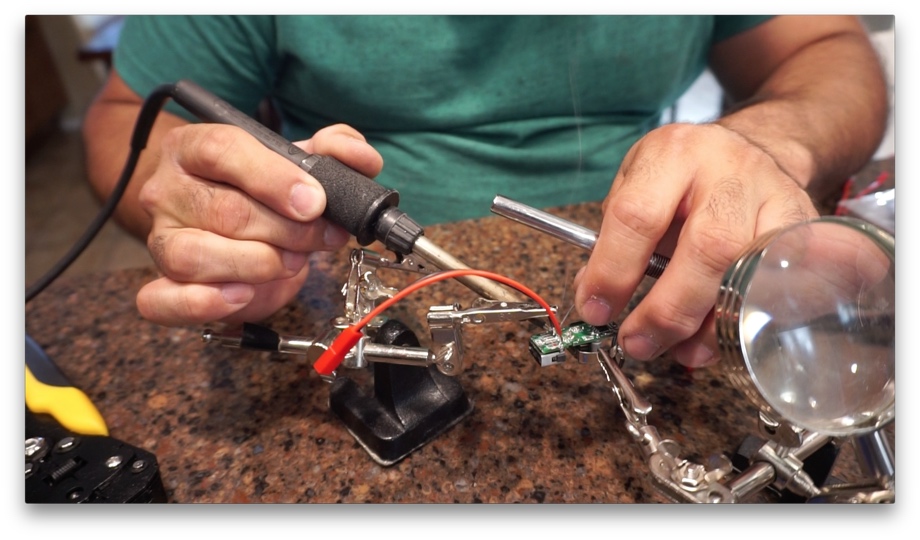
Black heavy shrink wrap was used to try to weather-proof the circuit as much as possible. We could have simply soldered everything straight to the USB circuit board. But, by using the connectors (pigtails), if that little charger ever goes bad, we can simply unsnap the connectors and replace it, only having to redo that small piece. (In hindsight, we could have simply wired up an actual cigarette lighter back in that panel, and then just used the actual plugin USB charger and wired that up. But, you know what they say about hindsight being 20/20.)
We fed the wires through a hole between that panel and the engine bay. Then, we weaved them up to the oil pressure sensor. 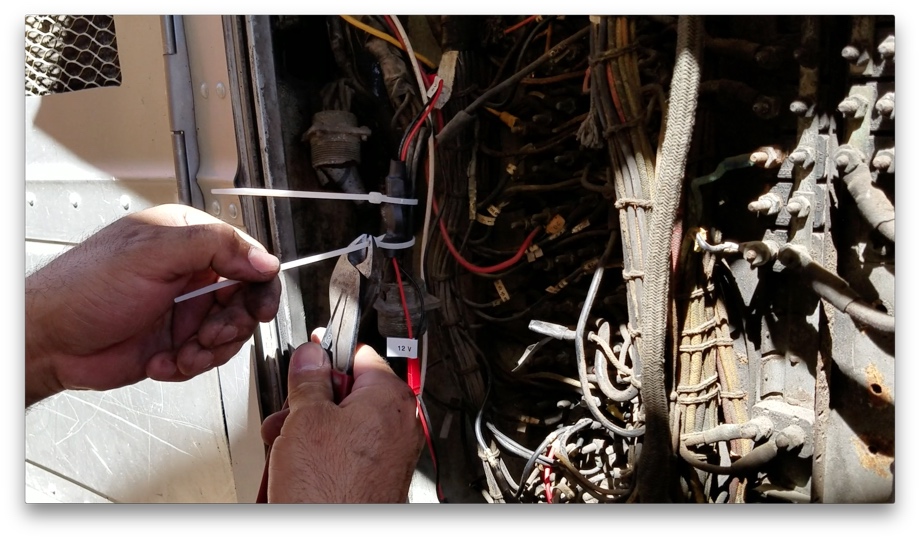
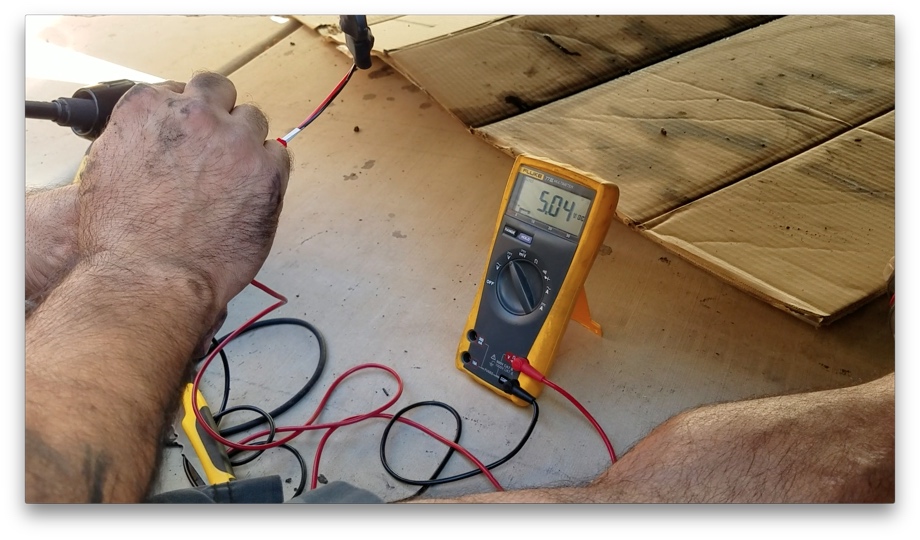
Of course, we triple checked with the voltmeter, but every time we got a 5V reading coming out. Success!
Now, all we had to do was solder together the signal wire that came with the sensor to the original wire that runs to the front of the bus. It was tight quarters soldering all the way in the back of the engine bay. 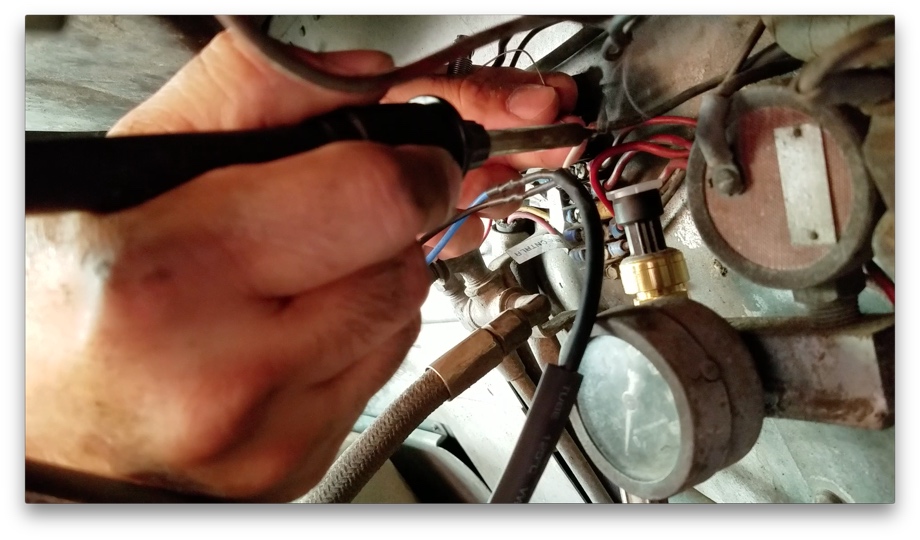
Finally, we connected the plug to the oil pressure sensor.
Juan temporarily connected the new oil pressure gauge up front, just clipping wires together. When we fired up the bus and the gauge quickly climbed to pressure, we celebrated. Juan’s little hack had worked great. 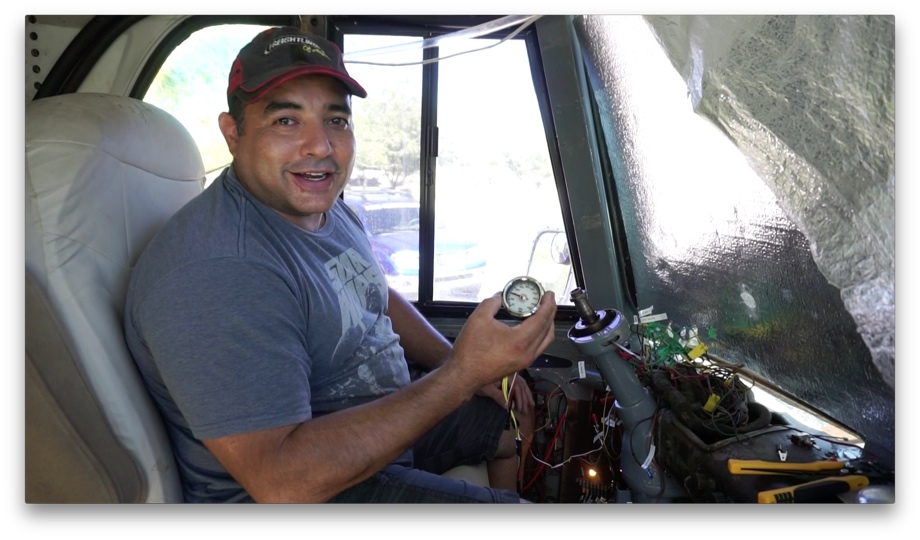
So, there is our little trick for generating 5V. Find a 12V and ground source, grab a USB charger, and wire it up. Works like a charm!
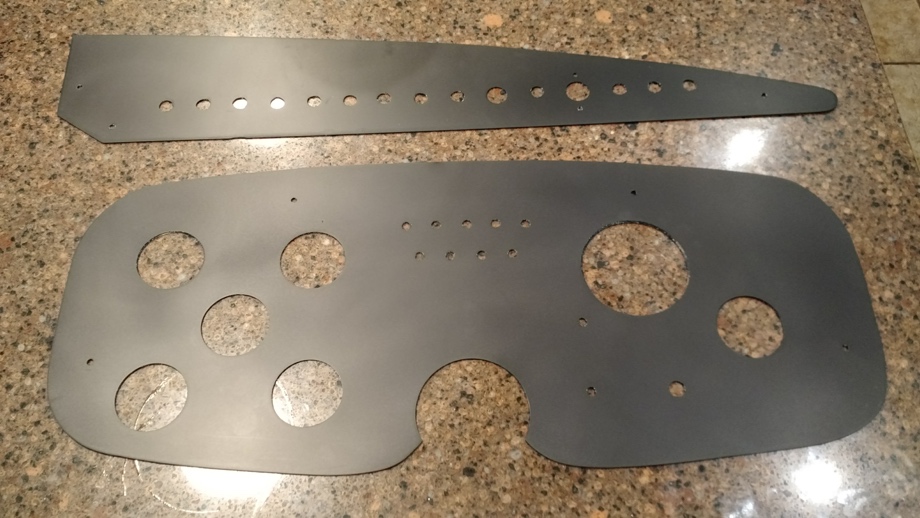
Oh, and we did get our panels back from the anodizer. They are a matte black and look great. (We forgot to get a picture in good lighting before we installed them.)
Next up in the dash rehab series: wiring in a tachometer when there was never one before
Check out the video:
Click here If you cannot see the video.

0 Comments
Comments powered by Disqus