


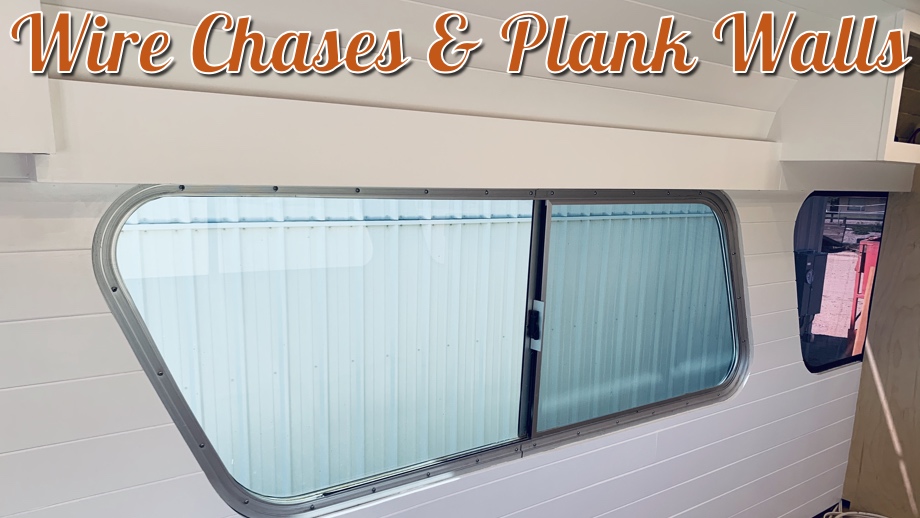
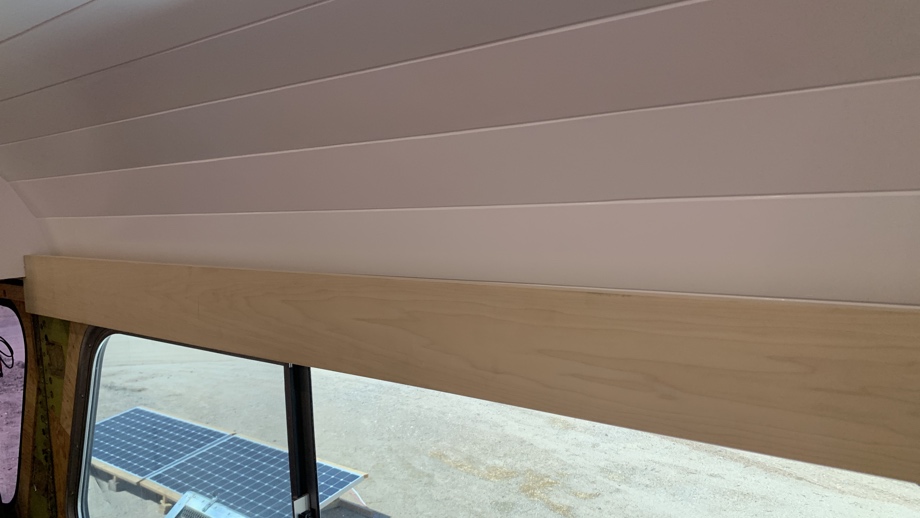
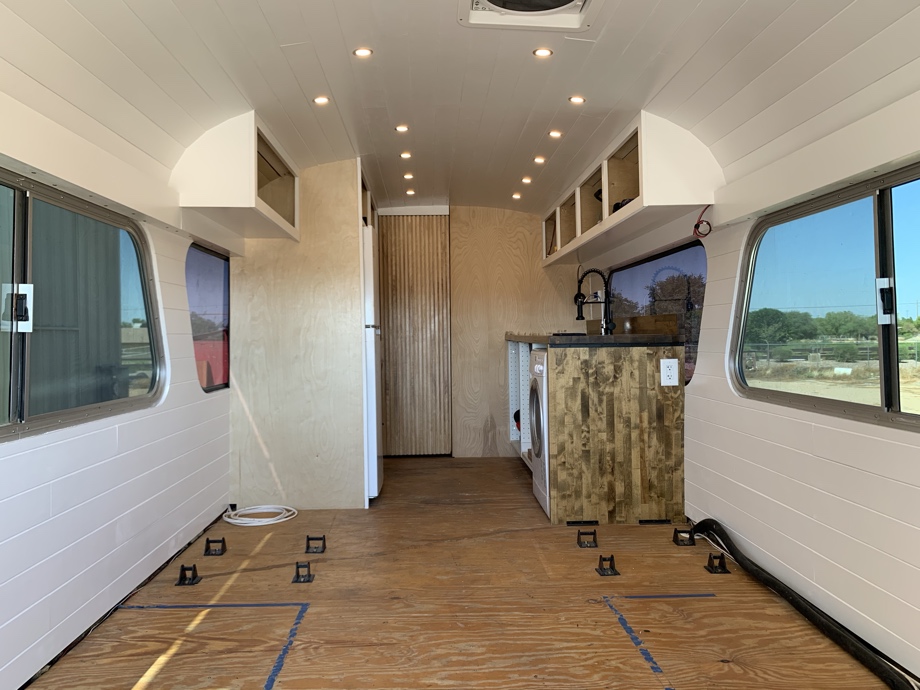
After finishing the ceiling in the kitchen/living room and front cab, we were ready to tackle the walls. However, before we could begin planking the walls, we had to deal with all of the wires in our “wire chase” that runs the length of the bus on both sides just above the windows. We wanted to cover the wires but leave ourselves access to them. We decided to create open boxes (well - half boxes) that would hide the wires, provide a place to hide some LED light strips for uplighting, and also securely attach window treatments.
Back when this bus was a passenger bus, there were overhead storage bins that mounted with large bolts to the framework. There are nuts welded behind the metal above the windows. When we framed around the windows, we drilled out holes so we could access these nuts in the future. Well, the time had come to take advantage of such strong mounting points. We decided to use these welded-in nuts to bolt in mounting blocks for these half-boxes.
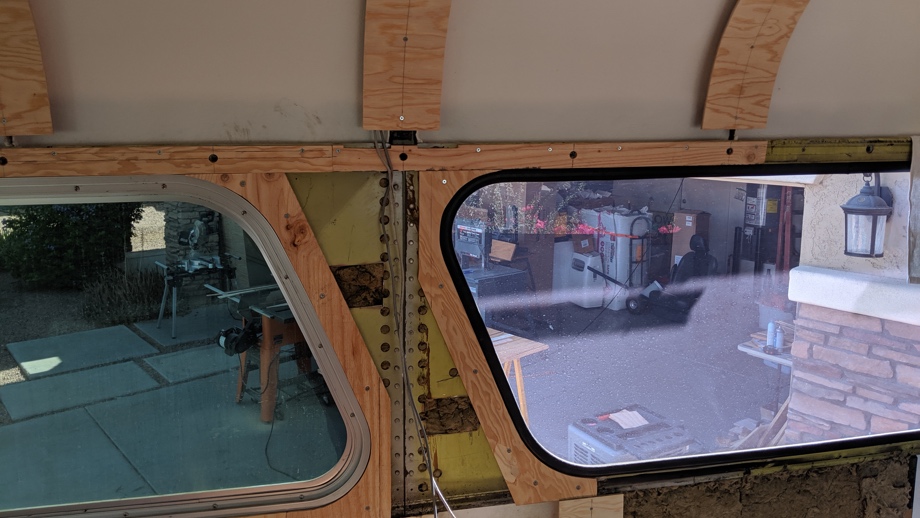
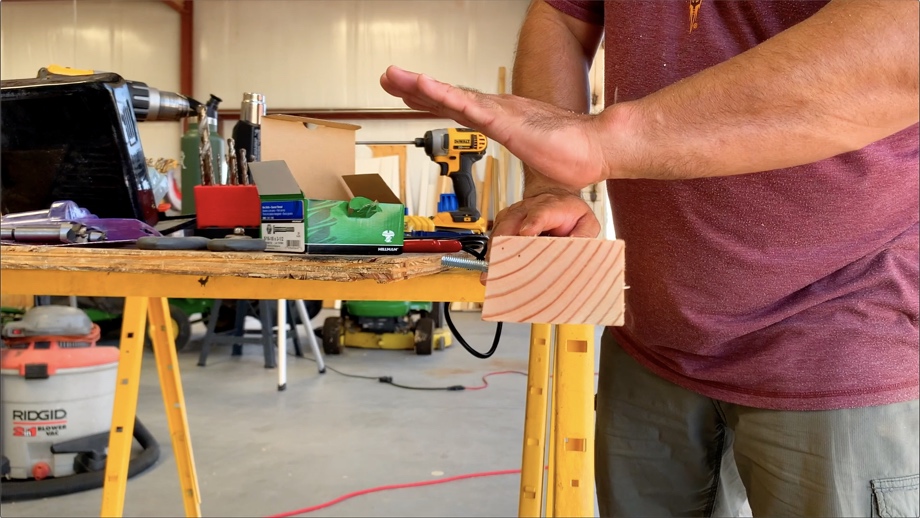
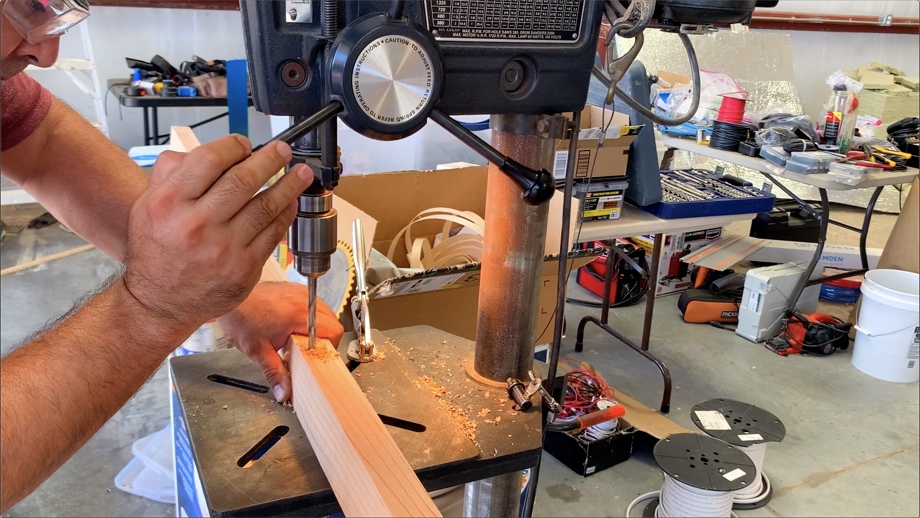
Step one was to create these mounting blocks. The challenge here was that the walls are not vertical. They curve in at about a 7° angle at this point in the wall. We did not want our box to angle like that. So, we took out the angle by cutting and shaping a 2x4 to be angled on one side but not the other.
Then, the challenge came in drilling out the holes for the bolts. Because the wall itself is angled, the bolts will also need to go in at the same angle. In order to do that, we had to place the angled side of our block down on the drill press. When we drilled through, it made the bolt hole low on the front side and centered on the back. We used a Forstner bit to countersink the large bolt heads and also leave ourselves room to fit the socket around it. Finally, we were able to secure the mounting blocks and were ready to make the boxes.
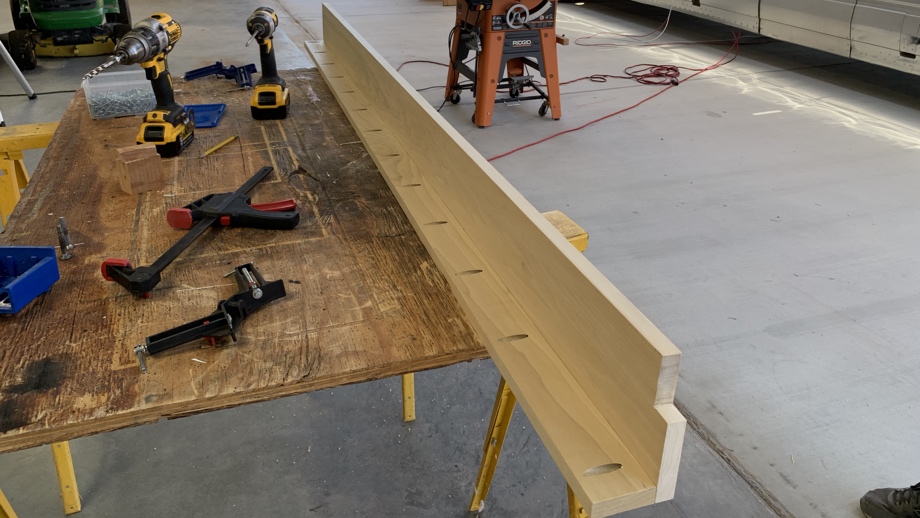
The boxes are simply ¾” poplar, pocket screwed together to make an L-shape. The trickiest part of this was simply making some cut outs to fit under the lip of the kitchen upper cabinet. After priming and painting them, we installed them by screwing them into the underside of the mounting blocks. The wires lay inside on top of the mounting blocks, perfectly hidden away. If we ever need to address any wiring issues, we can unscrew the boxes and have full access.
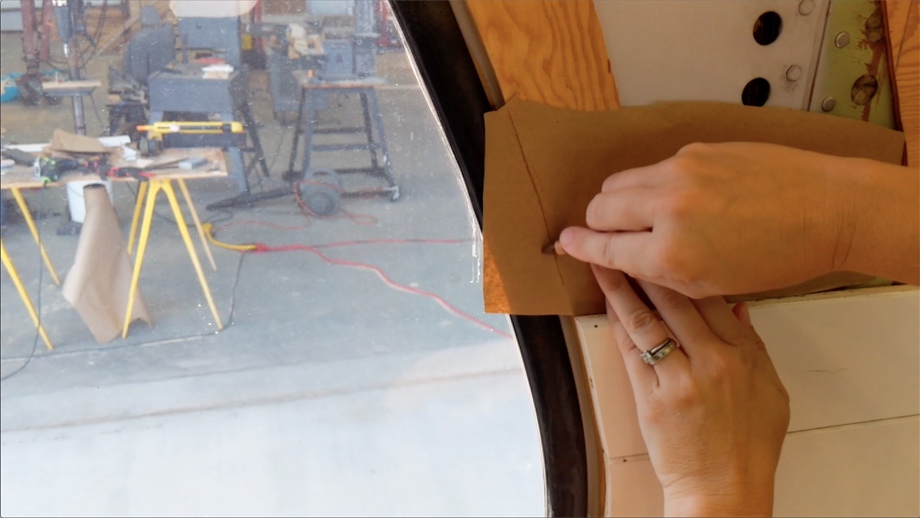
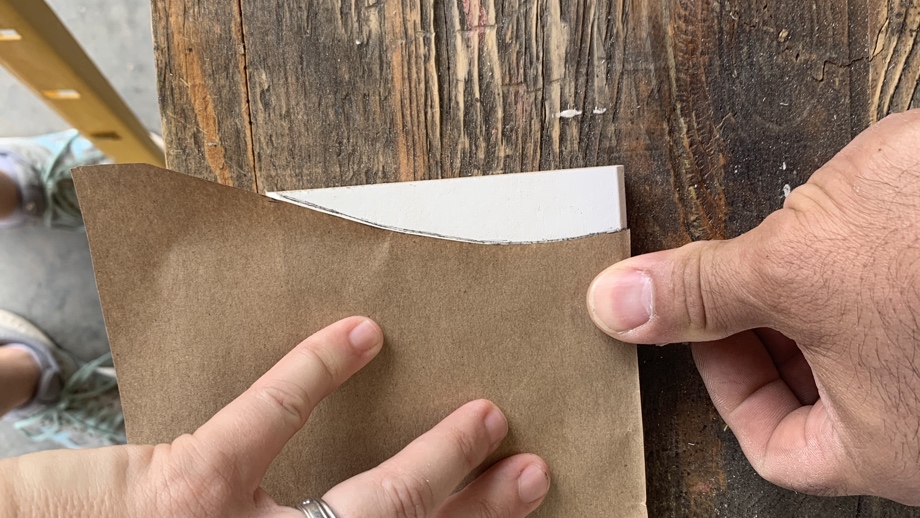
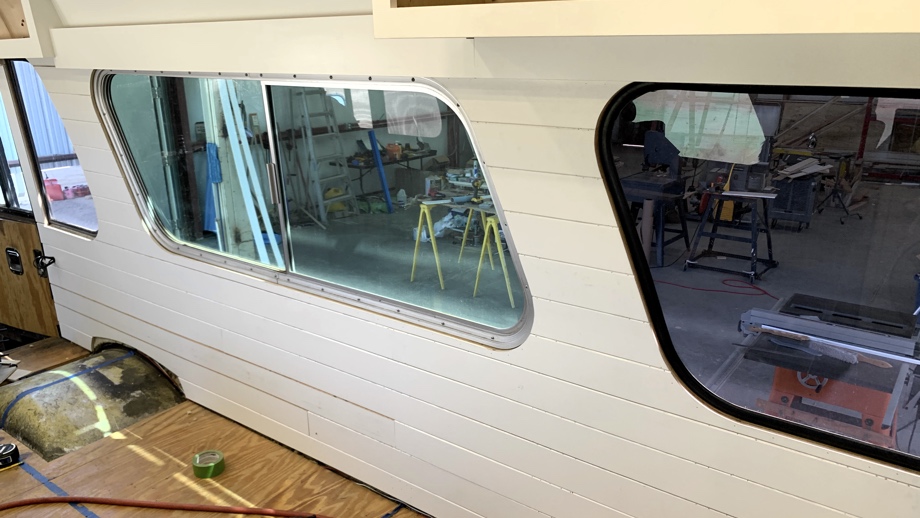
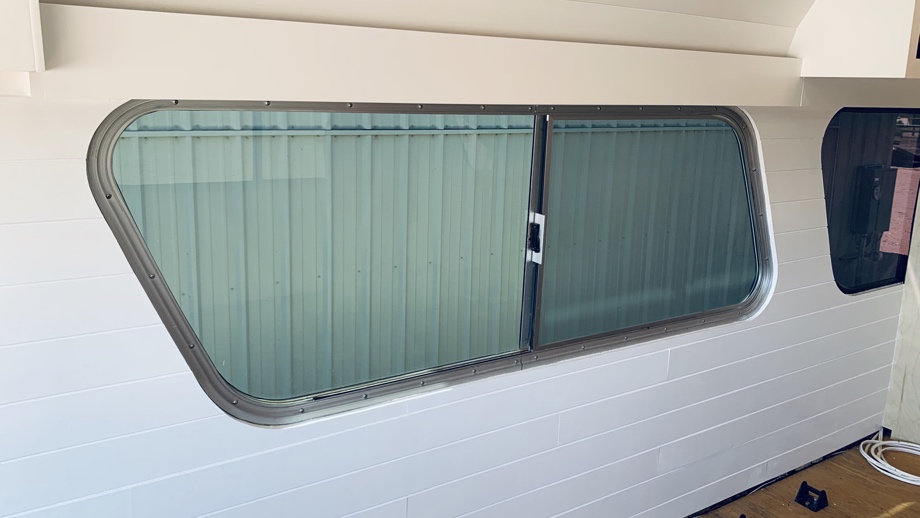
Finally, we were ready to plank the walls. Just like the rest of the bus, we used ½” birch plywood cut in 4” strips with chamfered edges, glued and brad nailed to the furring strips. The tricky part of this step was working around the curves of the windows. We went pretty old-school here. To match the curves, we simply lined up a straight slat with the previous piece and made a tick mark where it met the window on both the top and bottom. Then, I laid a piece of brown craft paper over the edge of the window frame and rubbed a crayon along the curve. Next, I cut on my crayon line, lined that up with my top and bottom tick marks on the plank, and traced the curve. We cut out the curve using the band saw and the bench sander. This simple technique worked really well to match the curves.
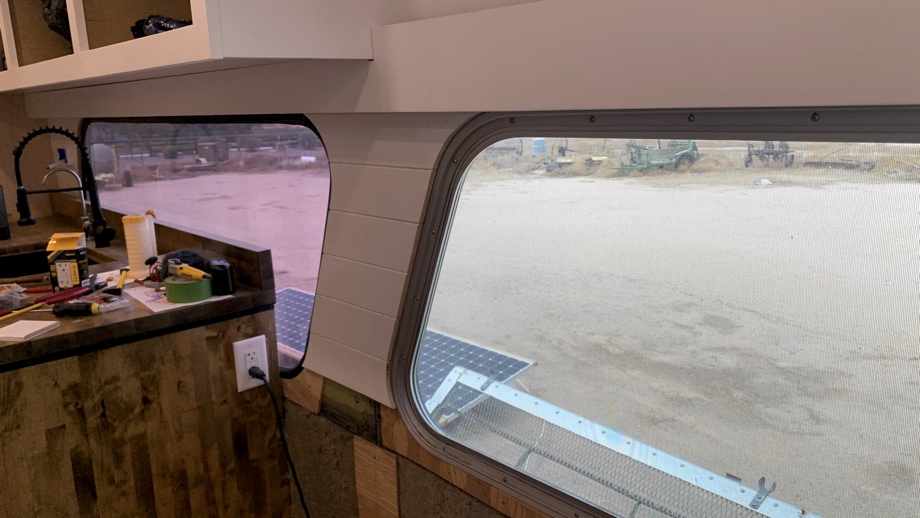
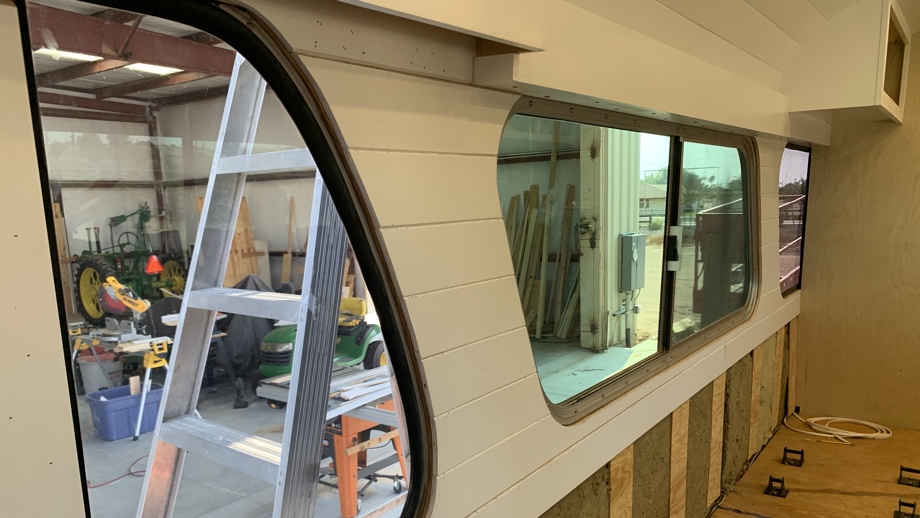
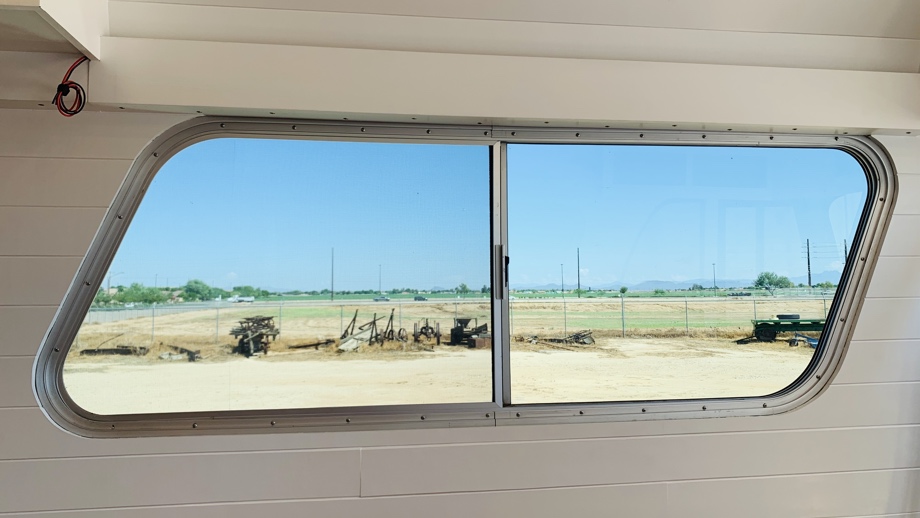
We worked our way down and around each window and then down to the floors. Again, we left a slight gap above the floors for our lower-level wire chases. Finally, after finishing all the planking, we tackled the tedious trim work. We caulked every groove, spackled any remaining visible nail holes, and painted the grooves with small art brushes. The very last step was to clean up and paint all the edges of the wood that now create a window trim.
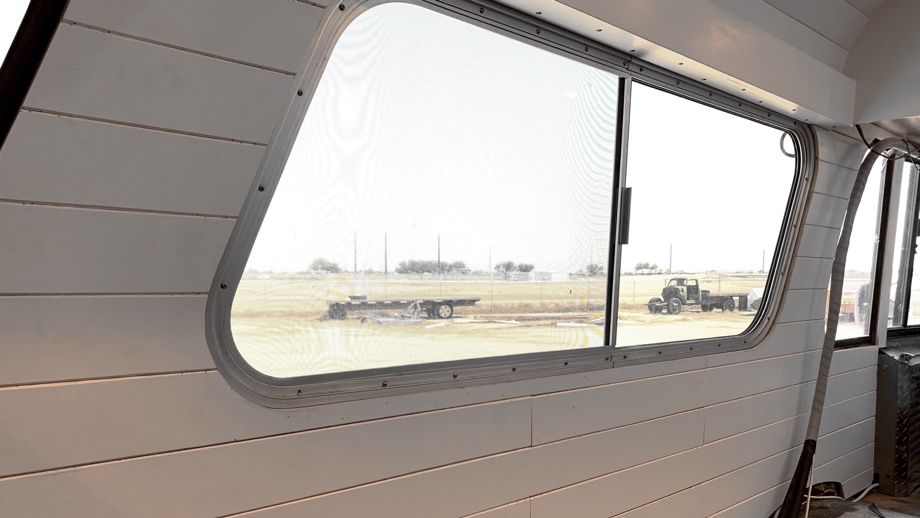
This project made such a huge difference in the feel of the bus. More of the “guts” of the bus are now covered and little by little it feels like home.
Watch the video:
Click here If you cannot see the video.


0 Comments
Comments powered by Disqus