


After plumbing the toilet drain into the waste tank, we were ready to secure the tanks and then plumb the sewer drain. We will follow up later about how we are securing the tanks (we haven’t finished securing the fresh water tank yet), so for now, we will move on to the sewer drain.
The waste tank from the previous owner was a little different than ours in that it was elevated on a shelf, and the drain came out the bottom of the tank and straight through a hole in the bay floor.
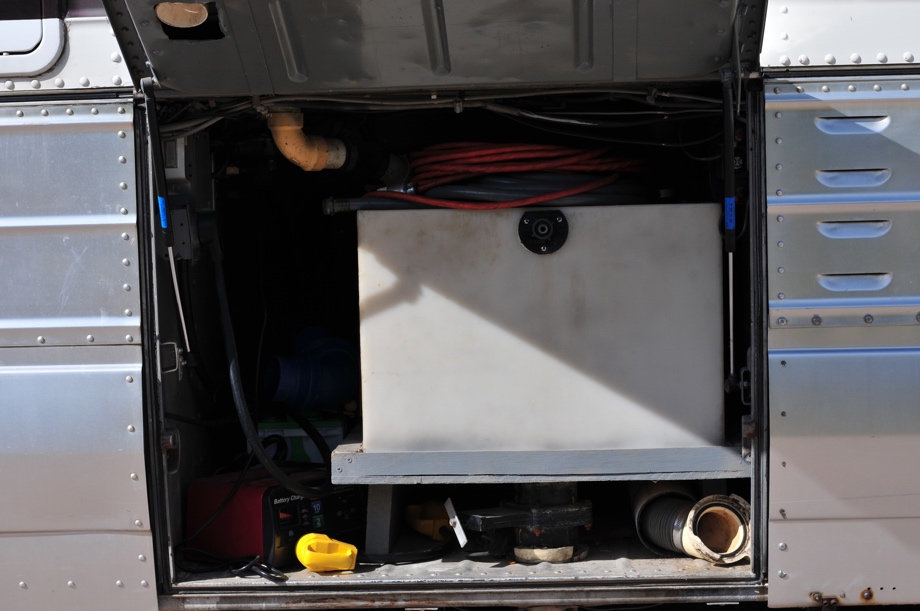
Our tank is not elevated, but we planned to reuse that hole in the bay floor. When we designed our tank, we placed the drain as low as possible on the side of the tank and lined that drain fitting up with the hole in the floor. We planned to put the gate valve on the fitting and then use an elbow to go out that hole in the floor. We would then use a traditional RV (a bayonet style) sewer drain hose.
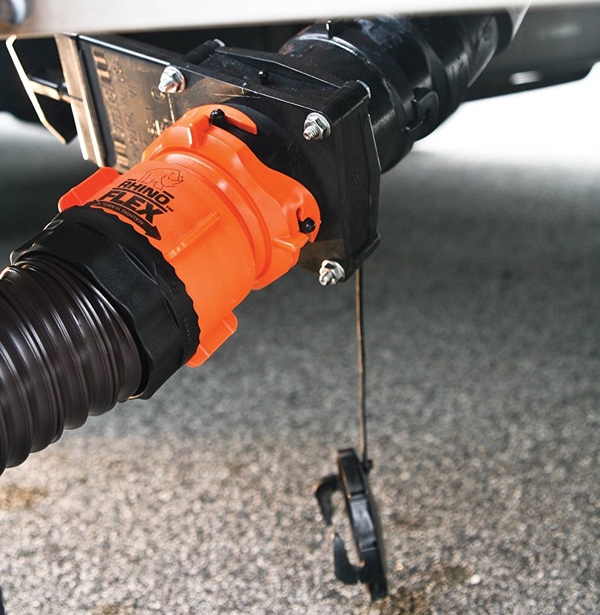
However, since we planned out and had our tanks made a year ago, we have done more research. In our research, we came across several reviews of the Waste Master sewer hose system. It has several interesting features, but the main one that interested us is the cam style connection to the plumbing. There is no twisting involved. Simply push it on and close the latches.
 All of the reviews were very positive. On the other hand, we have heard several reviews of the bayonet style connections breaking or being difficult to get a tight seal on the standard sewer hoses. We decided to go ahead and order the Waste Master system and see if we could make it work with our plumbing plan.
When it arrived, we were really impressed with how simply and easily it locks on. We had previously purchased some plumbing fittings with the bayonet type mechanism. And, truthfully, it is kind of difficult to open and close tightly. The cam locks of the Waste Master are physically much easier to close and open compared to twisting the bayonet fitting, but we will also worry a lot less about leaks with this system.
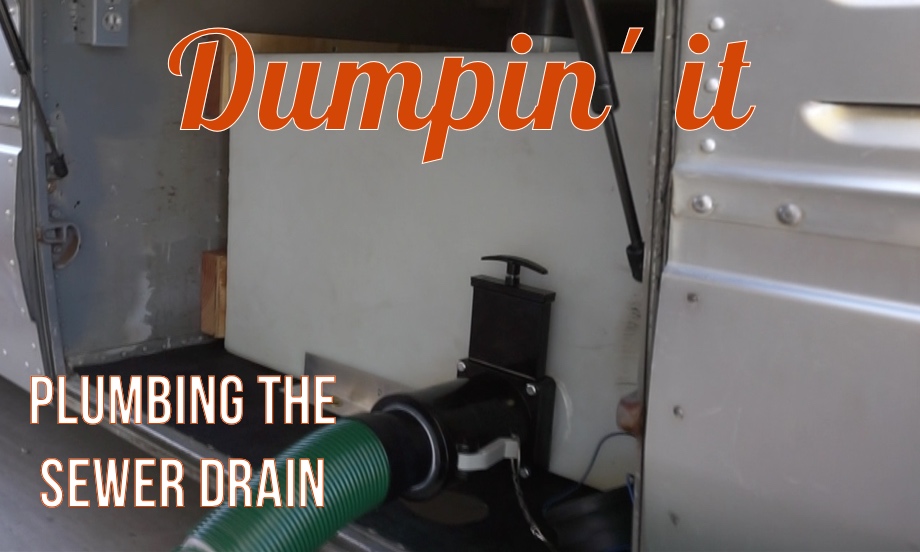
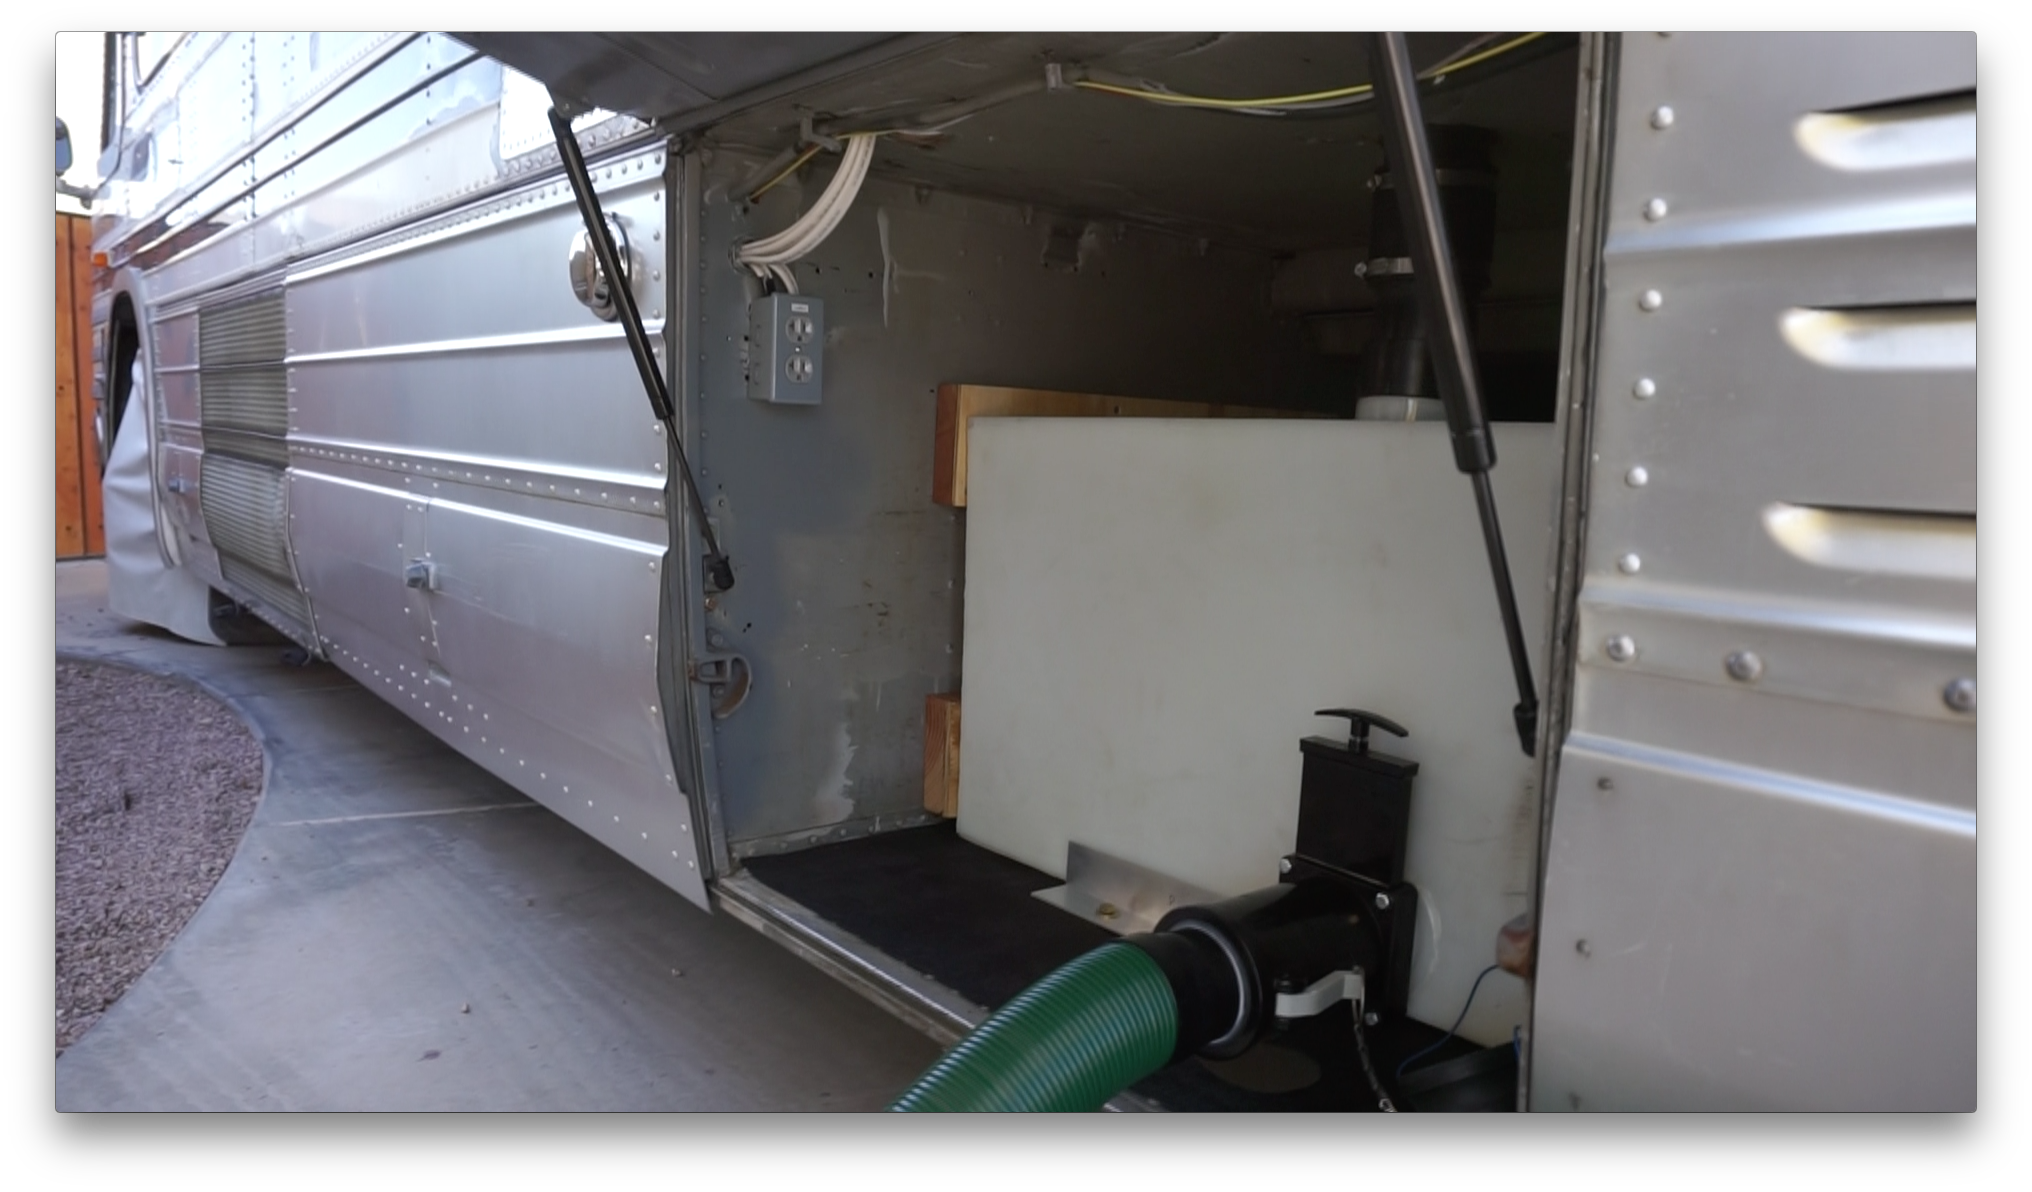
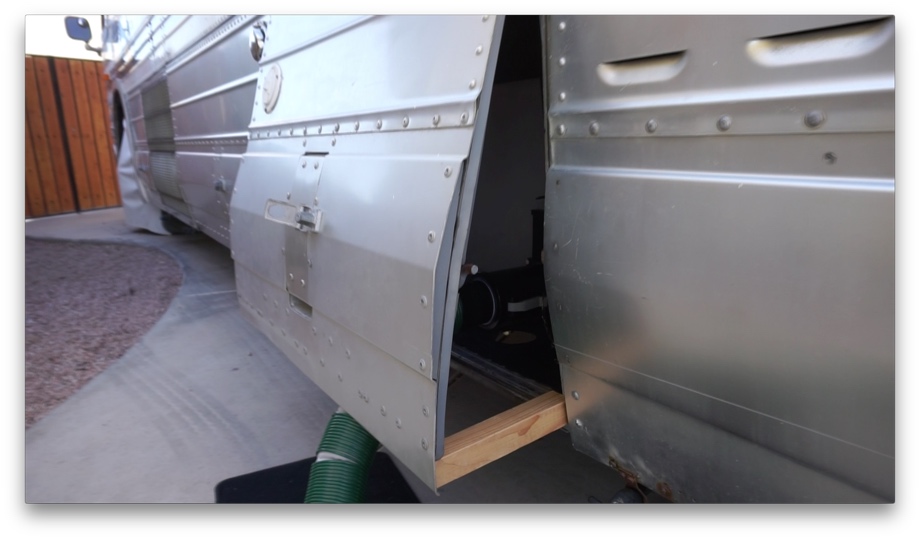
We do, however, have a bit of a dilemma with plumbing it in the way we had originally intended. Because of the arms on the side of the cam lock fitting, the hole in the floor would need to be much bigger to accommodate opening and closing those latches. Also, that fitting would hang down below the floor a couple of inches, decreasing our ground clearance. We didn’t want to make a significantly bigger hole in the floor, and we also didn’t want to lose any clearance. The only real way for us to be able to use this hose system would be to plumb it straight out the side of the tank and simply crack the bay door open enough to let the hose through when we are hooked to the sewer.
While it is not ideal to leave our bay door cracked open when hooked up, we are willing to give this system a shot. We figured the worse case scenario is we get on the road and hate leaving that bay door cracked. Well, we can simply go back to our original plan, use an elbow to go through the hole and swap out the Waste Master for a more traditional sewer hose with the bayonet fitting. That would be a simple project. So, for now, using the Waste Master and cracking the bay door will be the plan.
Plumbing the drain was fairly simple. We first screwed in a 3” male flanged valve fitting into the tank outlet. Next, we placed the gate valve and secured it with a 3” female slip hub. We glued a length of ABS pipe into the hub and glued the Waste Master cam lock fitting on the other side. And, that was it. It’s ready to attach the sewer hose. The hardest part of this project was simply the decision-making process of which system we wanted to use. Once we get on the road and actually start using this hose system, we will report back on how it is working out for us.
Right now, the to-do list feels never-ending. But with each little project like this one, we are slowly checking things off the list. Next up in plumbing is the vent pipe and the sink and laundry drain.
Watch the video:
Click here If you cannot see the video.
Parts We Used
Valterra 3" Valve body
3" Male Thread Sewer Waste Valve Fitting
3" Spigot Sewer Waste Valve Fitting
Waste Master 20' RV Sewer Hose Managment System
3" x 2' Black ABS pipe


Tools We Used
Strap Wrenches
ABS Cement
Teflon Tape


0 Comments
Comments powered by Disqus