


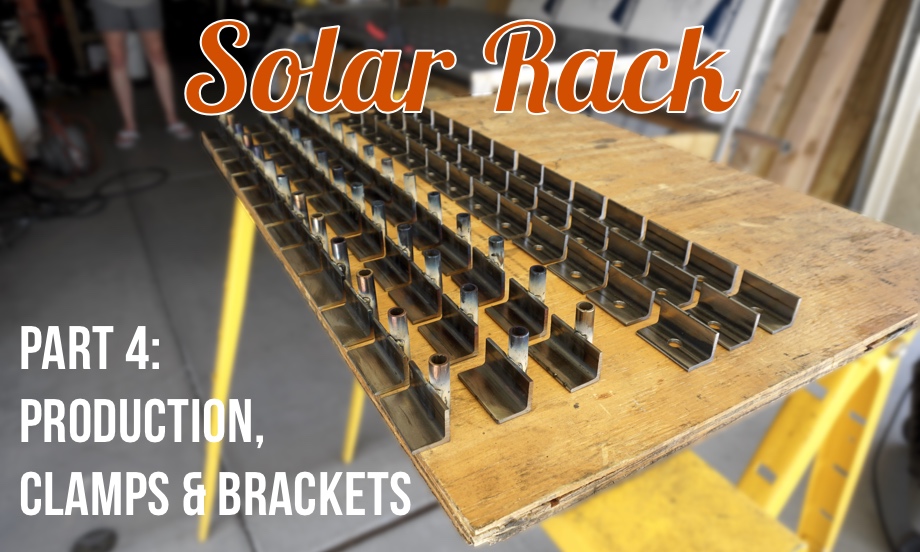
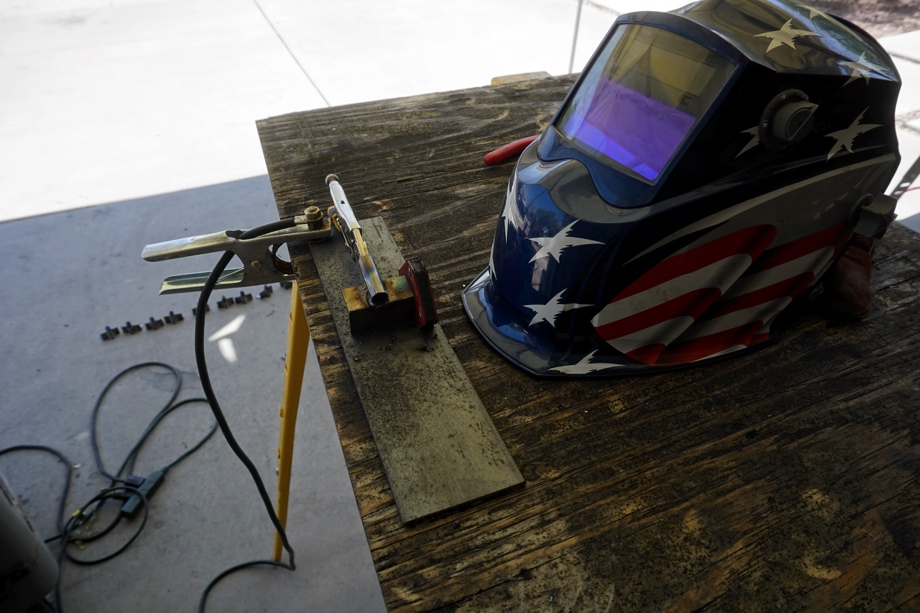
We finally had our solar rack design planned out and one of four sections built as our prototype. Now, we just had to recreate the prototype three more times. We set up production for each piece and part - measuring, cutting, sanding, drilling, bolting together, welding, sanding again, painting.
All of that took two solid long weekends. Then, we were finally ready to address another major project. How are we actually going to secure the panels to the racks and sliders? Pretty important stuff. Ha! We searched online for quite a while, looking for pre-made brackets/clamps that would work with what we had designed. No luck. Most of the clamps are designed to work with proprietary rails. So, we designed and built our own.
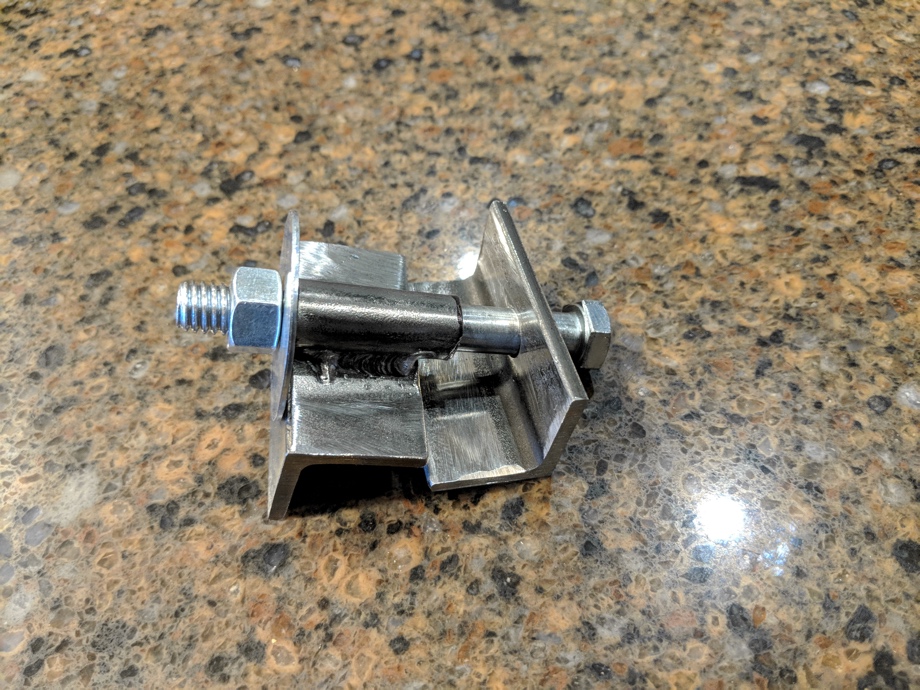

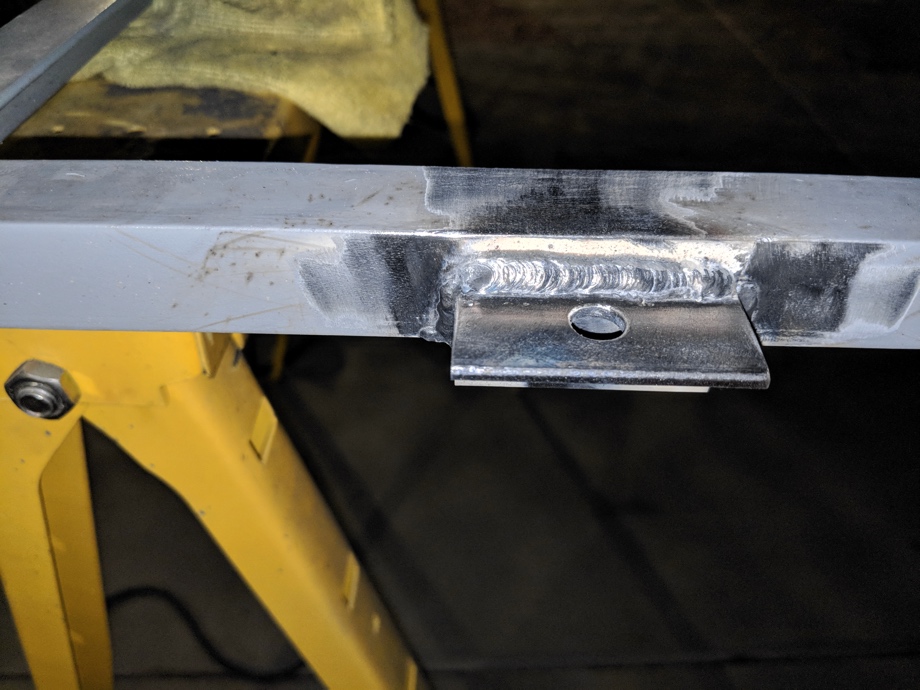
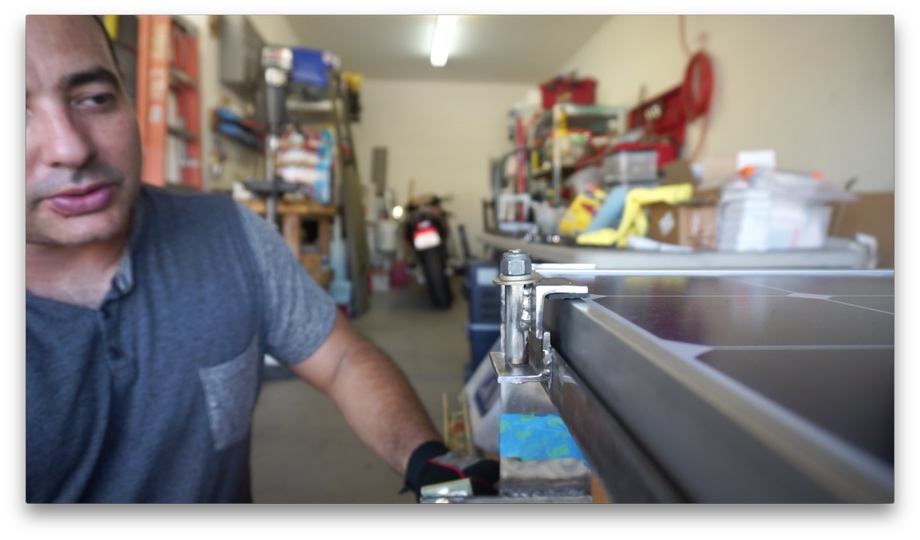
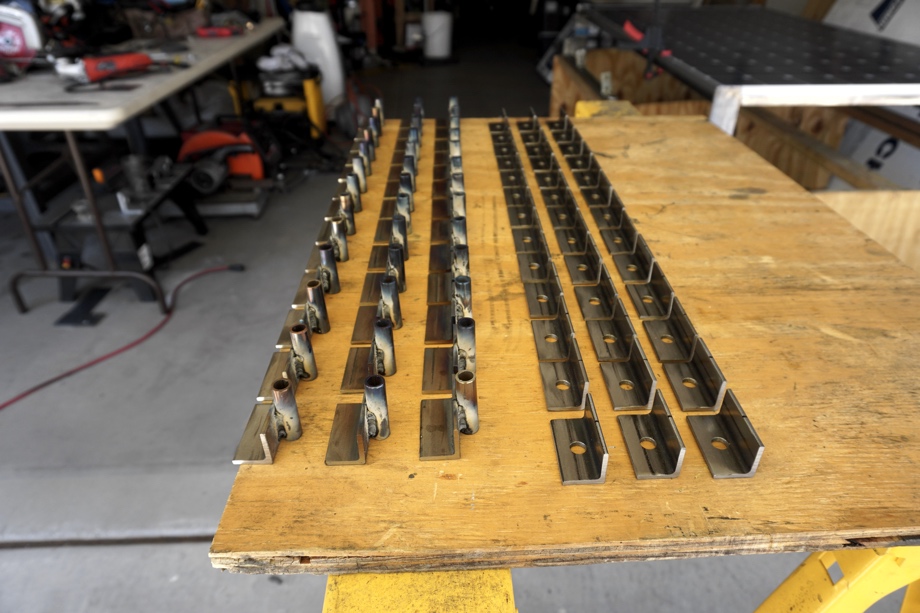
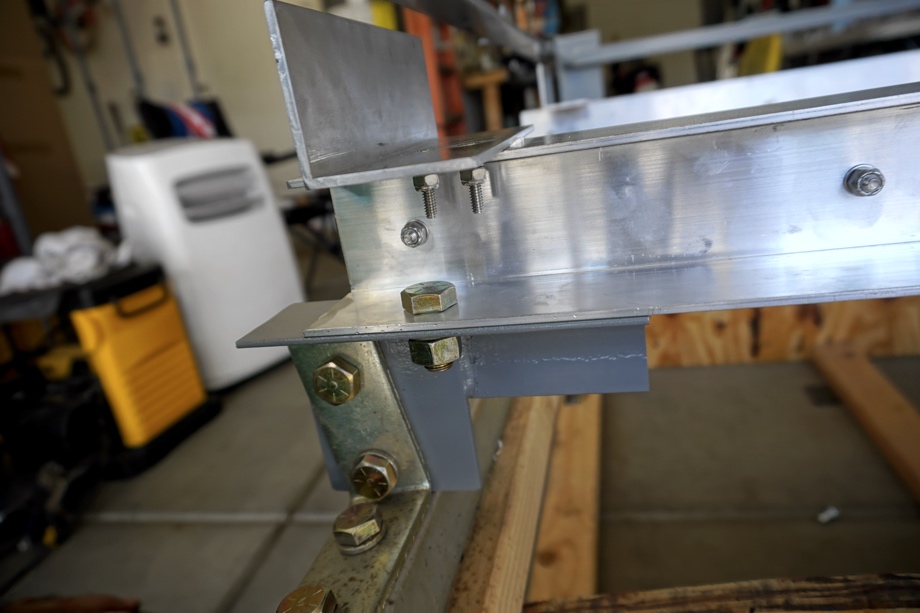
For the upper layer of panels, we were able to use the same 1”x1”x1/8” angle iron that we used on the rack itself. We drilled holes for bolts in 2” pieces of the angle iron and welded them in five places along the lengths of the racks (for ten total clamping points per panel). We then welded pieces of steel tube to more 2” pieces of the angle iron. When we install the panels, these pieces will clamp down on the top edge of the panel. We will then put a grade 8 bolt through that tube and the hole in the welded-on angles on the rack, securing each one with lock washers and locking nuts. Since the brackets and racks are made of steel and the panels are made of aluminum, we will be using a small piece of rubber between the clamps/rack and the panel to prevent dissimilar metal corrosion. Thankfully, this design works well and is very strong. We feel confident that the panels won’t be going anywhere.
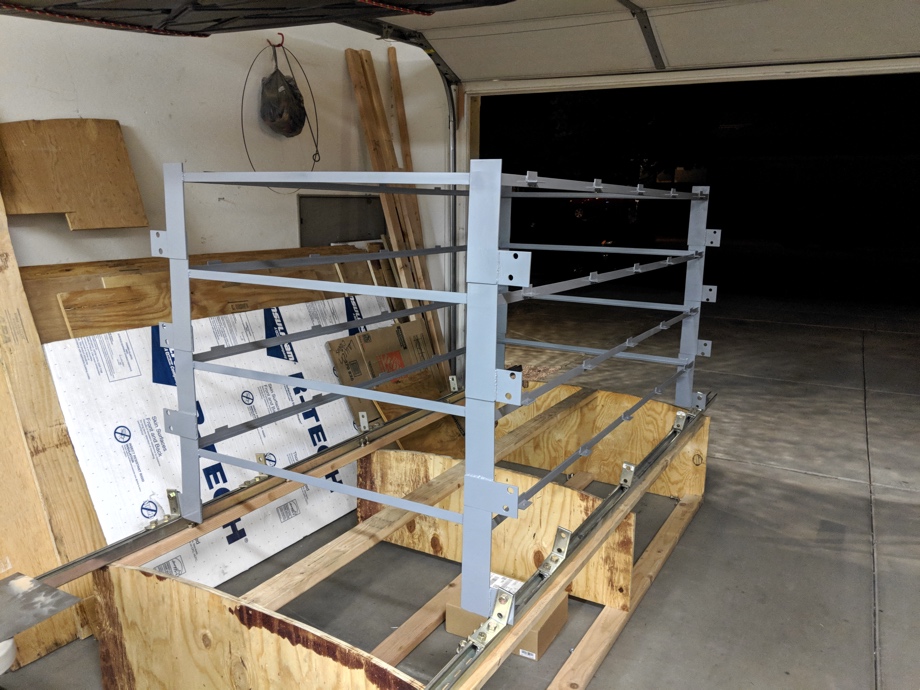
 Here are all of the upper racks with the new brackets all welded on. Our building skills seem to be improving. When we stacked up all the racks while the paint was drying, they all lined up perfectly on their very thin sides (3/16").
Moving onto securing the lower panels, we had to come up with a different design. We only have ½” gap between our upper and lower layers. That really is not enough room to do the same type of clamping mechanism.
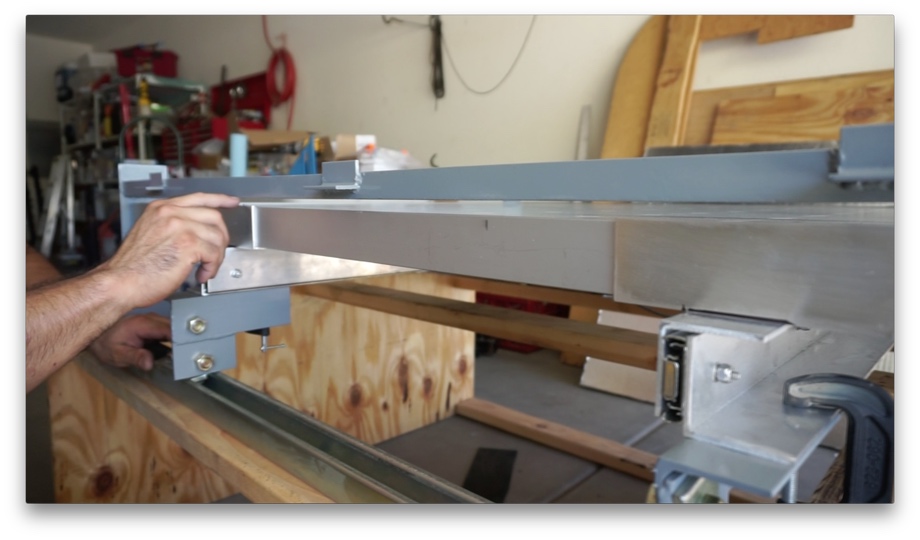
The panels also are mounted on top of the three aluminum slide rails, so each panel can have six mounting points (two on each slider, one on either side of the panel). We decided to use 5.5” long pieces of 2”x2”x1/8” aluminum angle. We already had a whole bunch of it leftover, and, in this application, it will be plenty strong and we don’t have to worry about the dissimilar metal corrosion.
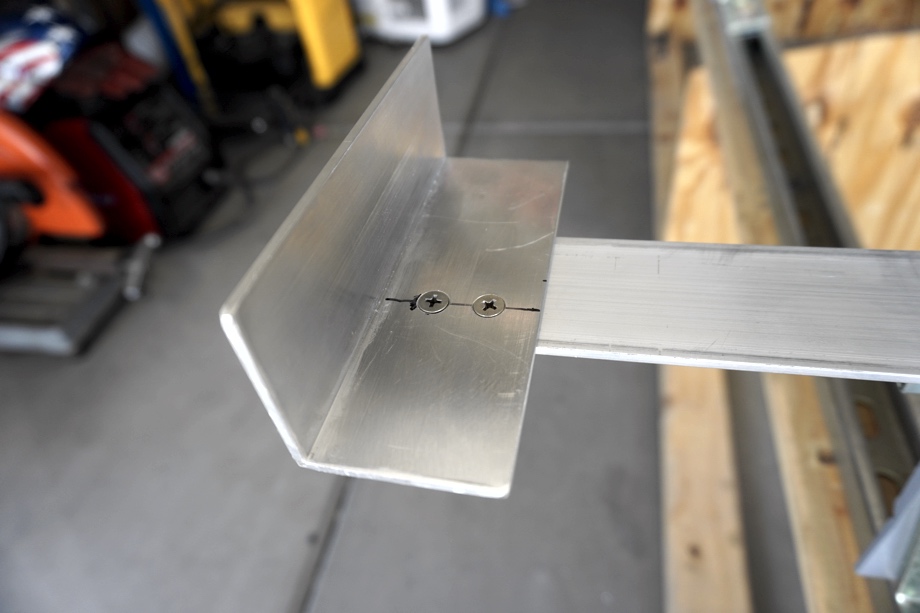
We glued (3M 5200) and screwed these pieces into the slide rails.

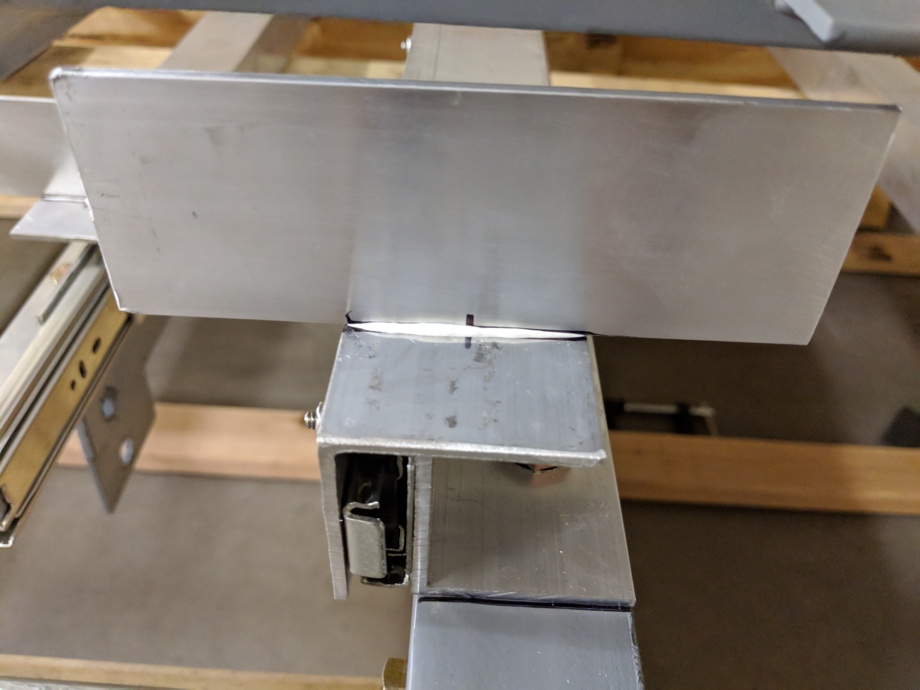 The panels fit snugly into these brackets.
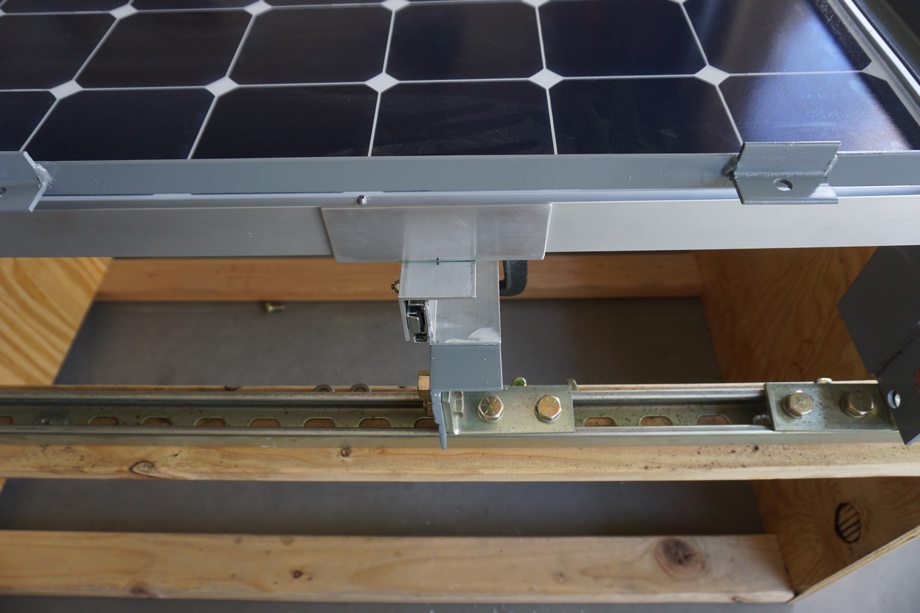 When we mount the panels on the roof, we will bolt the brackets through the sides and bottom lip of the panels. We will use six screws per bracket, three on the side and three on the bottom. So, each panel will have 36 screws holding it in. That should be good, we think.
We knew that designing and building this solar rack would be a big project. It definitely has been challenging and rewarding at the same time. It feels like it is finally coming together, but we aren’t quite done. We still have to address the actuators that will push out the lower panels on the sliders, and we need to address the windbreak “skirts”. Oh yeah, then we actually have to install all of this and see if it really works.
Thanks for coming along with us on this journey. See you all next week!
Watch the video:
Click here If you cannot see the video.
Parts We Used
3M 5200 Fast Cure White
50" 400 lb Capacity Drawer Slides
1/8" x 2" x 2" Aluminum Angle
10-24 x 1" Stainless screws
10-24 Stainless Nylon Locking Nut
#10 Stainless washer
#10 Stainless Lock Washer
3/16" x 3" Steel Flat Bar
2" x 2" x 1/8" Steel Angle
1-5/8" Super Strut Channel
4 hole 90 degree Superstrut fitting
1/2" x 1 1/2" Grade 8 Bolts
1/2-13 Grade 8 Hex Nut
1/2" Grade 8 Locking Washer


0 Comments
Comments powered by Disqus