


Project management has been one of the most mentally difficult parts of building this bus. Namely, in what order do we do different parts of the build? In real life, it’s not very concise. We cannot realistically do all of any one major project at once. It has often been the “if you give a mouse a cookie” type of build - in order to do project A, well then step 1 of project B and step 3 of project C need to be finished first. It’s just not a simple “finish one project and clean it up before you start the next project” type of deal. There are usually multiple projects happening simultaneously in order to make this all work.
For quite a few posts, we showed you all of our basement plumbing. In order to finish plumbing the supply lines from the manifold, we had to start building some of those interior features that will need a water supply. We put together the kitchen cabinets so we knew where to run the kitchen water supply lines. Then, we went ahead and plumbed in and installed our washer/dryer. While it would have made sense to continue in the kitchen immediately after that, we wanted to get closer to finishing all of the water supply lines. Next in line for manifold supply lines was the bathroom sink. That leads us to today’s project. The bathroom vanity.
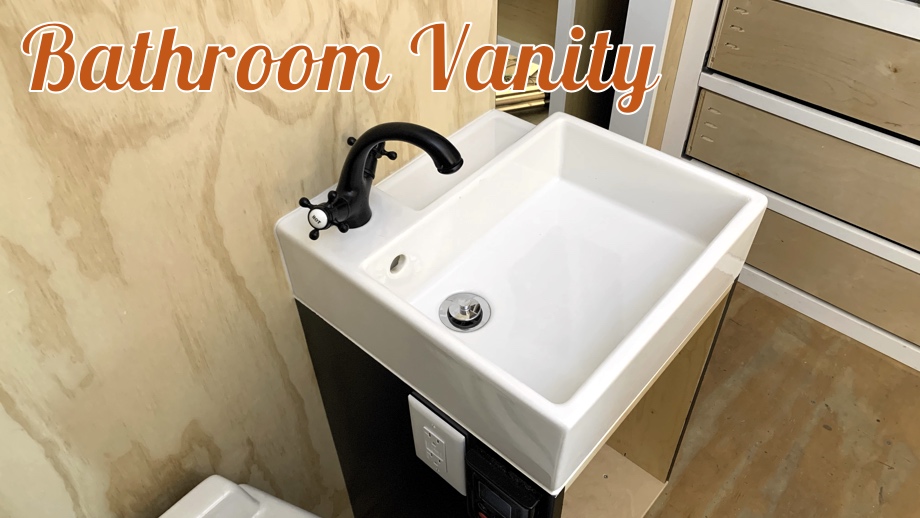
 We bought our little bathroom sink at Ikea (Lillangen 16”) a while back. We were looking for a very specific small width and depth to fit between our toilet and our hallway. This sink is perfect. It is just big enough to wash hands and brush teeth without wasting much space. We didn’t love the Ikea cabinet it is made to be installed on, unfortunately. The cabinet itself is fine, but it sits on four small legs. I just know that the open space under that cabinet would end up being a trap for all the dirt and would be a pain to clean. I also would have wanted to paint it anyway. We decided to build our own cabinet instead.
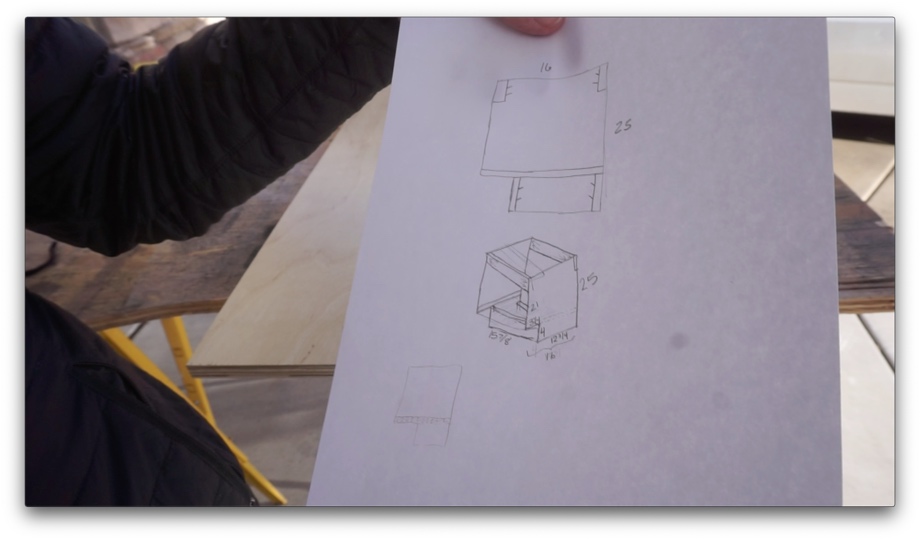
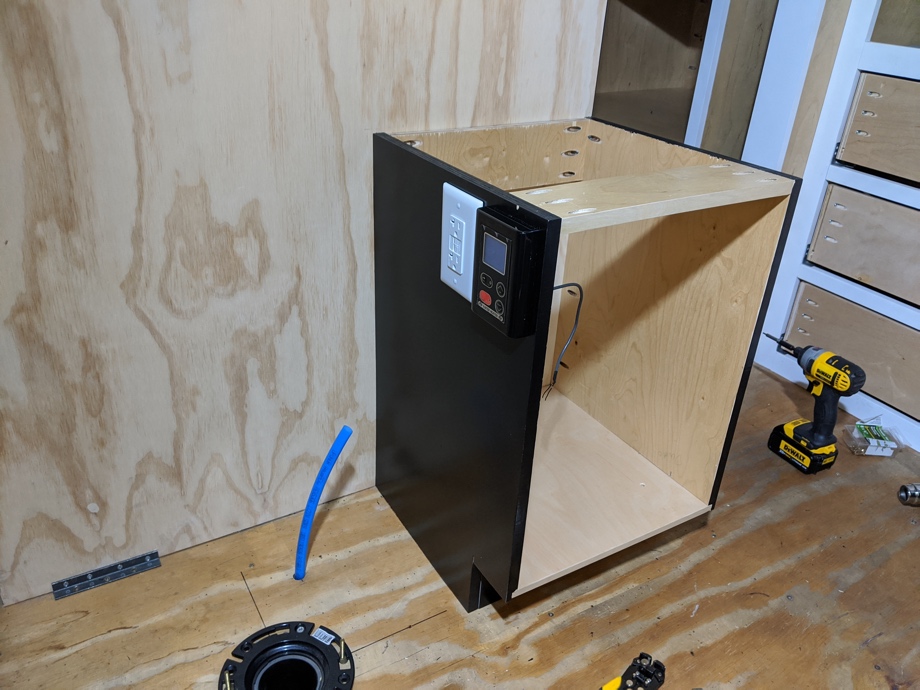
It really was just a simple cabinet with a toe kick that we pocket screwed into the bathroom wall and floor. With the toe kick, the bottom shelf sits about 4” off the floor allowing some of the plumbing to hide underneath. We made the shelf easily removable with a couple of screws into the frame of the cabinet in case we need to access that plumbing.
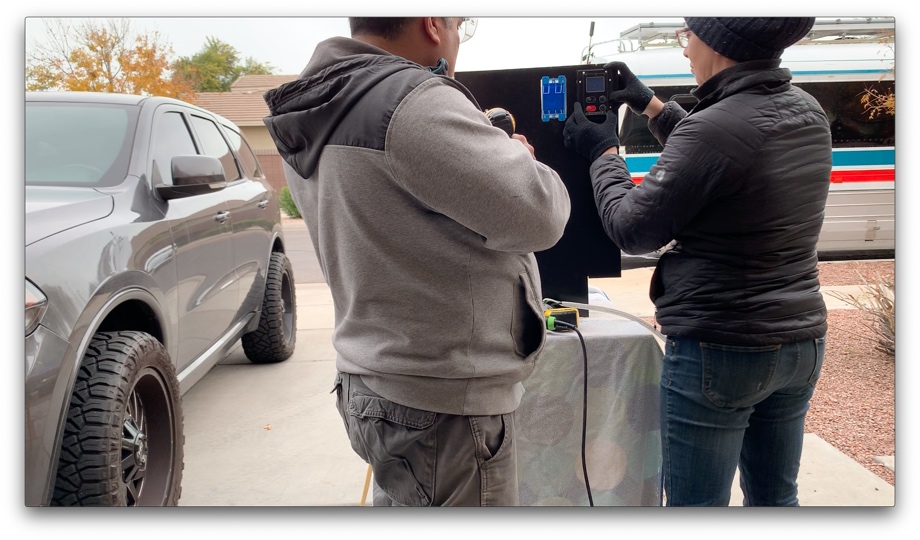 Before we could start installing the sink, we had a couple of extras we had to add. The control panel for our Girard tankless water heater which allows you to set the temperature of the water. By installing it on the vanity, we can individually set the temperature for our showers right before we get in. Installing the panel simply meant drilling a hole for the wires and screwing the panel in place on the side of the vanity. Next to the Girard control panel, we also installed a GFCI 120V outlet for hairdryers, etc.
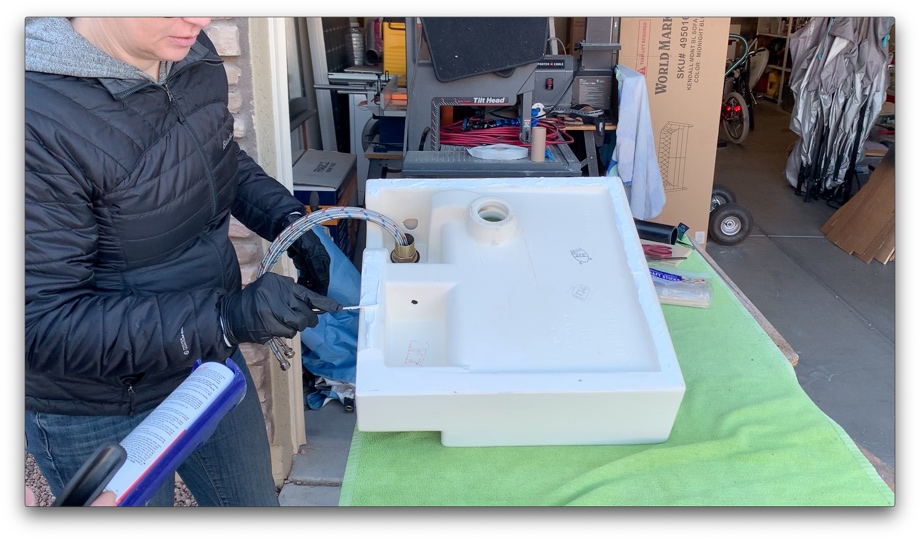
Next up, we glued the sink to the cabinet using our favorite 3M 5200 Fast Cure. Thankfully, our measurements were good and the sink lined up and fit perfectly. Phew! We installed our faucet and finally were ready to take the whole vanity into the bus for installation. Then, we finished the plumbing and wiring up the control panel and outlet.
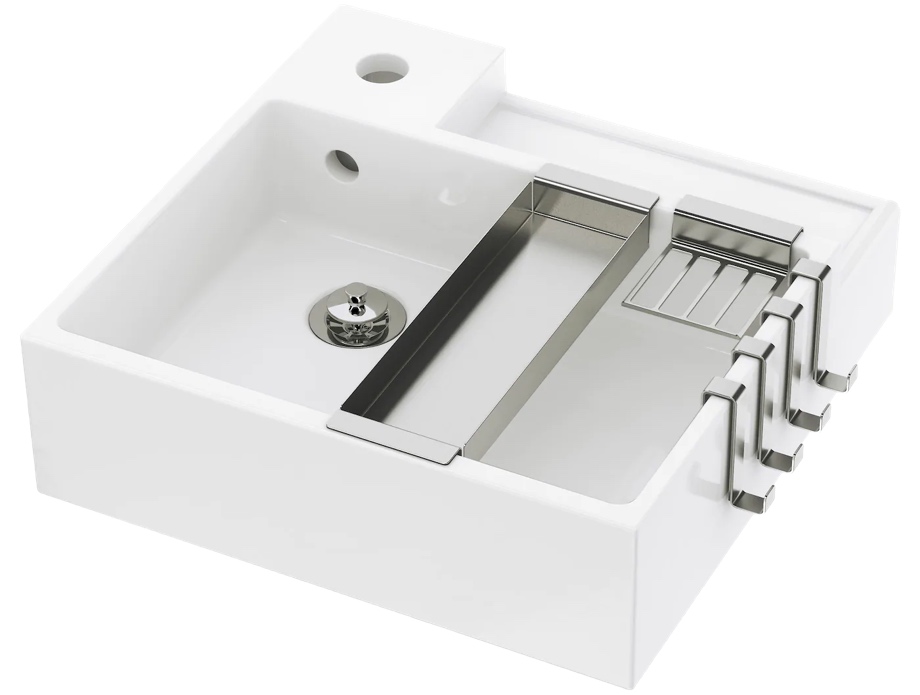
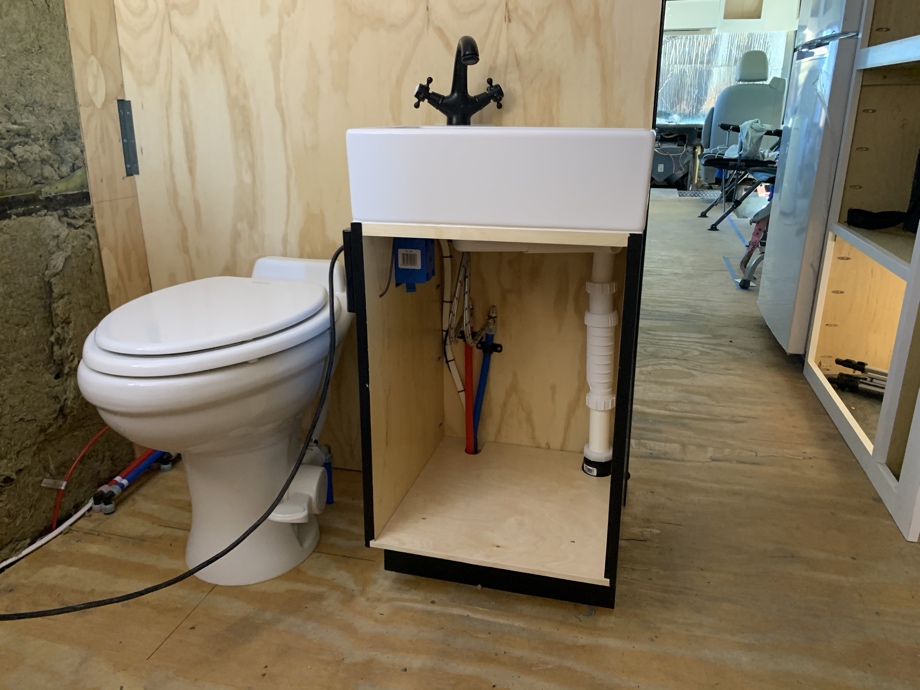 Just like with the rest of our drains, we used a Hepvo waterless trap instead of a more traditional P-trap. The Hepvo in combination with Ikea’s sink drain that pushes plumbing toward the back corner gives us almost a completely open cabinet with plenty of storage for bathroom necessities. We will eventually add another shelf in the middle once we decide on the size of storage bins we will have inside. The Pex lines were able to come up from the basement water bay right into the back of the cabinet and connect with shut off valves to our faucet.
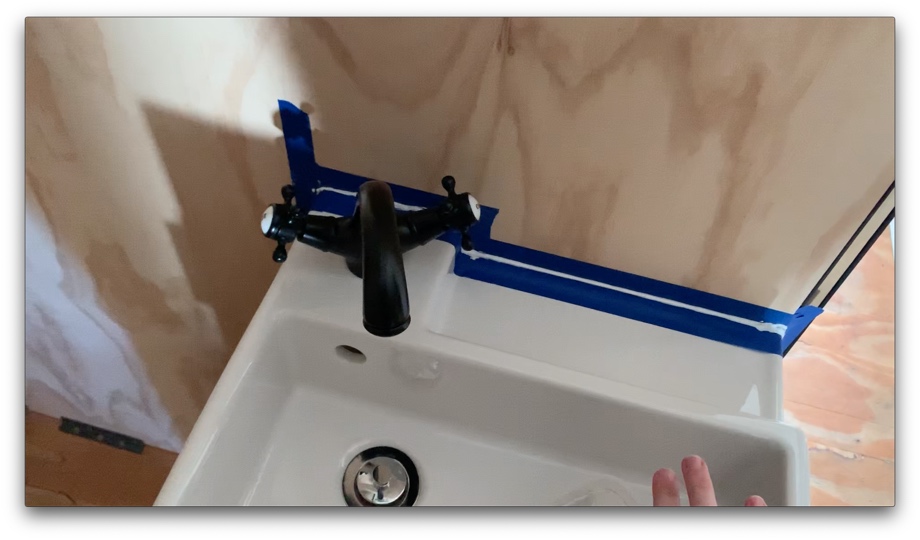

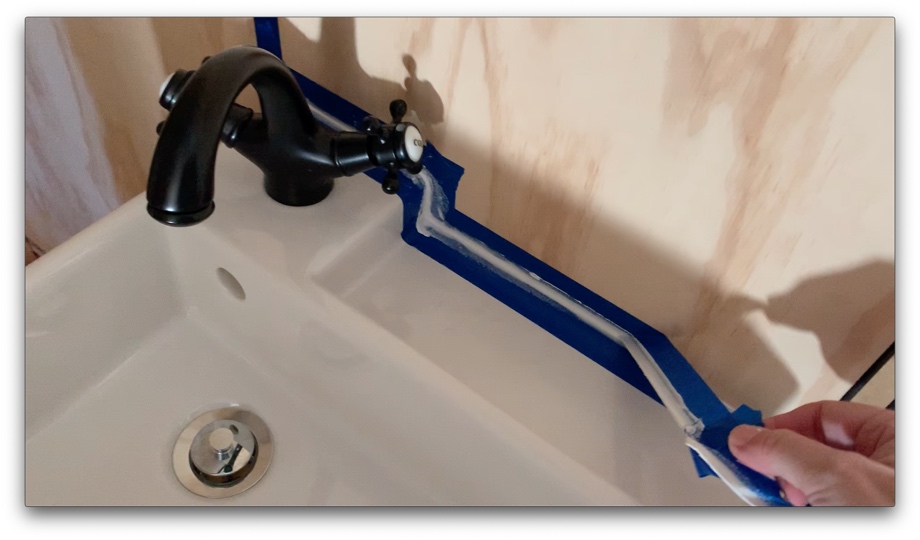 The last quick step in the project was simply caulking around the sink. We used DAP Extreme Stretch sealant (claims to stretch up to 600%) to hopefully prevent any cracking or shrinking due to temperature changes and road movement. I taped it all off, ran the bead of caulk, and then used a wet finger to swipe over it. Then I quickly removed the tape. It left nice, clean caulk lines.
We made the cabinet front, but as with the rest of our build so far, we won’t be installing it until we are closer to finishing. We don’t want to risk banging it all up while we are still moving construction materials in and out of the bus.
We are really pleased with how the little vanity turned out. Once it has a shelf, a door, and a knob it will be a sweet little bathroom space. At least that is one project that wasn’t difficult to knock out quickly. Next, we move back into the kitchen to work on the countertops and sink.
Watch the video:
Click here If you cannot see the video.


 RV Tankless Water Heater by Girard-GSWH-2


0 Comments
Comments powered by Disqus