


Finally...after all of this time...the day came to actually start building some real structure into this bus. I know we already have the pocket doors in, but starting the closet feels much more momentous. Also, I’ve decided not to call it the closet. I want to call it the wardrobe. Doesn’t it just feel better to call it the wardrobe? Like maybe something magical will be there...Mr. Tumnas, Mr. and. Mrs. Beaver, and of course Aslan. Getting off track here...but I’m calling it the wardrobe now. :)
The plans for the wardrobe are to make it divided with six large drawers on the bottom and three divided cabinet sections up top. The three cabinet sections will include a large set of adjustable shelves in the middle, a small hanging space on the right, and on the left might end up being one of our favorite spaces in the bus - a charging station for all the laptops, tablets, phones, etc. We would start building all that fun stuff later. For this project, we were simply getting started with building the main structure - the main side walls, back wall and ceiling, center dividing shelves, and smaller dividing walls for between the drawers and cabinet areas.
Squaring up the side walls and the back wall was a bit of a challenge. The sides of the bus are curved (it’s not just the roof that’s a curve), so we had to really customize each piece to fit, make spacers, and triple check everything. In the end, we were shocked that we were actually able to make a square space in a very non-square area.

 We are using ¾” prefinished birch plywood, and it is so nice not to have to do all the sanding and finish work on this wood. It looks and feels great right from the store. Once we actually had the pieces cut to the right sizes and shapes and shimmed where necessary, securing it all was fairly simple. We are big fans of the Kreg jig for pocket holes. One thing we learned along the way, however, was that with our ¾” birch not actually being the full ¾” (it’s only 0.70in.), if we set the collar on the kreg drill bit to ¾”, the screw tip would end up just poking through the other side when we screwed the pieces together. We quickly realized that if we set that collar just a tiny bit less than ¾”, the tip of the screw would not poke out.
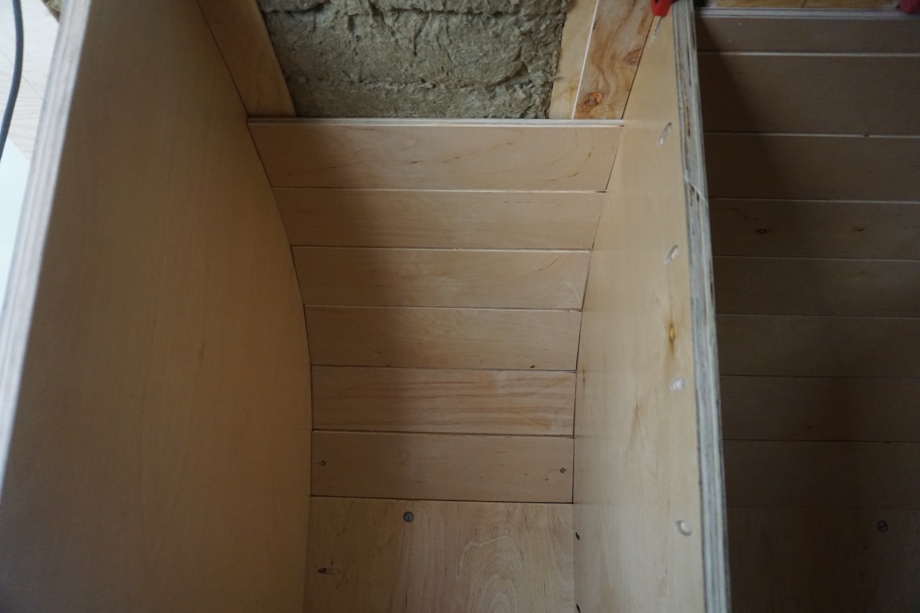
For the ceiling, we are using ½” birch cut in 4” slats that we are chamfering at a 45° on the long edges. As we put these pieces side by side, the chamfering gives it a look of tongue and groove without actually interlocking. We used wood glue and brad nails to secure all of the ceiling panels to the furring strips we put up. In the video, we share more about why we decided to put walls up and then build the ceiling instead of the other way around.
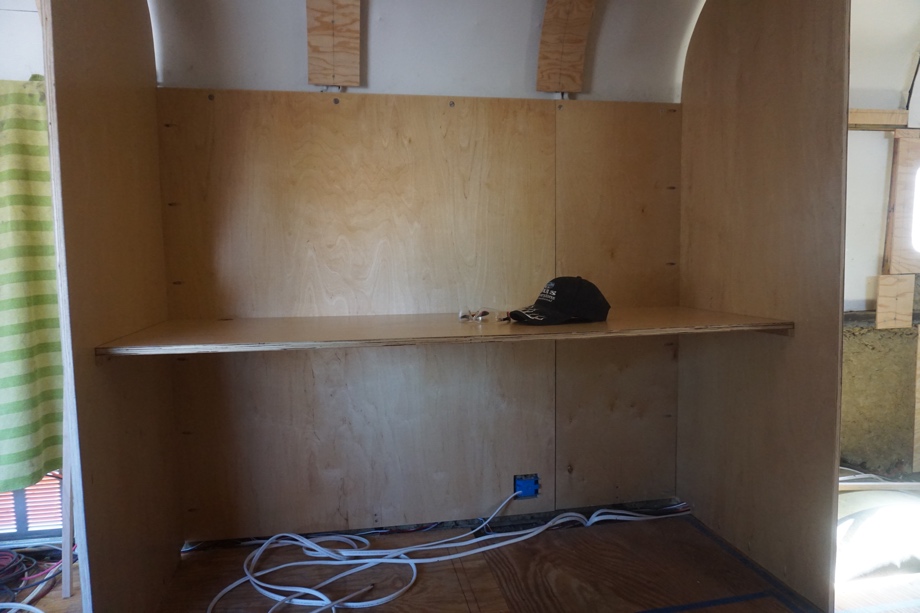
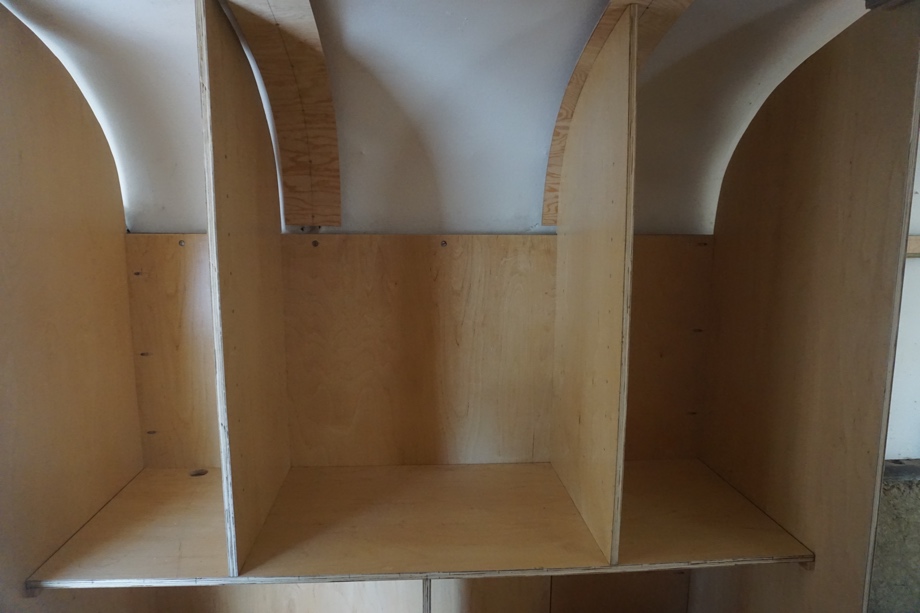
After the walls, back, and ceiling were up, we were able to build the large shelf dividing the top of the wardrobe cabinets from the lower drawers. For that shelf, instead of pocket screws, we made supports for under the sides of the shelf and then a center divider underneath and secured down into the floor. That shelf is really strong. Finally, we built and installed the two dividing walls to create the three separate cabinet areas up top.
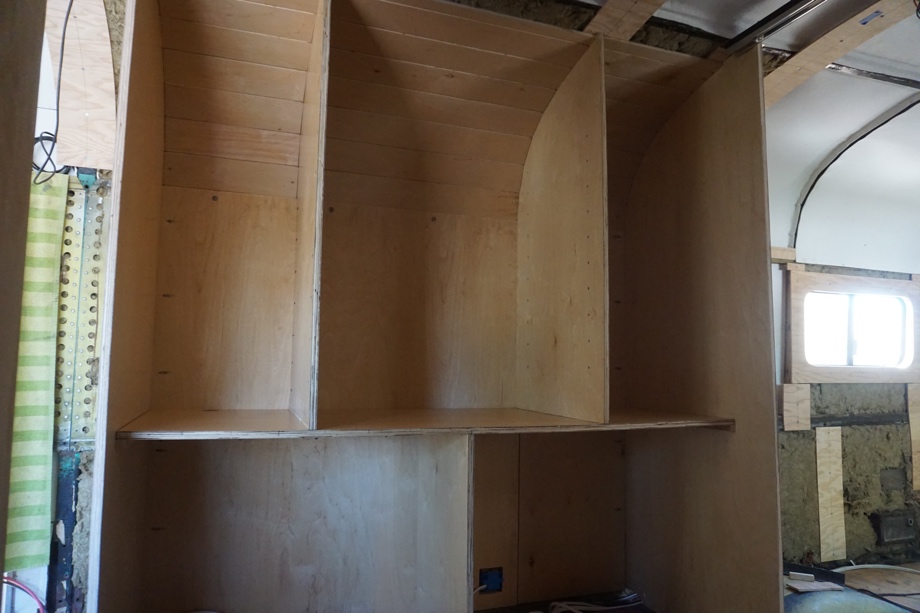
When we wrapped up with the main structure of the wardrobe, we felt really excited. This step gave us a little glimpse into what our home will look like.
Next up for the wardrobe: face frames and drawers
Watch the video:
Click here If you cannot see the video.


0 Comments
Comments powered by Disqus