


Please excuse our long absence here. As you all know, our blog posts and YouTube videos are pretty consistently a few months behind real life. Well, about a month ago we finished the bus and hit the road. As we continue to transition into this new lifestyle, we are still trying to figure out how to manage our time. We have plenty of adventures to share with you, but we also still need to catch up on how we finished out the bus.
In real-time, we are busy traveling and adventuring. In YouTube & Blog time, we are still back building the bathroom.
Rather than waiting until we have released all of the bus build videos and posts to start sharing our travel adventures, we are going to mix it up. We will likely alternate between sharing a bus build video and then a travel-related video until we can catch up. Of course, even once we finish the build videos, we will mix in bus-related updates throughout our travels.
So, without further ado, Part 3 of the Bathroom build will be posted shortly. Then, we will share our first stop on our journey.
Thanks everyone for sticking with us!
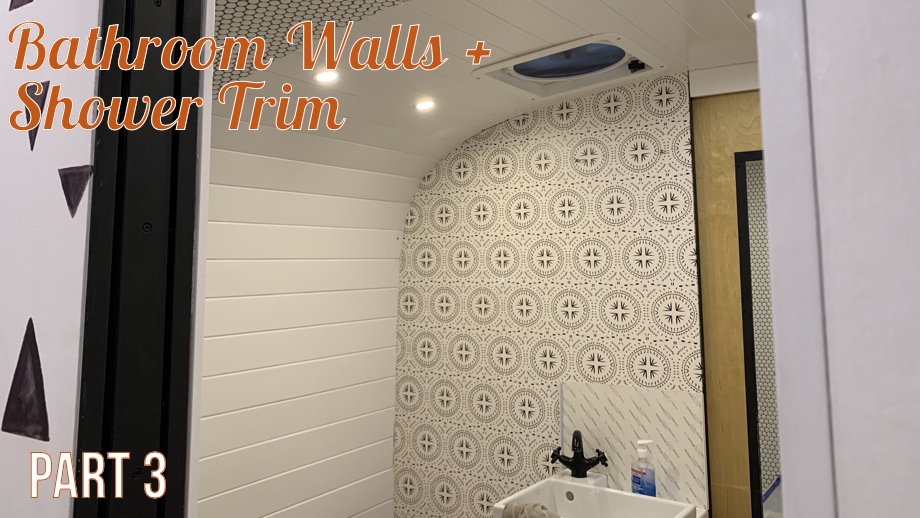
Even though we had already tiled the shower, we were not quite ready to grout. The next item on the long bathroom checklist was putting up the walls and ceiling. Then, we decided once again to add some wallpaper. Finally, we were able to trim out the edge of the shower. Grout and a beautifully finished shower were getting closer, but that particular day was what I like to call “covering more of the ugly”.
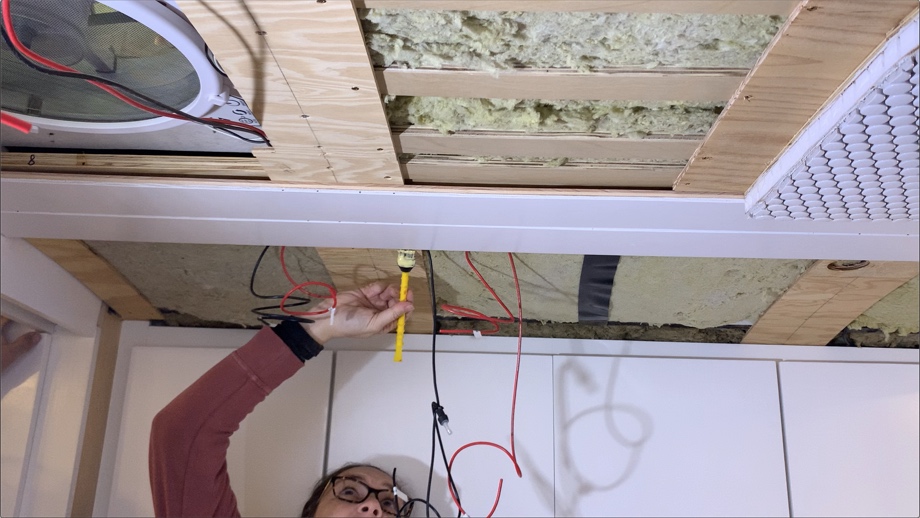
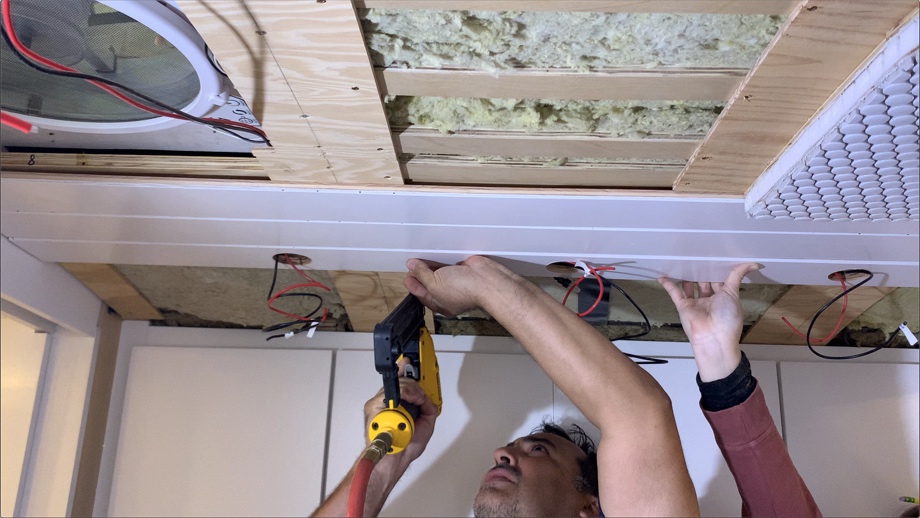
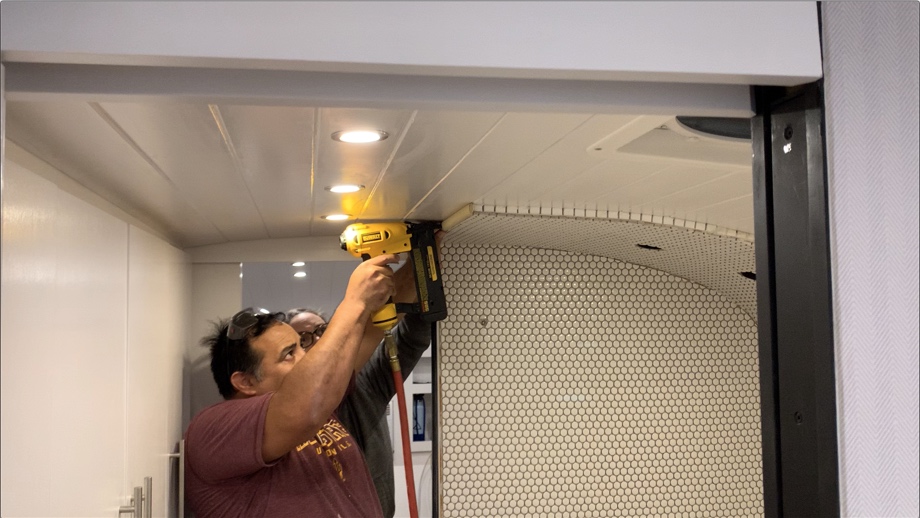
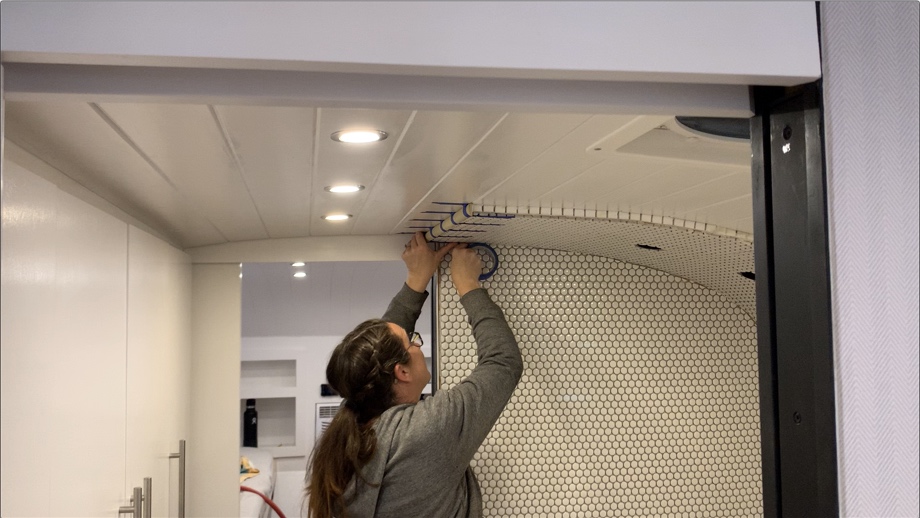
Just like we did with the walls and ceiling in the rest of the bus, we used ½” birch plywood, cut into 4” planks. We chamfered the edges with the router and then painted them white. We wood-glued and brad-nailed the planks into our furring strips and simply worked our way across the bathroom ceiling and down the wall. Like in the rest of the bus, we have one plank that is not glued down but screwed instead, in order to make it removable. This is the plank that covers our wire chase. We also leave the planks about an inch above the floor for another wire chase which will be covered with a trim piece later.

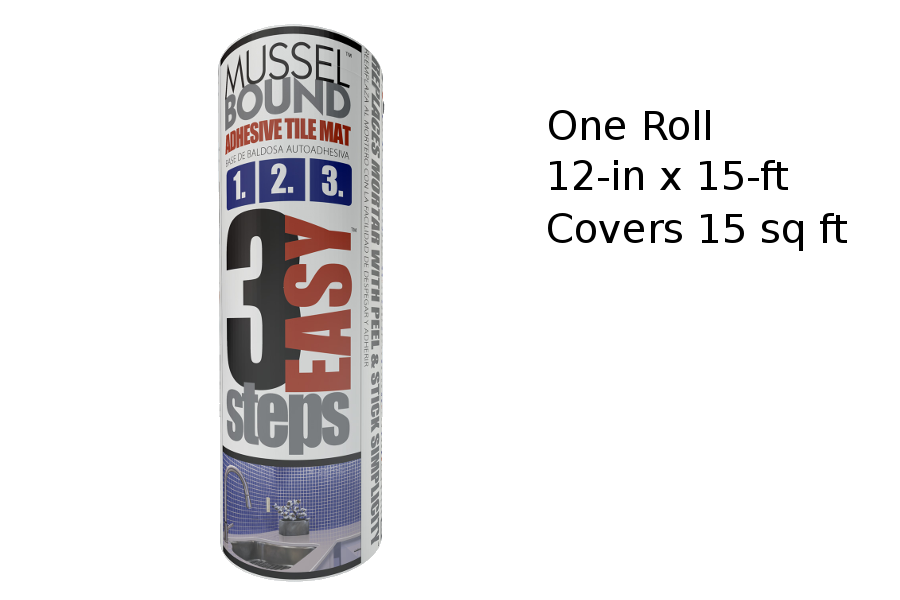
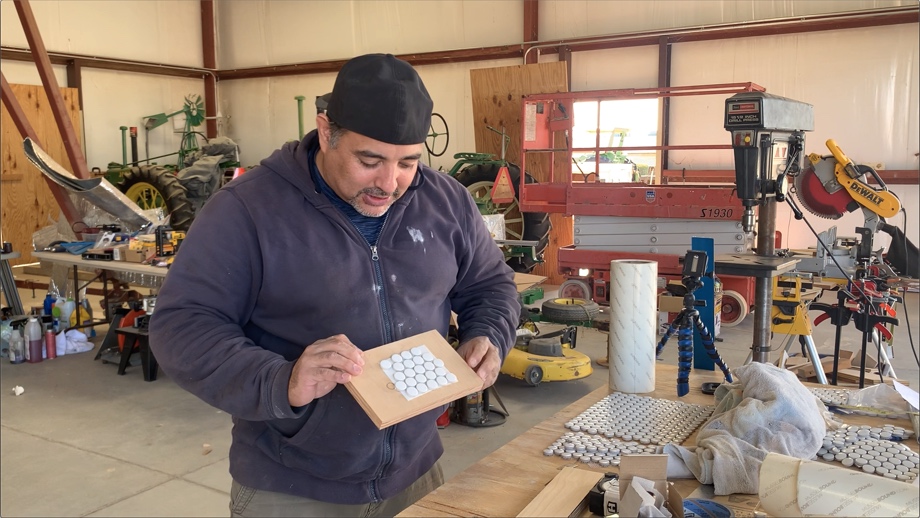
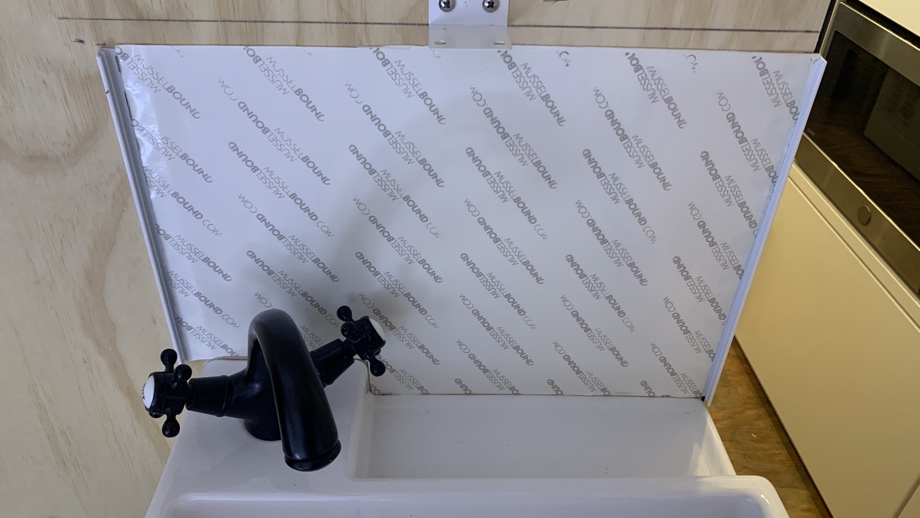
Next, we decided to add a tile backsplash behind the sink, but unfortunately, we didn’t have enough room behind the sink faucet to use the Kerdiboard waterproofing backer. Instead, we decided to try out a product called Musselbound. Some of our friends had given us their leftover Musselbound when they finished a project, so we thought this would be a great solution. Musselbound is basically a giant waterproofing double stick tape. The great thing is it is very thin, so it worked well in our situation. We tested it out with some scrap wood and leftover tile and it seemed to work very well. We cut and installed a piece between the sink and our medicine cabinet. We were not quite ready to actually lay the tile on it though, because once the tile is set on the Musselbound, you are supposed to grout within 24 hours. So, we moved on to the next project.
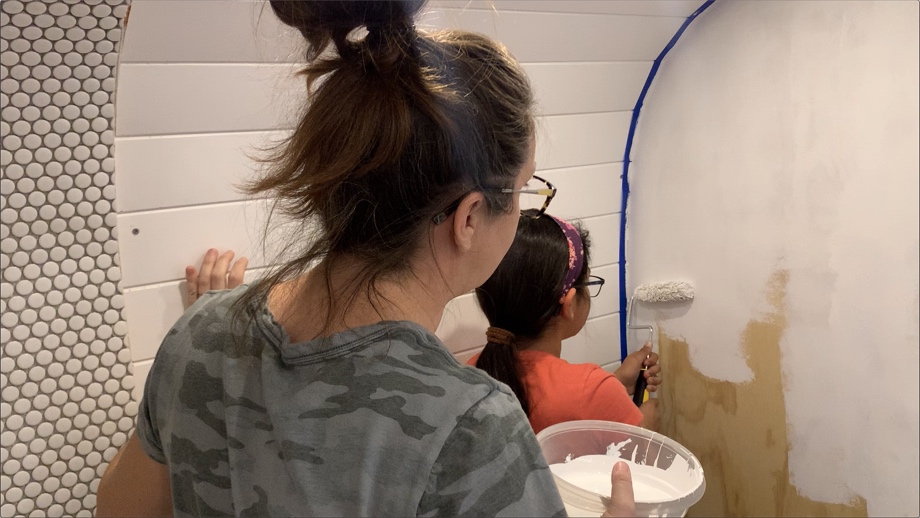
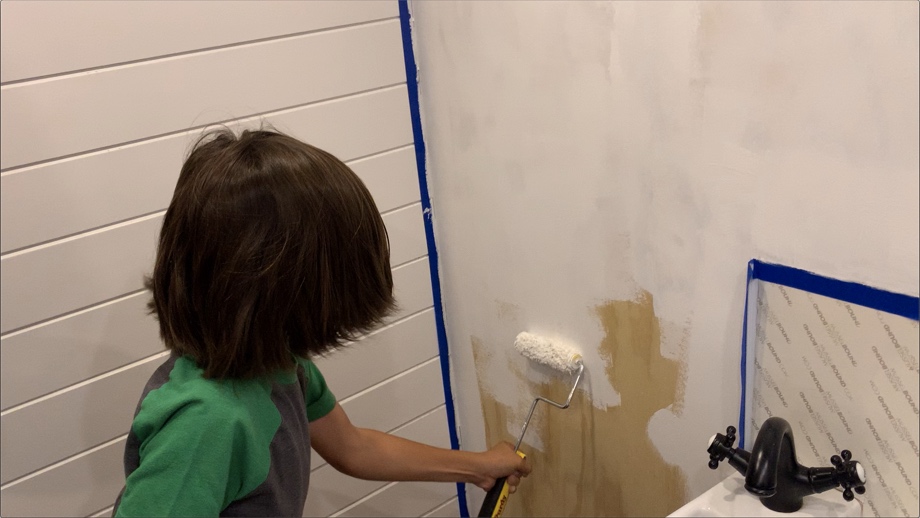
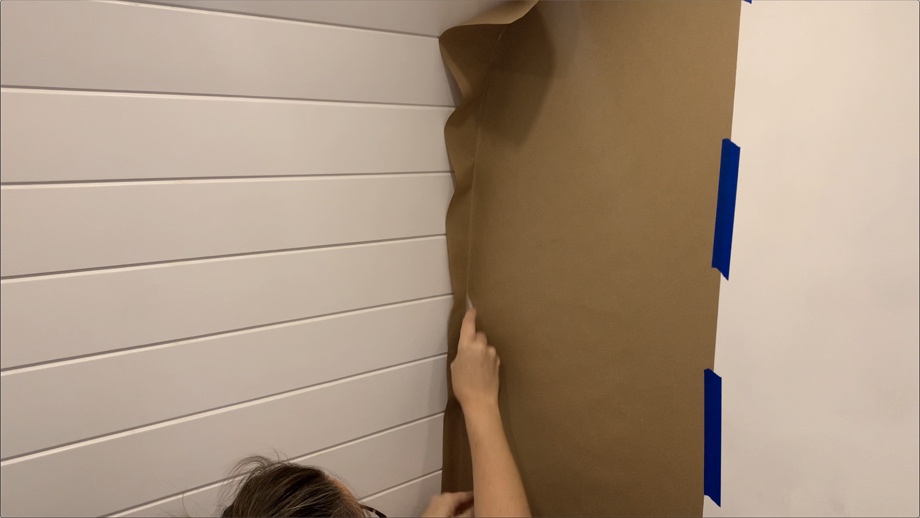
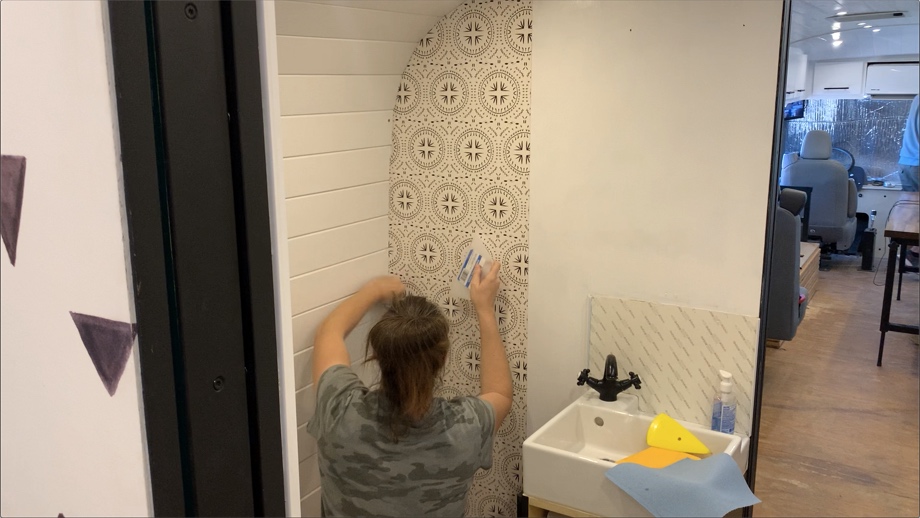
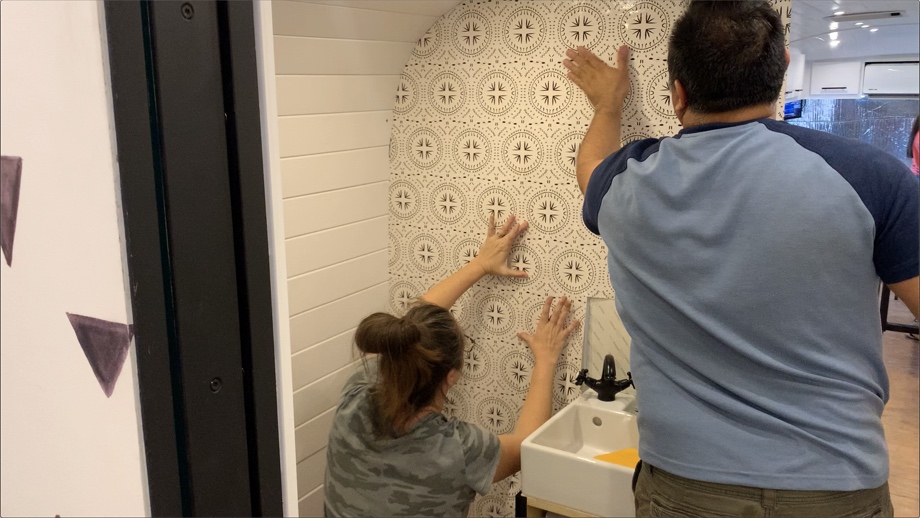
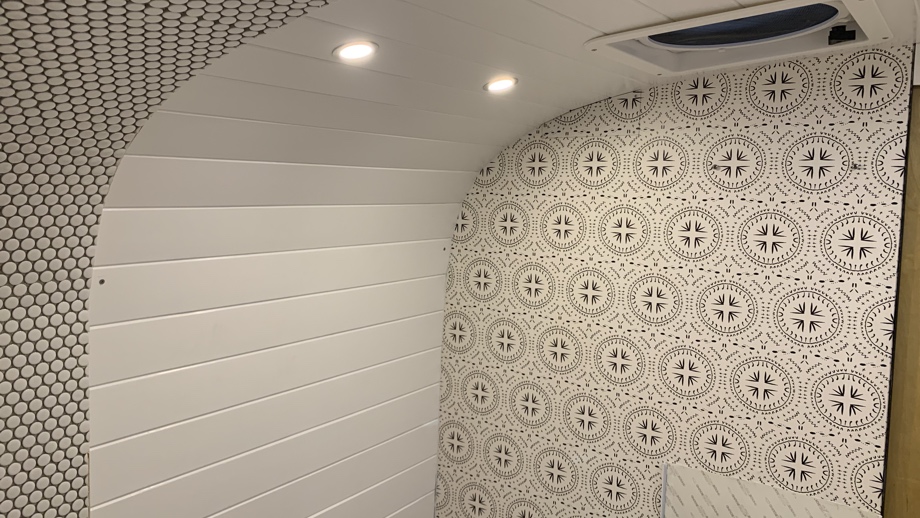
Once again, we chose to wallpaper an accent wall in the room. Just like in the kids’ room and in the kitchen, we chose a prepasted wallpaper from Spoonflower. Before we could actually install the wallpaper, however, we needed to prep the wall. Our two youngest kids helped us paint the bare plywood wall. Then, we used our trusty brown craft paper to make templates of the curves and then precut the wallpaper with just a small bit of overhang. We used a garden sprayer to wet down the back, bookended the paper, and then hung, trimmed, and smoothed it all out.
Finally, after planking and wallpapering the ceiling and walls, almost all of the “ugly” in the bus was covered. Hallelujah!
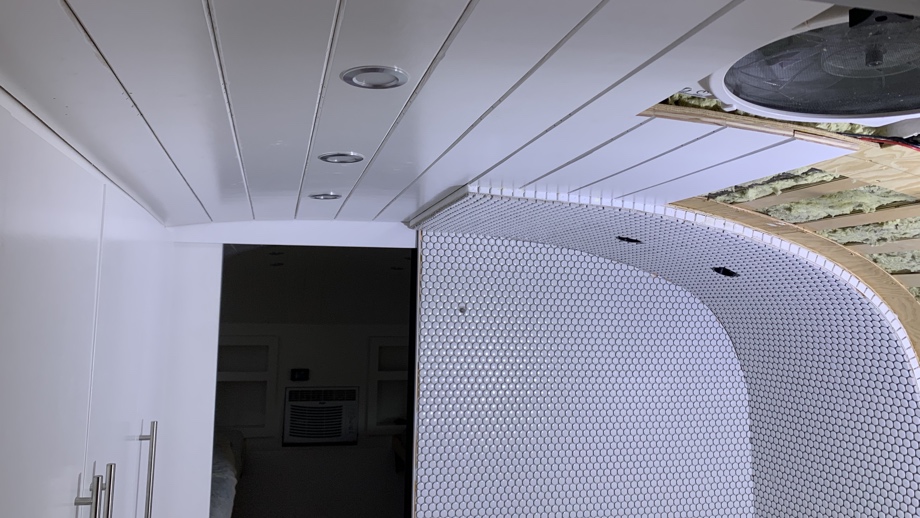
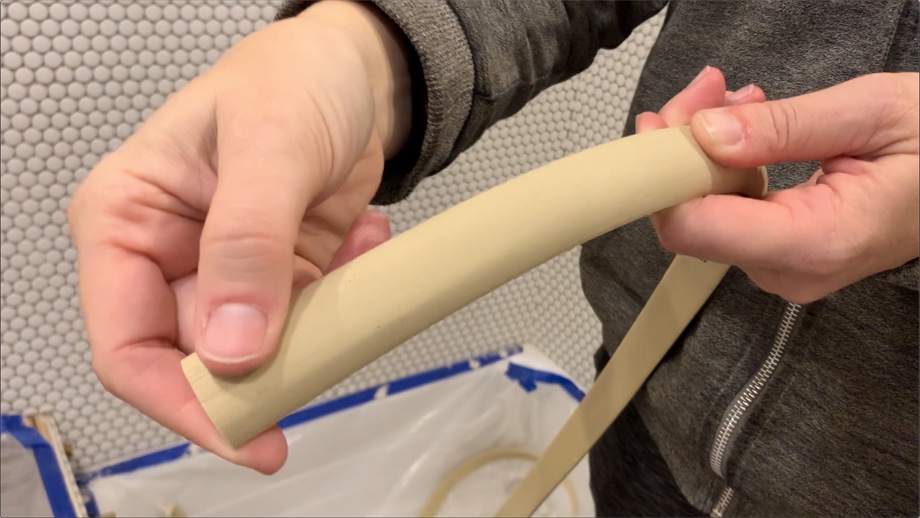
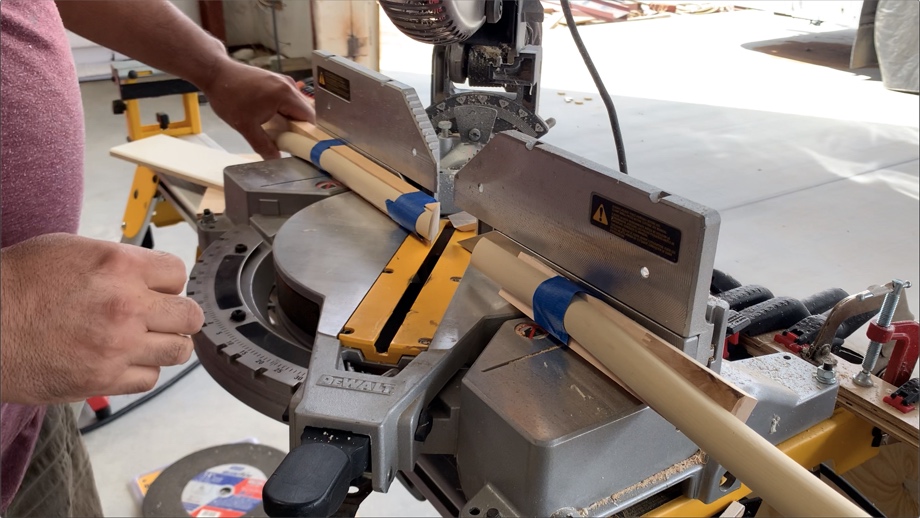
There was one last project before grout - shower trim. This was a bit of a challenge to find a material that would work in this scenario. Because our shower ceiling is curved, we had to use the Kerdi V-board to waterproof it. The thinnest the V-boad comes in is ¾”, plus ¼” for the tile. Our ceiling planks are only ½” thick. That left ½” of exposed V-board to trim out. The difficulty came in finding a product that was both waterproof and also could bend the correct way. Plenty of products were flexible, but they bent in the wrong way from what we needed. Finally, after a lot of research, we came across a flexible molding that we thought fit the bill. It’s a resin-type material, but it has a wood grain to it and can be worked with like wood. It can be cut with woodworking tools and painted after installation. We gave it a go! We mitered the corners, used 3M 5200 Fast Cure plus brad nails to install it, and taped it while it cured.

Once that was all set, we were finally ready to grout the shower and finish up the rest of this bathroom. That’s what will be coming up on our next bus build installment.
Watch the video:
Click here If you cannot see the video.


0 Comments
Comments powered by Disqus