


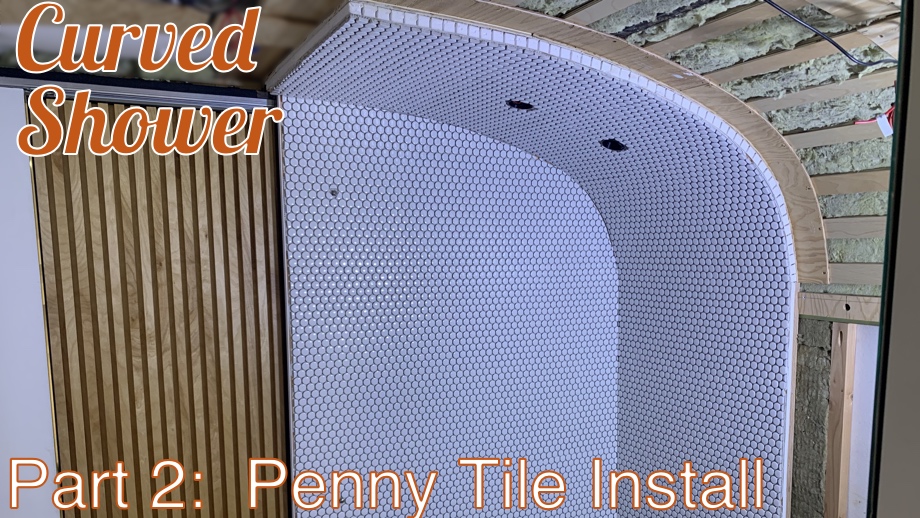
After installing the KerdiBoard waterproofing backer boards, we were ready to tile. We chose white penny round tiles in an effort to tile the curve of the ceiling. It was only after we chose penny tiles that we found out they are pretty tricky to cut, fit, and install. With narrow, tall, curved walls, we knew we had a lot of cutting ahead of us. We tested several different cutting methods, found one that worked for us, and finally cut and installed all the tile.
First, we played many rounds of the fun game, “how do we cut mosaic penny tiles?” One method that we saw a few tile layers recommend was leaving the square mosaic in its packaging. That’s what we tried first. We used a sharpie and marked a straight line on top of the plastic wrapping and then used the cardboard underneath to push the tile through the wet saw. While leaving the tile sheet on the cardboard did allow me to push it through better, the tiles were still being pushed up as I cut. This left weird cuts and chips. That method was not going to work for us.

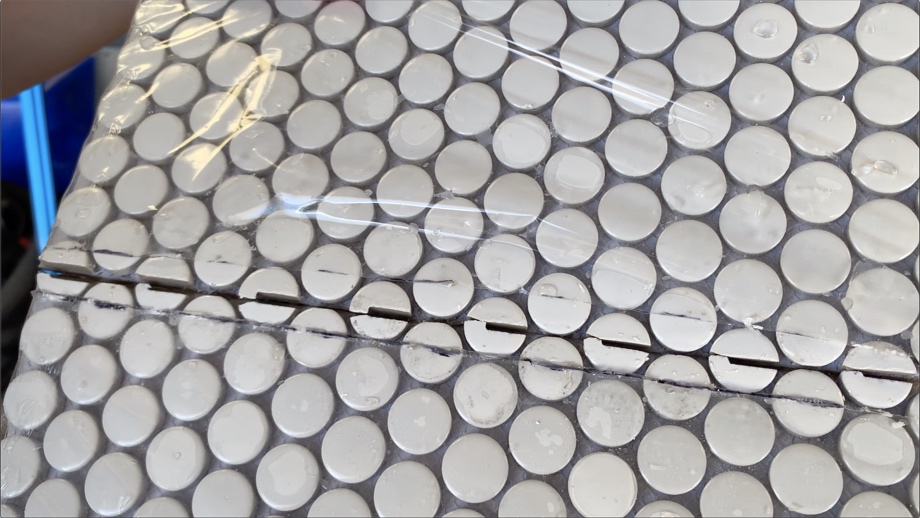
Next, we tried the same thing, but this time I pushed down on the tiles with a block of wood as I pushed it through the wet saw. It did keep the tiles flatter, but the other side still ended up a chipped mess.


Next, we tried cutting the tiles individually with the tile nippers. These were awful. They broke the tiles into four pieces each. Definitely, not what we were going for.


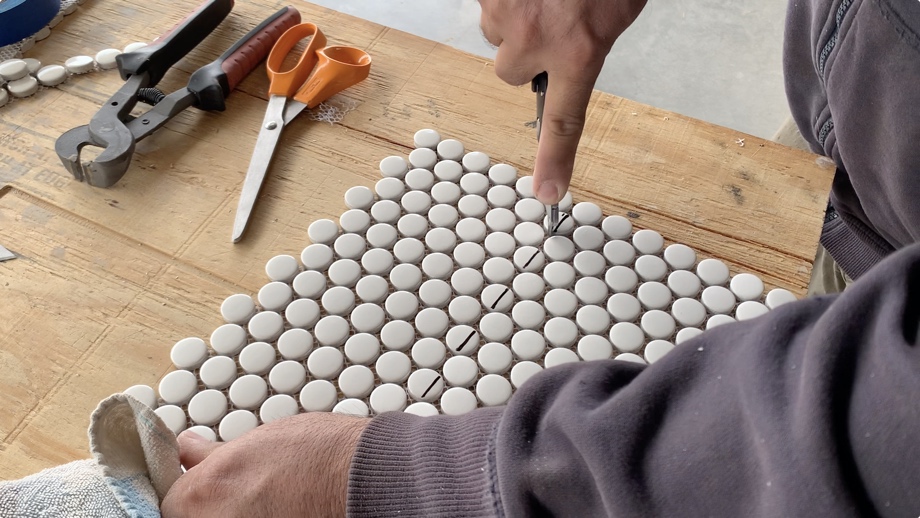
Finally, we came up with a method that worked for us. If we needed to make a cut through the mosaic, we simply cut the netting with a razor blade, leaving just the amount of tile we need. Then I drew my cut line directly on the tiles, which were now at the edge of our sheet. Finally, we could push the individual tiles up against the wet saw blade, using it like a grinder to work the tiles slowly up to the cut lines. This method kept things lined up and smooth without breaking and chipping the tiles everywhere.


With a plan in place, we got to work cutting and laying out all the tile sheets. We decided to reuse the craft paper templates we made while waterproofing, cutting the edges just a bit to fit the new dimensions.


One key tip we took from all of the videos we watched was to stagger the seams as much as possible for the best chance at not seeing them in the end. We started from the bottom and worked our way up the template. When we finished the first row, we started the second row with a half sheet. Then, when we started the third row, we started with a full sheet again. As we got to the curves, we were able to use the template to trace a mark on the tiles and then use the wet saw to grind away until the curve was just right.

Once we had one wall cut and laid out, we mixed a small batch of thinset to test our application method. We used a scrap piece of kerdiboard and practiced using the 3/16” v-notched trowel to apply the thinset to the correct thickness. Then, we set some scrap tile in, making sure the thinset embedded the penny tiles without pushing up too high. There has to be room for grout. We let it set overnight to test it, and the next day we were happy with the results.


Before we could actually start laying the tile, we had to make accommodations for the shower rod hardware that will hold our handheld shower head. The rod required two screws into the wall. Rather than lay tile and then screw through the tile afterward, we chose another method. We predrilled holes into our plywood wall and installed nutserts. We then used a brass bushing as a spacer in the kerdiboard and screwed a machine screw through the spacer and into the nutsert. Then, when we tiled, we didn’t have to worry about getting thinset or grout over the nutsert. When we were all done, we could simply take out the placeholder screw, install the rod and screw into a nice clean opening. And, no drilling through tile.


Time to start the real tiling. Juan mixed and applied small batches of the Schluter All-Set (mixed to the specifications on the bag for setting tile). We brought in one sheet of tile at a time from our template, and I laid each sheet into place, pushing it and leveling it with the rubber float. As we added a new piece, I made sure to keep the spacing between the old sheet and the new sheet the same as between all the other tiles, trying to hide seams.


We continued with this method for the rest of the shower, slowly working our way up the walls and onto the curved ceiling. As we had things to cut around, like the lights or the shower rod screws, we sometimes had to come back and fill in with a half piece of tile. In this case, we simply back-buttered a small piece with thinset and pressed it into place, again making sure to keep the spacing between the tiles consistent.

Finally, we were done tiling the shower, including the small wall around the knobs. Our arms were sore from working overhead and we had thinset in our hair, but we were done. For our first time laying tile, we were really pleased with how it turned out. We still had plenty to do in the bathroom and we still had to grout, but we were slowly getting there.

Watch the video:
Click here If you cannot see the video.


0 Comments
Comments powered by Disqus