


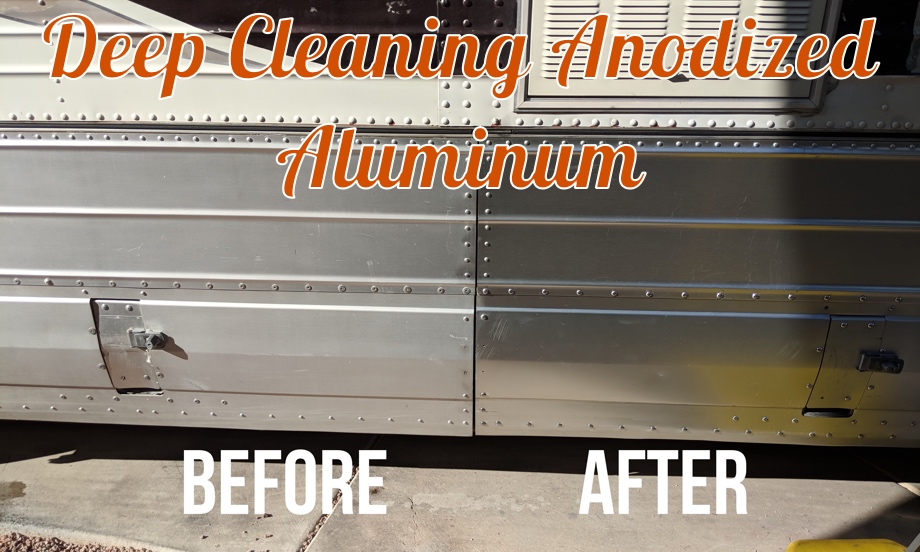
The exterior of our 1964 bus has seen better days. I wish we could have seen it in its working years. It was probably beautiful with some red and blue stripes (we can tell what colors it has been as we have seen the layers of paint chip and peel off) with shined up aluminum. Now, it has faded, chipping, peeling paint and dirty, dingy aluminum. We will address the paint soon, but for now, let’s address the aluminum.
We decided to start with the bay doors. They are anodized aluminum and really just needed a good cleaning. Living in the desert, they were dirty, dusty, and grimy. We went to work trying to bring them back to a nice shine. We won’t polish these to a mirror finish - that would require removing the anodizing. But, we knew we could clean them up significantly.
Because they needed more than just a little wipe down, we decided on a four-step process to bring them back to life.
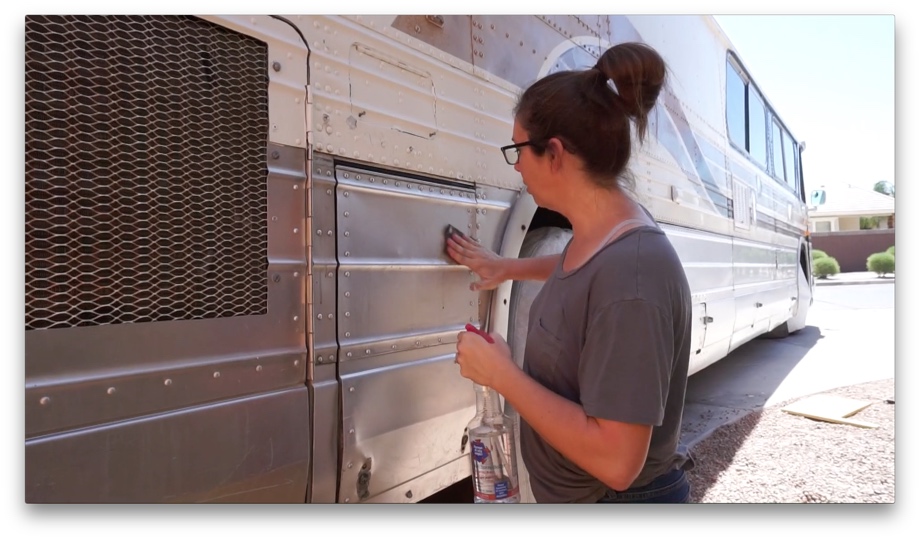
First, sand, sand, sand. Most of the bay doors have some scratches here and there, and a few even have some deeper gouges. We weren’t trying to remove all of those - we probably couldn’t. We just wanted to smooth them out. We wet sanded each door with a series of sandpapers. First, we used 600, then moved onto 800, then finished with 2000. Just that step alone made a pretty big difference. They felt so much smoother and the first layer of grime was gone.
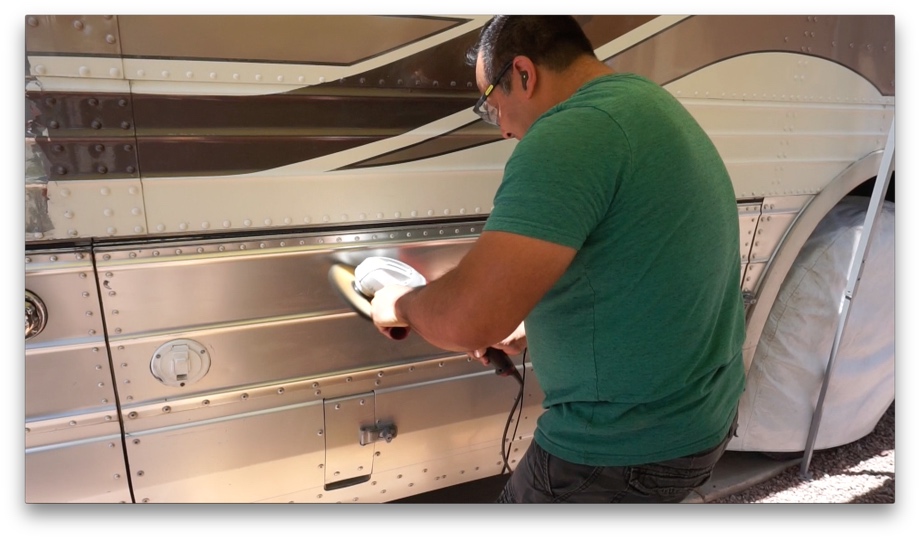
Second, Juan used a 7” grinder with an airway pad to clean the doors really well with red rouge. Normally, if you were actually polishing aluminum to a mirror finish, this would be the first cut. In fact, we could tell where rivets had been replaced over the years because the newer ones weren’t anodized, and they did polish to a mirror during this step. But, for all of the anodized aluminum, this step just cleaned and shined it up. We were really noticing a big difference after this step.
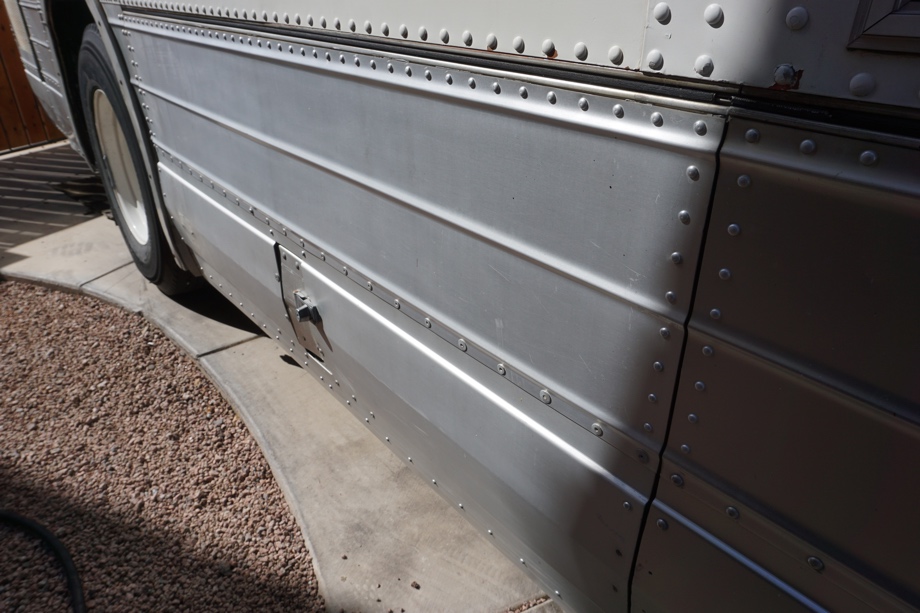
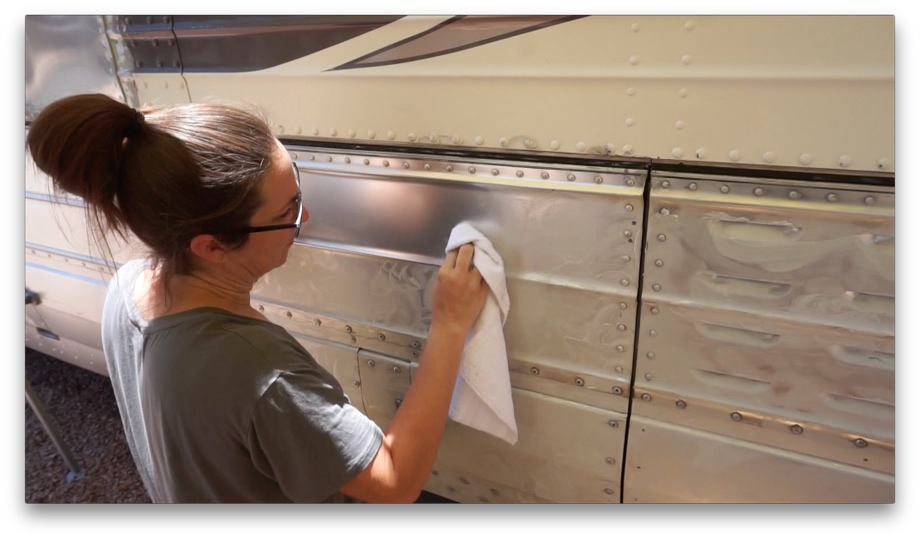
Third, we used Mother’s Mag Aluminum Polish to hand polish all the doors. This put that final touch on all of the anodized aluminum, giving it a nice satin finish.
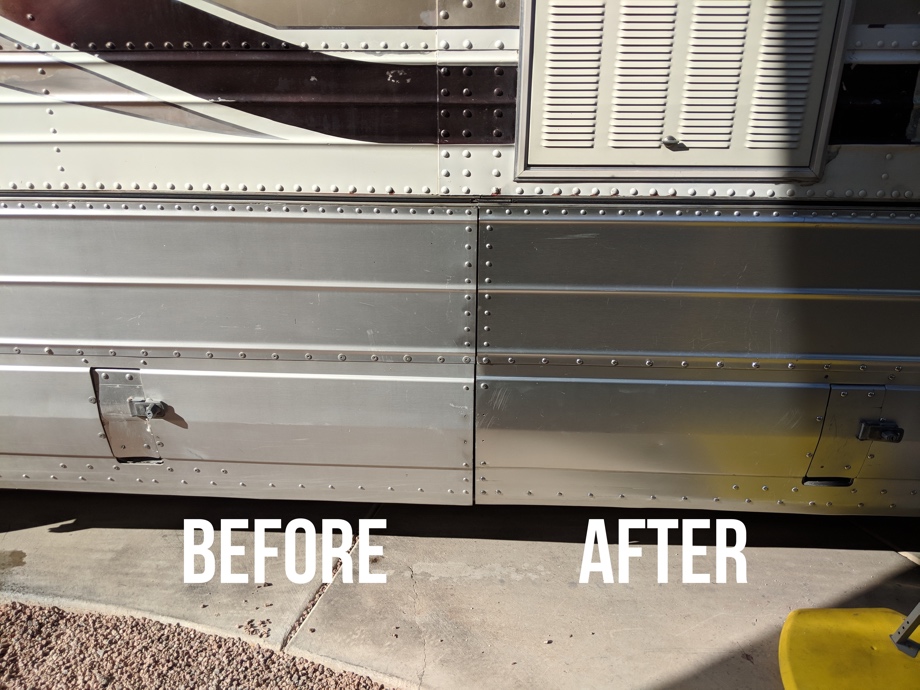
While the doors are not pristine with their scratches and gouges, they look so much better. And, hey, this bus has lived a lot of life and has many stories to tell. A handful of dents and scratches is just part of the character of a 54-year-old bus.
I said we were planning on four steps. The fourth and final step we decided to save for later, so we haven’t done it yet. It will be using a product called Wipe New. It’s actually marketed as a trim restorer, however a few folks on the bus forums really like it for restoring shine to their anodized aluminum. So, now that we have brought our aluminum back to life a bit, we thought we would use this as the finishing layer. However, we have decided to wait on that last step until after we have the bus painted and the rest of the cleaning and polishing of the bumpers done. Then, we will give all of the aluminum one last coat of the Wipe New. It’s a bit expensive (although we found it on sale for over 50% off), so we didn’t want to use it all up now and then want to go buy it again in just a couple of months. So, we will finish that fourth step later.
For now, all that anodized aluminum is looking much better with a nice shine. We can’t wait to make the rest of the bus shine with a new paint job. Hopefully, that will happen in the near future.
A Note from Juan:
Some of you may ask why we are taking the time to polish the aluminum before we take it to get paint. I will try to explain my rationale.
I recently watched a YouTube video with a mechanic who was working on a car that he said the owner had clearly abused and neglected. He went on to say that when an owner takes the time to love his car and maintain it to a certain level, it is a lot easier to "go the extra mile" and ensure that every detail is taken care of. On cars that are clearly unloved and neglected, it is far harder to go that "extra mile". The owner doesn't care, so why should he put in the extra effort? Some will argue that a good job should be done regardless of the condition of the car (and the comments section was littered with this type of comment). But the fact is, we are human.
I don't know how to do everything, but I try to do all the things I tackle well. At least to the best of my ability. We have decided to trust someone else to do this big job for our bus, and I hope the person we are trusting will take the time to do their best as well. If the bus shows up to the paint shop and it looks like someone has loved it, it becomes easier to take the extra time to tape things off correctly or wipe off the small amount of paint overspray or make sure that line is just so. At least that is our hope.
So, that is why we are trying to "pretty up" the bus as much as we can before we entrust her to someone else for the rest of her exterior makeover.
Watch the video:
Click here If you cannot see the video.
Parts We Used
8 inch bias hard airway buffing pad
Brown Buffing Rouge Bar
Mother's Mag and Aluminum Polish
Terry cloth shop towels


Tools We Used
Cheap 7" angle grinder from harbor frieght


0 Comments
Comments powered by Disqus