


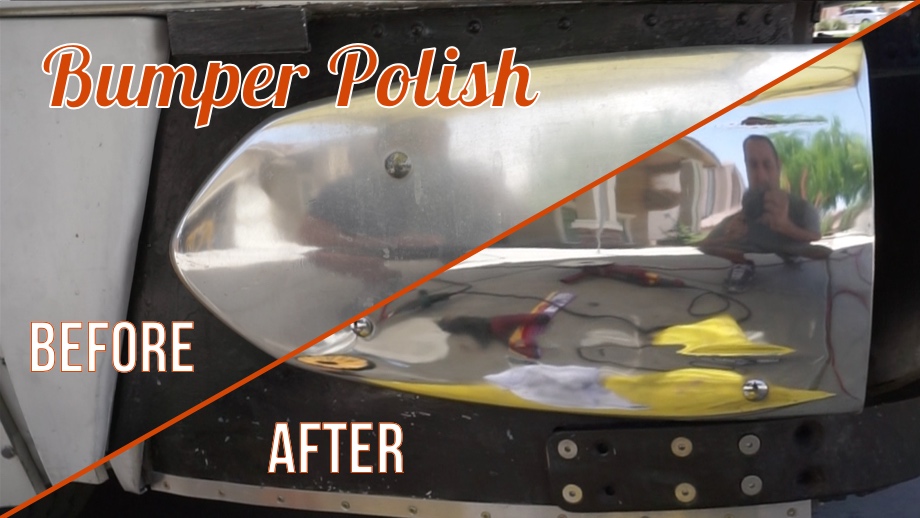
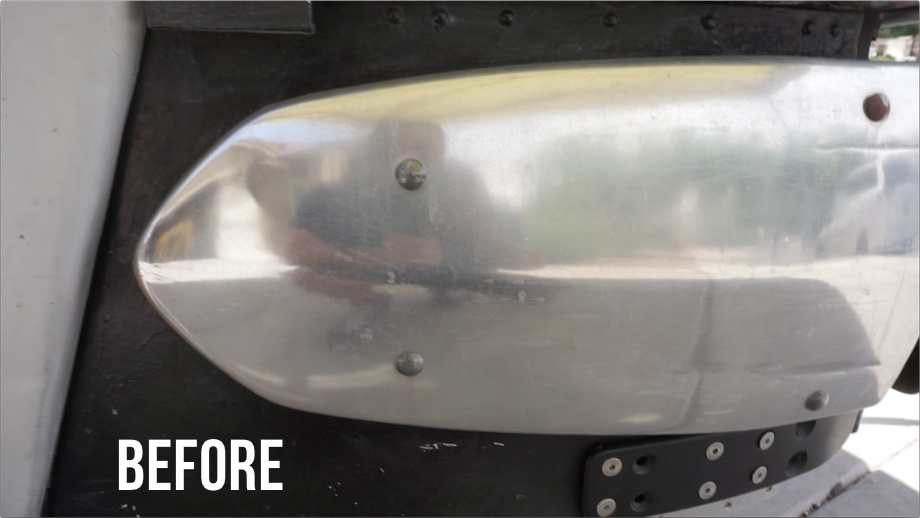
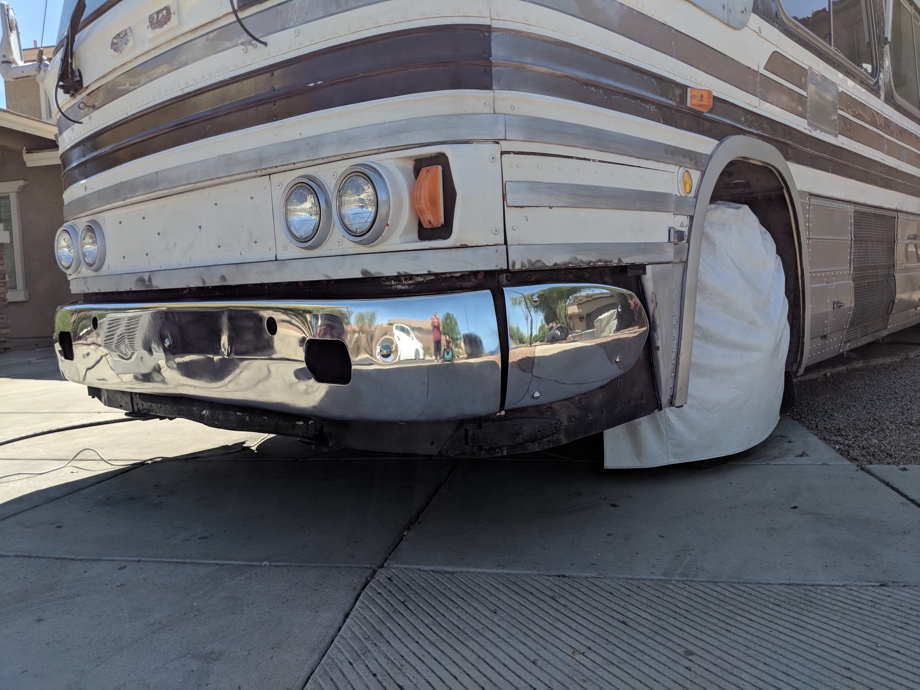
We have shared with you before how we have polished aluminum: first when we removed layers of paint and polished our aluminum dash during our dash rehab, and just recently when we deep cleaned (but not truly “polished”) the anodized aluminum bay doors. This time, we took on the front bumper. This poor bumper really needed to be cleaned up. We have seen other PD-4106 buses like ours with bumpers that have been left with the original satin finish and others with shiny polished bumpers. We really love the look of the polished bumpers, so that is what we decided to do. Besides the pretty shine, we will have the bonus effect that polishing has in camouflaging imperfections.
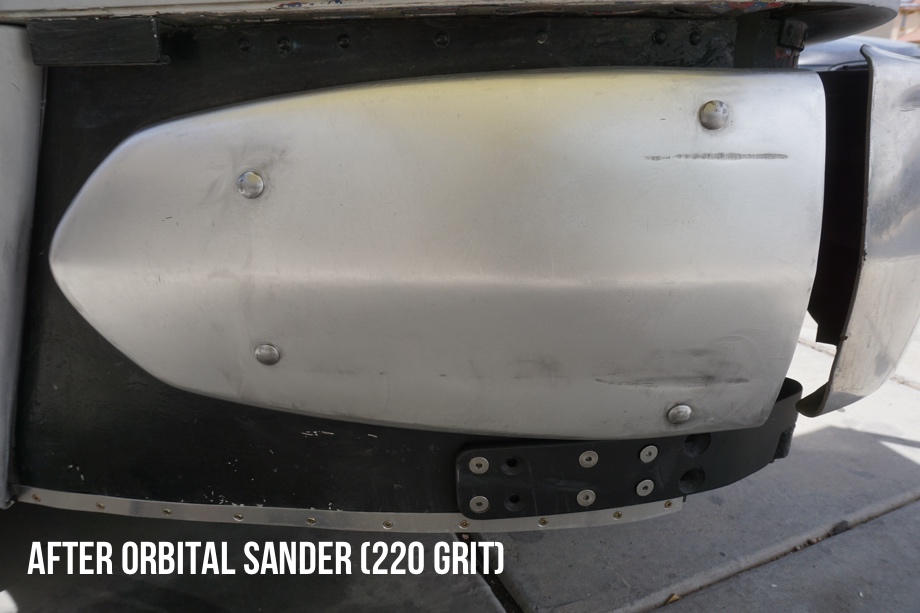
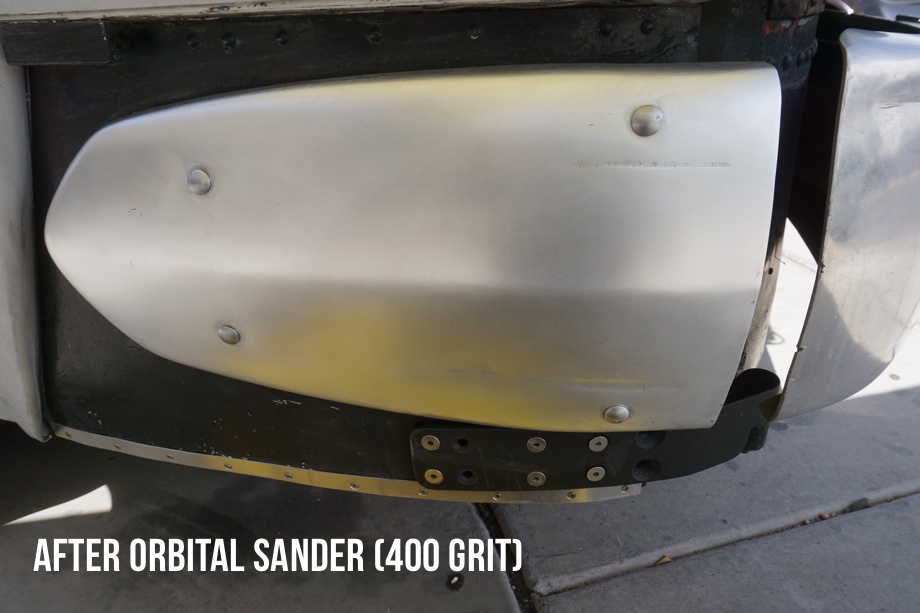
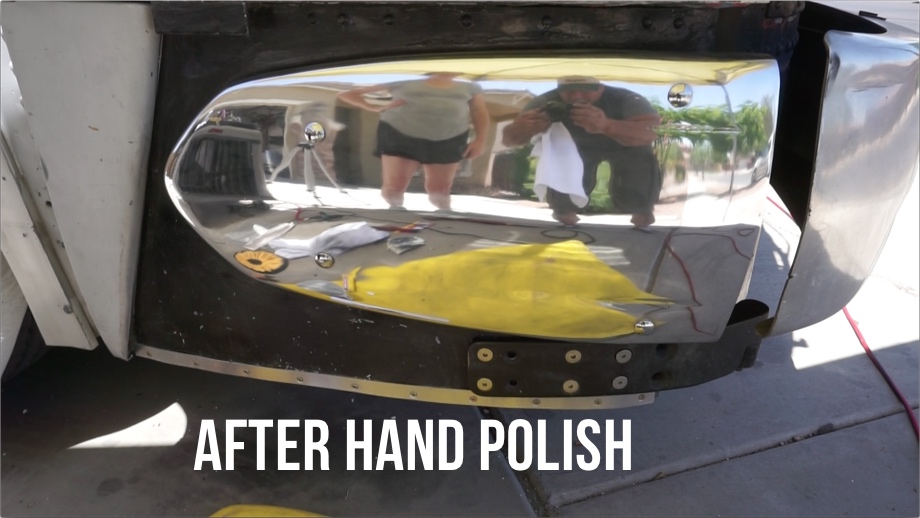
We started with the “bumperette”, the small side part of the bumper that is on the door. Typically, when we have polished aluminum in the past, we start by sanding with a random orbital sander using 400 grit sandpaper. This time, however, we decided to start with 220 grit to smooth it out a little more than usual. There were so many fine scratches (and deeper gouges that we are attributing to the “character” of this old beauty) that it needed a little extra sanding. The 220 did a good job and then we moved on to 400 grit on the random orbital sander. Those two steps started smoothing things out nicely.
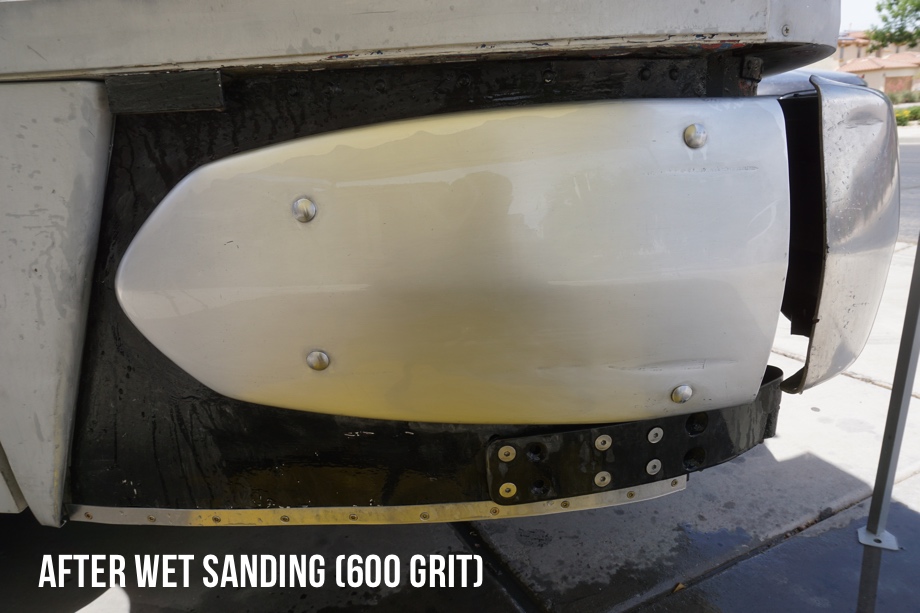
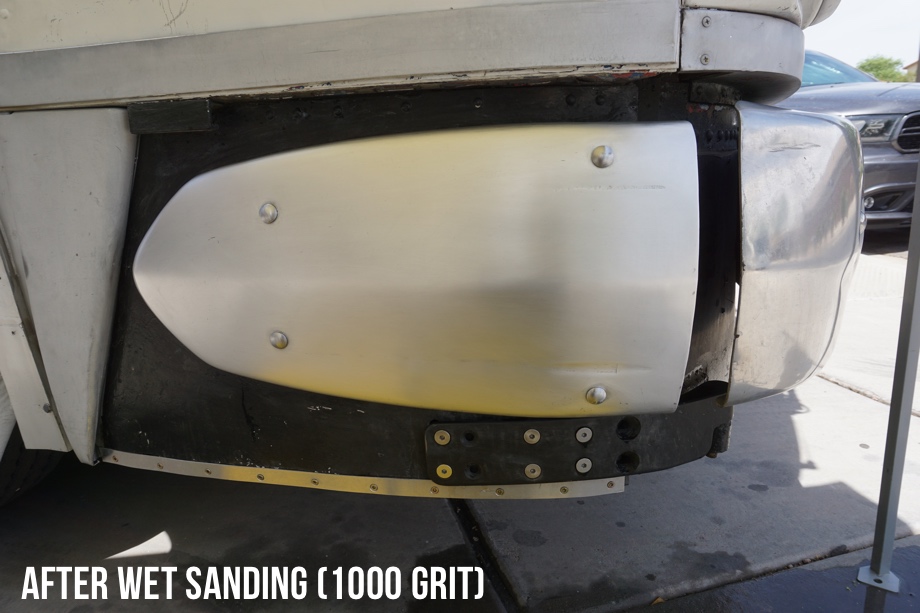
Next, we moved on to wet sanding by hand in three rounds - first with 600 grit, then 800 grit, and finally with 1000 grit. After all of this, the aluminum was feeling nice and smooth. It was time to polish.

Juan has always used spiral-sewn cotton buffing wheels but recently discovered airway buffing pads. He is now a convert. They both work well, but the cotton wheels make a huge mess throwing threads everywhere. Polishing is already an extremely messy job (just look at Juan’s face and arms at the end of the video), anything we can do to clean it up is good in our book. The airway pads worked really well and did not make that huge mess that the cotton ones always make.
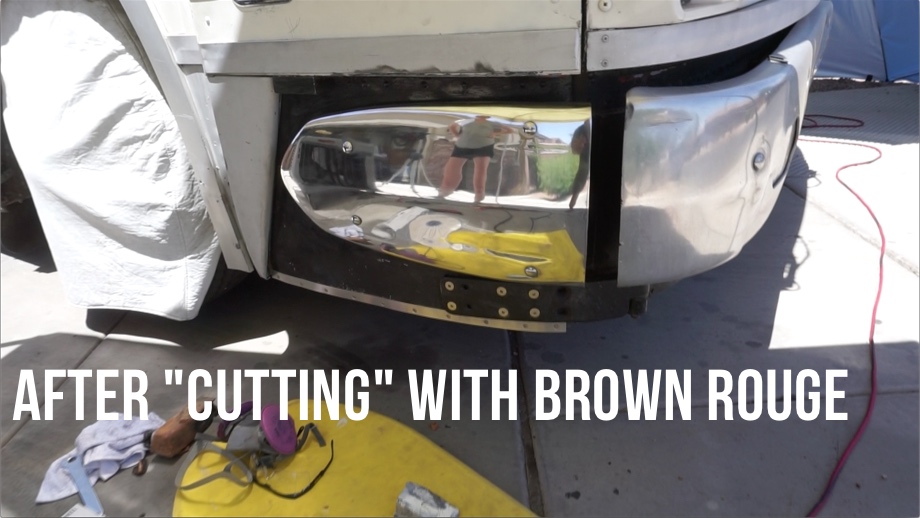
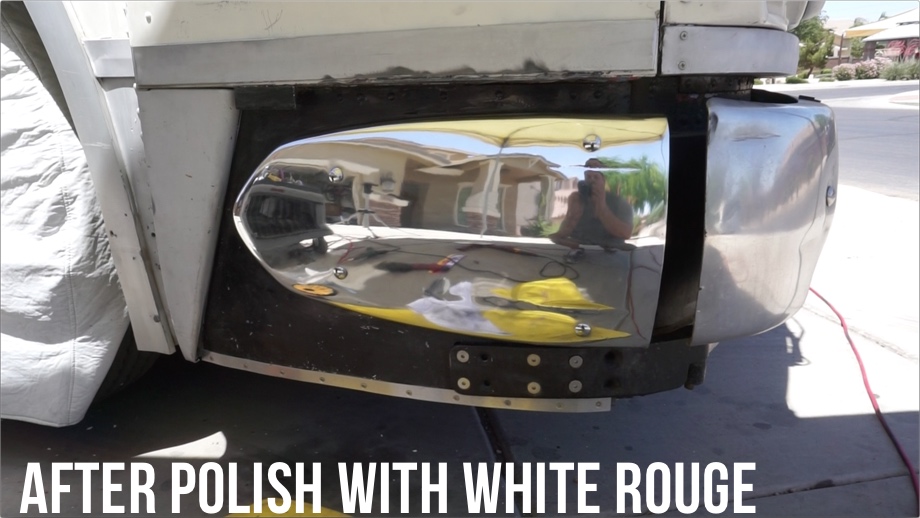
Juan used his cheap 7” grinder and the airway pad with brown rouge to do the first cut. It started to have a nice mirror reflection. He followed by switching the pad to a white softer airway pad for the next step. He polished again with a white jeweler’s rouge. The aluminum was now nice and shiny.
The last step was to hand polish the bumper. We have always used Mother’s Mag and Aluminum Polish. Recently, someone recommended Happich Simichrome Polish. We tried both. Honestly, we didn’t notice a huge difference. They both worked well.
We finished that bumperette and then moved on to polish the bumperette on the other side. Finally, we polished the front bumper. It looks significantly better than the “before”. Wow! We will eventually polish the rear bumper as well. We can’t wait to get the bus painted and have her looking pretty. For now, this is a great first step.
Watch the video:
Click here If you cannot see the video.
Parts We Used
8 inch bias hard airway buffing pad
8 inch soft airway buffing pad
Brown Buffing Rouge Bar
White Buffing Compound
Mother's Mag and Aluminum Polish
Happich Simichrome Polish
Terry cloth shop towels


Tools We Used
Cheap 7" angle grinder from harbor frieght
Respirator Mask
Safety Glasses


0 Comments
Comments powered by Disqus