


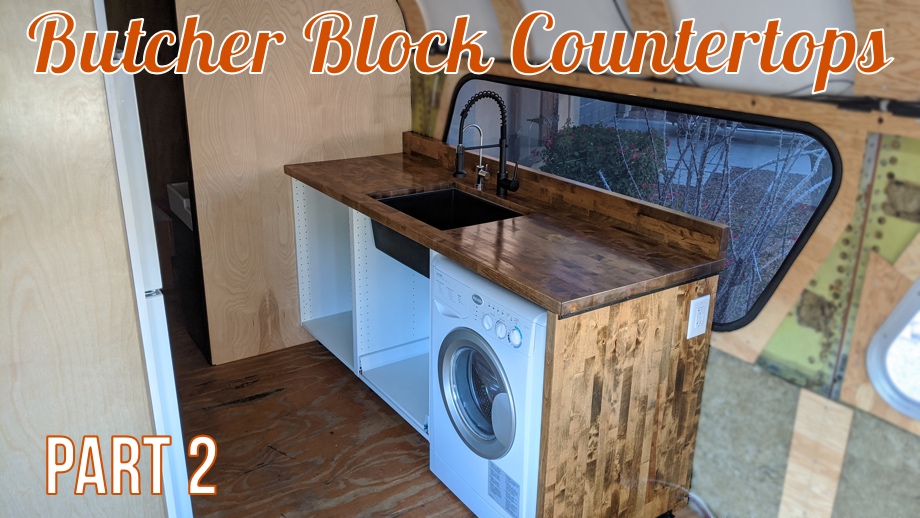
After cutting and fitting the butcher block counters, we were ready to finish them. We have never had butcher block countertops in our home before, so I had been researching and researching the best ways to do the finish work. The most concerning part for me was having them around the undermount sink. However, I have been following the blogger Sarah from Thrifty Decor Chick since about 2009 and she has had a butcher block counter in her last two homes. In her current home it has an undermount sink. I read so many articles on treating butcher block and caring for butcher block, but in the end I came back to Sarah’s instructions on how she finished hers. She has even reported back in additional posts about how they’ve held up around the sink and she has had no problems.
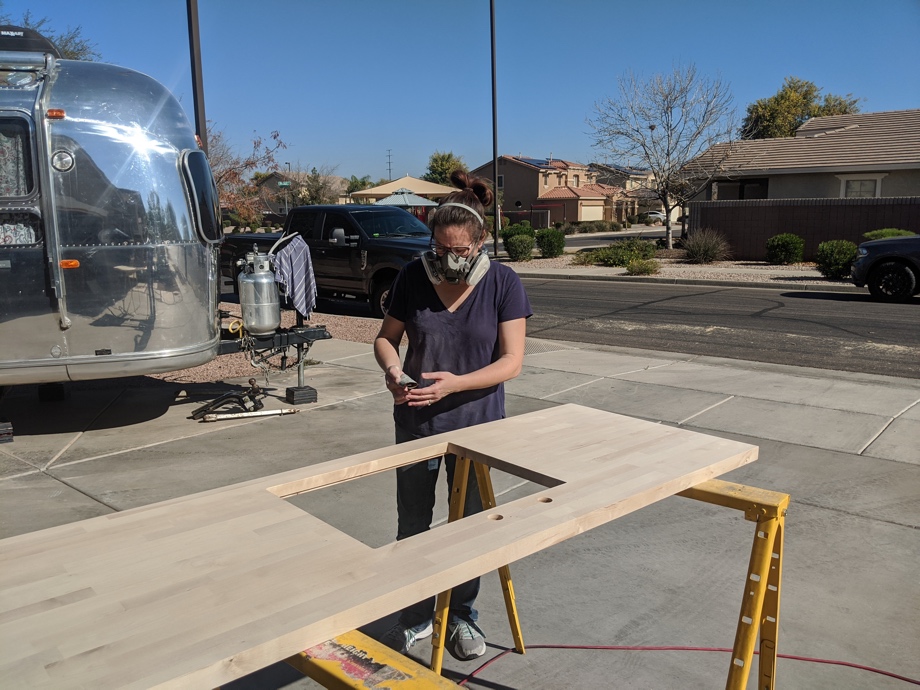
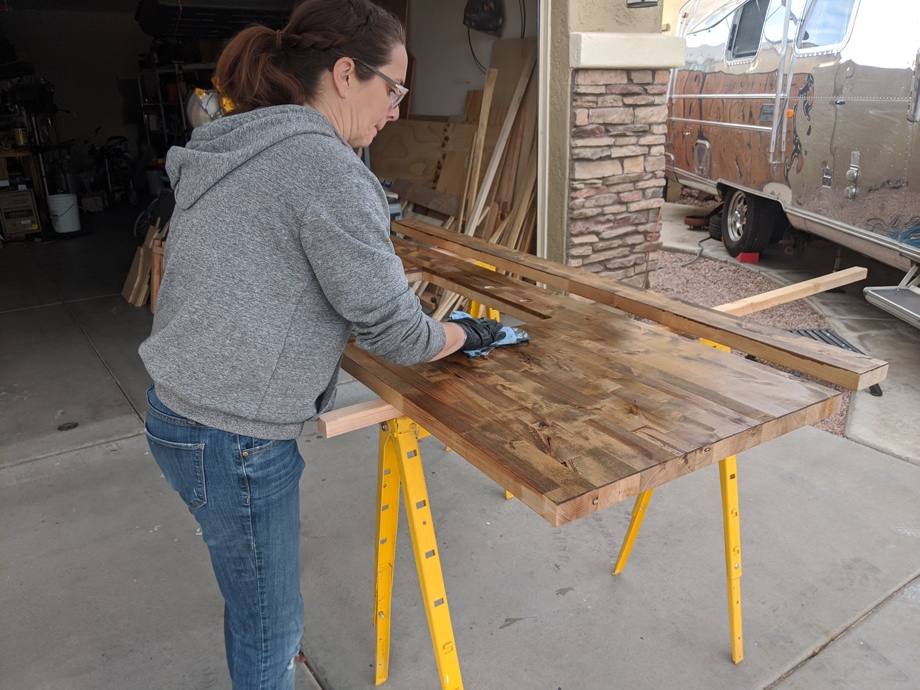
To begin with, we made sure everything was nice and smooth. The butcher block from Home Depot comes pre-sanded, but we still did an additional round of sanding with our random orbital sander and 220grit sandpaper. We then finish-sanded it with 500grit and 1000grit with a sanding block. We wanted that counter buttery smooth!
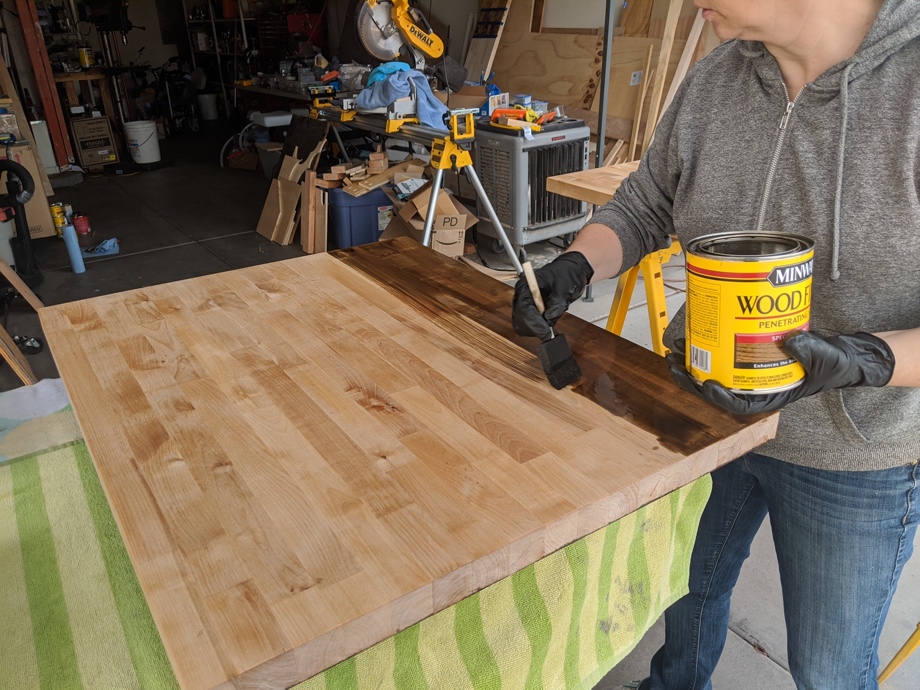
Then, the decision came about staining the wood. We will already have quite a bit of light birch wood and white cabinetry in the bus, so we wanted to add some warmth with slightly darker floors and countertops. We tested out several different colors of stain and decided on Minwax Special Walnut. It’s a nice medium tone - not too dark or too orangey or too red.
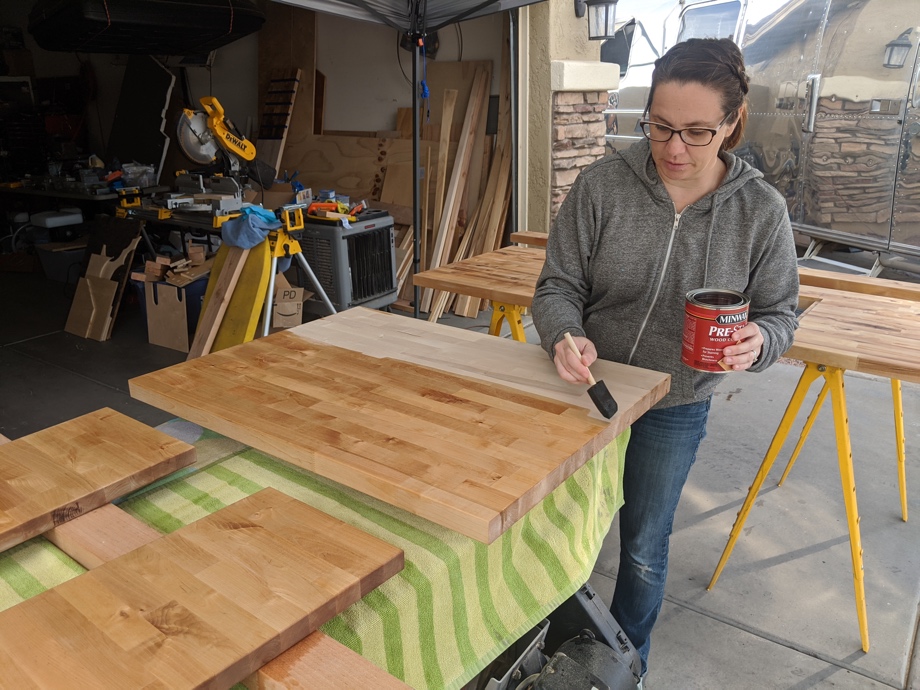
The first step in prepping for the stain was using Minwax Pre-stain Wood Conditioner. This helps even out the stain so you don’t end up with blotches and gives you more working time with the stain. I used a foam brush to apply the conditioner on all sides of the wood and allowed that to dry.
Then, I used blue shop rags to apply just one coat of Minwax Special Walnut on all sides of all the pieces. The next day, we began the process of oiling.
Oiling is the key to butcher block. It protects the wood, gives it a beautiful sheen, and most importantly for us, waterproofs it. Again, we did quite a bit of research on what type of oil to use. Everyone seems to have their favorite and there is no “one perfect oil”. I followed the lead of Thrifty Decor Chick and used Tung Oil. Again, I used blue shop rags to apply. They seem to work the best for me to not get lint all over the place. I used a generous amount of oil and really rubbed it in well, especially around the sink opening and even down inside the faucet holes. After allowing it to soak in for 10 minutes or so, I went back and wiped off any excess. Then we waited.
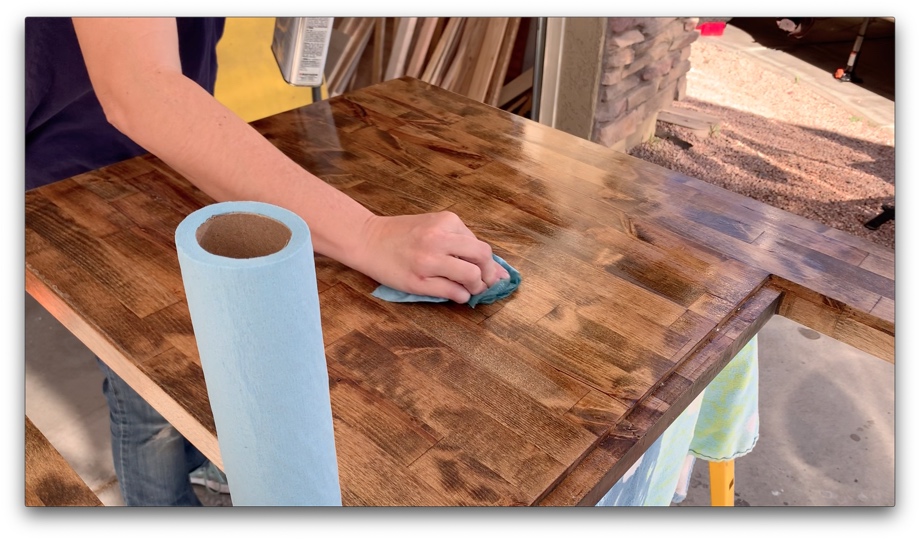
24 hours later, we started again. To knock off any rough spots in the wood after the oil soaking in, I very lightly sanded with 500grit and wiped everything down. Then, I oiled everything well again just like the day before. Rub it in well, wait, wipe off any excess. Wait 24 hours and repeat.
After four days and four coats of oil, it was doing exactly what we had hoped. No more oil was soaking in. It was smooth and shiny. We tested the “waterproofness” by dropping water on it, and like magic, it just beaded up into droplets. Perfect!
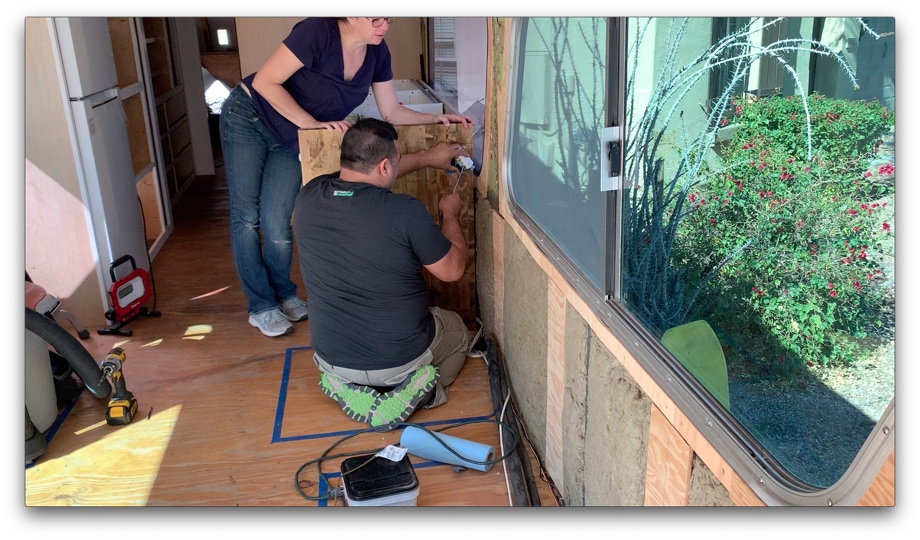
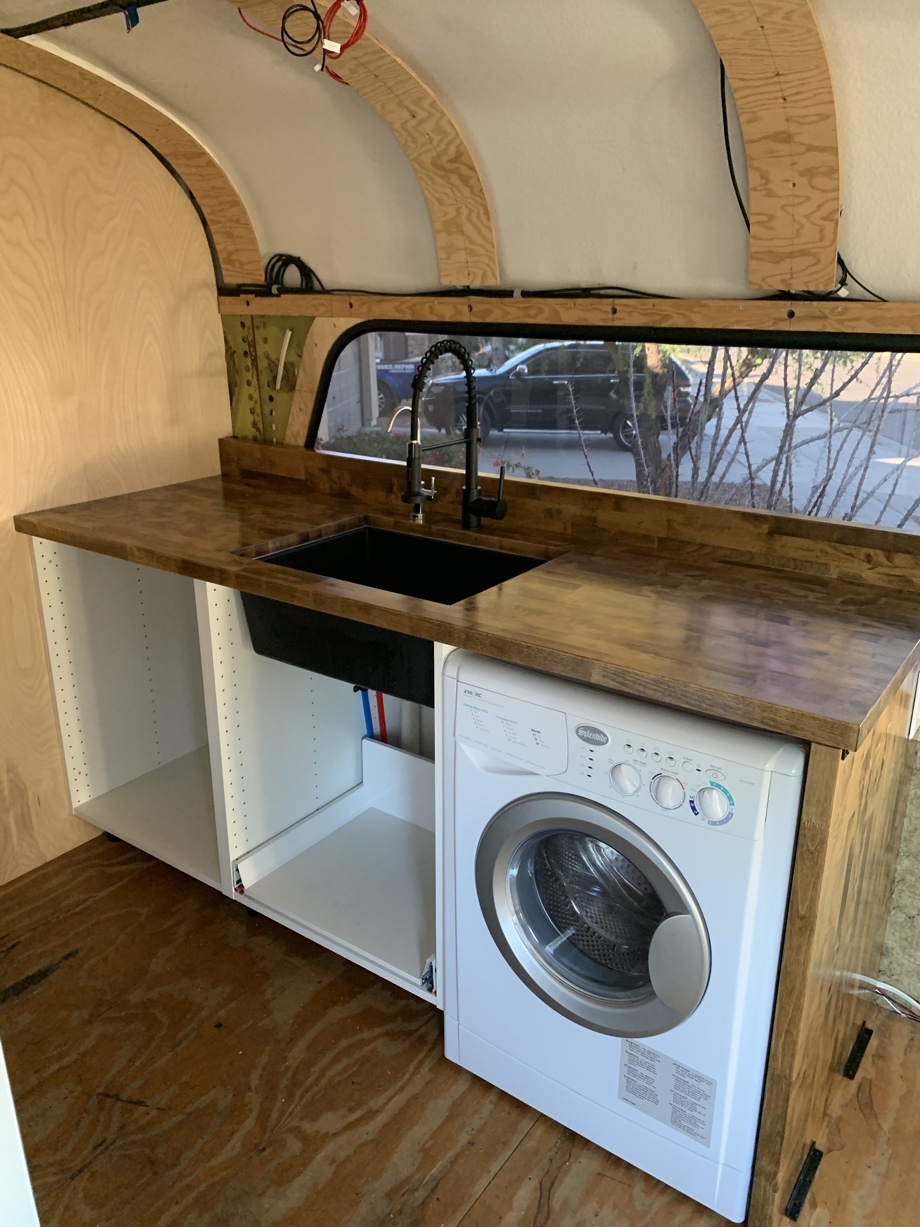
After allowing that last coat to set for a few more days, we were ready to install. We screwed the backsplash into the counter from underneath. We then mounted the faucets before taking it in the bus. The first step in installation was installing an electrical outlet in the cabinetry end-cap piece.


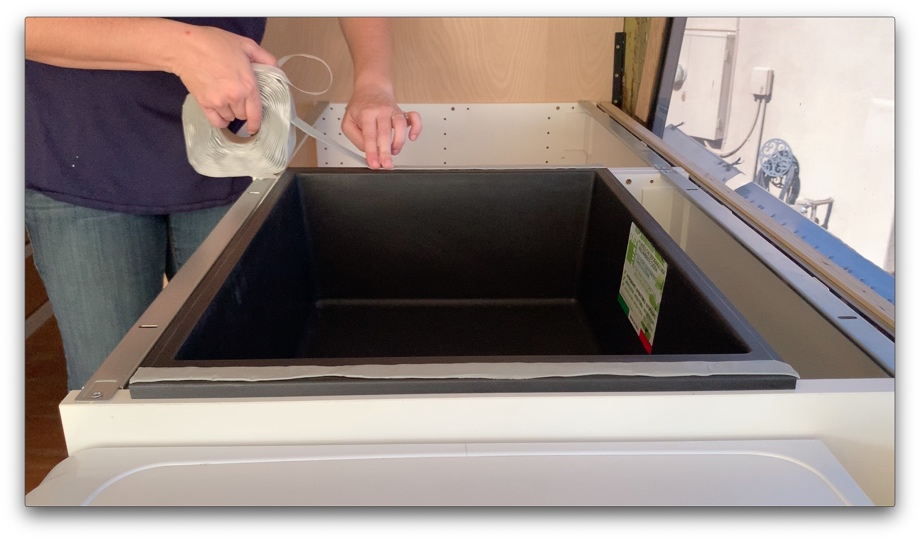
 We were almost ready for the main countertop. For one additional measure of leak proofing the undermount sink, I added a layer of butyl tape on the lip of the sink. Hopefully that will prevent any water from seeping in between the counter and the sink.
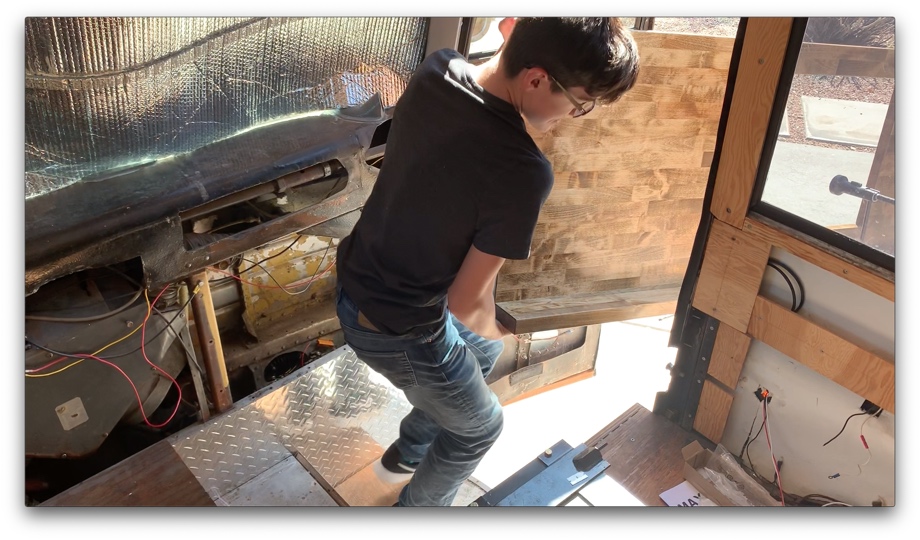
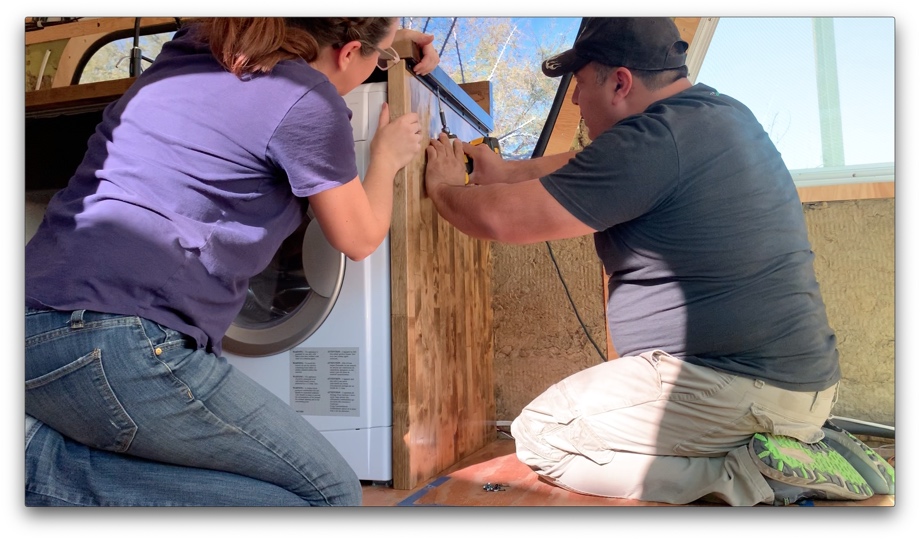
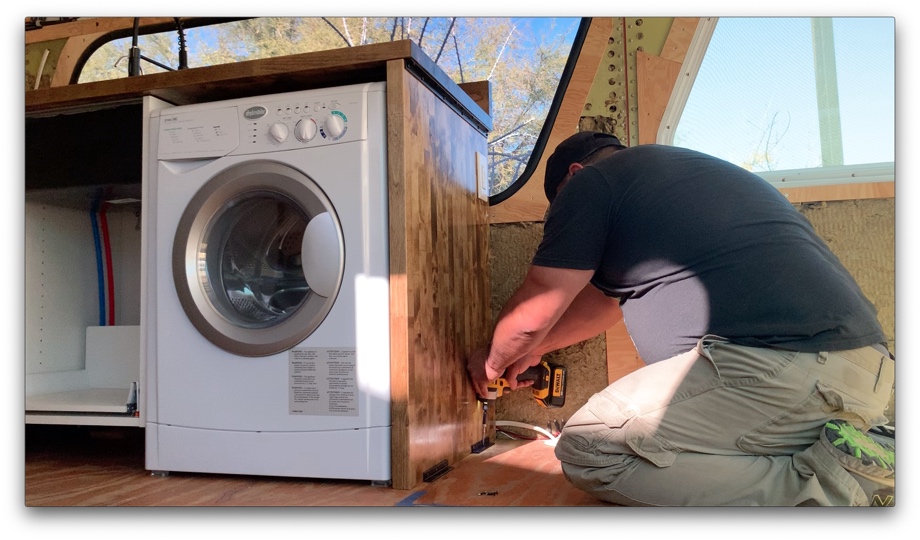
 Finally, Juan and our son brought in the counter and set it in on top of our sink (we explained our happy accident sink-mounting method last week). The counter was screwed into the rails of the cabinets. We made sure the end cap was all lined up and then used ¾” angle iron brackets to mount that end cap to the floor and top counter. These brackets will allow us to easily remove that piece in order to access the plumbing behind the washer/dryer in the future.
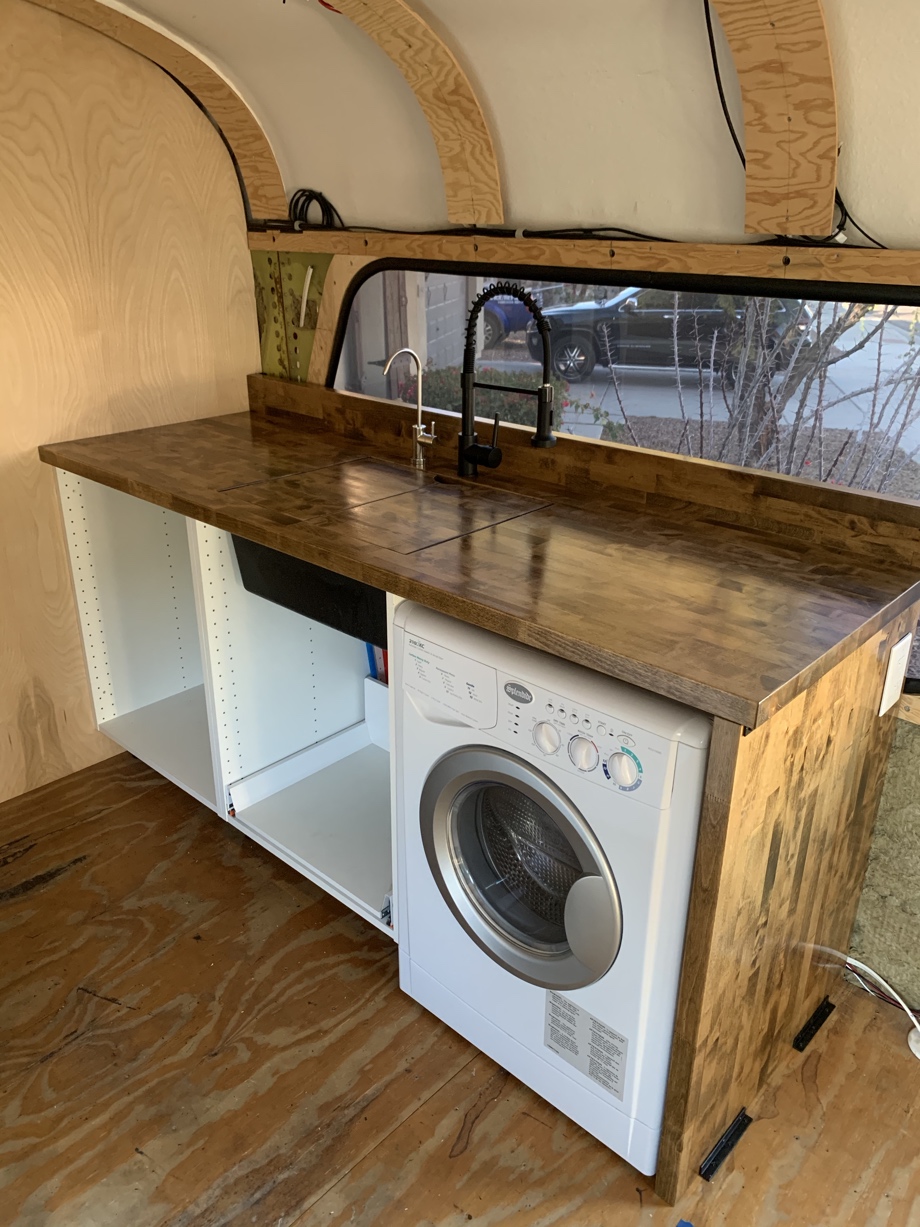
 The last step was plumbing the sink drain with a Hepvo waterless trap down into our previous installed drain lines. Then we added the faucet water lines to our roughed-in Pex-A lines and secured those. And, we were done! Countertops, sink, and faucet all installed and functioning! We were thrilled with how they turned out. Hopefully, with periodic oiling, we can keep them looking beautiful.
We are so looking forward to baking lots of cookies, crafting tons of projects, preparing many meals, and washing way too many dishes in this kitchen.
 Watch the video:
Click here If you cannot see the video.


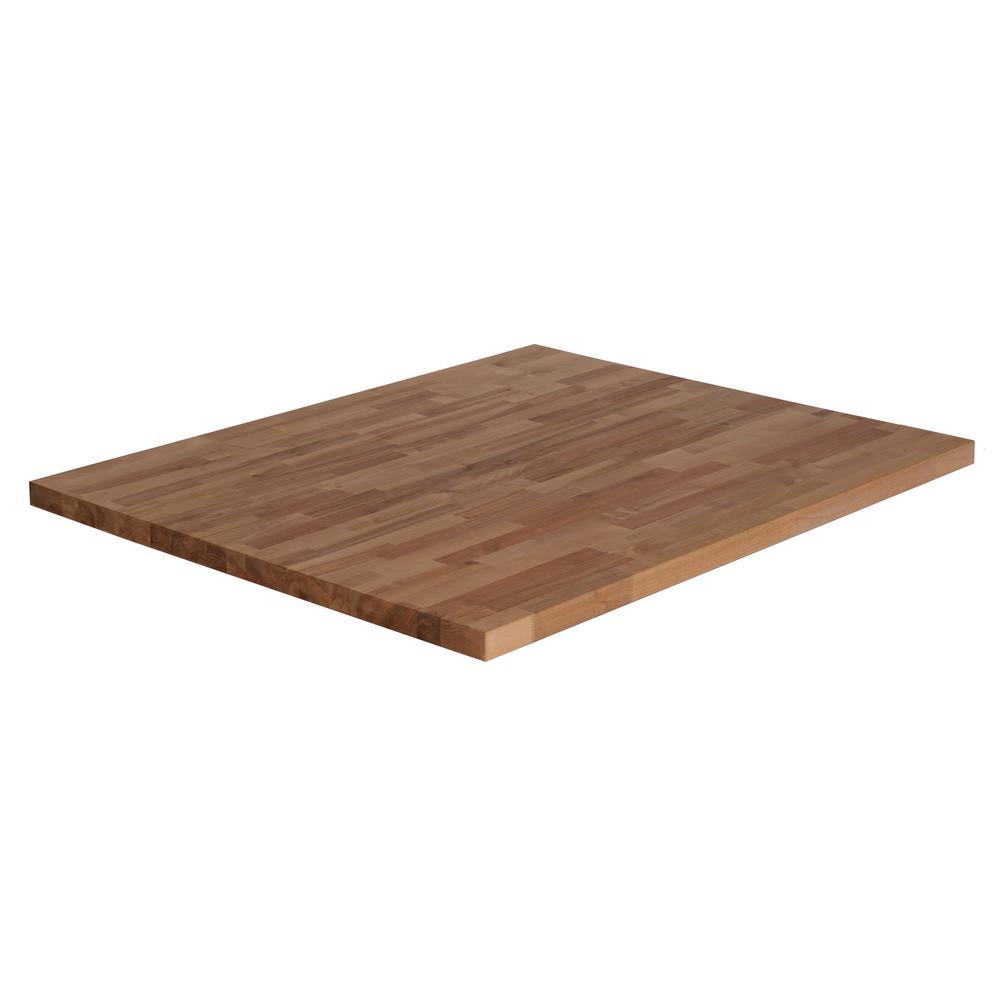 Birch Unfinished Butcher Block Countertop


0 Comments
Comments powered by Disqus