


I wish we had video or pictures of how poor the light output was from the old incandescent headlights. Unfortunately, we never took any before the wiring was cut to remove the headlights during the painting process (there were no disconnects - only short, crusty old wires). But, believe me, the light was bad. As in, it was pretty scary to drive at night - in fact, we almost never did drive in the dark for just this reason. You could barely see anything. Replacing the headlights with LEDs has always been on our “to-do list”. It became a priority when we brought the bus home from the painter and had no functioning headlights.
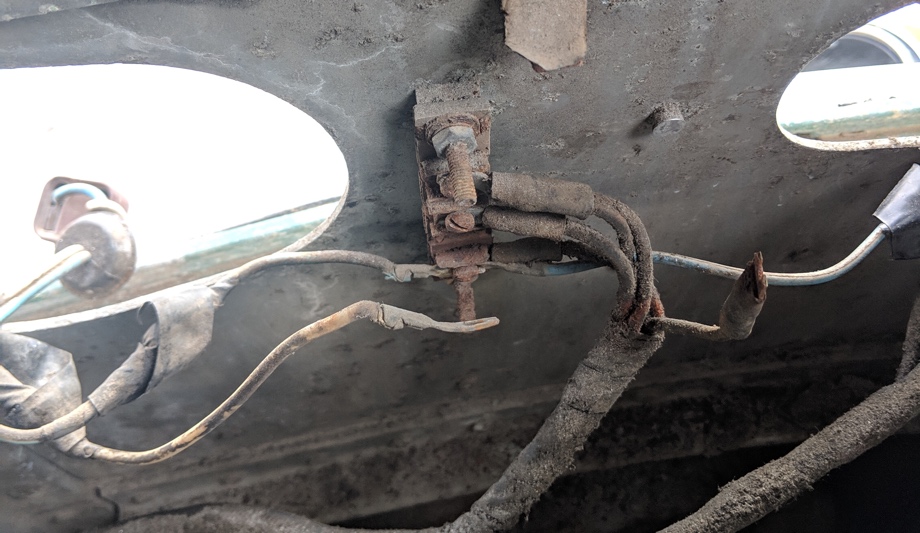
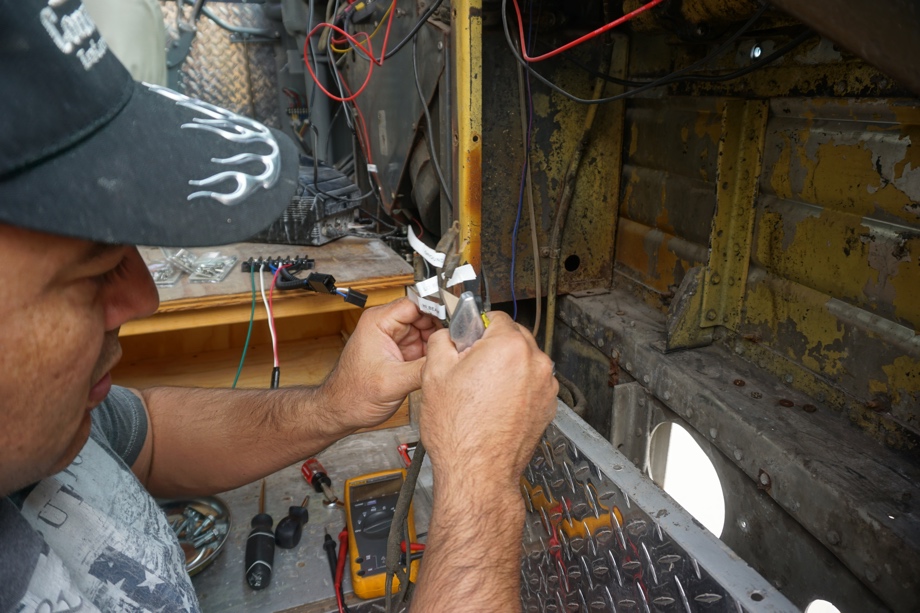
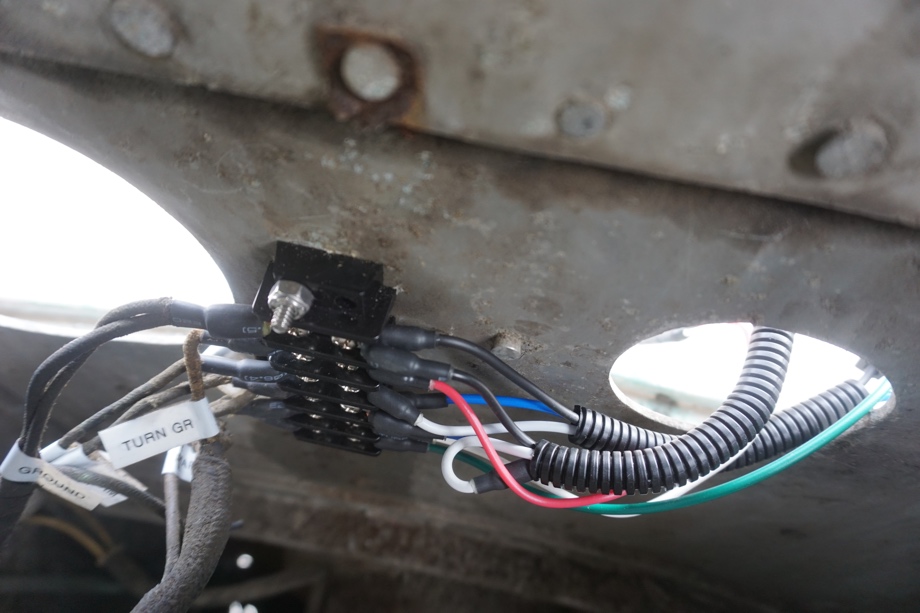
The first thing we knew we wanted to do was rewire the whole set-up. The wires back there were in poor condition. In fact, the small terminal block fell apart from rust when Juan removed it.
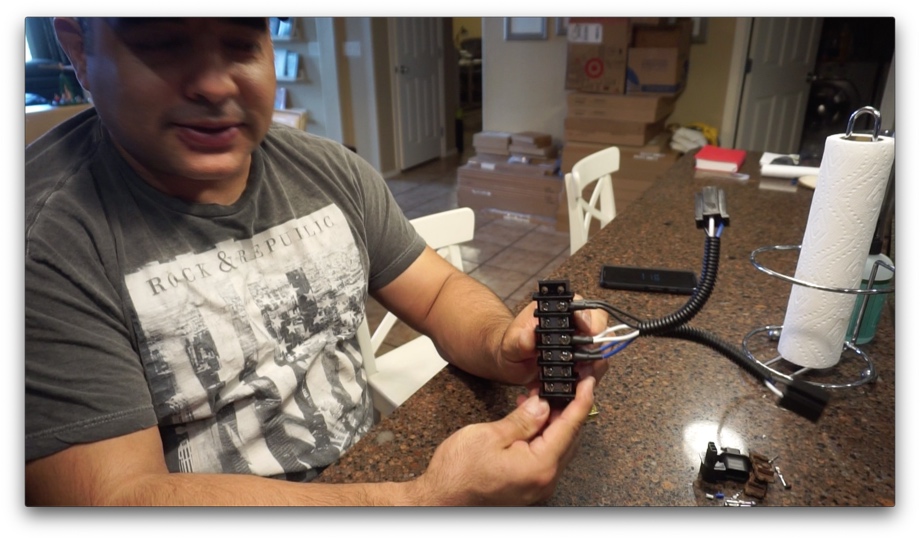
 Also, we wanted all the headlights and turn signals to have proper “quick-connects” so it will make removing them much easier in the future. We bought new terminal blocks for each side to give us a nice, clean start. We also bought pigtail extensions with H4 connectors for the headlights to allow us that option to disconnect easily as well as give us more room to pull the bulbs out. We will also be using anti-flicker devices to stabilize the supply side voltage and eliminate the flicker that LED lights can often have when you first turn them on.
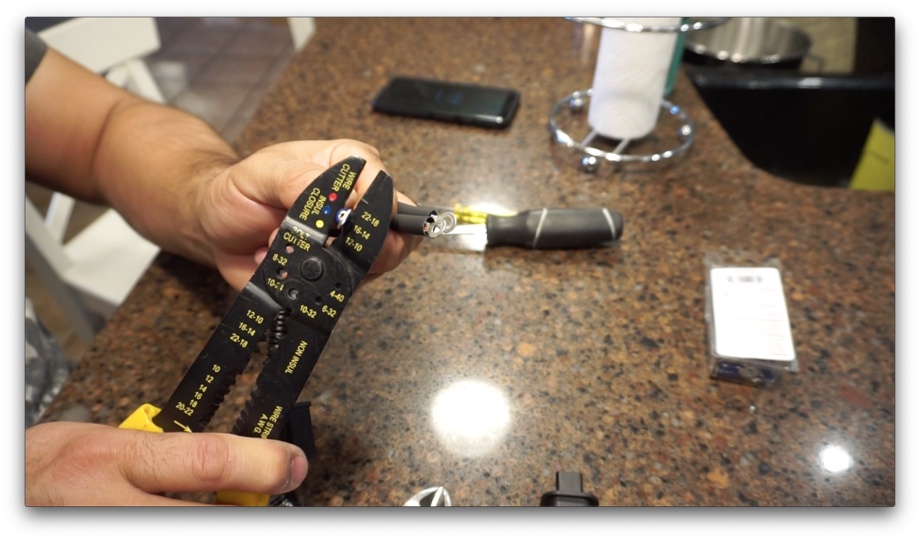
With all of the new wiring in hand, we got to work. Cutting and stripping wires, crimping on connectors, heat shrinking, labeling, etc. Finally, the new wiring harnesses were all ready. All we needed were the new lights to install. Should be easy, right?
 Well, as we have learned...nothing is easy on an old bus.
We went through a couple different LED headlight options before we finally found ones that were going to work for us. The first set fit perfectly but turns out they weren’t DOT certified. The light they put out wasn’t nearly as bright as they advertised and the pattern was almost like a spotlight. We returned them. The second set of lights were DOT certified, had great light output, and the correct light pattern. Unfortunately, they were too deep and wouldn’t fit into the old buckets. We tried everything we could to get them to fit with no success. We returned them. Every other DOT certified LED headlight that fit the diameter of the stock lights (5 ¾”) was just as deep. We gave up on that route, and we had to start going in a different direction.
What if we removed the original buckets completely? Could we get a larger and more common 7” LED headlight to fit into the fiberglass housing without the buckets? We thought we could, and so we ordered two different options for 7” lights, which are common for Harley Davidsons and Jeeps.
In the video, we show you how we created the new wiring harnesses, and also show how we tested all of these different headlights. Next week we will show you the outcome of trying to fit those 7” lights onto the fiberglass housing pieces and how the project all turned out.
Watch the video:
Click here If you cannot see the video.
Parts We Used
(Returned) 5.75" LED Headlight
6 Gang Terminal Junction Block
H13 to H4 Headlight adapter for 7 inch LED Headlight
Anti Flicker Harness for 7 Inch LED Headlight
7" LED Headlight Mounting Ring Bracket
DOT Approved 90W 7 inch Round Cree LED Headlight
DOT Approved 7 Inch Round LED Projector Headlight
Marine heat shrink
16-14 AWG Terminal Ring Connectors
14 GA Single Conductor Stranded Wire


0 Comments
Comments powered by Disqus