


After last week’s slight fiasco with painting the face frames, we were so thankful to move onto building again. We are becoming a bit more confident with some basic woodworking skills, so we're excited to build the drawers for the wardrobe.
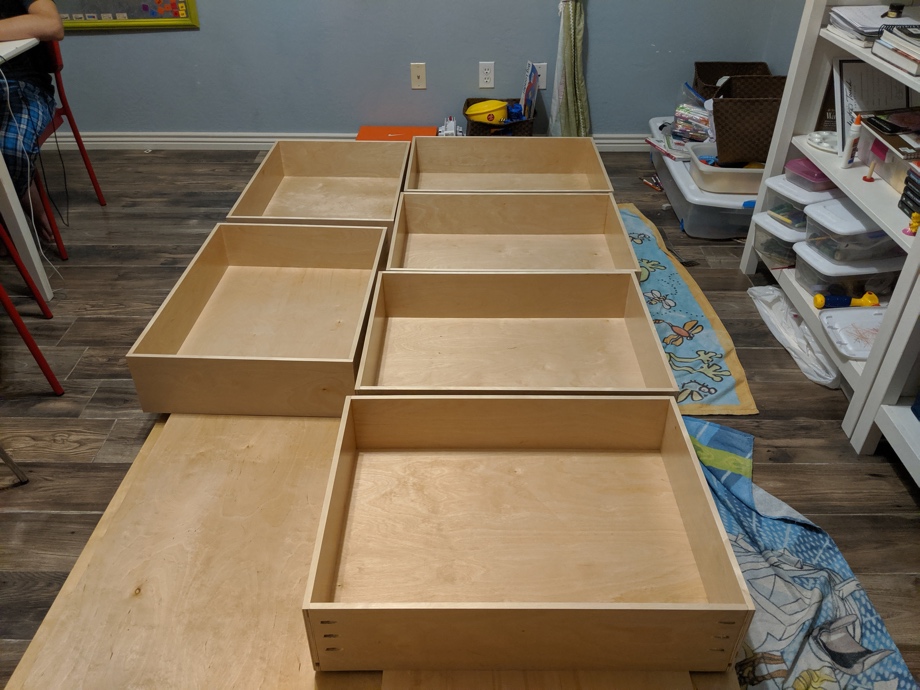
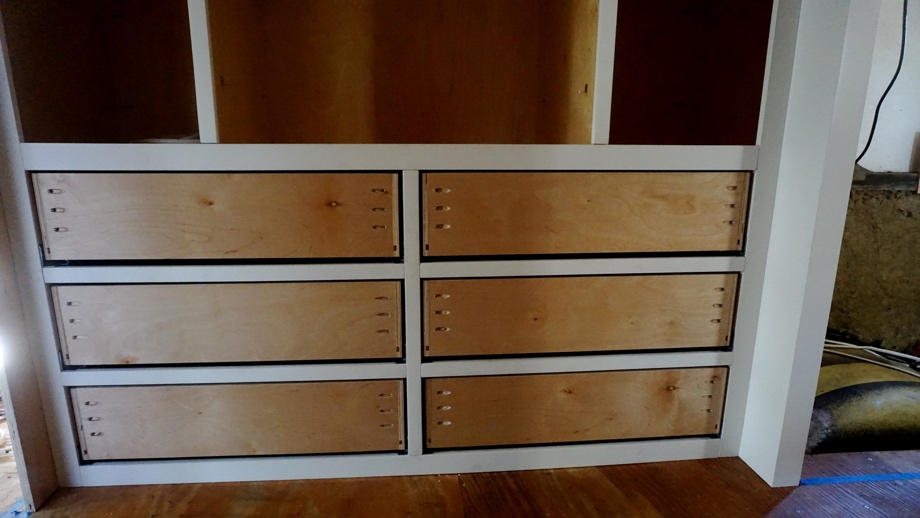
We planned six large drawers for the bottom of the wardrobe and after seeing them finished and in place, we are pretty sure this is more than enough space for the majority of our clothes.
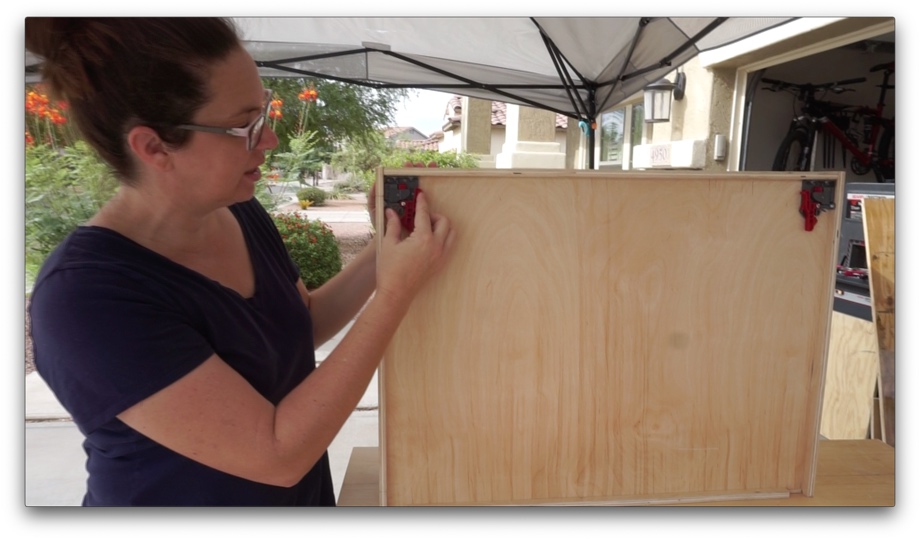
For these drawers, we used ½” pre-finished birch plywood and cut all of our pieces assembly-line style. We then cut dados in them so the bottom piece would simply slide in. Unfortunately, we made our dado cuts so precise in the width that the bottom pieces wouldn’t just slide in. We would have to set them in and put the boxes together piece by piece.
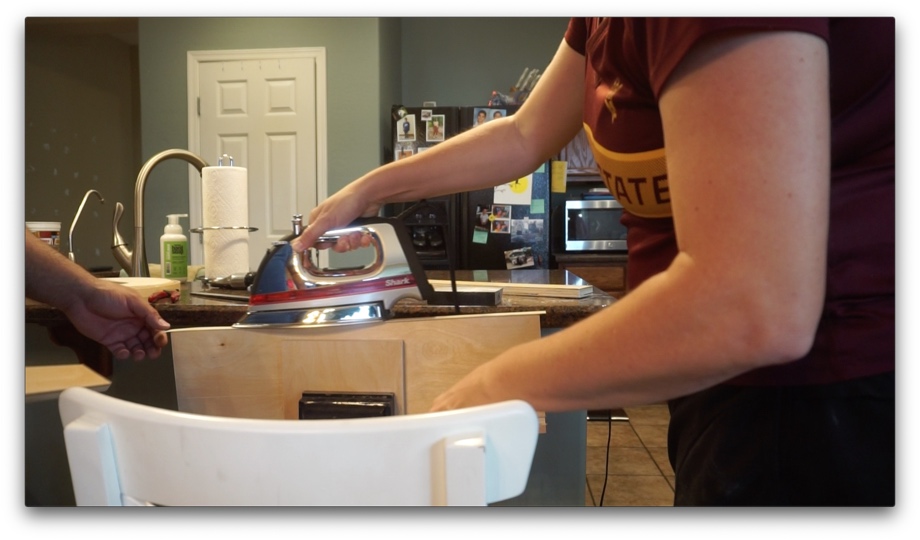
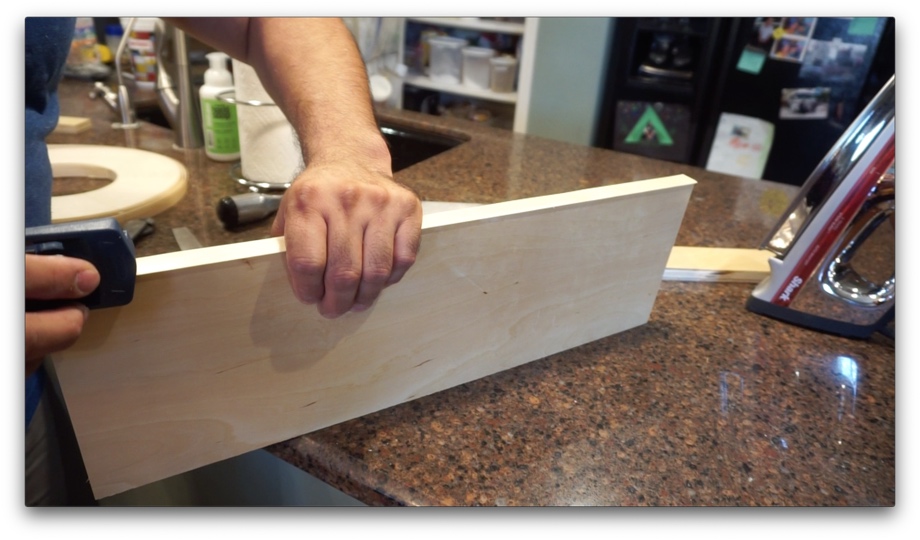
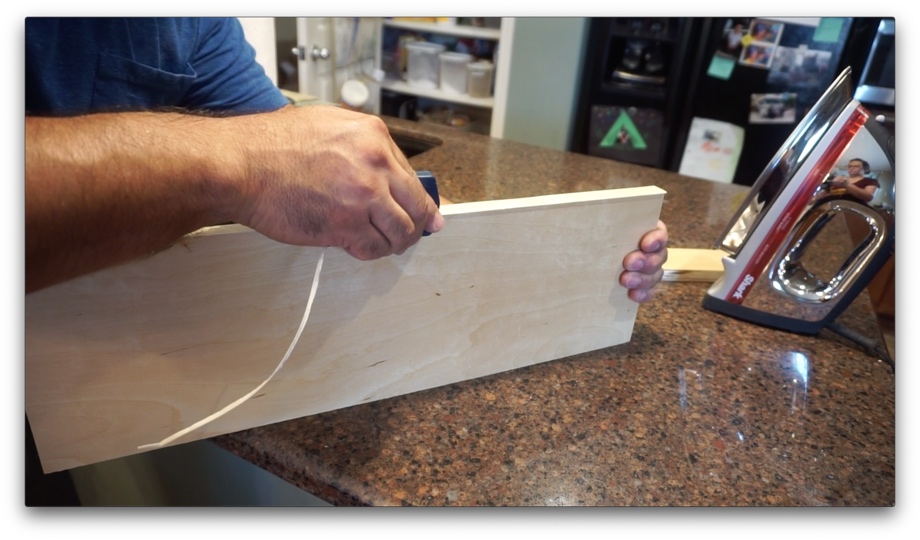
Before we could assemble, however, we had one more quick step. Edge banding the top edges of all the pieces. This simple project to cover the ply edges adds so much polish to the end product. All we needed was an iron, a razor blade, and an edge band cutting tool. Some light sanding to smooth out the edges and we were ready to put them together.

Next, it was time to assemble all of our pieces. We glued the bottom pieces into all of the dado slots. Then, we pocket holed the front and back pieces into the sides. That was it...we had some very simple drawers.
The last step was installing the drawer slides. We decided to use under-mount drawer slides rather than standard side-mount slides mainly because I decided that I would rather give up a little height on the drawers rather than width. The bonus is that you don’t see any of the hardware when you open the drawers.
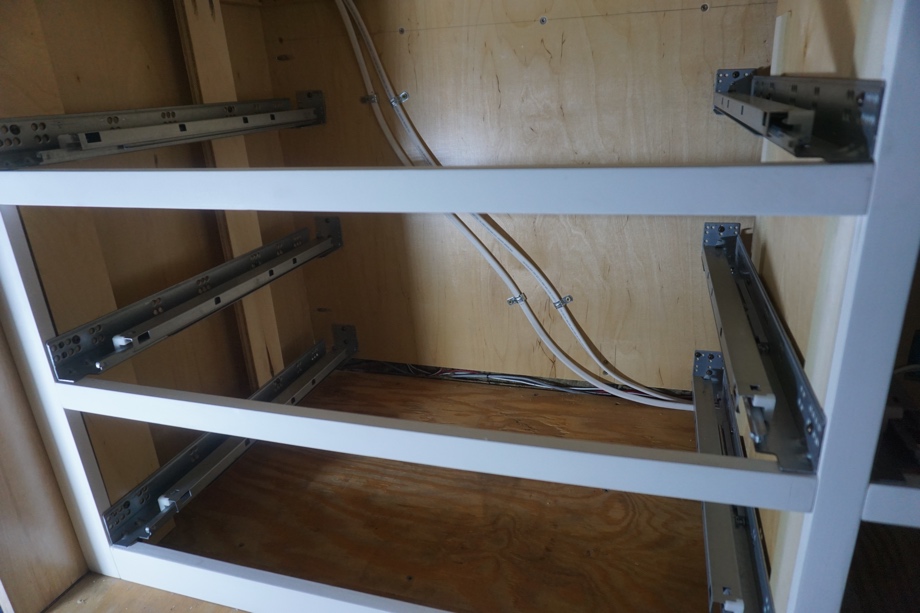
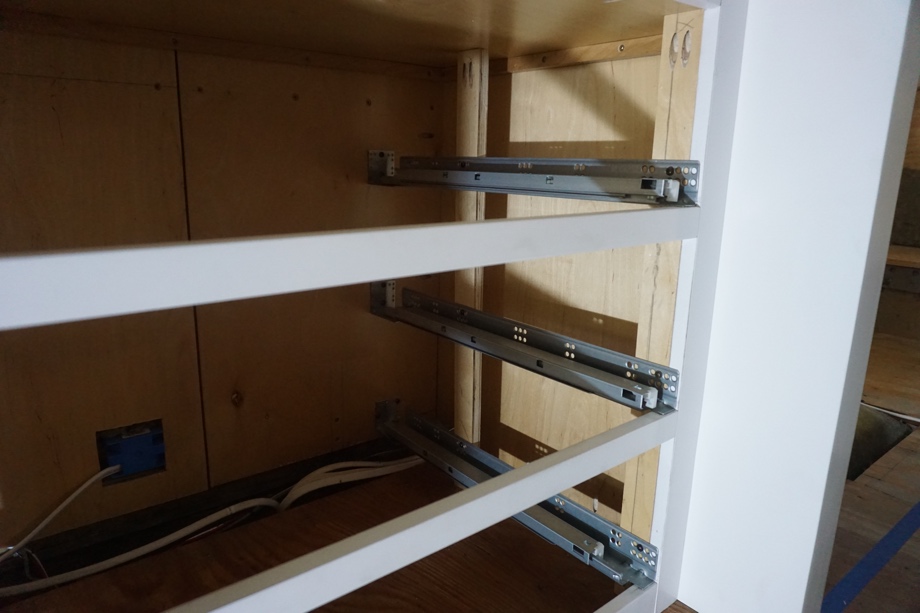
 On the drawers themselves, we simply had to screw in the latches to the underside of the drawers in the front corners. The more difficult part was installing the actual sliders in our wardrobe. Mainly it was difficult because we were working in such tight spaces in between our face frames. In the end, though, we were able to install them nice and level and they are very secure because we added some additional mounting points on the sides.
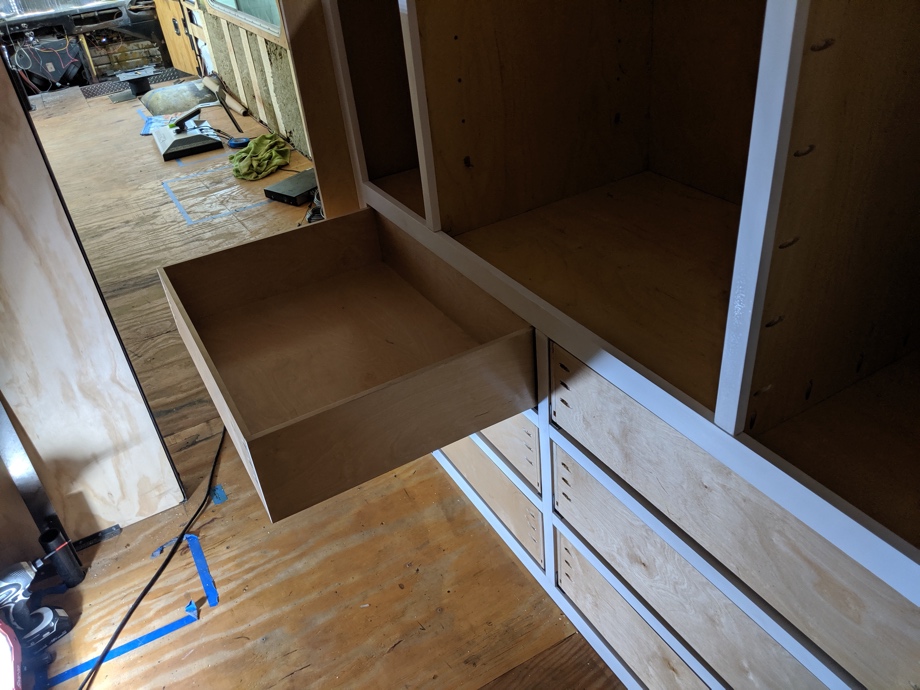
 Finally, all we had to do was set the drawers on the slides, push them in until we heard a click, and voila! Six large drawers with soft-close slides ready and waiting for our clothes. If only the rest of the bus were done and ready for us to move in...someday!
 Next up: Moving up to the top half of the wardrobe for some very special shelving - a built-in charging station for all the devices. It turned out great and we can’t wait to show you!
Watch the video:
Click here If you cannot see the video.


 21 inch Soft Close Full Extension Under Mount Drawer Slides
0 Comments
Comments powered by Disqus