


Climate control is one of the biggest issues in building a comfortable living space. While there is only so much you can do when you’re living in a metal tube, we are going to do what we can to maximize the comfort level inside. The most important factor in temperature regulation is insulation which we will be talking about and implementing next week. After that, however, is all about air conditioning and heating. Today, we are getting back to air conditioning.
We already installed a 12,000 BTU mini-split a/c and heat pump up in the front of the bus. It is awesome! We love it and wouldn’t change that at all. Most of the time, that alone has been all we have needed, even without insulation. However, on the most extreme hot days, the back of the bus does get stuffy. We hope to stay in temperate weather as much as possible while traveling. But we know that we can’t always control that. There also may be times we need to travel home to Phoenix during the summer when temperatures are often well over 110℉. In addition, we will have two pocket doors separating the front of the bus from the back bedroom at night, and we want the kids to be able to stay cool back there. We need some additional cooling back there.
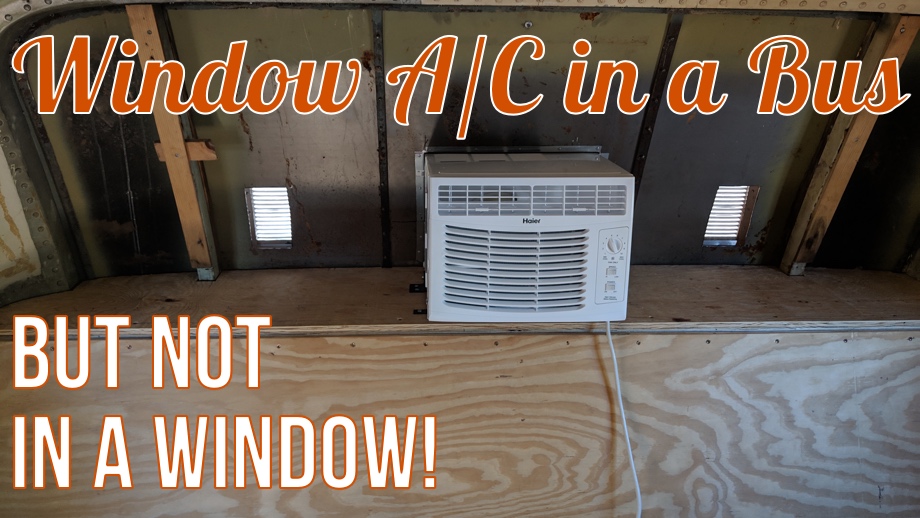
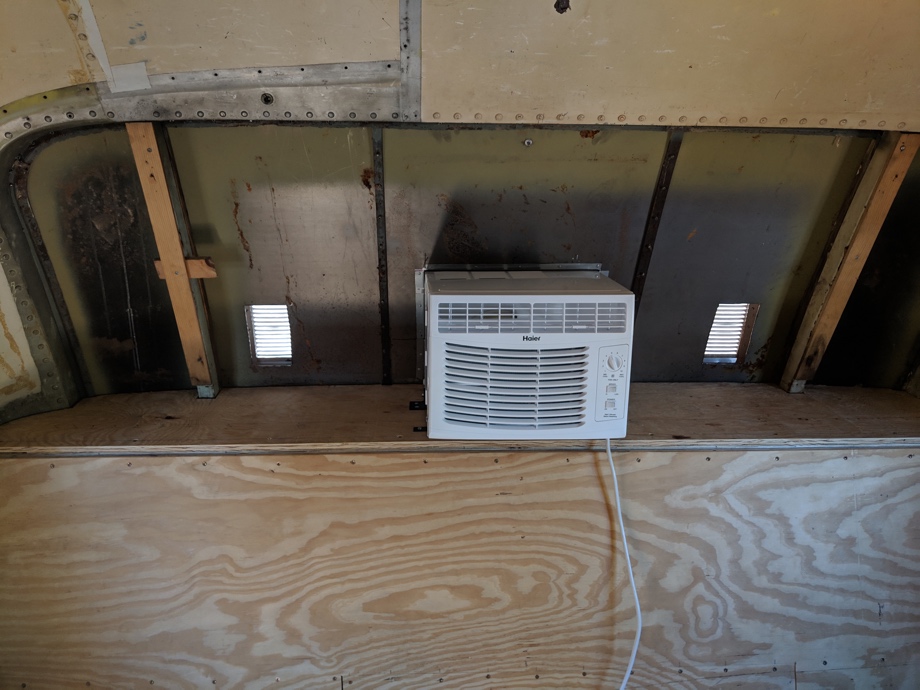
We decided to add another air conditioner in the very back of the bus. We would have loved to originally install a dual zone mini-split, but unfortunately, they are only available at 240V right now, and we are only running 120V. What we did find instead was a $30 clearance 5000 BTU Haier window A/C (originally around $150). It is extremely efficient, using only about 3 Amps to 4 Amps at 120V at its highest setting. We got to work making plans for how to implement this in our bus. For $30, it was worth a shot.
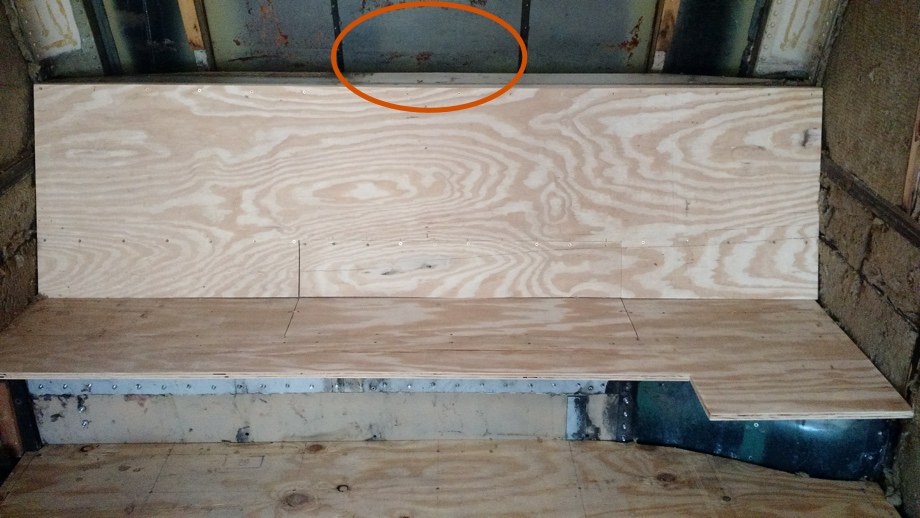
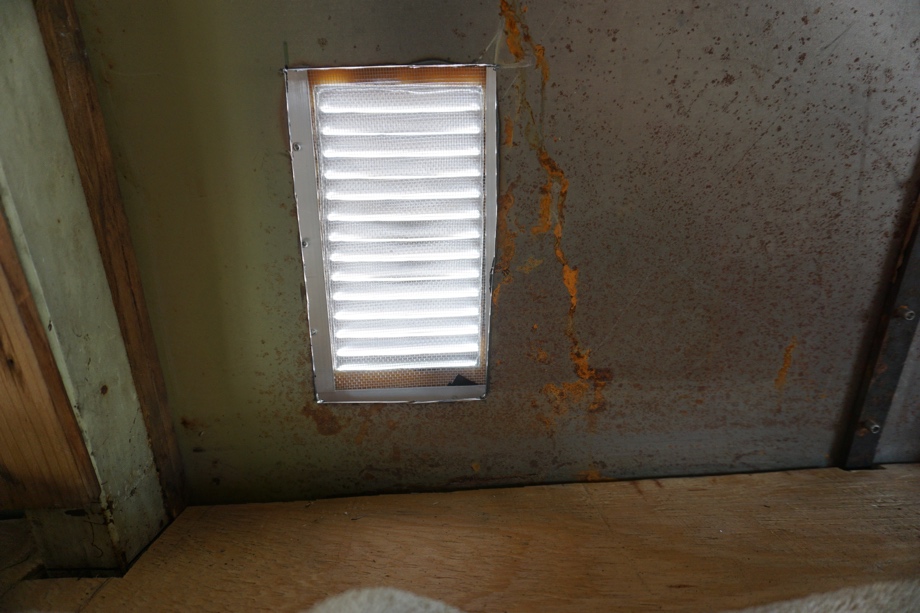
Normally a window unit like this is made to hang out a window. Not going to work for us! Luckily for us, however, we have a space in the back that was going to be a nearly perfect fit for the unit. Also, we have a small gap between the metal back wall of the bus and a fiberglass cap that had been added by the previous owner. This allowed us to cut into the metal wall, slide the a/c back all the way to the cap, and then just install louvered vents in the cap. Nothing is actually sticking out of the bus. All you see from the outside is the vents.
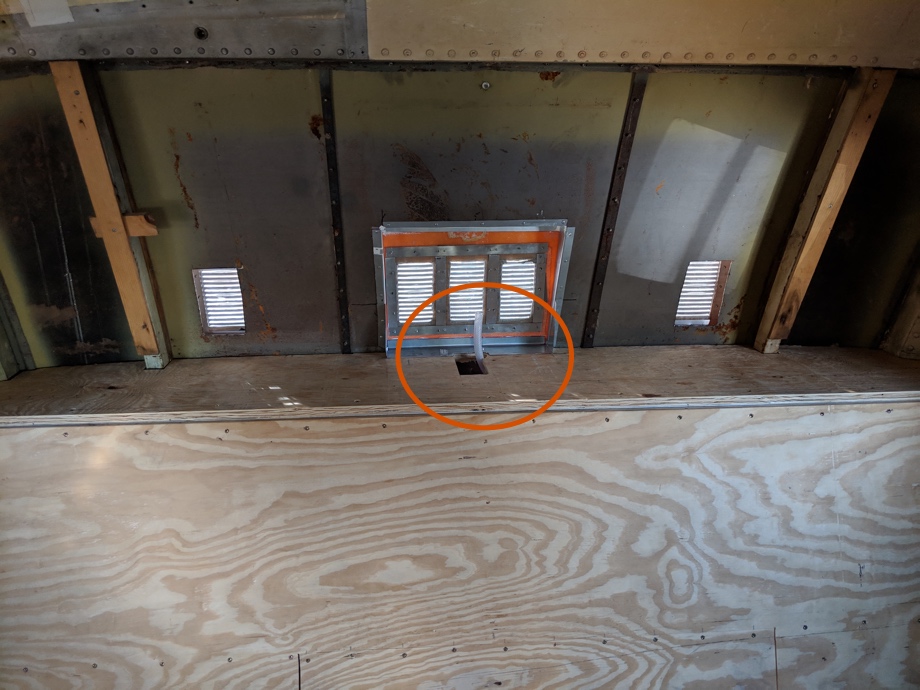
The key to installing a window unit like this is separating the exhaust from the intake. We were able to create a “tunnel” of sorts out of sheet aluminum in the space where we slid the a/c into the cap. This means all the hot air coming out the back of the unit has nowhere to go except out the vents.
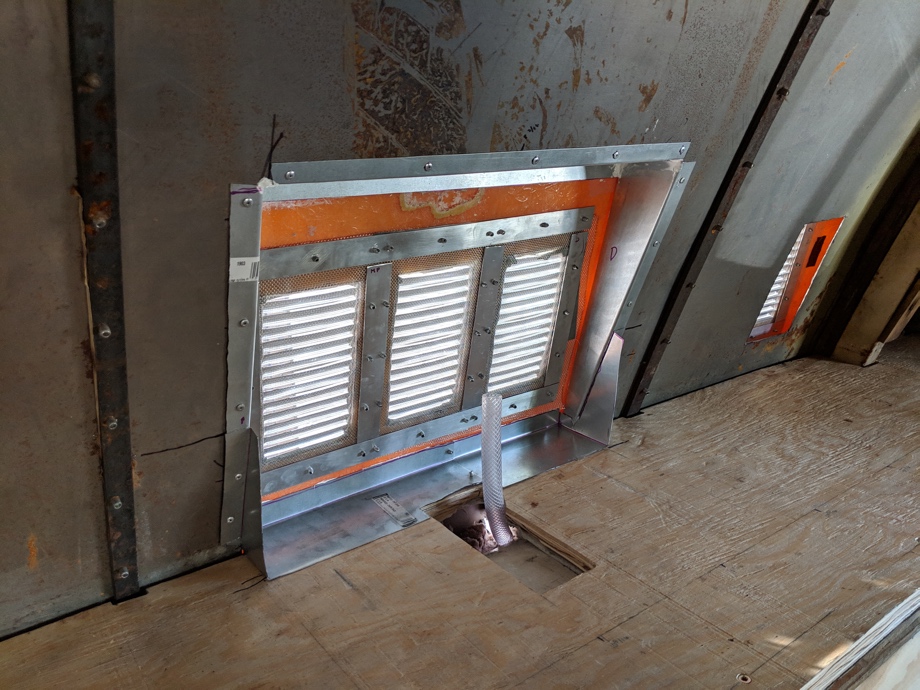
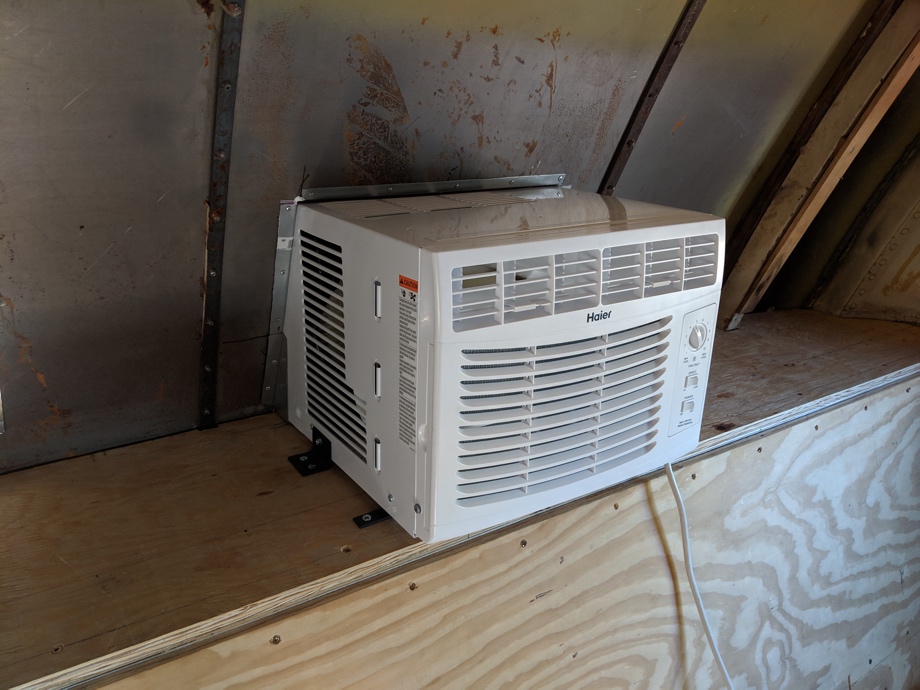
The cool air intake is on the sides and top of the a/c unit. We installed another vent on either side of the rear cap to allow cooler air in from the sides, separated from the exhaust. When we finish building out the bedroom, there will be a wall with built-in cubbies in front of these intake vents so all the air coming in will go toward the a/c. Once that is built, all you will see from inside the bedroom is the face of the air conditioner in the middle of the built-in wall unit.
One last thing we had to address with this project was how to drain the water from the a/c unit. This ended up being more of a pain than we thought. What we ended up with was sealing off the original drain hole, which for some reason wasn’t actually at the lowest point on the unit. Then we drilled a new hole at the lowest point and installed a drain tube elbow. Next, we attached a length of reinforced nylon tubing to that. We drilled a hole in the cap, installed a rubber grommet, and fed the end of the tube through the hole. This allows the a/c to drain out the back as necessary.
We have been using that a/c as necessary for the last month while we have been working inside the bus and the temperatures are getting warmer. It works great! Puts out a lot of cold air and hardly uses any power. In fact, as the days are getting hotter here, we have had all three of our A/Cs running all day - the 12000 BTU mini split, a 5000 BTU window unit down in the battery bay, and this new 5000 BTU window unit in the bedroom. All in total, they’re using anywhere from 1200 Watts (hott”ish” day) to 2500 Watts (over 100℉ day). Our 3480 Watts of solar keeps up with them all day, keeping the battery at 100% while running all three units.
We are really pleased with how this project turned out. Hopefully, we won’t need to use it all the time, but on the days when we need it, I think we will be really glad we have that extra cool air in the back.
Watch the video:
Click here If you cannot see the video.


 TremPro 635 Sealant


0 Comments
Comments powered by Disqus