


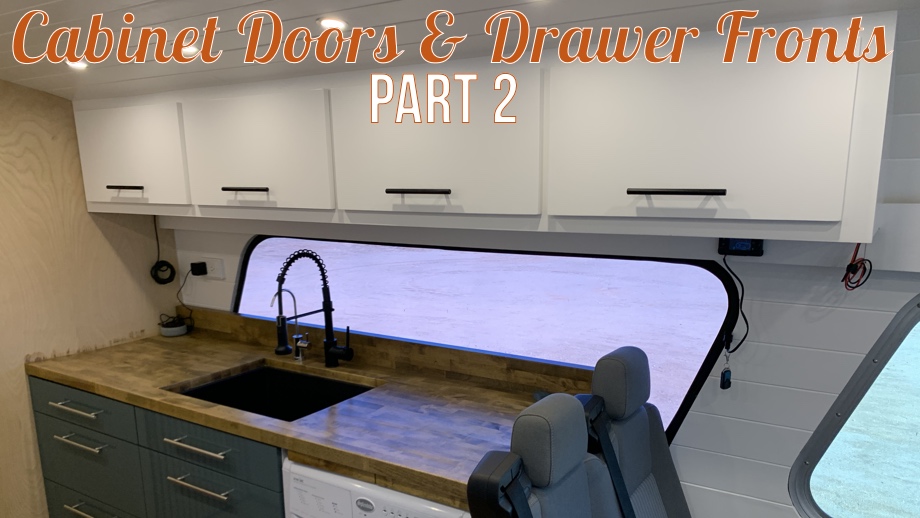
Last time, we built and began installing cabinet doors and drawer fronts. Today, we share how we finished installing the rest of the doors with IKEA Utrusta hinges, installed IKEA drawers, and put the finishing touch on with all of the handles.
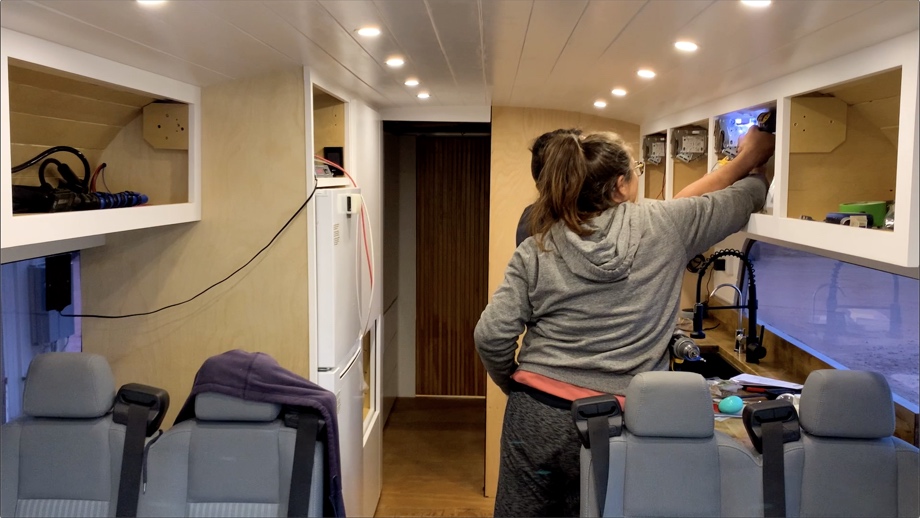
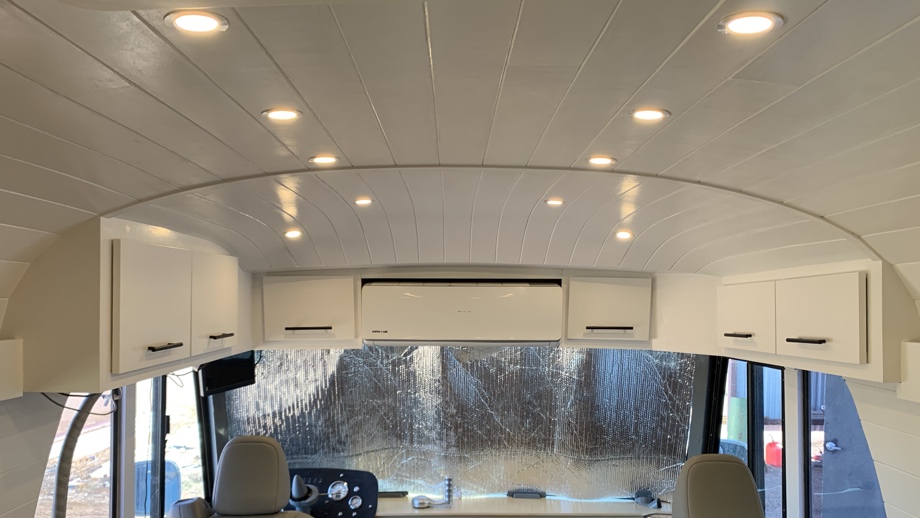
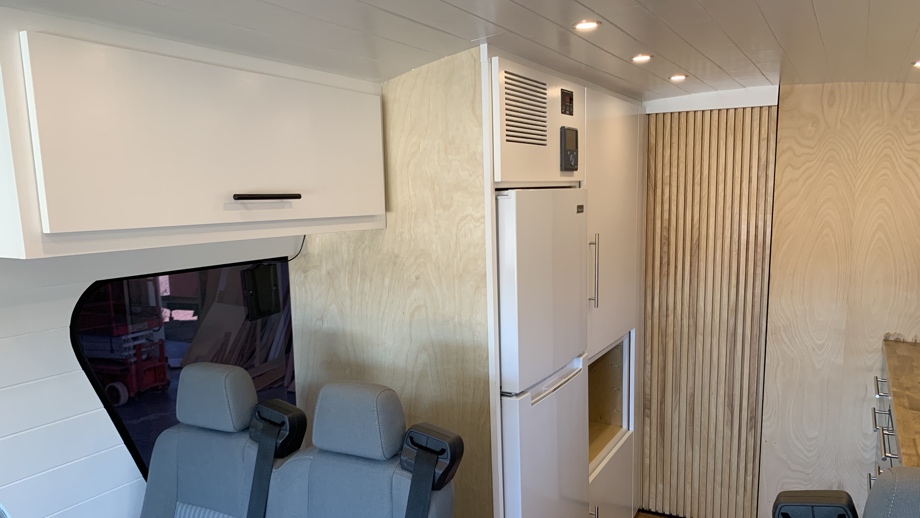
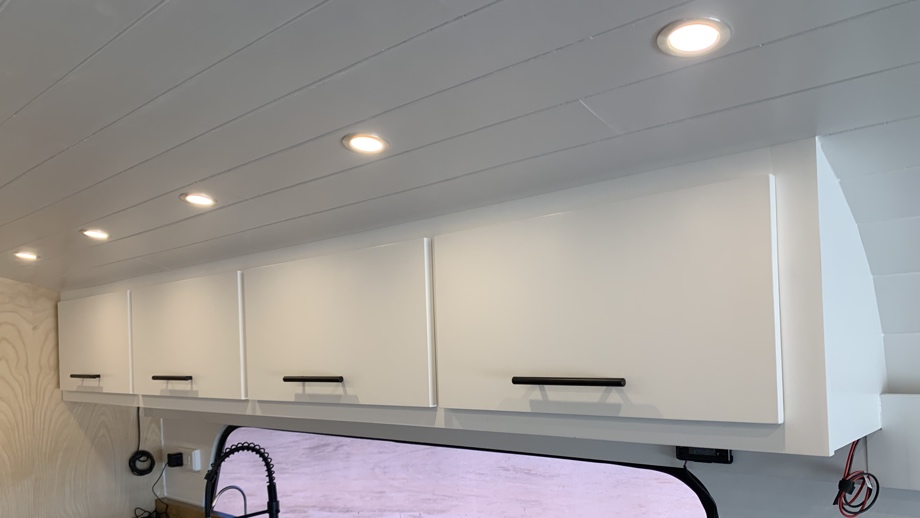
For the upper cabinets in the kitchen, we used IKEA Utrusta hinges. These are awesome for upper cabinets whose doors open up toward the ceiling because they act as both a soft close hinge as well as a stay for the door. We would have loved to use these on all of the upper cabinets, however, the cabinets in the front cab area are too shallow for these hinges which is why we just used cup hinges on those. For the two front cabinets which will house our home automation wiring, we did add small gas struts to hold up those doors.
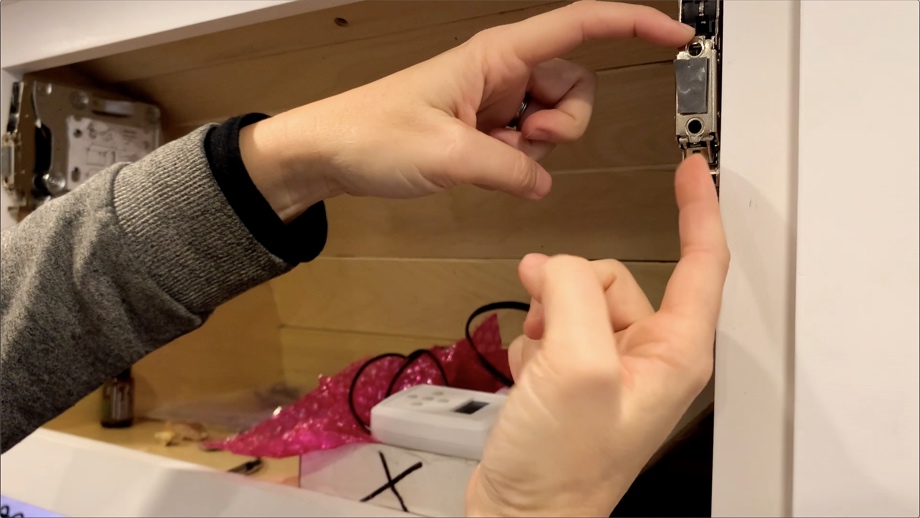
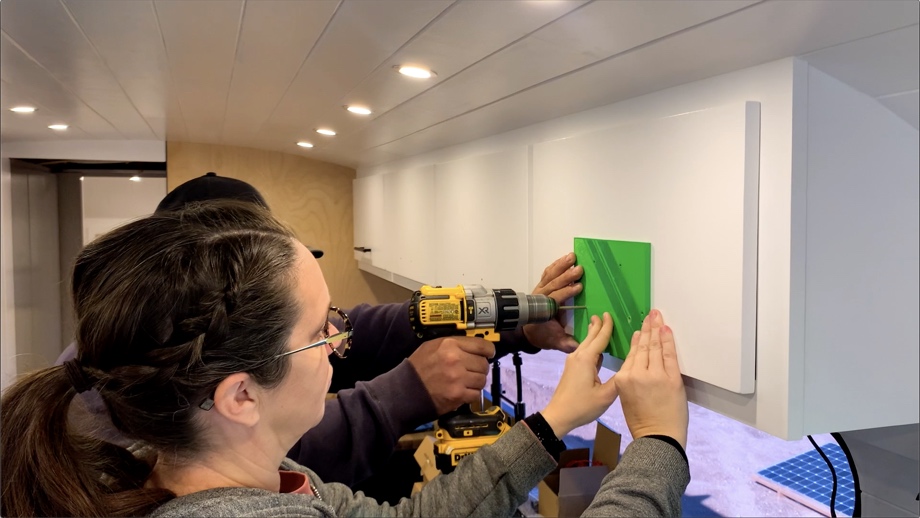
IKEA Utrusta hinges are made for their frameless cabinetry. Our upper cabinets, however, have face frames. We made some spacers to mount the hinges on, so they would be flush with the inside of our face frames. Once we figured out the spacing and got those hinges all mounted up, we had to figure out where to screw them into the back of the cabinet doors. On IKEA cabinetry, everything has pre-drilled holes ready for you to mount. In order to figure out where to screw the hinges into the doors, we drew lines on the face frames where the door would line up. Then, we put double-sided, super-sticky VHB tape on the hinge mounts.
![]()
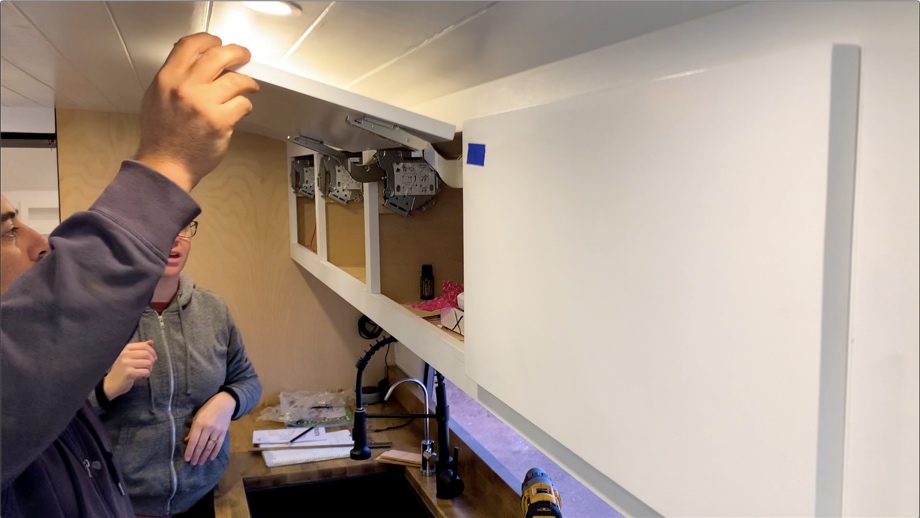
Next we lined up the door with our lines, and pushed it against the VHB tape. When we pulled the door off, the VHB tape was stuck to it with indents from the hinge. That allowed us to know exactly where to pre-drill the mounting holes. Then we were able to screw in the mounting pieces and install all the rest of the cabinet doors.

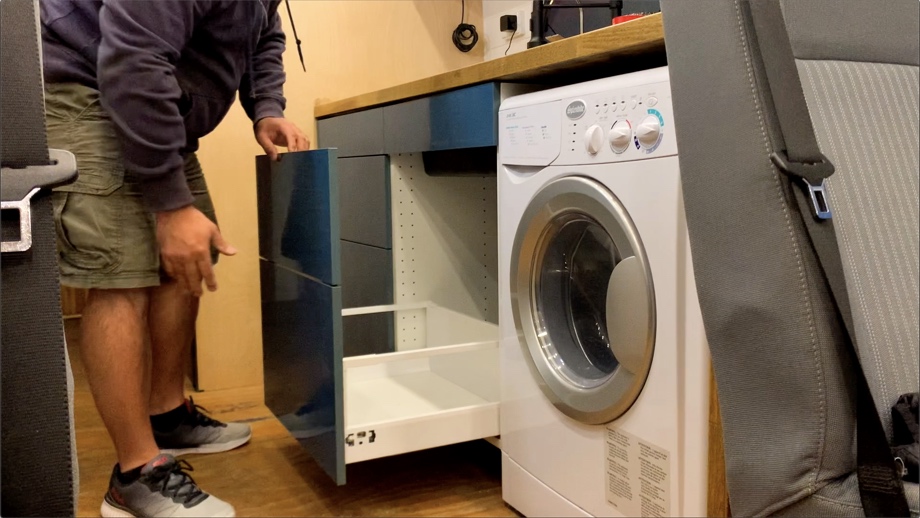
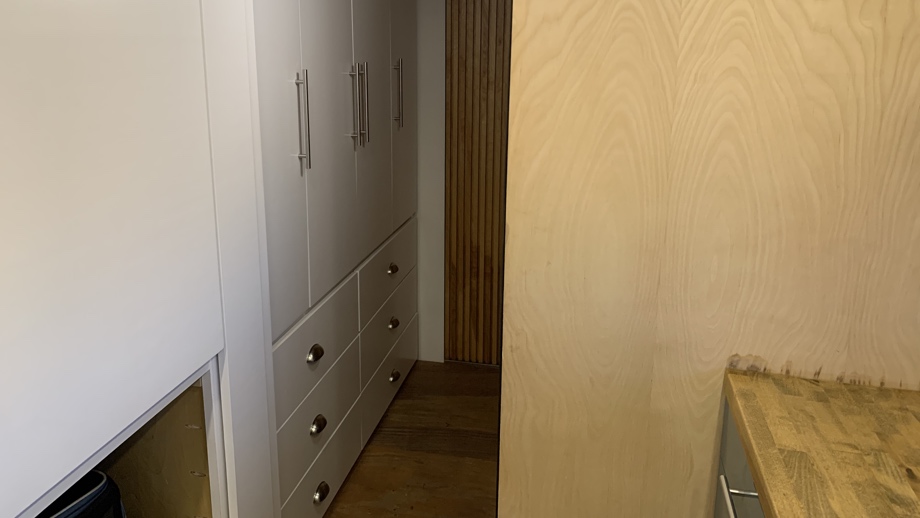
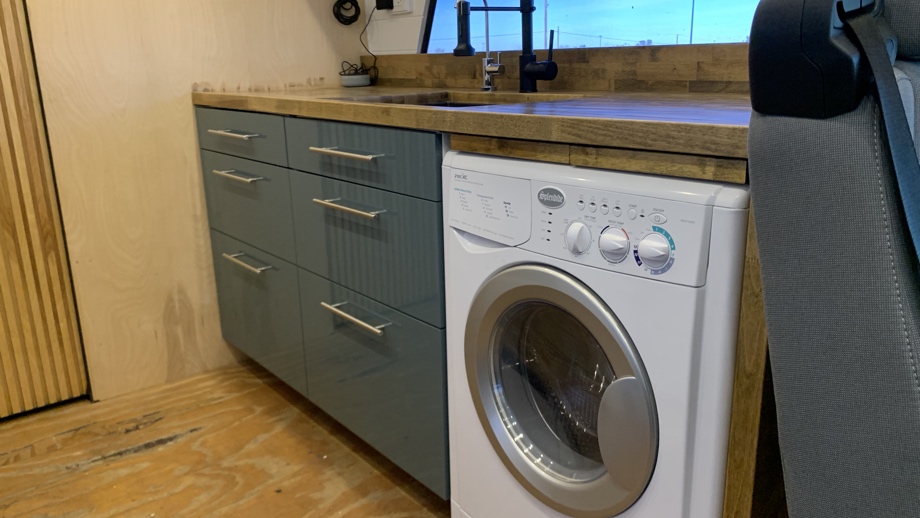
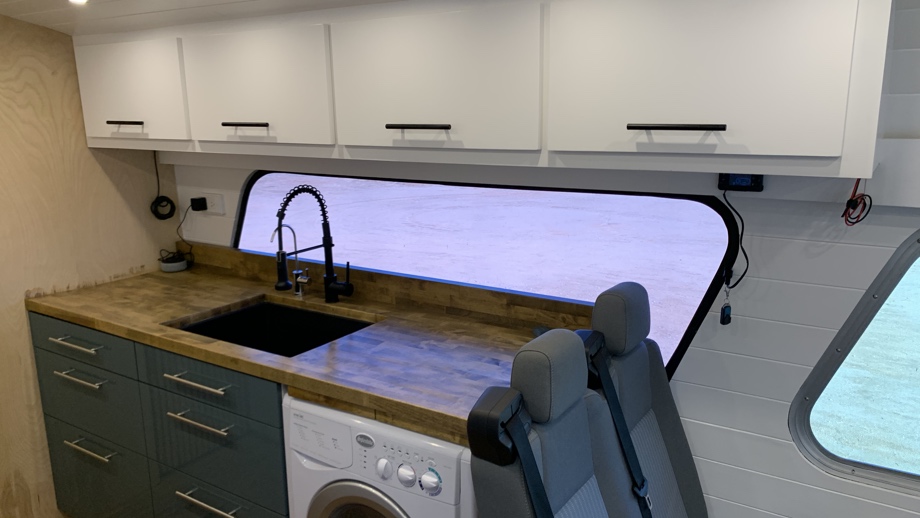
Next, we installed the final drawers in the bus on the lower kitchen cabinets. That is the one thing in the bus we did not build ourselves. We used IKEA Sektion base cabinets and just had to build the drawers and install the Kallarp drawer fronts. They are a really pretty green color made with a plastic foil that is very glossy. It will be very easy to wipe clean and is a nice pop of color with all of the white and wood in the bus.
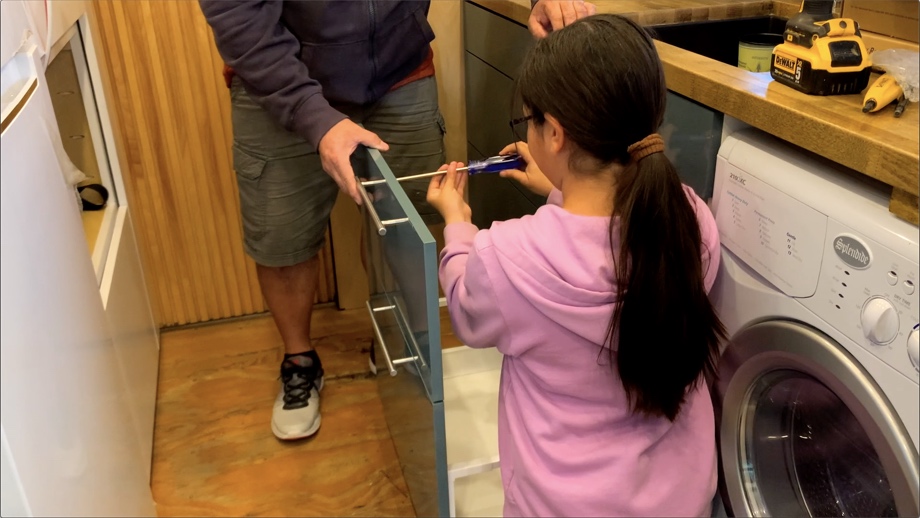
The very last project for the cabinet doors and drawer fronts was adding the pulls. We chose simple bar pulls in two different lengths for the cabinets and cup pulls for the drawers. We decided where we wanted to position them, and then we 3D printed a jig to know where to drill the holes for our different sized handles. In no time, we had all of the handles installed.
All of the sudden, the bus seemed so much more finished. We use the cabinets to store all kinds of bus-building stuff right now, not to mention plenty of snacks for the kids. It’s amazing what hiding the mess can do. Once the cabinet doors were on, everything just looked so clean and neat. Then the handles were like adding the jewelry to the bus. We are getting so close to finishing, and seeing a touch of pretty in the bus with some shiny handles gave us a glimmer of the finish line.
Coming up: We installing and secure the microwave with built-in trim work
Watch the video:
Click here If you cannot see the video.


0 Comments
Comments powered by Disqus