


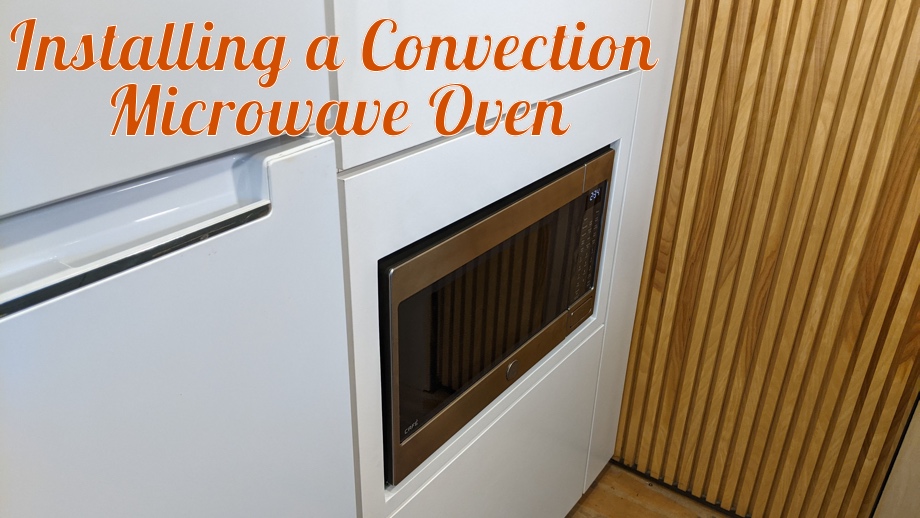
Although all of the cabinet doors were installed and looking good, we had one area in the cabinetry that was left unfinished. The microwave space. For this quick project, we installed our convection microwave oven, securing it so it is safe for travel. Then, we built a surrounding trim piece to blend it in with the cabinet doors above and below.
For cooking inside the bus, we are going all electric. We have an Instant Pot, an induction burner, and this convection microwave oven. Thankfully, we have plenty of batteries and solar power to sustain electric cooking. When we were choosing a convection microwave oven, size was the one big deciding factor besides quality and reliability. I really wanted to be able to fit a 9x13 pan in there to be able to cook for our family of six. We chose the GE CEB1599SJSS.
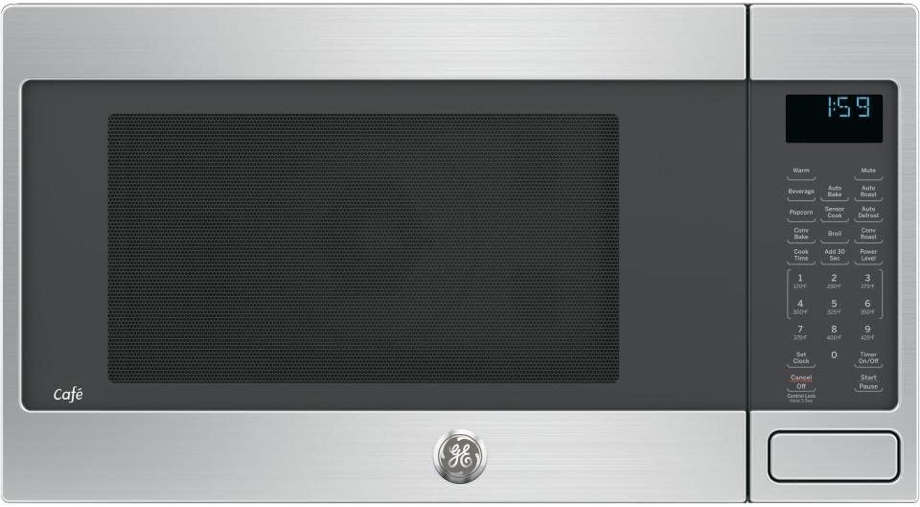
It can roast, bake, or be used as a regular microwave. We actually bought it a while ago and have kept it at home. While I haven’t cooked in it a lot yet, I have tried out a few things to be sure we like it. I have roasted vegetables, cooked salmon, and baked cookies, among other things. So far, it seems to be working well. I will have to learn to adjust the timing of some things compared to my regular oven at home, but I am sure I will become accustomed to it with more practice.
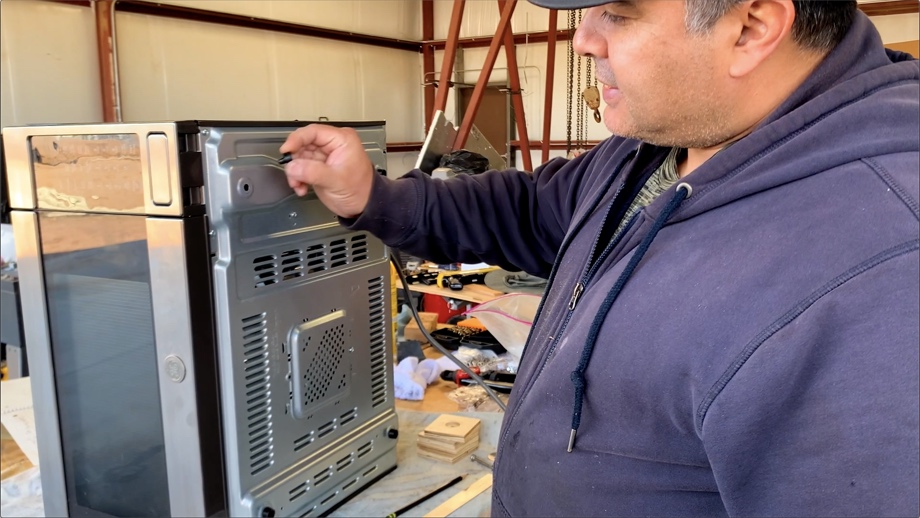
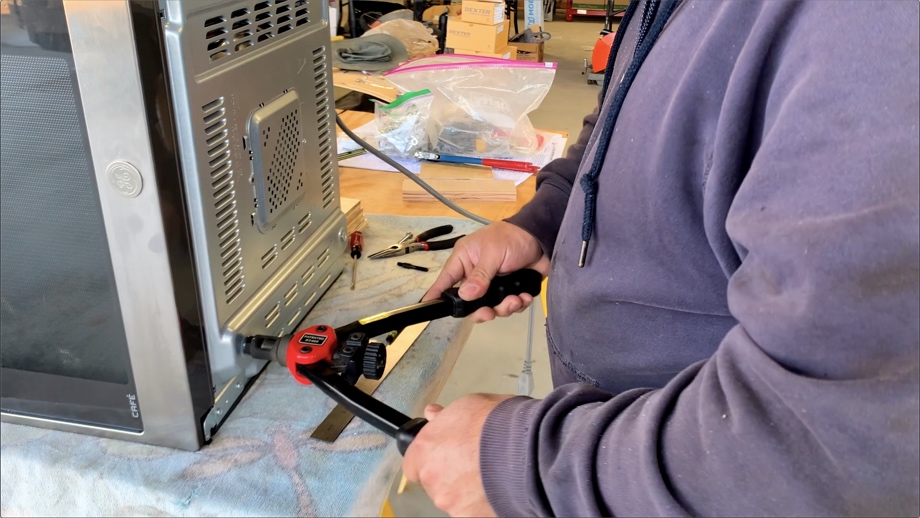
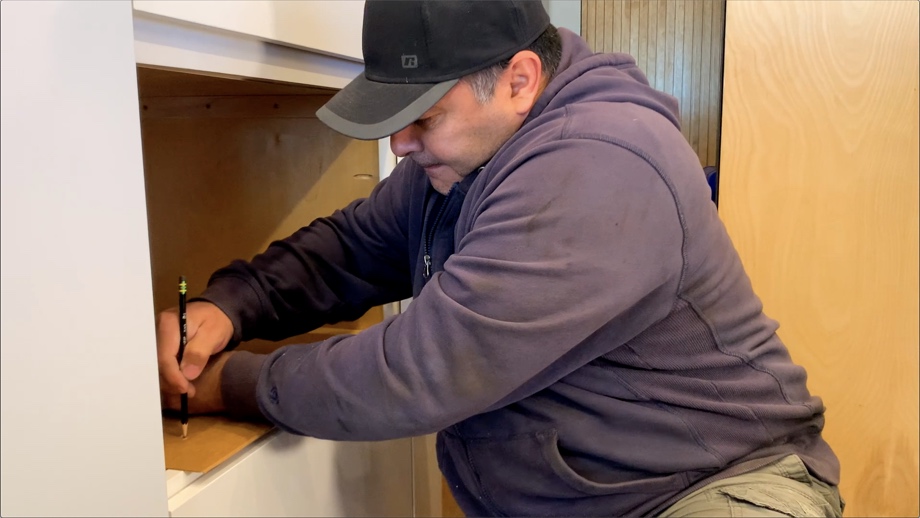
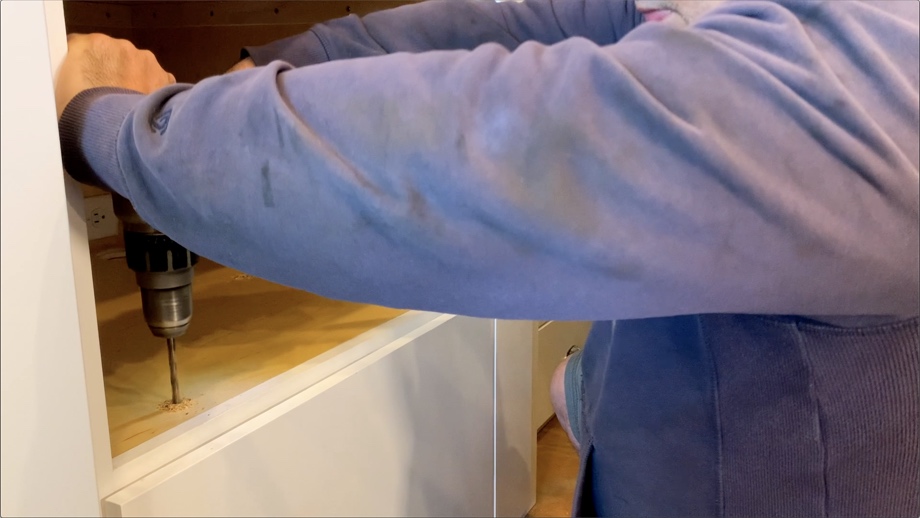
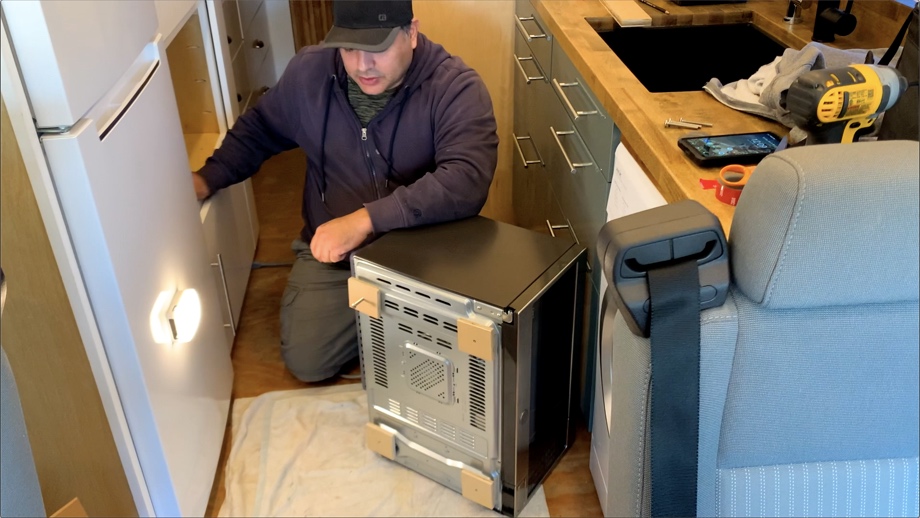
To install it, we popped out the plastic feet on the bottom and used the holes as mounting points. They are not threaded holes, so we drilled them out slightly larger and installed ¼” rivnuts. Next, we made ½” spacers out of plywood to still allow the microwave to sit up higher, allowing airflow for the vents underneath. Then, we made a template of where the bolt holes are on the bottom of the microwave and used that to mark and drill holes in the pantry shelf the microwave will sit on.
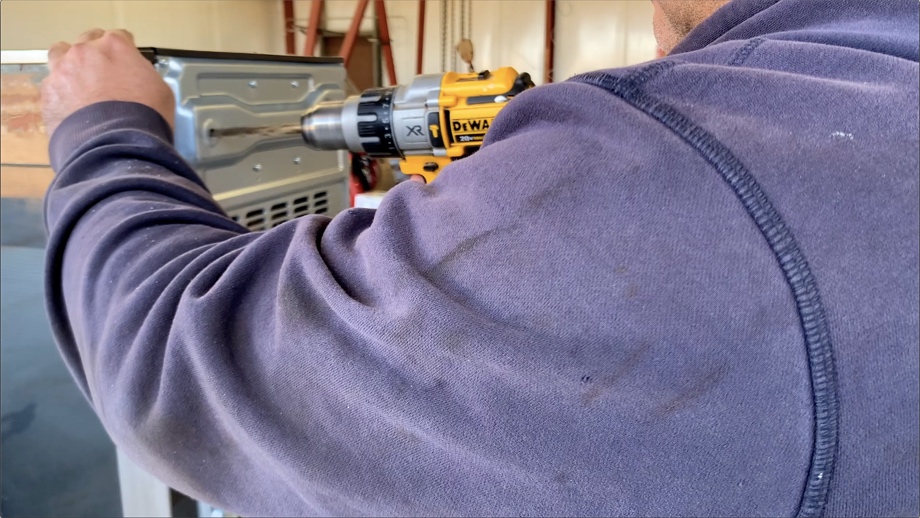
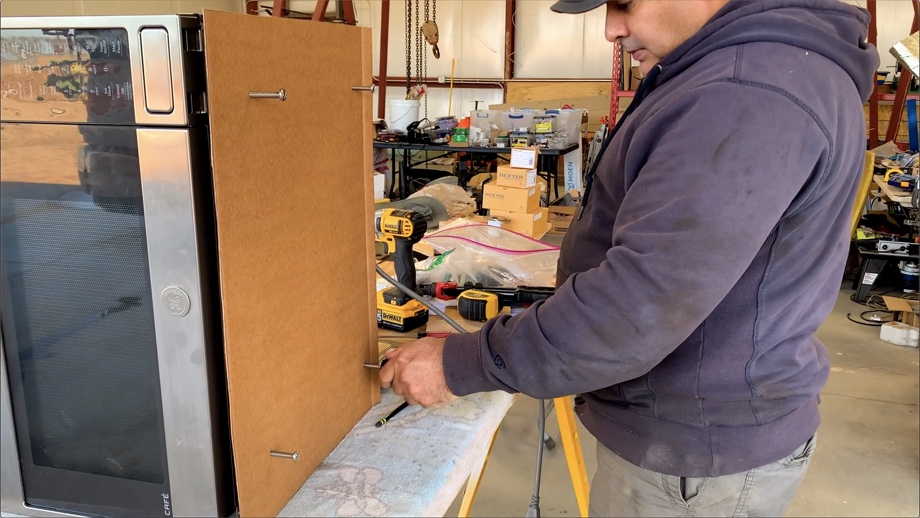
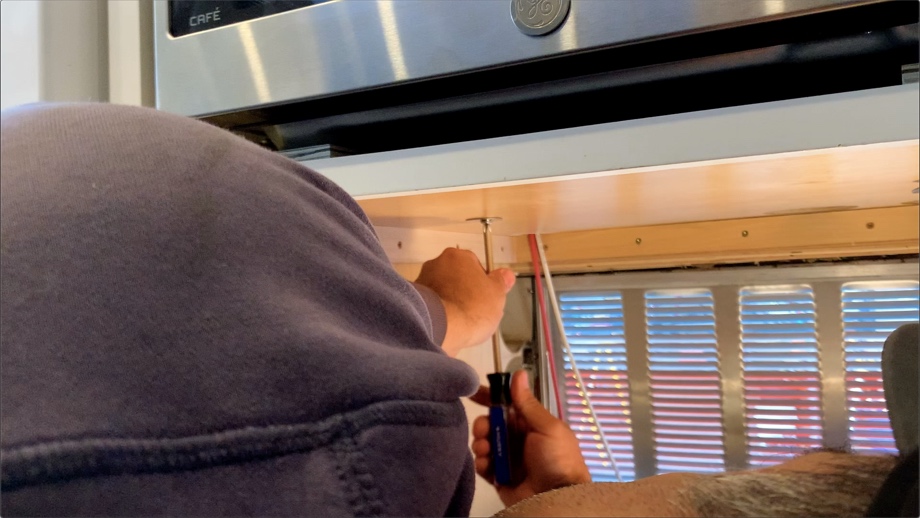
Finally, we positioned the microwave on the shelf and then bolted through large washers into the shelf from underneath and up into the rivnuts on the bottom of the microwave. It is extremely sturdy and should not ever be able to slide around.
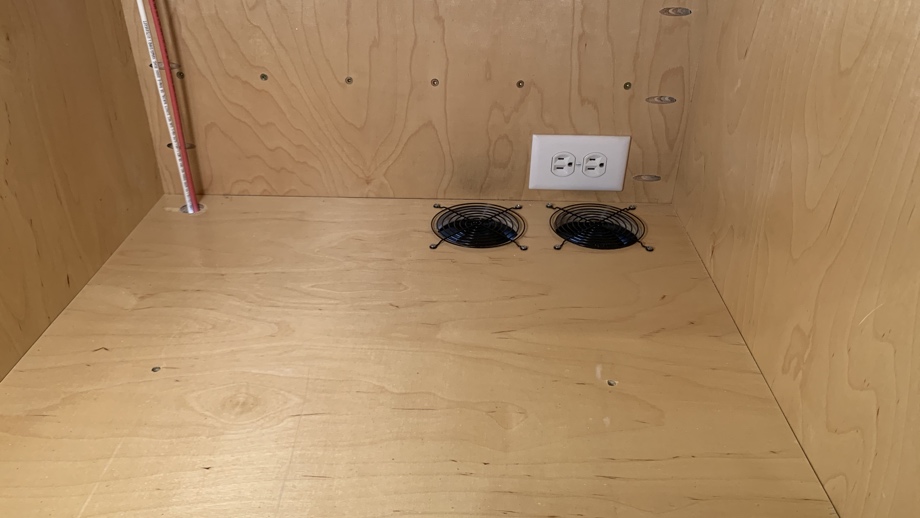
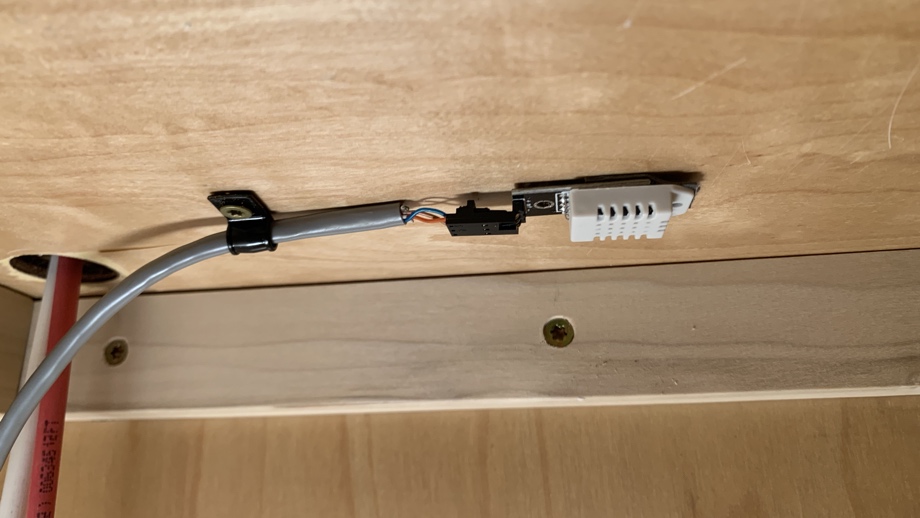
A couple things to note before we move on. When we designed the entire pantry, we planned this shelf specifically for this microwave. We looked at the specifications for space needed around the top and sides and built accordingly. Because we were able to plan around this, we are confident that it will have enough airflow. In addition, we installed two large server fans behind the microwave to suck hot air out of the cabinet and it will be pushed out the vent on the side of the bus. We wired in a temperature sensor that lives behind the microwave as well. This will tell the fans when to turn on or off as part of our home automation system. We will detail more of that in the future.
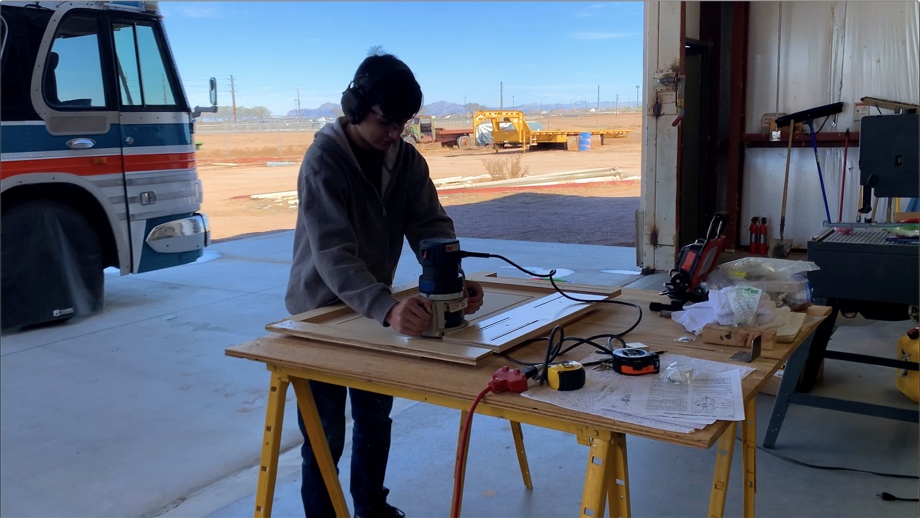
After securing the microwave, we started to build the trim piece. We made it out of one piece of plywood and used the router to cut the opening. Our oldest son did the router work for us, and now he has another tool to add to his checklist of things he has learned to do during this bus build. Next, we painted it and added some false-front clips to the back and to the cabinet. These clips will allow us to pop off the trim work in the event that we ever need to service or replace the microwave.
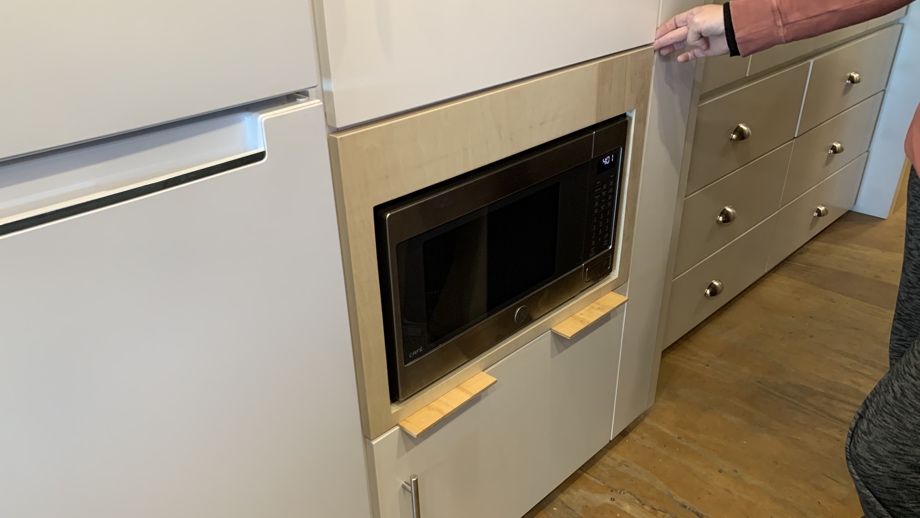
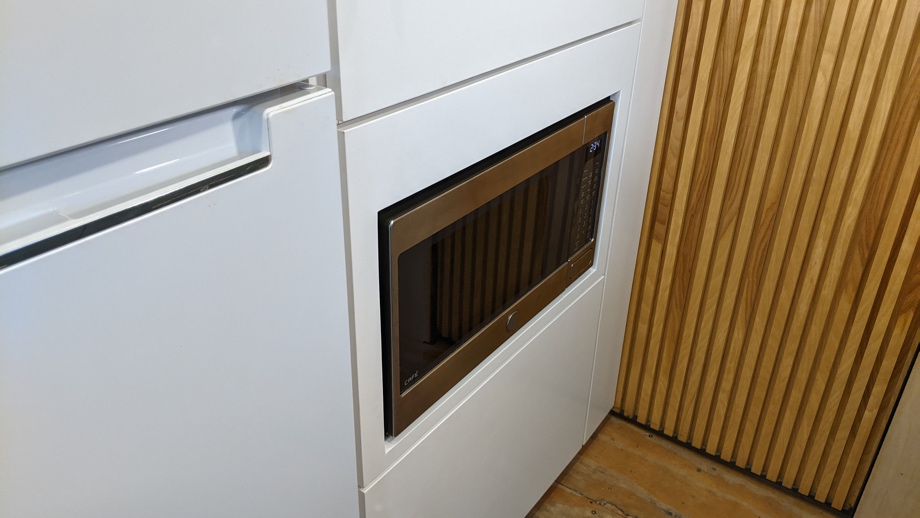
Adding the trim work around the microwave really finished off the pantry cabinet well. The trim lines up nicely with the cabinet doors above and below. The microwave door opens well. We are really happy with how such a small project finished off that area. I am sure it will be very useful, and most importantly, many batches of cookies will be baked in there.
Coming up next: We finally, finally start the shower!
Watch the video:
Click here If you cannot see the video.


0 Comments
Comments powered by Disqus