


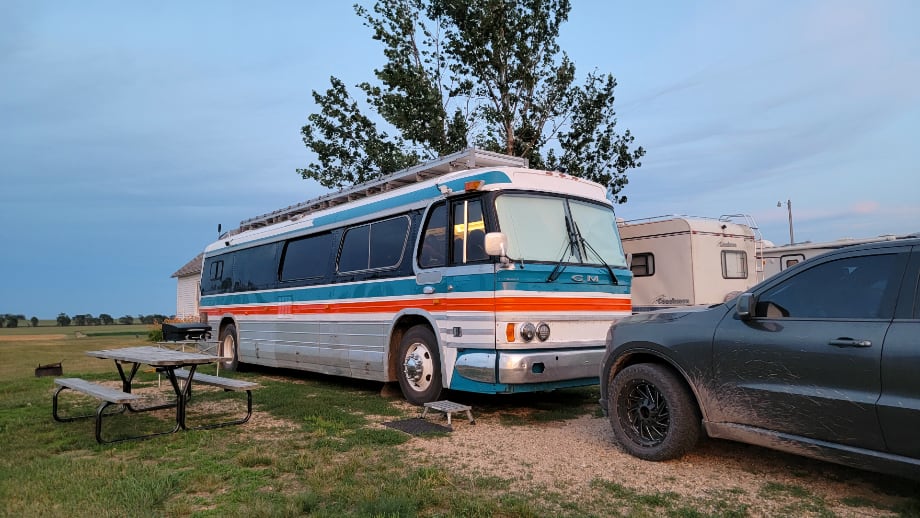
One of the more challenging parts of building the bus was coming up with a place for Juan to work. When we decided on an old 35' bus rather than a more modern 40' or 45' bus, we knew there would be some sacrifices made in order to fit our family of six people and serve all of our needs. Not having a separate room for an office would be one of those sacrifices, but we knew we could make it work.
Up until that point in the build, much of the layout had more or less fallen into place. Plumbing and wiring dictated the locations of the bathroom and kitchen. The remaining space was allocated between the living area and the kids' bunkroom. Office space was the last space to figure out. With all the square footage already allocated, we had to fit an office into an existing space.
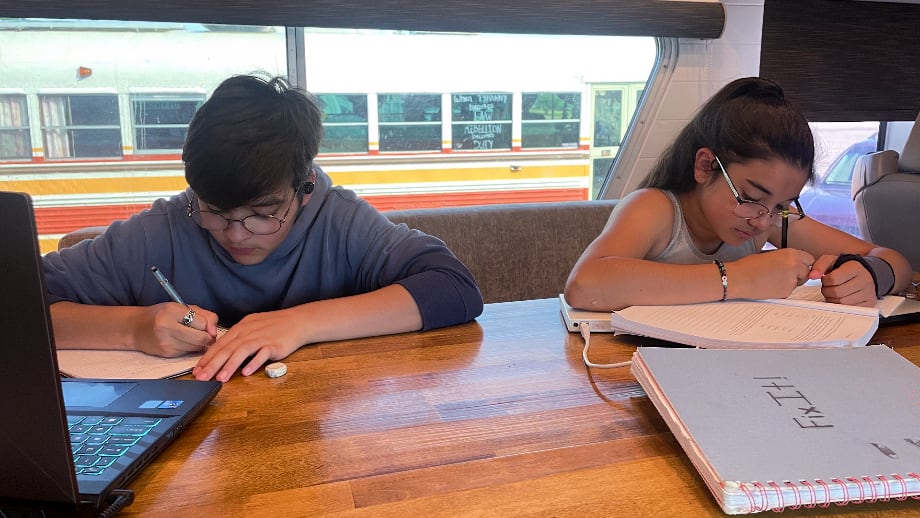
We had considered many locations. The easiest of course would have been at the table. However, this was where the kids would be doing 99% of their homeschooling. With four kids, the table is very often completely occupied with computers, books, notepads, pencils, and even the occasional science experiment. In order to work effectively, I needed more isolation than this location could offer.
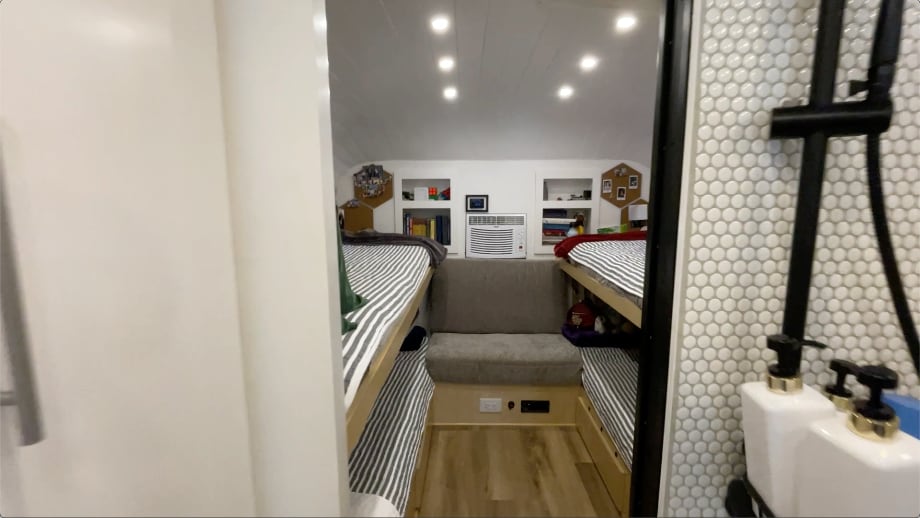
The next place we considered was the rear bedroom. Once the kids were up and out of bed, the room might be available. As a HUGE bonus, it even has a door. Unfortunately, this would not work either for a couple of reasons. Our kids often take online classes which require a more dedicated space for productive participation. Another reason is we wanted the kids' bedroom to remain "their space". If they were not feeling well or wanted a quiet place to read, we wanted them to feel like they could retreat to their bedroom for that.
What about outside? Since we knew we would be chasing good weather, we thought this MIGHT work but there are just too many variables: what happens if it rains, or if it is really windy, or if there are a bunch of bugs? This option just had too many possibilities for going wrong, which meant we would need a backup plan anyway.
What about in the car? This seemed okay at first but Michelle will sometimes use the car to run errands during the day. The weather could also be an issue that would need to be controlled by turning the car on and off. It's also just really cramped and small.
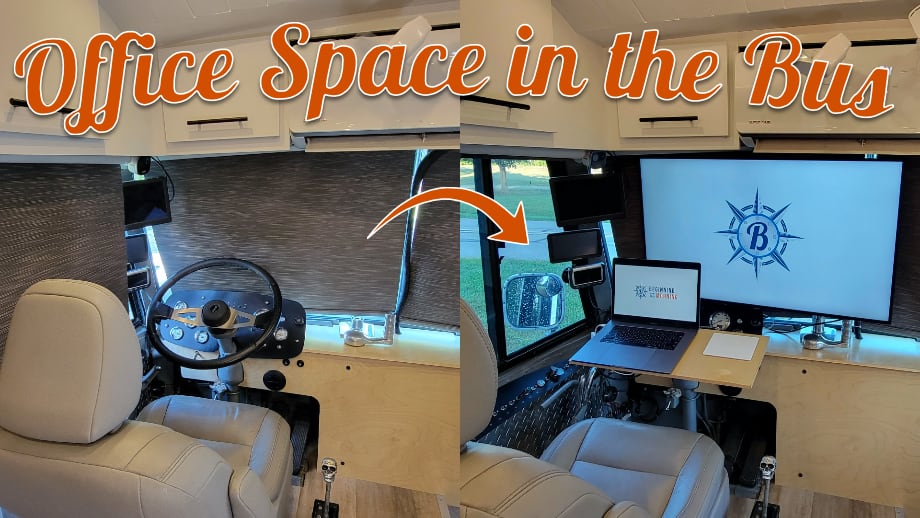
Finally, we looked at the front of the bus. What was left were the passenger seat and the driver's seat. The passenger seat was a fast "no", because it would block the doorway into the bus. We finally settled on the driver's area, largely because we had ruled out every other option. It turns out, it was a great choice.
Once the location had been decided, we knew we had to make it simple to convert from "driving mode" to "office mode". The three main components we needed were a desk, a monitor, and a way to mount the monitor.
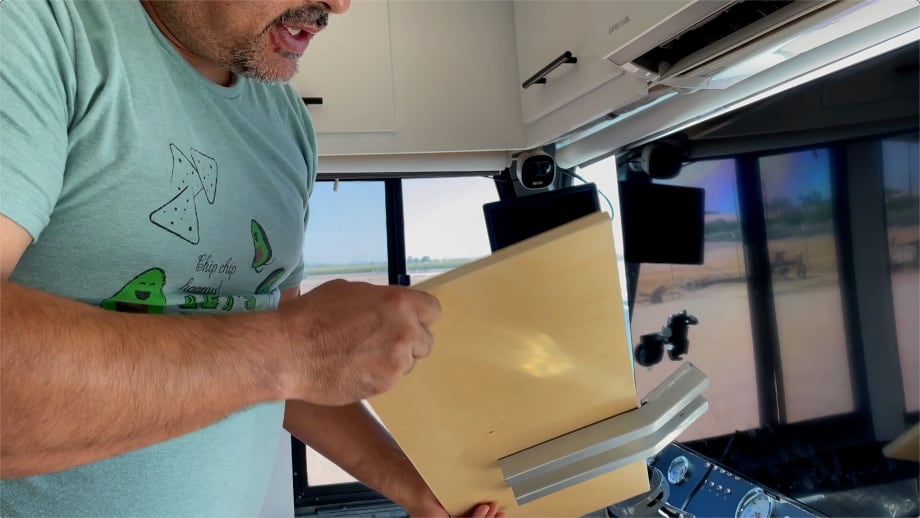
First, we needed to figure out a way to create a "desk". The biggest obstacle in the driver's area is, of course, the steering wheel. Fortunately, when we designed the seats, we discovered that it was pretty easy to remove the steering wheel to make it easier to swivel the driver's seat around. Making something large was out of the question because it needed to be able to store neatly when not in use and on driving days. Maybe we could remove the steering wheel and put a smallish desk in its place? It seemed like a pretty viable option.
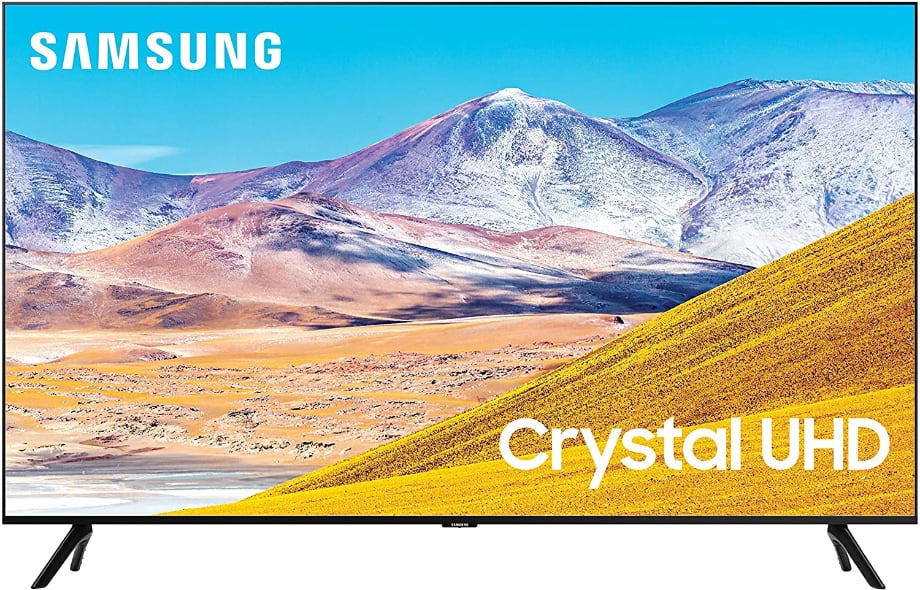
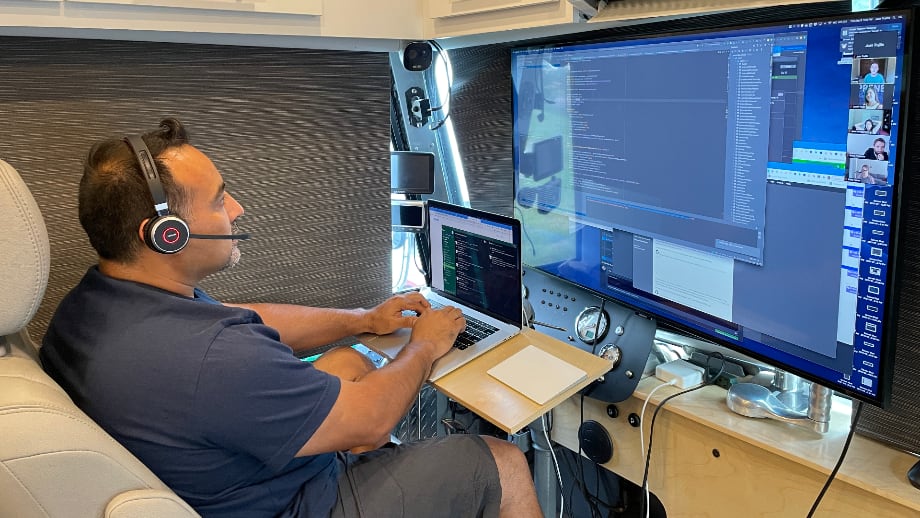
Since Juan works as a software developer, at this stage in his career having a large screen to work on is pretty much essential. Twelve years of working from home on a four-monitor setup have ruined him for working with small/single screens. Because of limited space, we compromised and decided to get one big monitor. We also did not have a solution for a TV for watching movies and stuff with the kids. Perhaps we could kill two birds with one stone and find a TV that would work both as a great monitor and a great TV. The search was on! My research landed on a 43" Samsung 4K TV.
With the beginnings of a plan, we needed a solution to mounting this TV. The initial idea was to have it come up from under the dash on a motorized lift. Unfortunately, the handle, some defrost hoses, and air lines in that space quickly made it clear that was not going to work. So next we thought if we could mount it super close to the ceiling, we could just swing it up and down from the ceiling. A few things sunk this idea: number one our ceilings are already REALLY low (our bus is 6'2" at the highest point in the center), and number two it would be REALLY hard to use that as a monitor without some very complicated swivel arm type thing. Finally, the idea hit us to consider using an arm mounted to the front dash of the bus. Of course, we would have to avoid the door opener and air lines mentioned earlier and it would have to be removable, but there was a solid chance we could make that work.
More research and measurements led us to the Ergotron HX monitor arm. Now that this was in place we could work on creating the actual desk to replace the steering wheel while we waited for the parts to ship from Amazon.
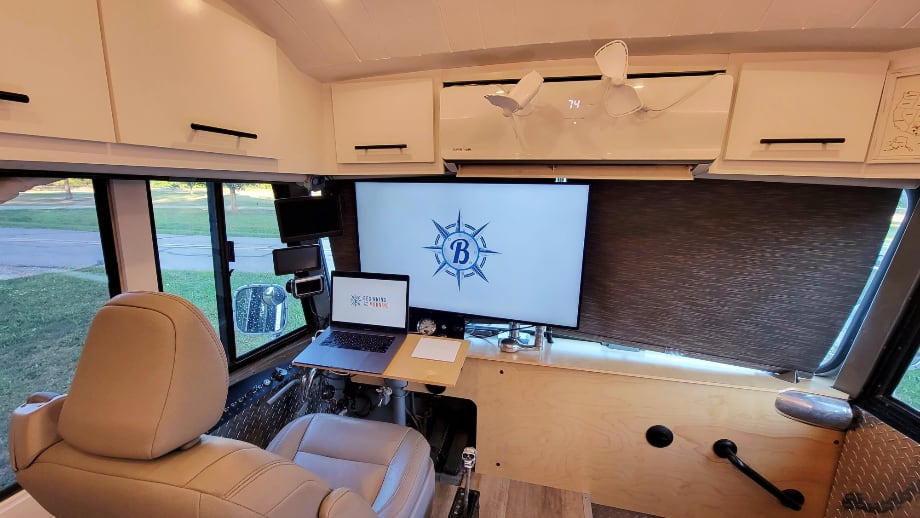
We wanted the design for the desk to be small and have a small downward angle to make it comfortable to use all day. The driver's seat is already very comfortable and even has a leg rest that can be deployed. Another important feature was the ability to use the desk with a laptop open on the desk or with just a keyboard and trackpad and the laptop tucked away somewhere.
After careful measurements, we made a steel framework, welded from some scrap 1/2" steel square stock leftover from another project and a 3/16" steel plate. We installed rivnuts to this steel skeleton, and to that, we screwed on a small piece of prefinished plywood, cut to size, and edge banded. The final piece was securing this new desk to the steering wheel shaft. The steering wheel shaft is tapered pretty steeply and only has threads at the very top of the taper. We took careful measurements and determined that we could make a simple wood spacer that would work perfectly. A 3D printed piece was our "plan b" but the wood spacer has actually worked out very well. Once we slide the bracket over the steering column and place the spacer, we simply secure it with the nut from the steering wheel.
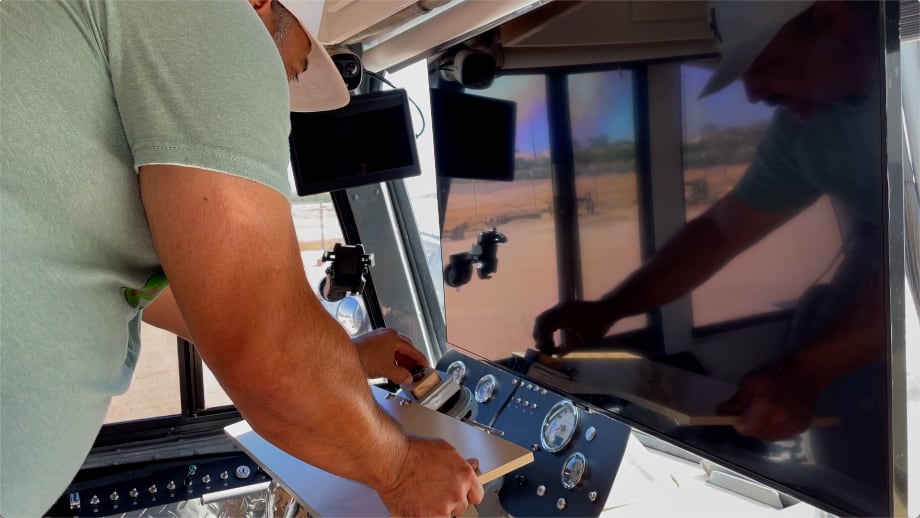
To mount the Ergotron monitor arm, we drilled a hole into our dash, slid the bolt for the base through, and secured it with a steel plate, washer, and nut underneath. The cool thing about this arm, besides how much range of motion it has, is that it is quickly and easily removable from the base. In just a couple seconds, it all comes apart and can be stowed in the couch, leaving just the base mounted on the dash.

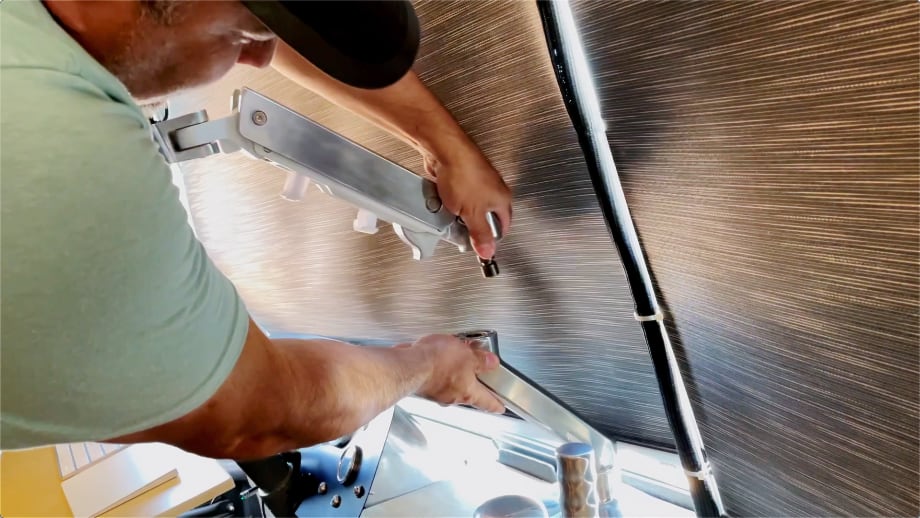
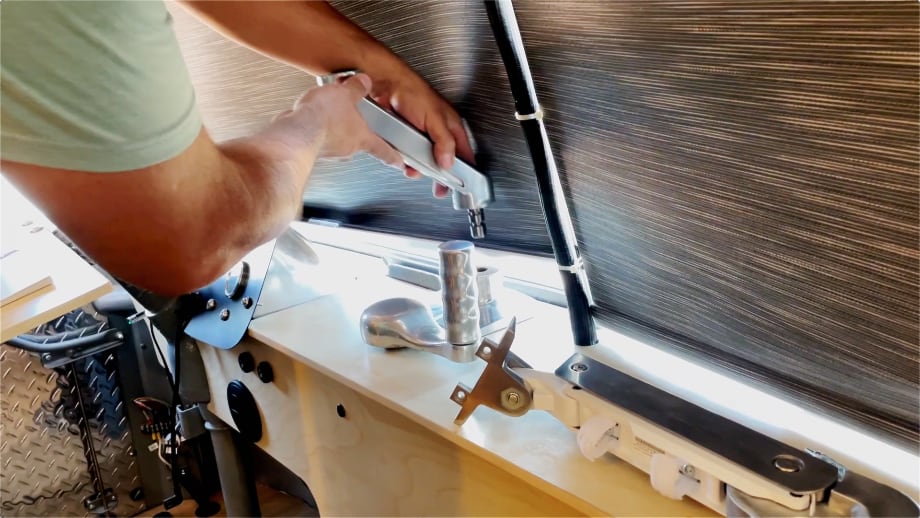
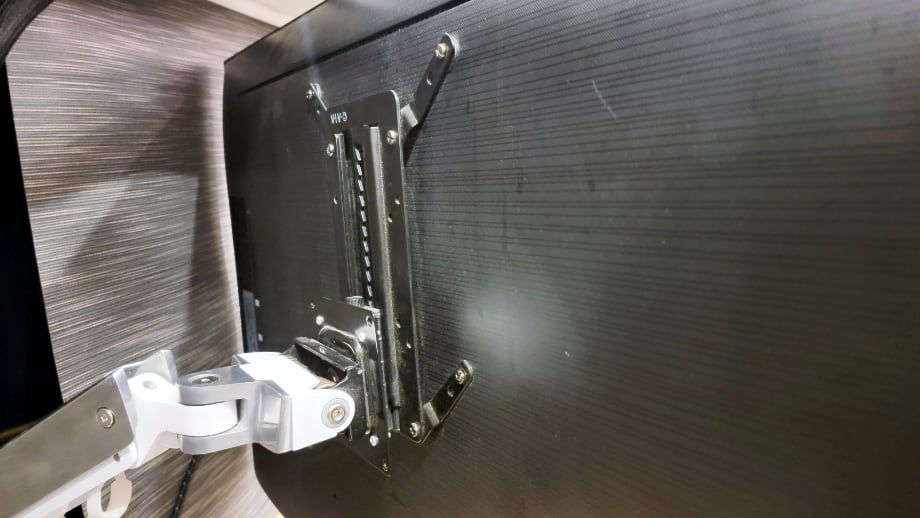
The one part of this project that was a little tricky was attaching the TV to the arm. The normal mounting spot on the back of the TV was on the lower side, but that would have made our TV hit our upper cabinets. So, we had to get an adjustable mounting bracket. Then, we attached some mounting parts that came with the arm to the back of the TV, then the new adjustable bracket, and then we could attach the arm itself. This put our TV at just the right height. We could swivel it directly in front of the driver's seat and pushed back near the window. Or, we could pull it out and center it in the bus for movie night with the whole family.
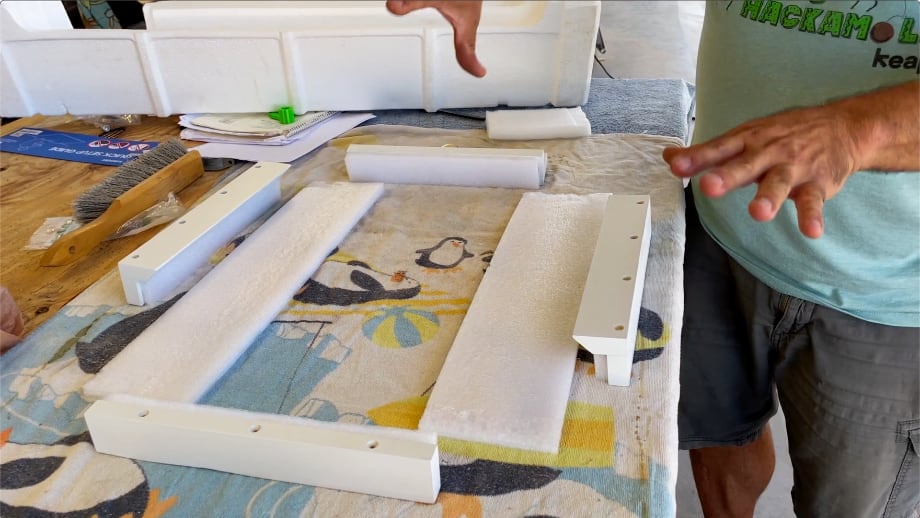
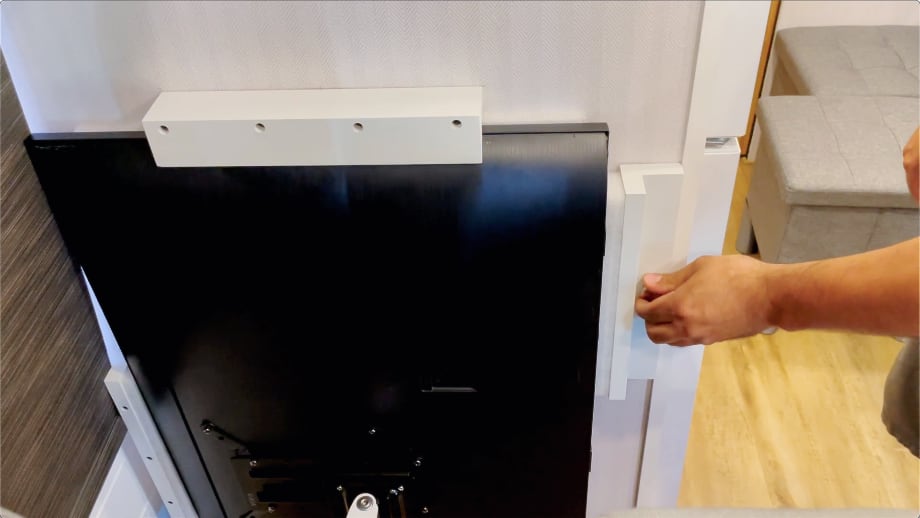
The last piece of the puzzle was stowing the TV during driving days or when we just don't want it in front of the window. The desk and arm are small enough to just stow away in the couch. The TV itself needed its own slot. Before we bought the TV, we decided that the best place for it would be on the refrigerator wall. That wall is behind the kids' van seats and is kind of hidden away so you don't even notice it when you're in the front of the bus. The measurements of the wall space were one determining factor in choosing the size of the TV.
In order to stow the TV safely while bumping down the road, we built our own brackets and padded them with stiff but soft foam that was in some other packaging we had. We also glued additional foam to the wall itself. The top and bottom brackets are angled to fit the contour of the TV and hold it in place. The rear bracket basically acts as a bump stop. Once we slide the TV in place, the front bracket is then screwed in place to pin the TV in. The glass is all cushioned by the foam and it all fits perfectly so the TV doesn't even wiggle while driving.

The office space was done and ready to go. Thankfully, the whole office space came together very well and has been extremely functional after using it for the last year. It is quick and easy to set up when we arrive at a new place and then also to put away when we pack up to move to our next destination.
Juan has spent many, many hours sitting at this desk, programming, making videos, and using the computer. He has become quite comfortable using it. Of course, like anything else a few improvements could be made. The prefinished surface looks really great and is very easy to clean, but it also makes it really easy for stuff to come sliding off. i.e. a cup of coffee. Maybe we could have extended the desk a little bit and put in a cup holder.
But overall we are very pleased with the function and ease of the whole office setup.
Watch the video:
Click here If you cannot see the video.


0 Comments
Comments powered by Disqus