


We were so relieved after mounting the Superstrut rails and upper racks. That part felt like the biggest hurdle in this solar install. When everything lined up and installed how we planned, it felt like a big weight was lifted off our shoulders. But, we couldn’t sit back and take a break. Next up we had to mount the lower sliding rails.
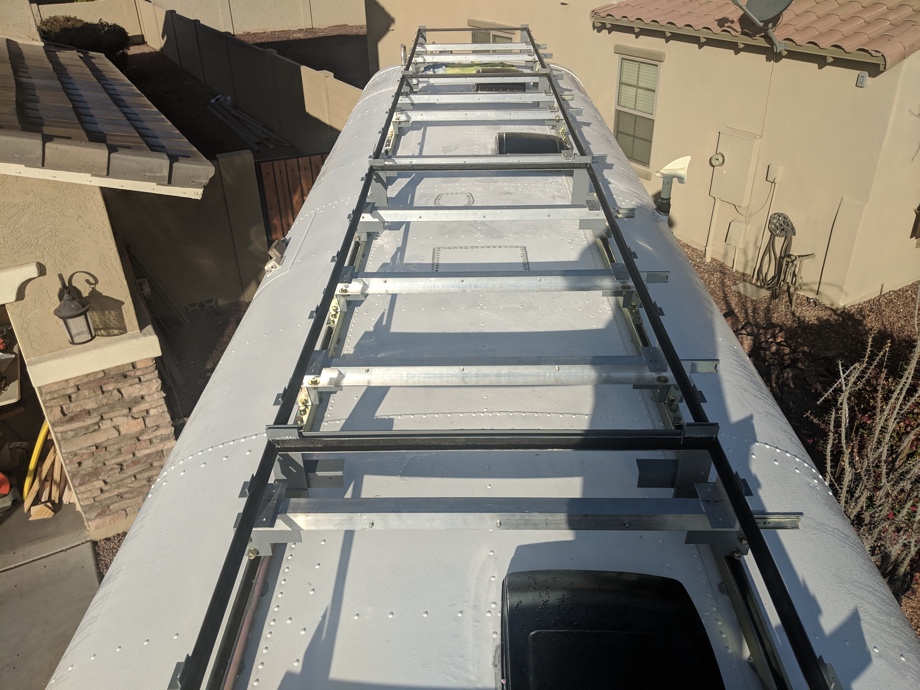
For this part of the project, the most important thing was being sure the L-brackets were perfectly parallel to each other and perfectly perpendicular to the Superstrut. If not, when they slide out, they will twist and bind. We had put the L-brackets in place approximately where we thought they would need to go back on our Solar Prep day. Those placements were adjustable though. Each of the lower panels will be mounted on three sliding rails, so we wanted those as evenly spaced as we could. However, we also had to avoid the MaxxFan vents.
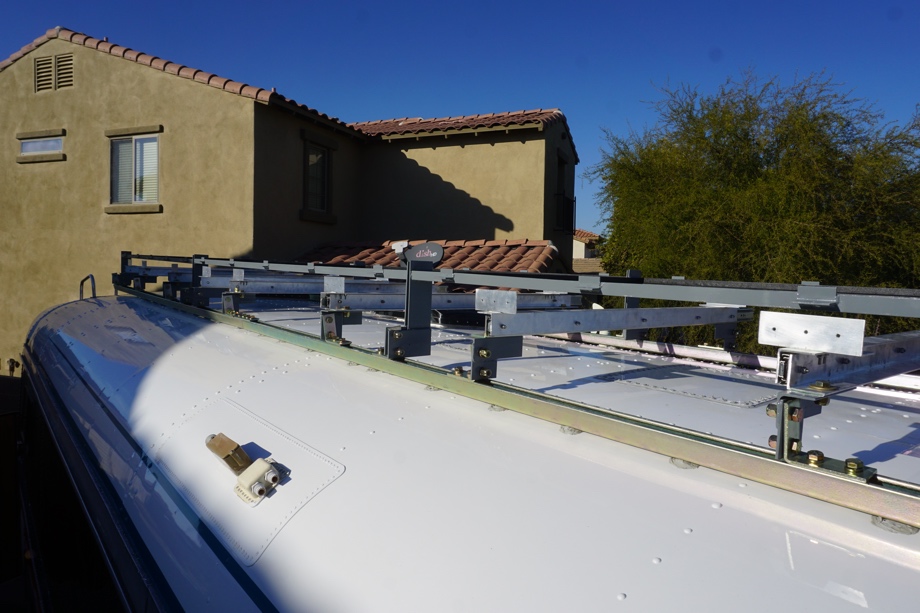
Once Juan got the sliding rails up on top of the bus and mounted to the L-brackets, he was able to make some minor little adjustments. He was careful to make sure everything was straight. Luckily, the kids were able to give him a hand because I was not feeling well that day. We are proud of what great helpers and hard workers they are. Although they are always sure to have fun along the way (you’ve got to watch the video to see the shenanigans happening in the driveway while Juan was up on the roof. LOL!)
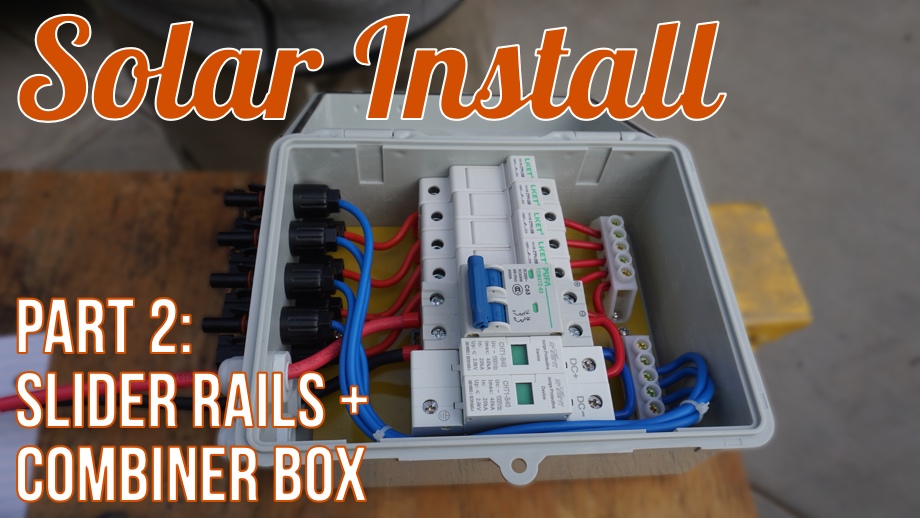
 Before we could move on to actually putting panels up on the rack, we had to mount the combiner box. Juan had thought he would end up building his own combiner box. Luckily, he came across one on Amazon that was perfect for our setup with the right number of inputs and the right voltage and amperage allowances. At this point in our build, it feels like a luxury when we can just buy something “off the shelf” rather than having to create it from scratch. The nice things about this box are that it is rated for the weather, has nice sealed connections, and built-in fuses, surge protector, and lightning protection.
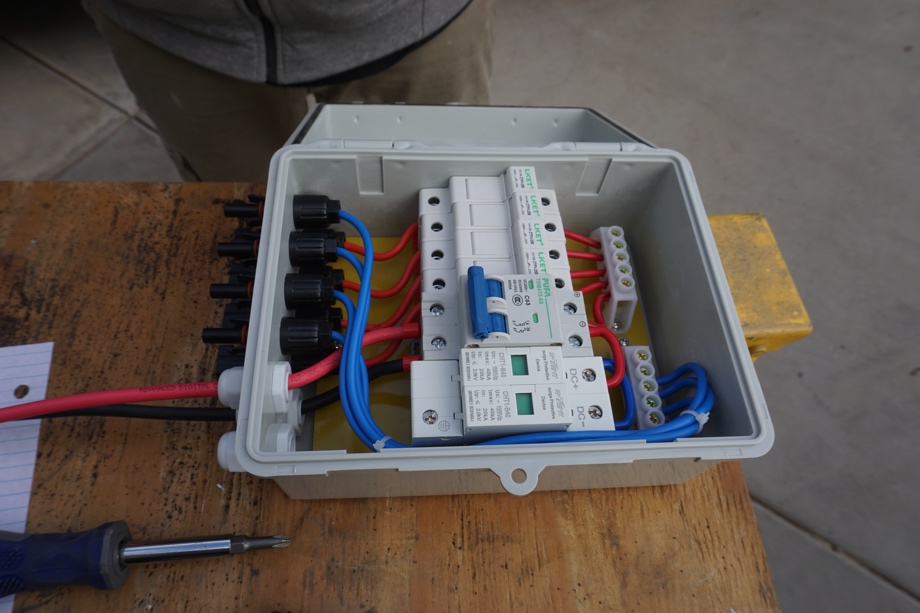
 In the video, Juan discusses our plans for wiring and why we are doing it the way we are, but I will try to give a short version here. With 8 panels, we are going to wire them 2 in series 4 in parallel (2s4p). Wiring in parallel is better for shading, but series is better for efficiency and cloudy days. Wiring 2 in series (essentially creating 4 units) and then putting those 4 units in parallel will hopefully be a good balance. It will also allow us to continue charging the batteries with the upper rack of panels when the lower panels are slid in (when we are driving or in windy conditions).
How we are wiring the panels was important for determining the max voltage and max amperage which mandated our combiner box specs and our wire sizes. Solar panels usually come with a spec sheet that shows you all the relevant information about the specifications of the panels. Two sets of the numbers that are of particular interest to us are Voc, Rated Voltage, Isc, and Rated Current. Voc is the theoretical maximum voltage that we should see out of the panels. Rated Voltage is what we can reasonably expect to see under "ideal conditions". Similarly, Isc is the maximum current (often called "short-circuit current"). Rated current, again, is the current we can expect to see under "ideal conditions". We learned (after a short phone call with Victron support) that it is important when designing your system to consider the Voc and Isc numbers rather than the "Rated" numbers. The numbers for our panels are Voc = 85.6V, Rated Voltage = 72.9V, Isc = 6.43A, Rated Current = 5.97A. When we combine two panels in series (2s) we get a Voc of 85.6V * 2 = 171.2V and our current stays the same at 6.43A. When we combine 4 of these series pairs together in parallel we end up with the same 171.2V but now we get a current rating of 6.43A * 4 = 25.72A. It should also be noted that it is highly recommended that you spec your equipment to have at least a 25% "safety margin". With that in mind, we selected a combiner box with the following specs: 4 inputs with max 250V @ 10A each, total output of up to 250V @ 40A. We wired the output of the combiner box with 8 AWG solar cables to the solar charge controller (Victron SmartSolar MPPT 250/85) which is rated for 250V and up to 70A of input. We will wire the inputs with 10 AWG solar cable.
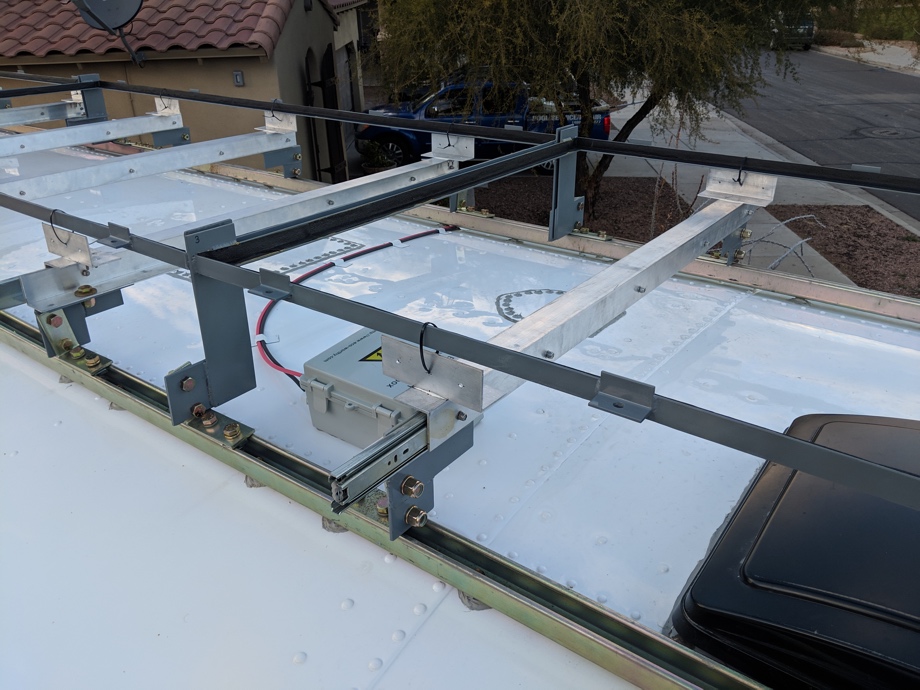
Once we had the 8 AWG output cables wired into the combiner box, we took it up on the roof and figured out the best placement. We knew that we had to keep it near the edge of the driver’s side so that we could access it easily in the future. We ended up mounting it just inside the Superstrut rails on the driver’s side, which will keep it somewhat protected under the solar panels. With the lower panels slid out, we can fully open the lid of the combiner box under the upper panels. We ran the cables through a cable entry gland for solar panels that leads down into the bus and will take those cables down through to our electrical bay and into the solar charge controller.
 The second part of the solar install was done! Next up: installing and wiring up all of the solar panels. It’s getting exciting!
Watch the video:
Click here If you cannot see the video.


0 Comments
Comments powered by Disqus