


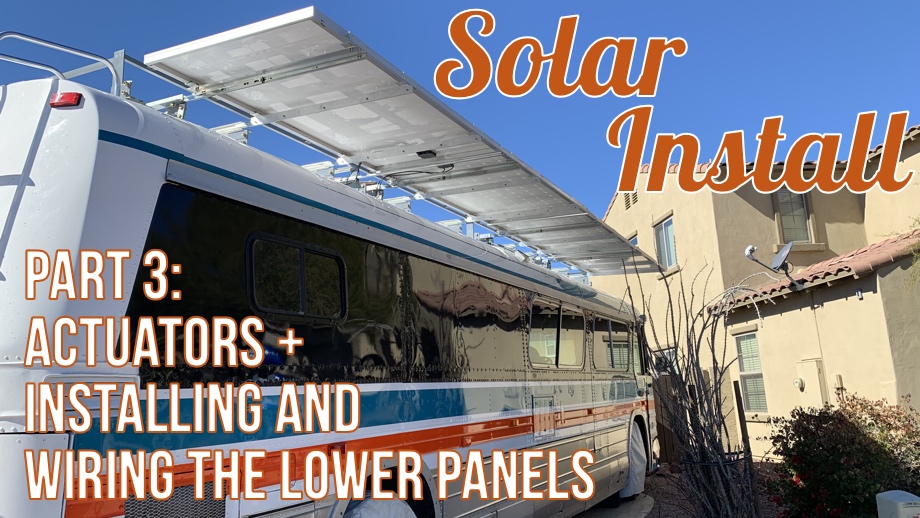
Last time, we mounted the sliding rails for the lower panels and mounted and wired up the combiner box. That meant that the time had finally come to actually install the first set of panels. This had been such a long time coming. A really, really long time. Thanks for sticking around with us.
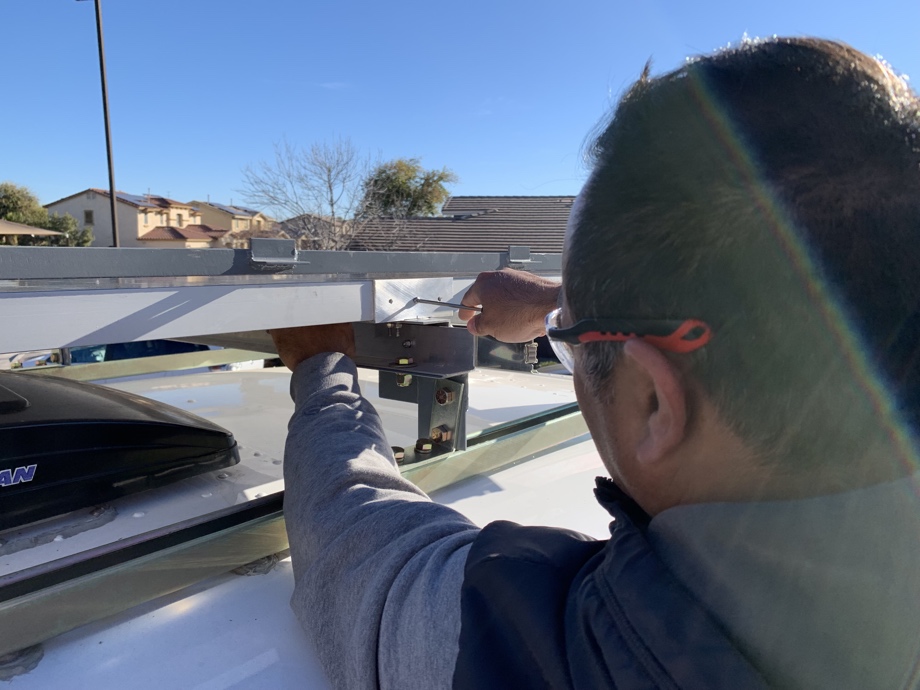
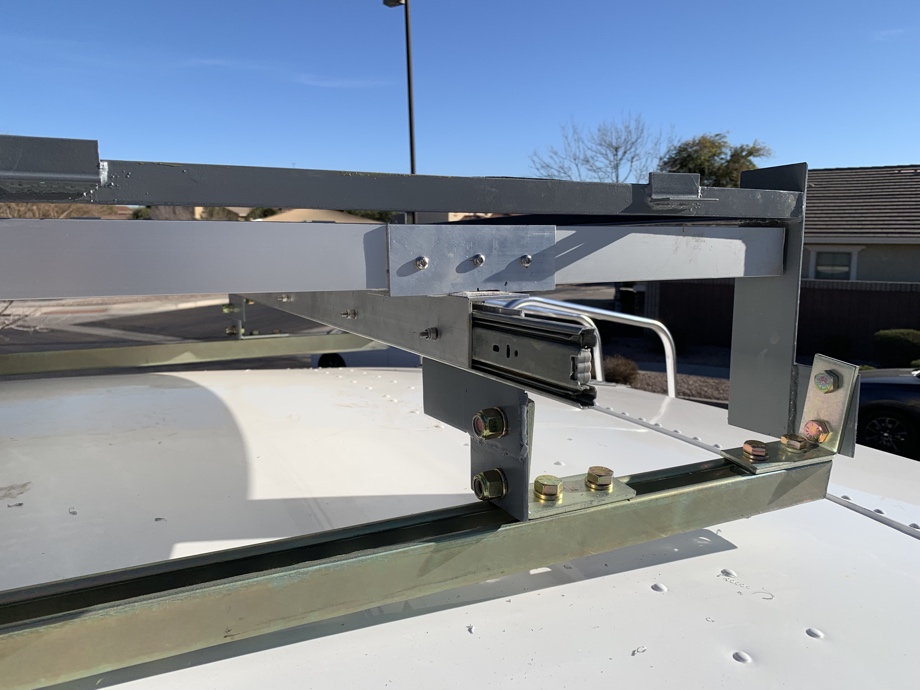
Installing the actuators was our first step of the day in ‘Project Lower Panel Install’. We decided to use our favorite outdoor adhesive, 3M 5200. We used a generous amount to attach the actuators to their two stands. Honestly, this glue is so strong that we probably didn’t need to use anything else. But, like we always do, we took an extra step just to be sure. We secured the actuators with four additional straps bolted down to the stands. Those actuators aren’t going anywhere unless we unbolt and cut them out.
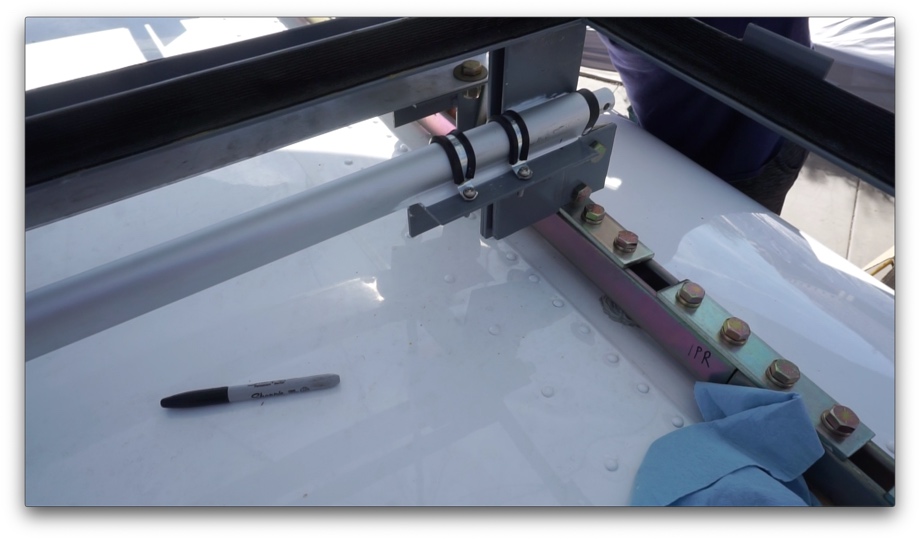 Somehow we didn’t get any video of the next part of the project - attaching the front ‘push’ bar that joins each ‘set’ of two panels so each actuator can push two at a time. Once the actuators were mounted, we were able to clip them onto the ‘push’ bars and then bolt the bars down.
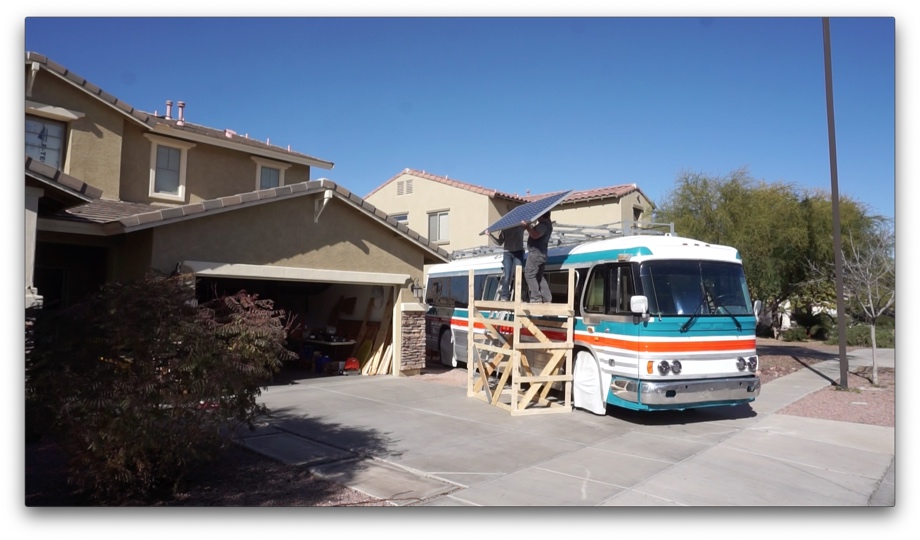
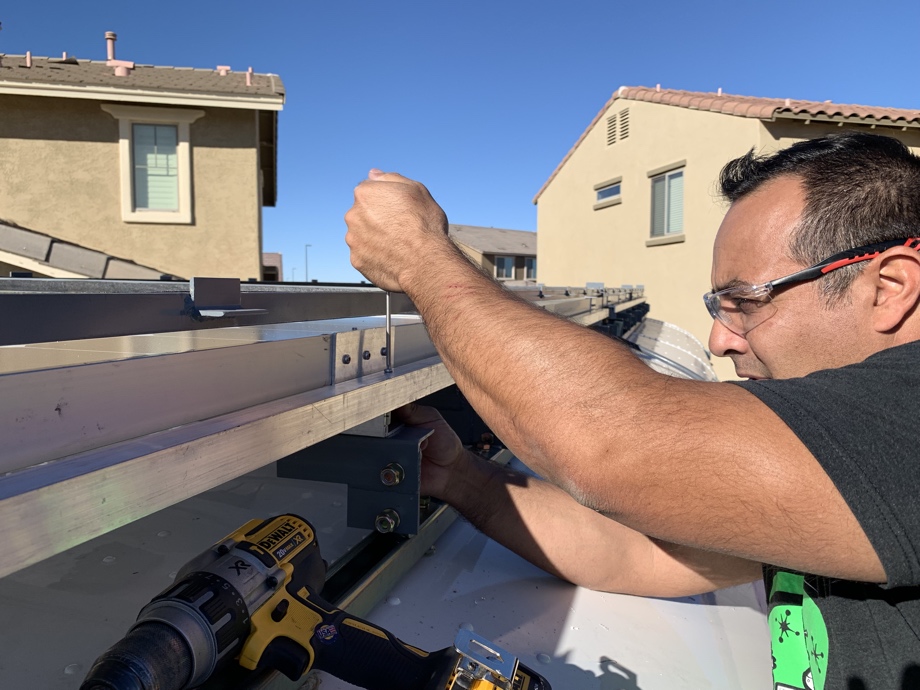 Finally, it was time to put the four lower panels in place. We got a system in place to lift them up onto the scaffolding, climb up and get behind them, pull the slider rails out, lift the panels over our heads, and then place them down into their brackets. It actually wasn’t as bad as we had thought. The panels are so big and awkward that we thought it was going to be much more of a pain than it ended up being. The DIY scaffolding is the big winner for sure. We secured all of the panels into their brackets with stainless steel hardware. And...they were in!

 Last but not least for ‘Project Lower Panel Install’ was to wire them up. If you remember from last time, we discussed that we are wiring the 8 total panels 2 in series 4 in parallel. When we placed the panels, we positioned each series pair with their cables facing each other. This allowed us to easily hook the positive from one panel to the negative from the other. That put them in series. Each of those sets now functions as a single panel with twice the voltage but the same amperage. We will end up with four 'sets' (two 'sets' on the upper rack and two 'sets' on the lower rack) that will be wired in parallel via the combiner box.
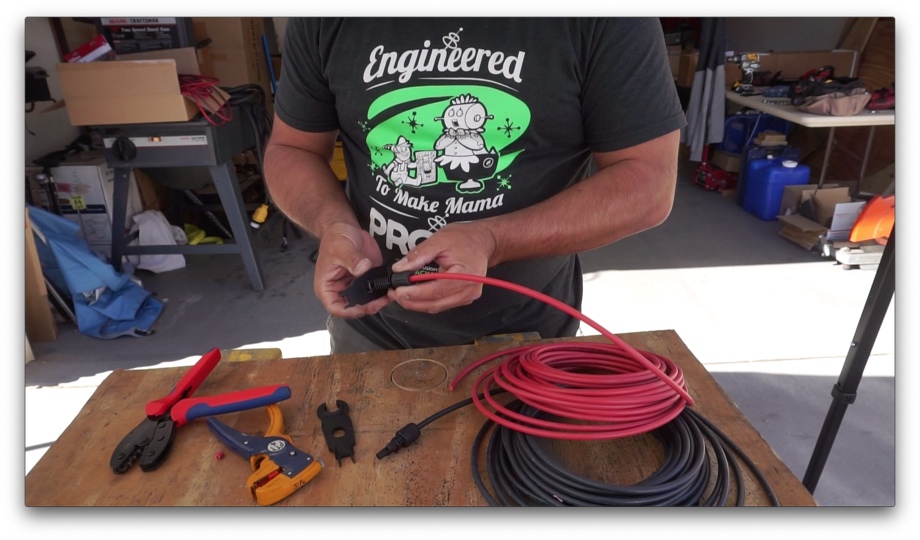 From there, we had to make new cables to connect to the remaining positive and negative leads from each ‘set’. Those cables were then wired directly into the combiner box. Be sure to watch the video for details on how to attach solar MC4 connectors to cables. Once all of those wires were attached, we were officially in business. Four of our eight panels were actually charging our batteries. It was a pretty cool feeling!
Finally, we tested out the actuators and moved our panels out. We had to do each ‘set’ manually that day, because the actuators weren’t wired up yet. But, just wait. That’s what’s up next! For that day, it was pretty awesome seeing our lower rack slowly buzz on out and buzz right back in just as we had planned.
Next week: The final install of the upper panels, wiring up the actuators, and first tests of solar charging!!
Watch the video:
Click here If you cannot see the video.


0 Comments
Comments powered by Disqus