


We are so close to heading inside the bus and starting insulation, walls, beds, kitchen, etc. First, however, we have just a couple more projects that have to come before walls go up. The first project on that list is cameras.
At 35 feet long plus a tow car, we want to be sure we can see as much as possible around the bus. In addition to a standard backup camera and dash camera, we also would like to eliminate as many blind spots as possible as well as keep an eye on the tow car while traveling. This meant we were looking for cameras that will give us a good field of view.
Visibility is one part of the puzzle, but liability reduction in case of any incidents is another. We want to be able to have a record of anything that might happen. So, we knew we were looking for cameras that could record and also have nice, clear images.
In essence, we wanted to find a camera system that could serve as both a driving aid and also a security system. The research began.
In the video, Juan details his process of elimination of various systems and products - pros and cons of different types of cameras and systems and why we could or couldn’t use them. He discusses everything from automotive 360° systems to the current trend of cloud-based home systems like Nest, Ring, and Arlo.
As full-time travelers, one major thing we have to be concerned with is data usage for all the video recording a camera system might do. We also want to keep the wiring as simple as possible. To that end, we knew that we needed a system that will meet our needs in terms of clarity, the field of view, and recordability, but also that will record locally (not cloud-based) and have only one cable per camera (power over ethernet).
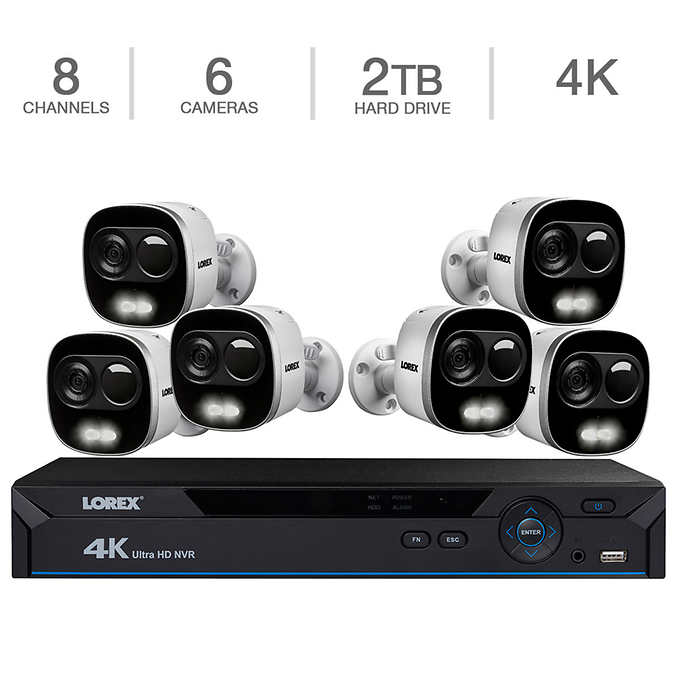
We finally decided to try an NVR based 4K system by Lorex that we found on sale at Costco. The great thing is that Costco has a really good return policy, so we felt good about at least buying it and testing it out and playing with it at home before deciding whether it would be a good fit for the bus. After doing that, we were really happy with all the features and how the systems seemed to be working.
Next, we moved onto to determining how we could mount the different cameras on the bus to give us the best views. We tested out different locations, plugging in one camera at a time with the network cable through a window or door to a monitor we hooked up inside the bus temporarily. This allowed us to determine the positions we would want to install them and basically “see what we could see”. We were surprised at how well and how much we could see.
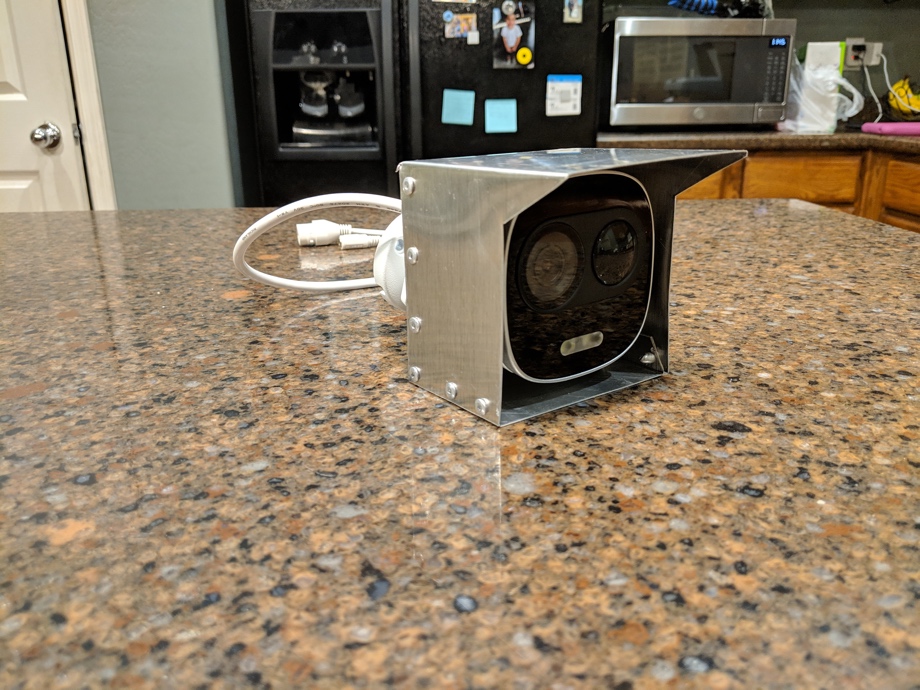
After determining locations, we had one last project before we could actually install them. We had to figure out a way to shelter them. Although the cameras are IP65 rated (meaning they are meant to hold up to sun and rain, etc), the manual also says to try to keep them sheltered. I supposed on a house, they would typically be under the eaves so it makes sense.
We created our own aluminum shelters out of sheet metal and rivets, and they seem like they will work really well without interfering with the line of sight on the cameras. We also think it makes the cameras look like little robot faces. :)
Next week, we will show you how we installed them and how they have been performing.
Watch the video:
Click here If you cannot see the video.


0 Comments
Comments powered by Disqus