


Finally, we are at the end of our solar install. We had just a few last pieces to put it all together and see our designs come to fruition.
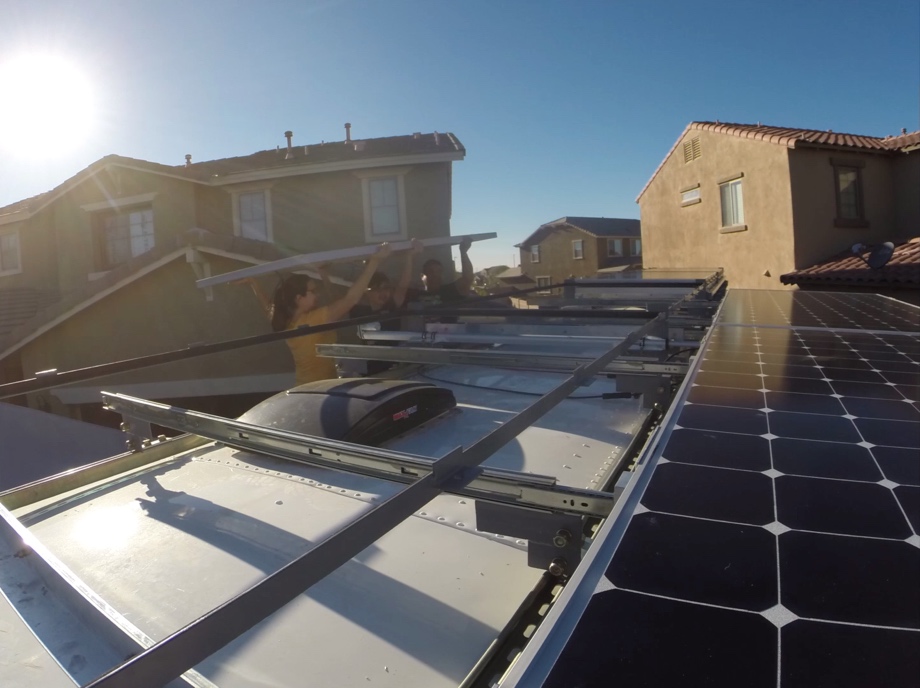
First up was mounting the upper panels into the racks. Luckily that was fairly simple since the racks were already up. It was just a matter of physically getting them up there and setting them into place. They fit like a glove into their custom “bed”. The only tricky part was working around the lower sliders that were already in place.
 Once those panels were in, we were ready to secure them with the clamps we made. We bolted on ten clamps for each upper panel, five on each side with 3/8 inch grade 8 hardware. Those panels shouldn’t go anywhere.
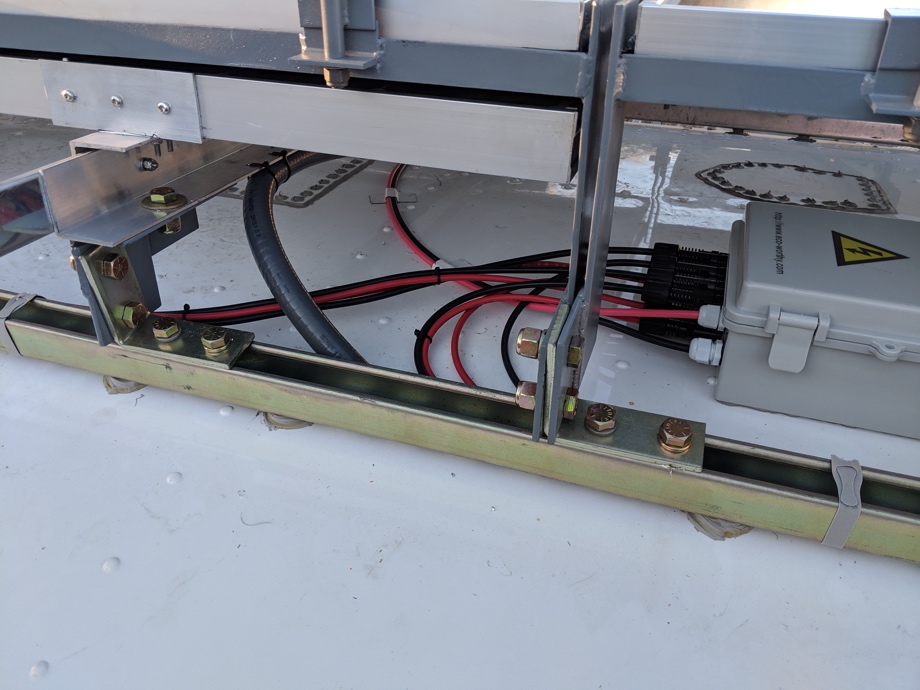
 Next up, it was time to wire the panels. Like the lower panel wiring, we tied each set of two panels in series, connecting their positive and negative leads together. That essentially creates one “unit” with double the Voltage but the same Amperage. We then took the remaining positive and negative leads from each of the “units” and wired them into the combiner box. This puts these “units” in parallel. So, for all eight of our panels, each set of two is wired in series creating four “units” which are wired in parallel for a 2s4p configuration. Then, only two main wires come out of the combiner box, run down into the bus and into our electrical bay through a breaker and into the solar charge controller. For more details on the combiner box and wiring, check out Part 2 and Part 3 of the Solar Install series.
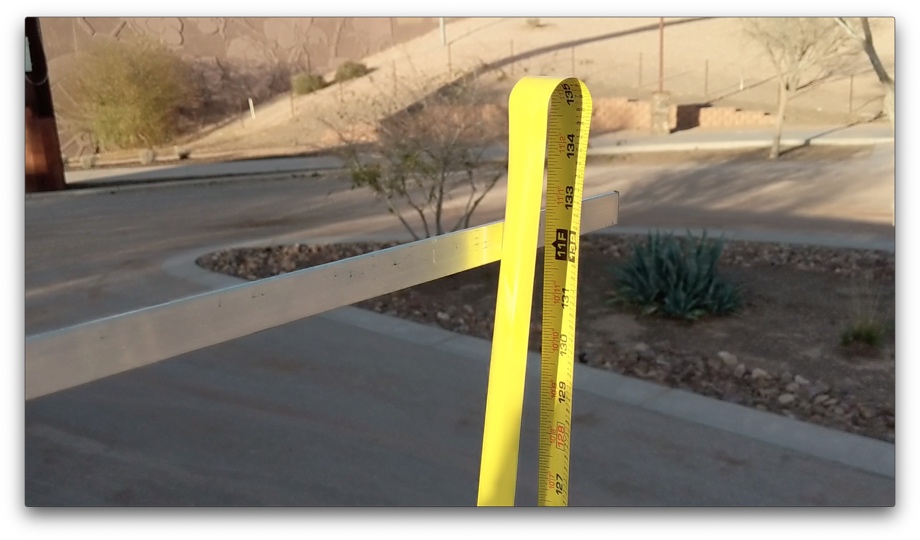
 After the wiring was done, we decided it was time to see how tall the bus was. We were pretty sure that it should be close to 11 feet, but we needed to be sure. We drove to a flat(ish) parking lot and measured the height by laying an aluminum bar across the tops of the clamp bolt heads (the highest point of the rack). Then, we ran a tape measure up to the bar. We cross-checked both sides because the dirt lot had been rained on and so had some uneven spots. We measured 11’ almost exactly on one side and 11’ ½” on the other side. We decided to call it 11’1” for some peace of mind. The funny thing is that even with this giant rack of solar panels, the bus is still 3” shorter than it was previously when it had a rooftop air conditioner.
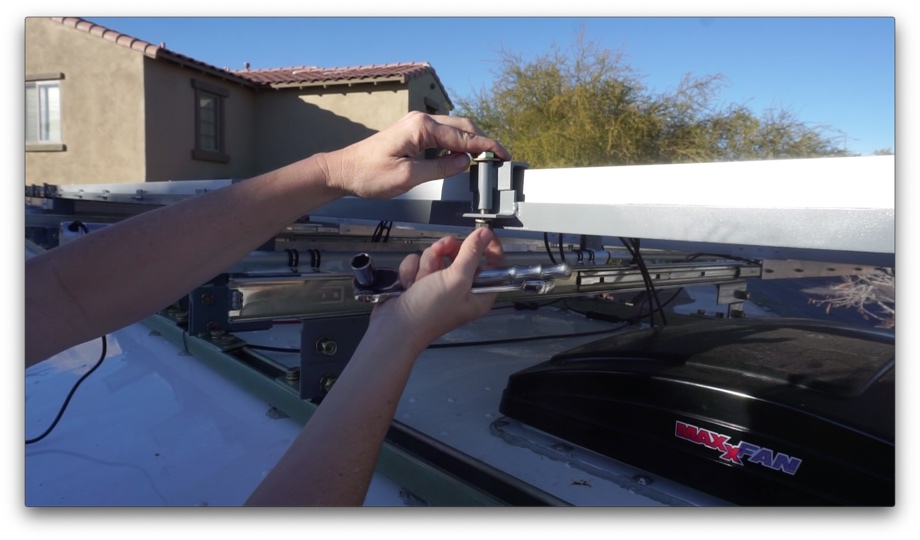
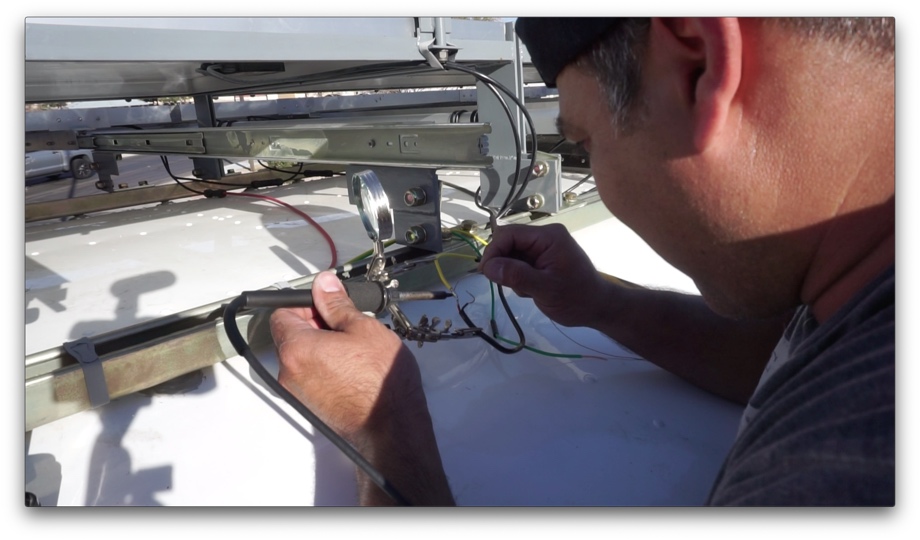
Moving on, it was time to wire up the actuators for the lower sliding panels. Up until this point, we have just been operating them manually one set at a time by connecting the wires to a drill battery. This was one of the parts of this install we were most looking forward to. We started by cutting four lengths 14 AWG wire, a positive and negative for each actuator, and running it from inside the bus, through the roof, and through a piece of conduit. Juan soldered these wires to the wires on the actuators. Back inside the bus, we had brought up some new 48V wires from our electrical bay and wired those into a 48V-24V buck converter (for the 24V actuators). We then wired in an actuator motor control with remote and the two sets of positive and negative wires from the actuators.
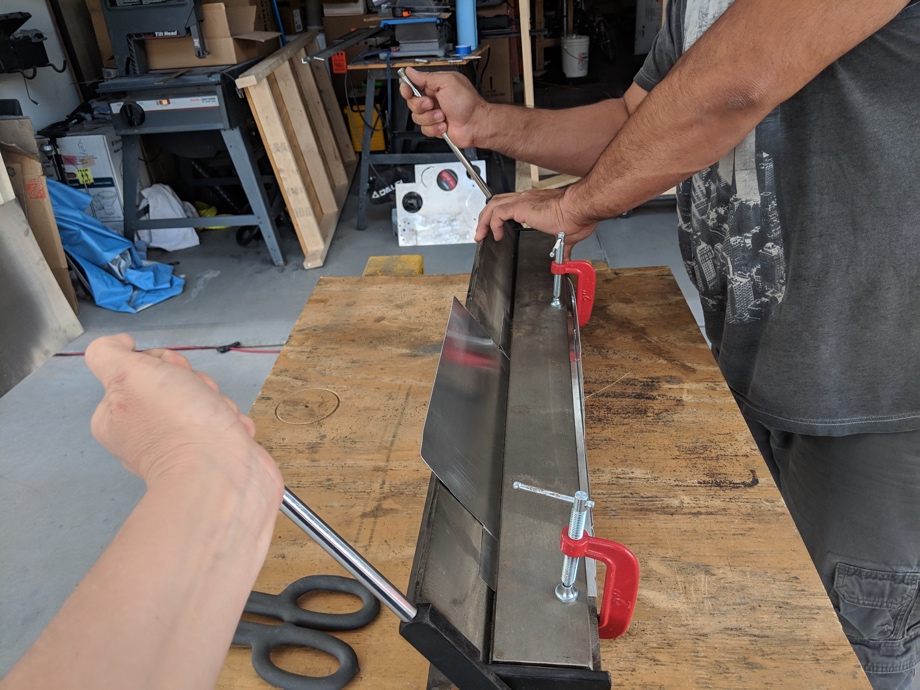
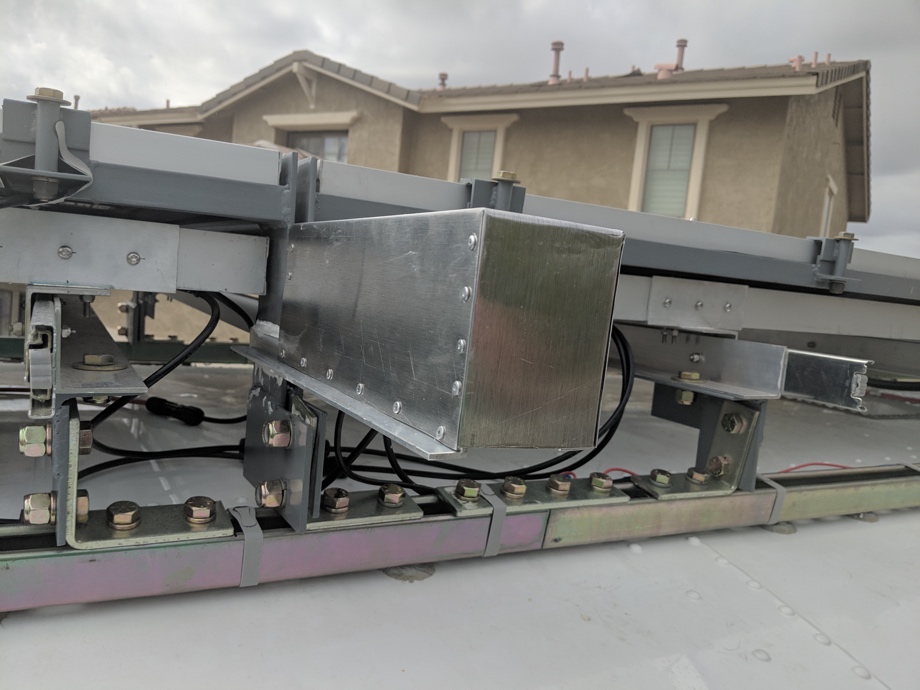
The last little project for the solar install was to protect the motors of the actuators. We used some thin aluminum sheet metal, rivets, and aluminum angle and made a shelter that covers the motors. This should protect them from heavy rains and the sun (although they are IP65 rated.)


Finally, the time had come to see the actuators in action together for the first time. We walked outside the bus with remote control in hand. Juan pushed the button and...you’ll have to watch the video to see what happened next!
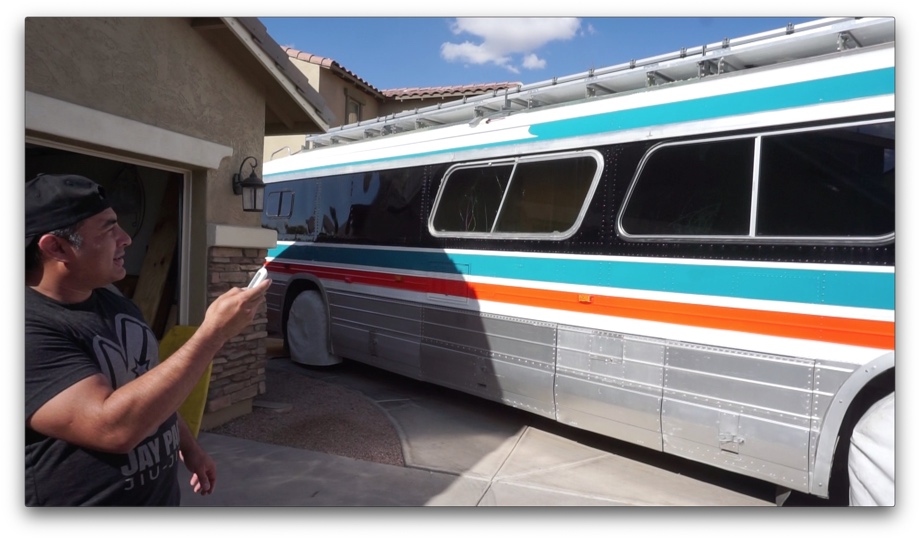
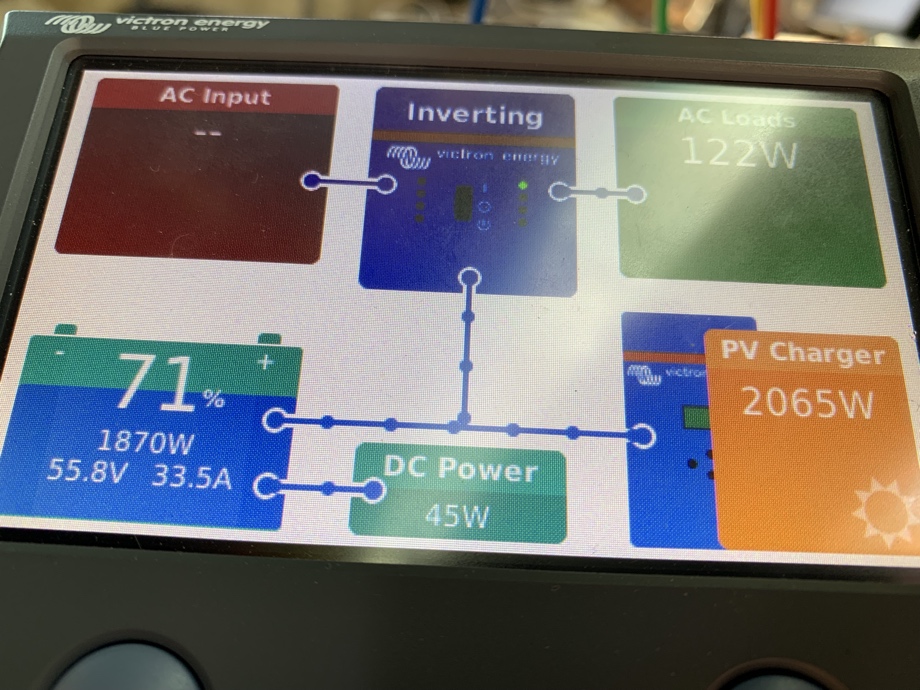
Also in the video, Juan shares what we have observed so far in the first few weeks with solar input. Unfortunately, we have had tons of rain and cloudy days, but we still are very happy with the results. Spoiler: Running the A/C and heat pump is no problem at all. We can run the A/C and still be charging the battery with plenty of power. We can’t wait to see what this system really can do as the short winter days turn into long, summer days.
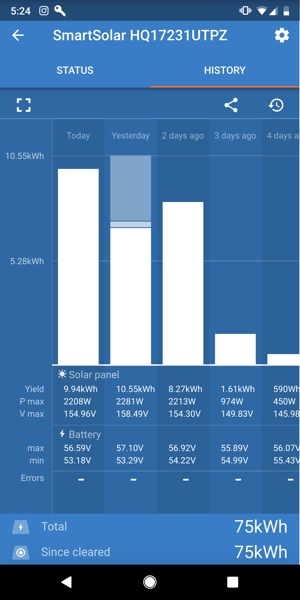
Thanks for sticking with us for this crazy journey of designing, building, and installing our solar rack. We will continue to keep you up to date on how the system is doing and as we move toward longer, sunnier days, we will check in with some updated numbers.
Coming up: We have a couple more little projects before we head inside, but very soon we are going to start building the interior of the bus...finally!!!
Watch the video:
Click here If you cannot see the video.


0 Comments
Comments powered by Disqus