


Time for more planking! We have already completed one round of planking in the kids’ room on their walls and ceilings, and we have plenty more to come. For this project, it was time to plank the ceiling in the kitchen and living room.
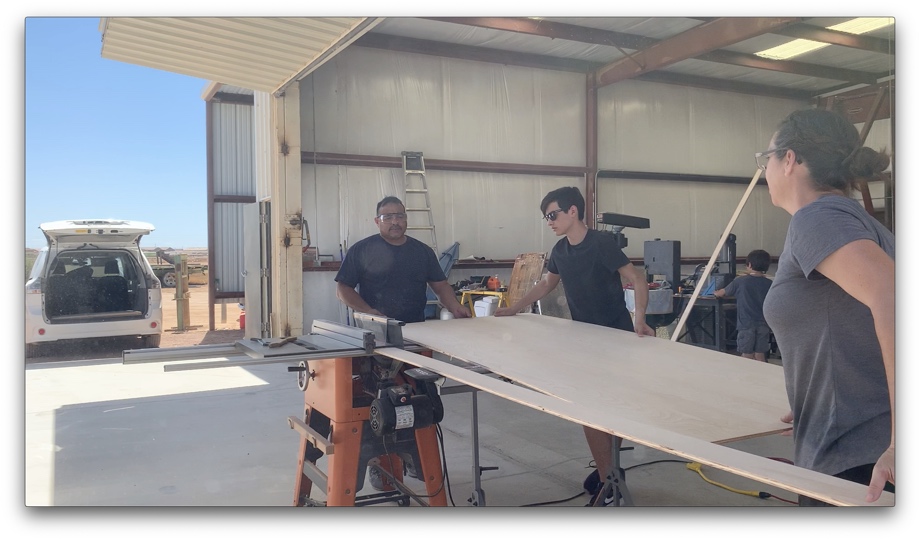
We used ½” birch plywood that we cut into 4” wide planks, chamfered (to give the appearance of tongue and groove without actually using true T&G), and painted white. We had all four of our kids help with all of the prep work for this. We tried to cut and prep enough planks to do not just the ceiling but the walls as well (that project was still a few weeks away).
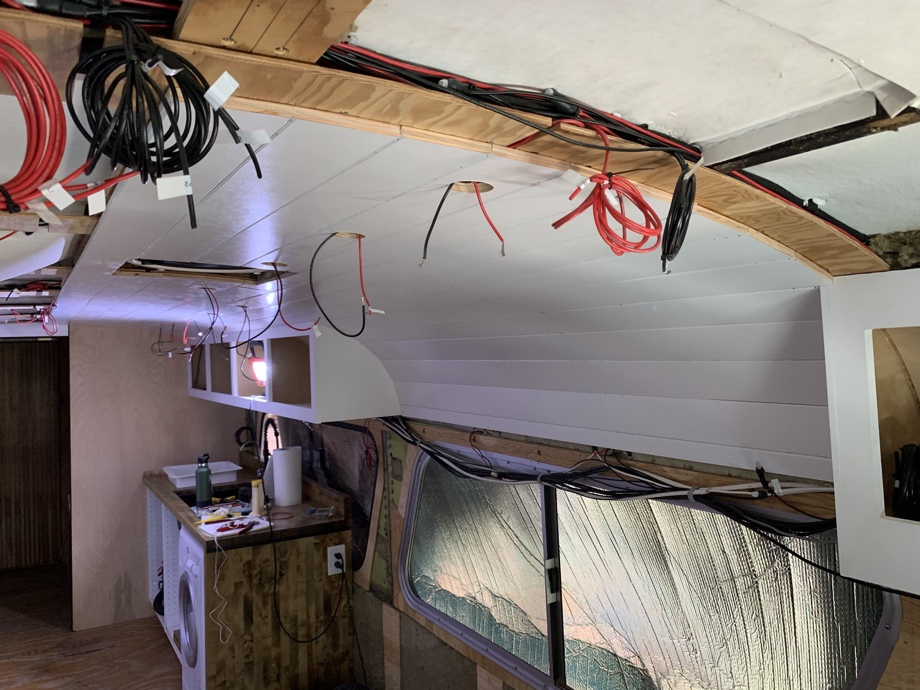
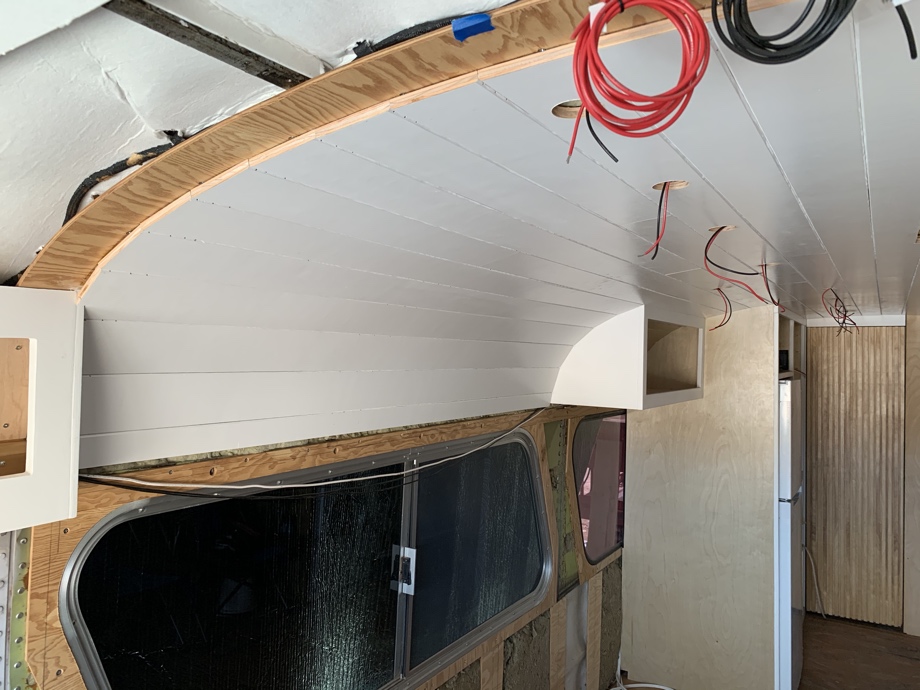
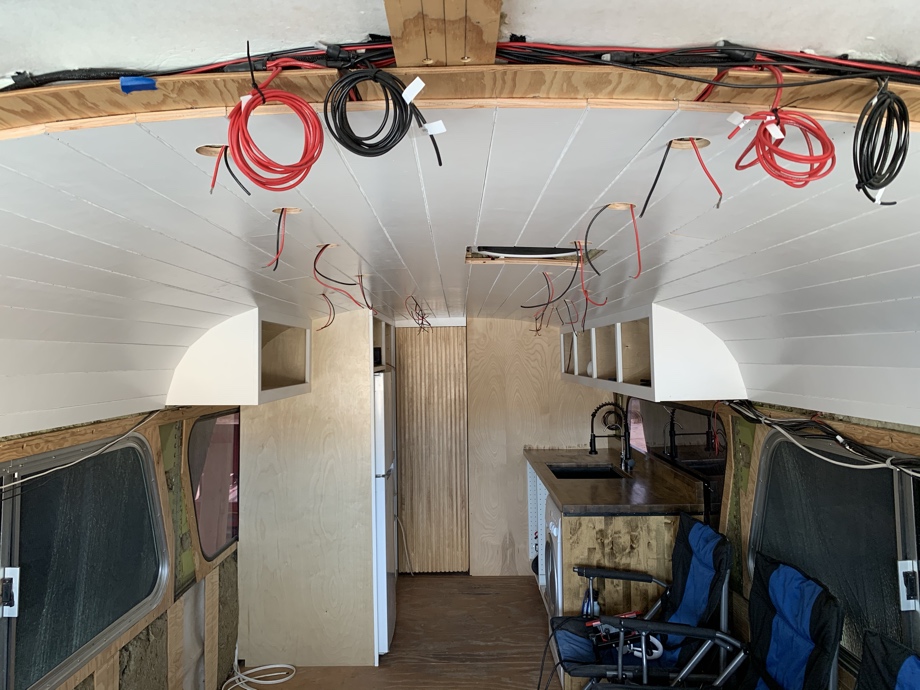
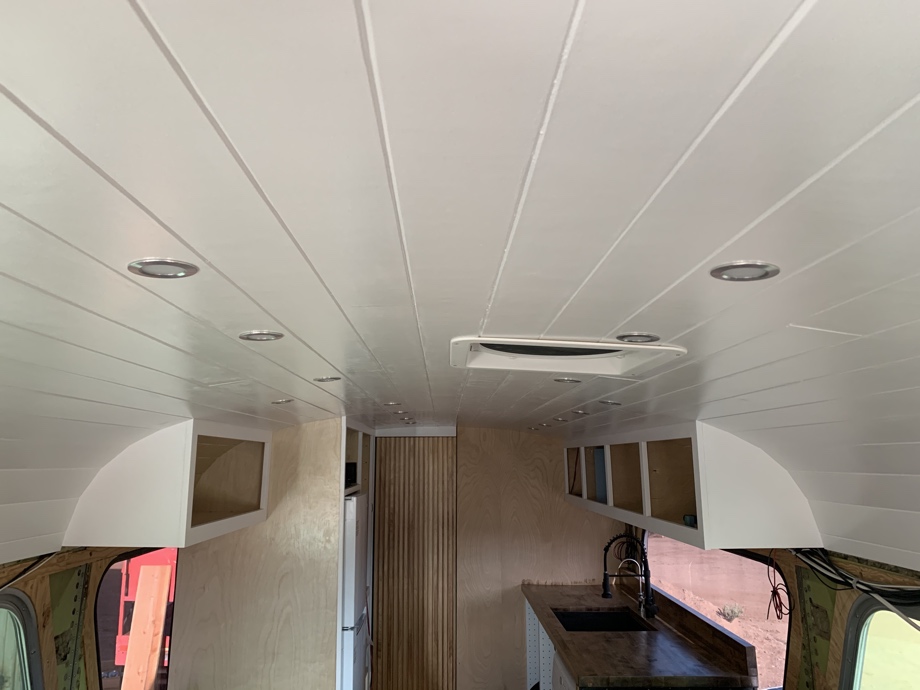
Since this was such a long space, we decided to stagger the boards so that we didn’t end up with one seam all the way across the bus. We glued and blind-nailed the boards using our brad nailer to the furring strips which are screwed into all of the ribs of the bus. We started in the center of the bus and worked our way down to the windows on the driver’s side, and then we went back and worked our way down to the windows on the passenger side. Along the way, we added our rockwool insulation. We also cut holes for our ceiling lights and pulled the wiring through.
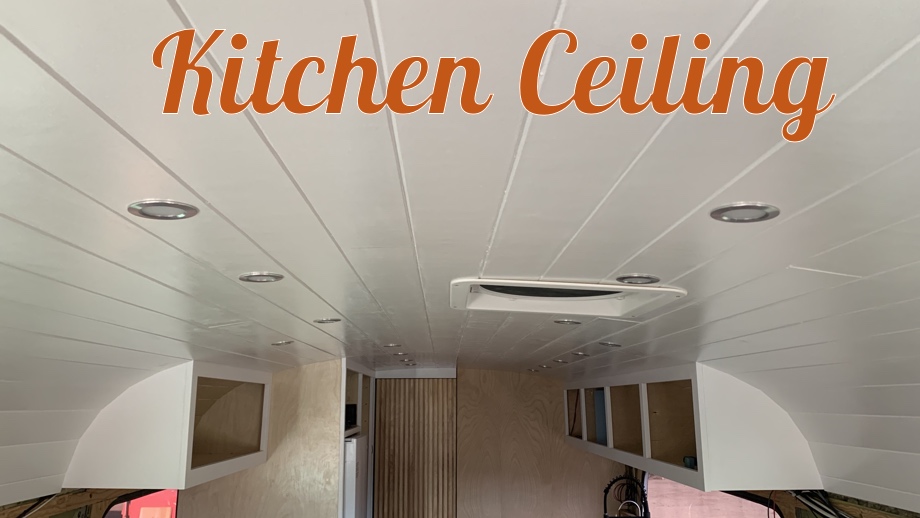
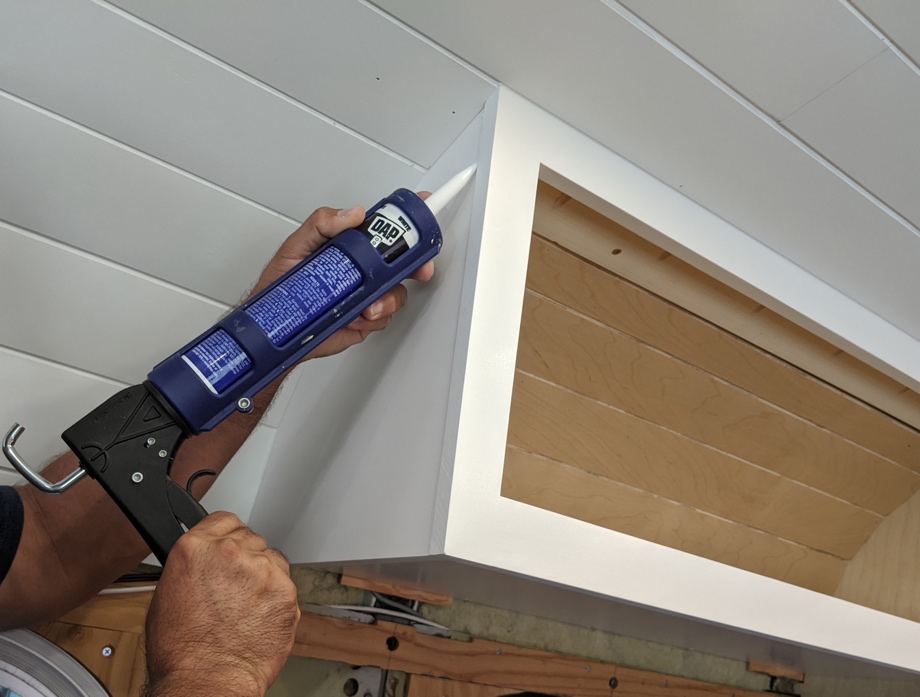
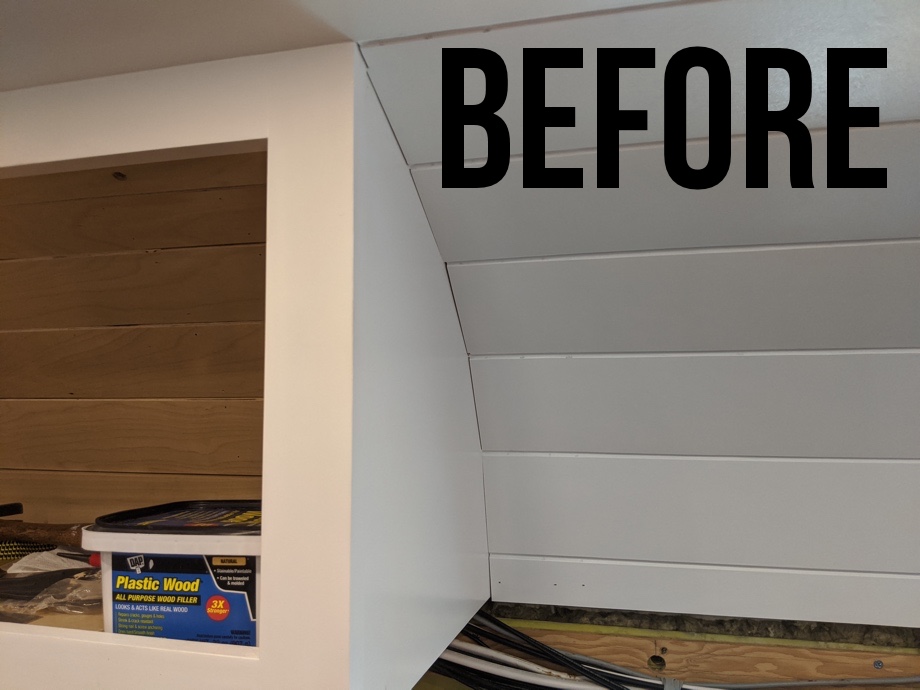
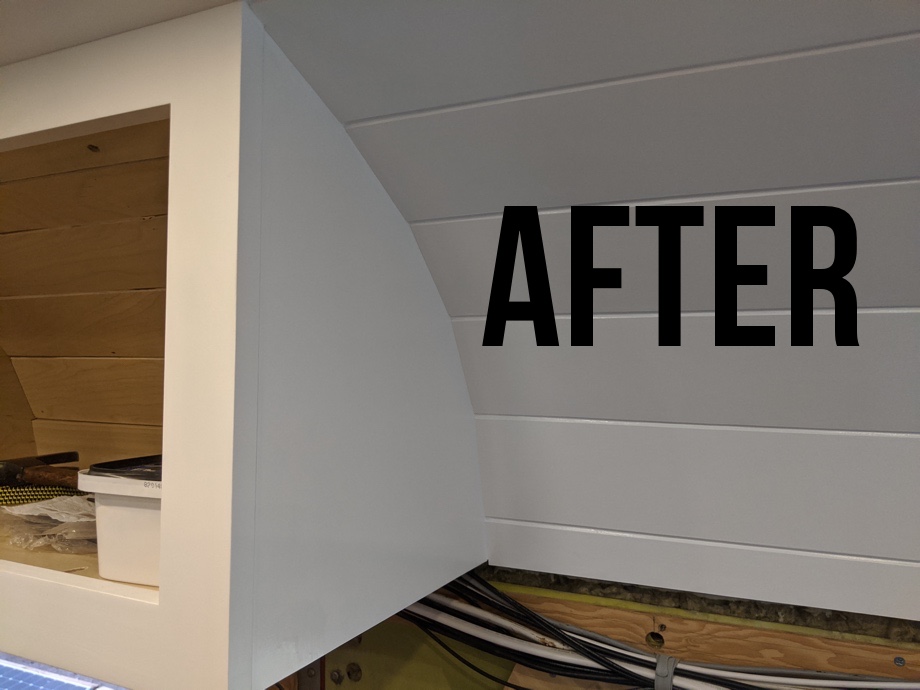
Once we had all of the planks installed, it was time for the finish work. This is where our mediocre carpentry skills become hidden. :) We started by caulking all of the grooves. Then, any nail holes that weren't hidden by that were spackled. Finally, we used small artist brushes to put a final coat of paint in the grooves and “Voila!”, we turned ourselves into passable carpenters. “Caulk and paint make you the carpenter you ain’t.”
Finally, we wired up all of our lights in this area. Wow! What a huge difference! Between the white ceiling planks and the warm LED lighting, the bus all of the sudden felt so much more inviting and like a home. We still have a lot of projects to go, but this one made a pretty big impact for us.
Coming up: more planking, so much more planking!


0 Comments
Comments powered by Disqus