


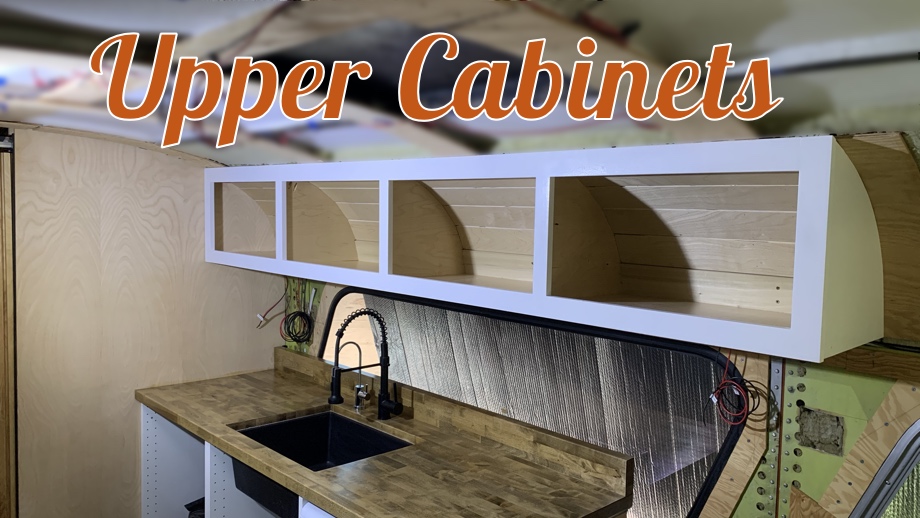
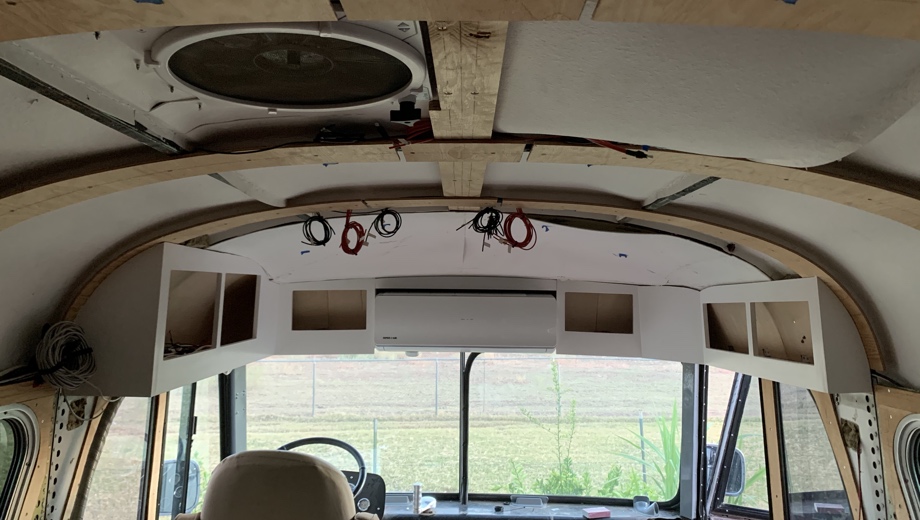
Last year, we built the upper cabinets in the front cab area of the bus. It was one of the more difficult projects we have worked on. When it came time to build the rest of the upper cabinets in the kitchen area of the bus, we were slightly hesitant. We didn’t have all of the same issues that we had in the front cab (all the compound curves, the windshield, the mini-split, headroom at the door). However, we did have one big concern. Could we build these cabinets strong and secure enough?
These cabinets were going to be larger and deeper than the front cab upper cabinets. They will need to hold significantly more weight. We aren’t yet 100% sure what all will live in these cabinets - probably dishes or extra pantry food or even homeschool stuff. We just want to be prepared so that we are not limited on what we can put in there because we didn’t build them to hold enough weight.
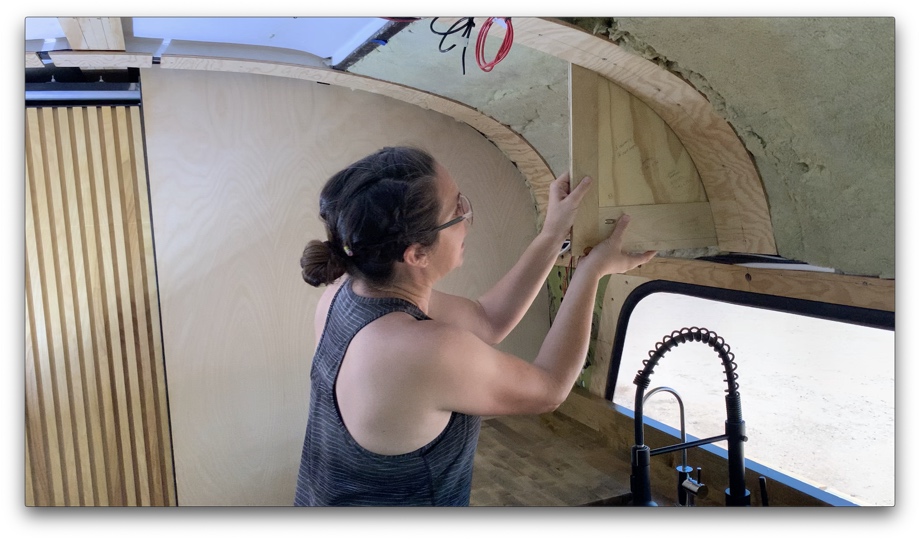
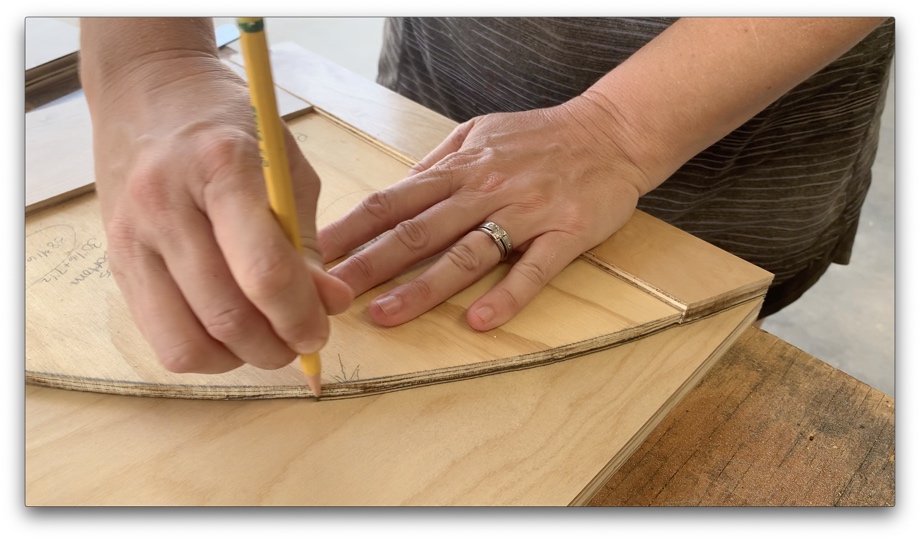
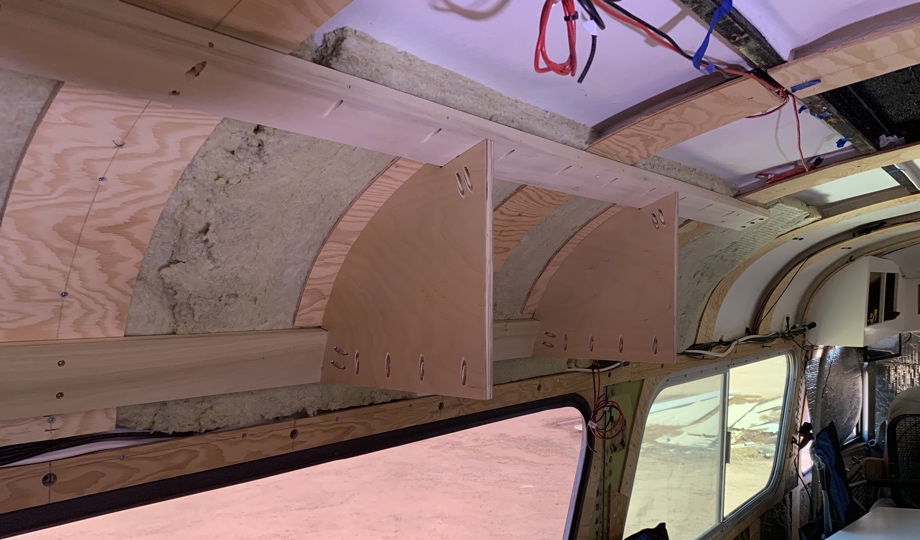
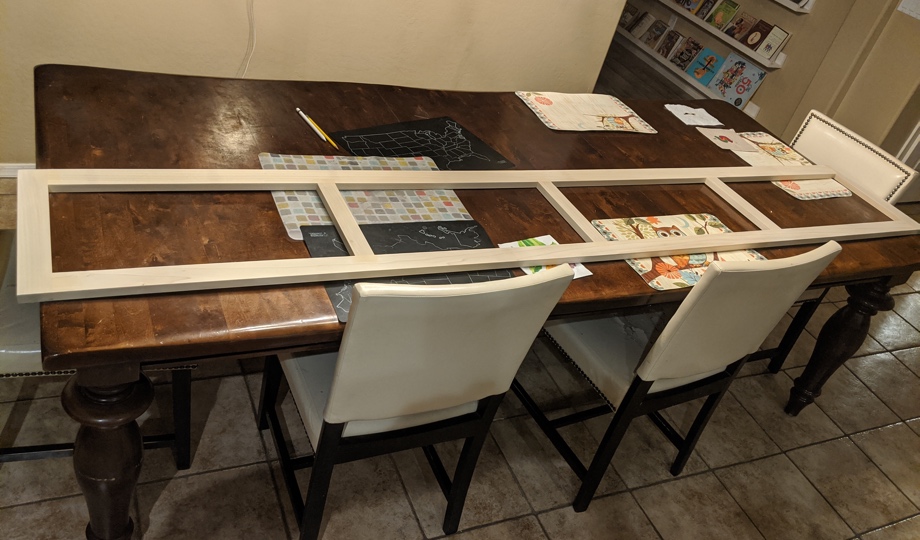
Our plan was to use the ribs of the bus as the main support system, but before we could get to that, we needed to figure out the height and depth we wanted. We also needed to make a template for the “divider” walls between cabinets. Luckily, our furring strips that are attached to the ribs make an excellent resource for scribing a template. Once we had decided on the height and depth we wanted, we started by making an L-shaped template out of scrap wood. Then, we put some ¼” plywood in the middle and placed it next to our furring strip. We just kept tracing the curve and cutting the template over and over until we got it to fit up under the furring strip perfectly.
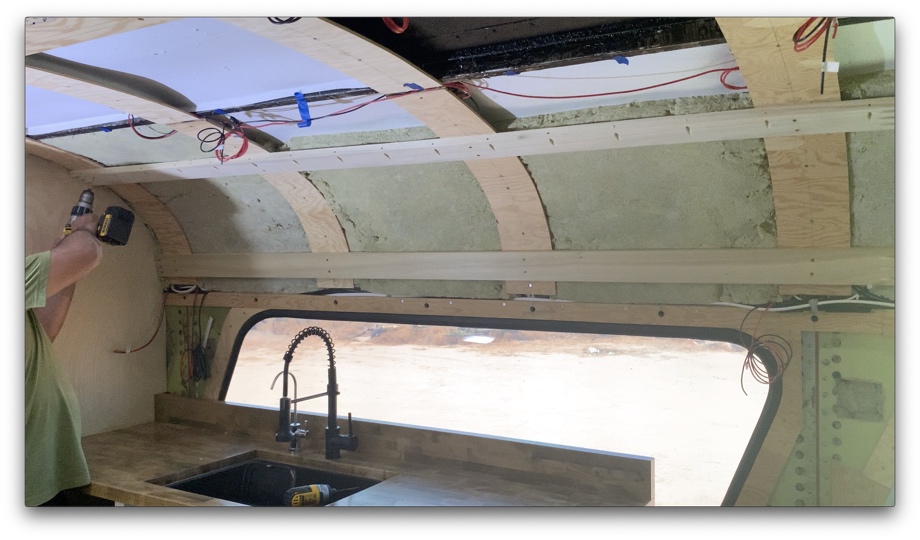
Once we had that part figured out, we moved onto the support rails. We made two rails with ¾” x 3.5” poplar boards, screwing them through the furring strips and into all the ribs. We used one rail at the bottom and another rail at the top. The face frame, the floor, and all the dividers of the cabinet will anchor into these rails. In order to create a square place for the face frame and floor to attach, we had to cut angles in these rail pieces to compensate for the curved walls.
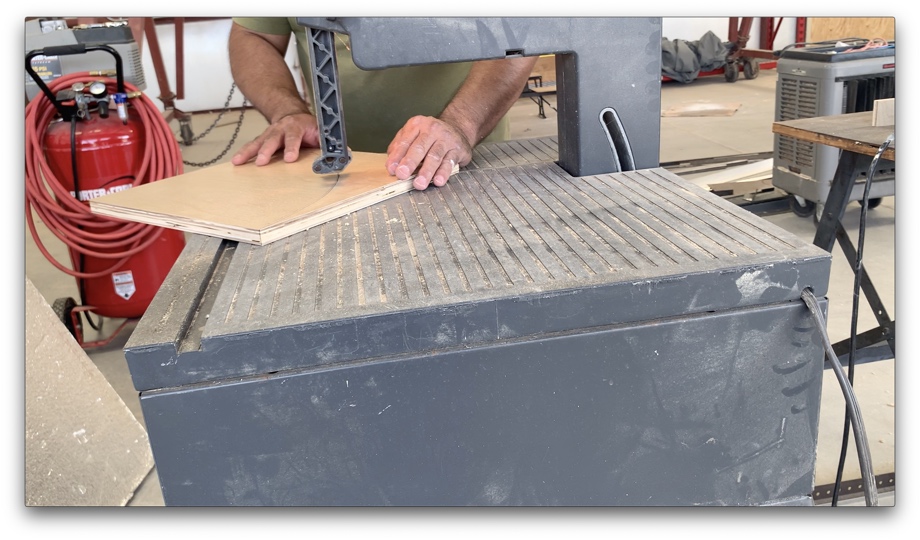
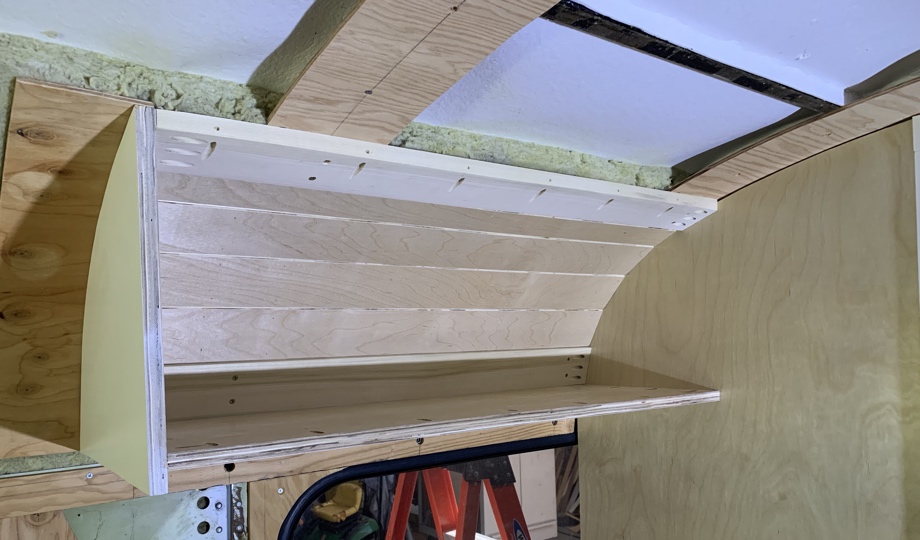
Now with the template in hand, we were able to make the end cap piece. We also cut the floor piece. Because these two pieces show, we took them home and painted them with our spray gun before installation. Then, we modified the template to make it shorter for the dividers that sit on top of the floor piece. We cut the rest of the dividers and then notched them out to fit around the rails.
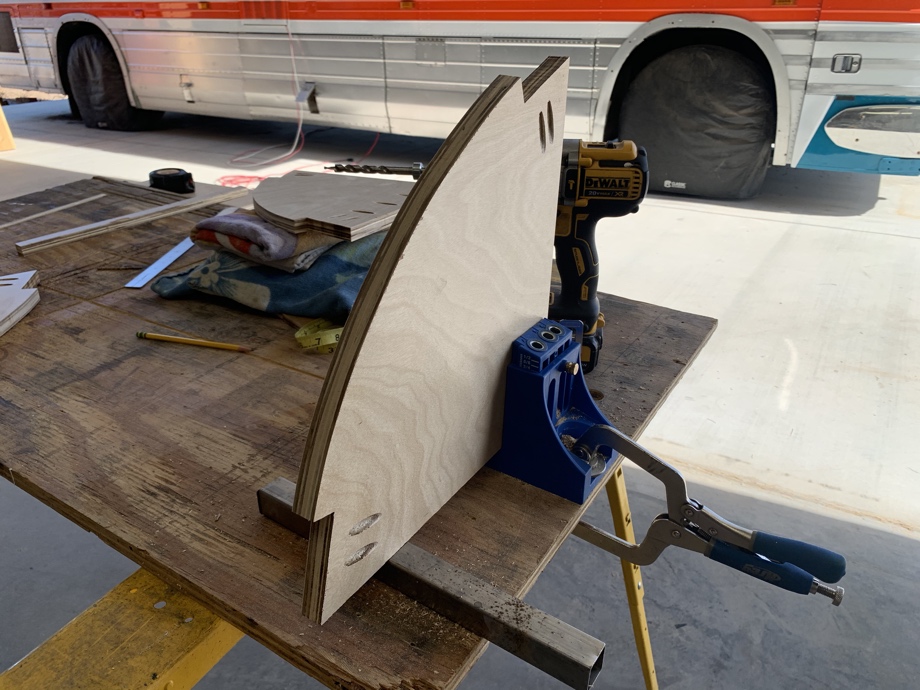
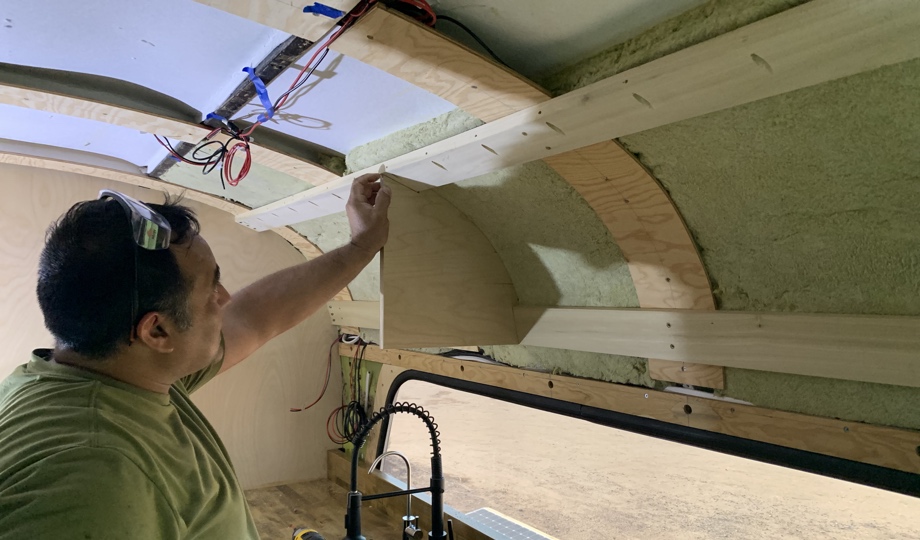
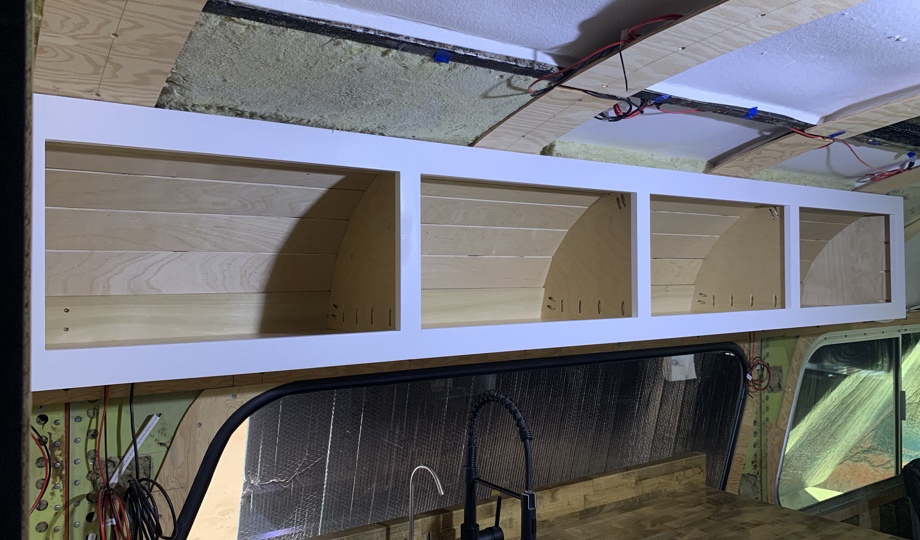
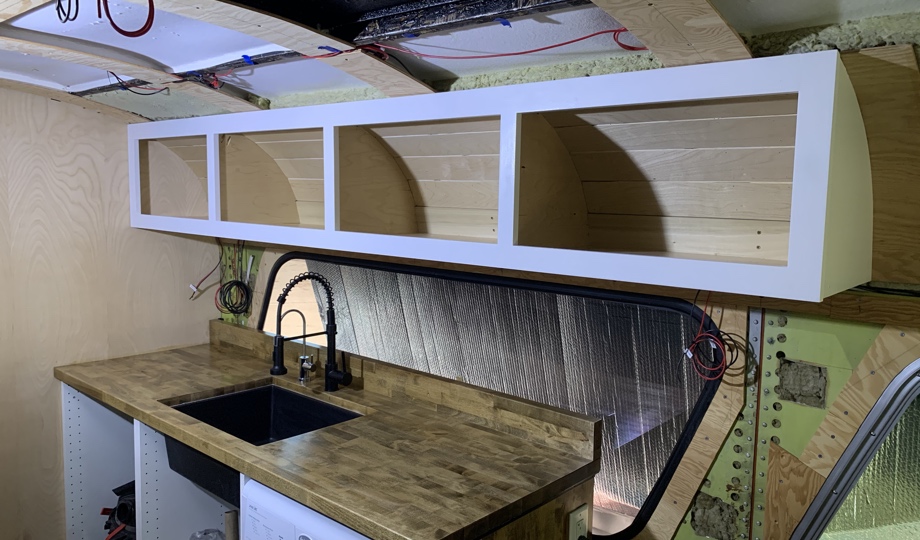
Finally, we started the assembly. As our usual process goes, we pocket-holed everything together. In addition, the floor is screwed from underneath up into the poplar rail. Pretty quickly, we had the shell of the cabinets installed. Next, we used the same method we used inside the closet and pantry for the back wall of the cabinets. We glued and brad-nailed 4” chamfered slats onto the furring strips between the cabinets.
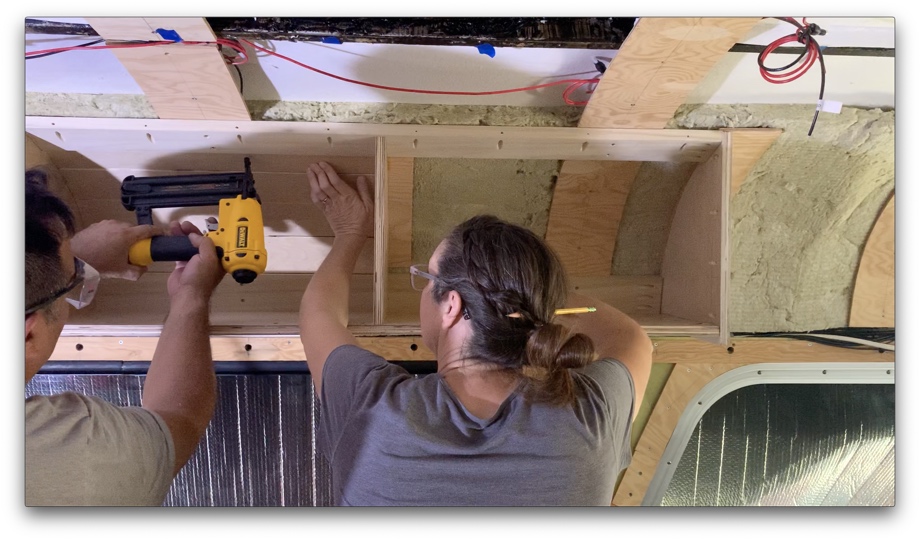
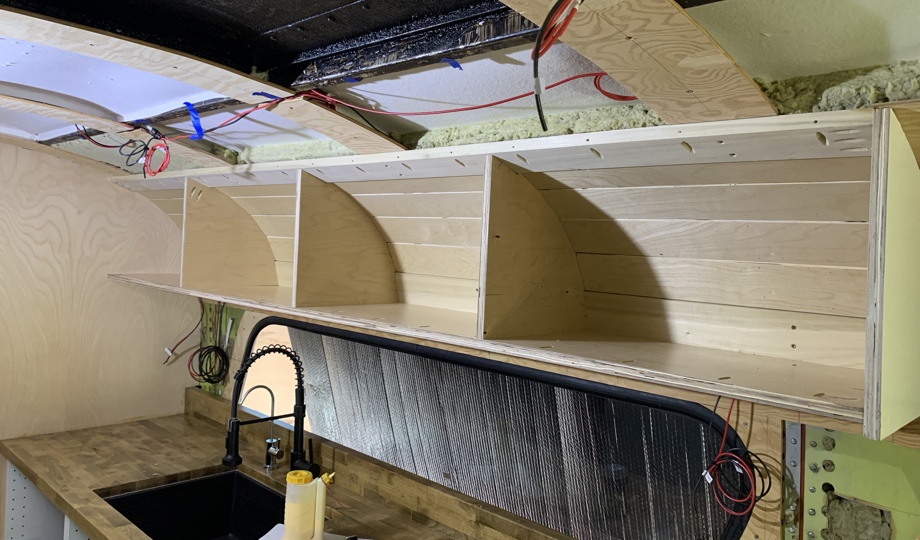
Finally, we used poplar to create one large face frame for all four cabinets. Again, we took that home and painted it. We brought it back to the bus the next day and installed it (again with pocket holes),
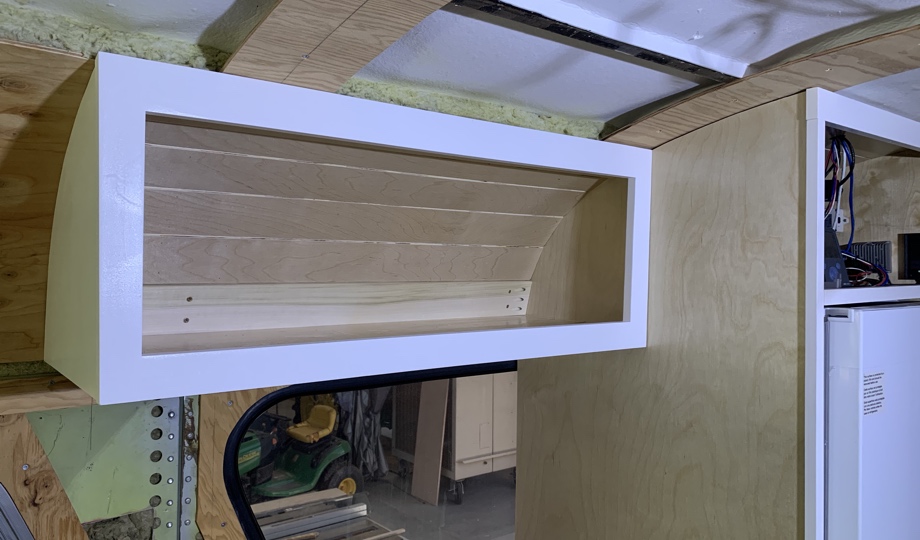
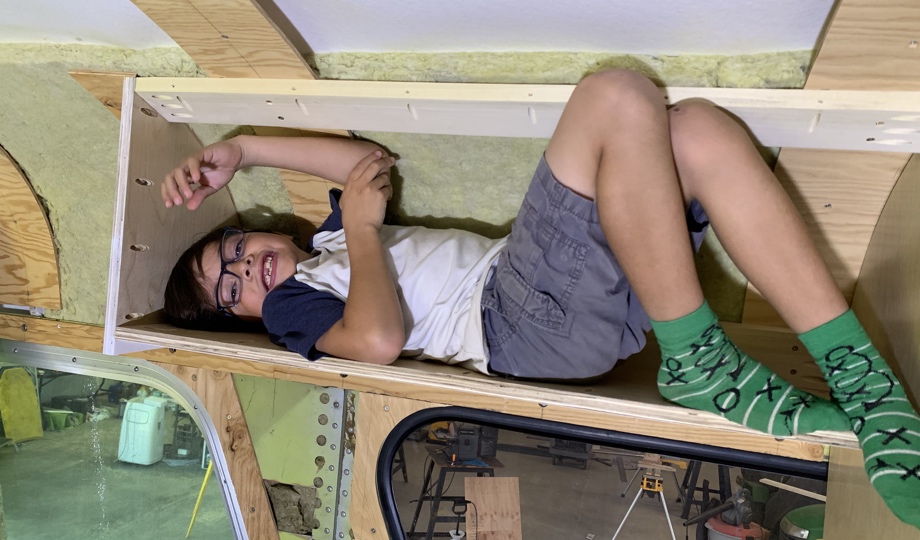
We repeated this whole process for one more cabinet on the other side of the bus. We tested out the strength by putting our son in this cabinet. He weighs about 54 pounds and it held him great. Hopefully, we will not be putting 50 pounds in each cabinet, but at least we know we could. ;)
We do still need to add lighting, hinges, and cabinet doors, which will all come later. For now, we are moving on and moving up even higher in the bus - to the ceiling.
Watch the video:
Click here If you cannot see the video.


0 Comments
Comments powered by Disqus