


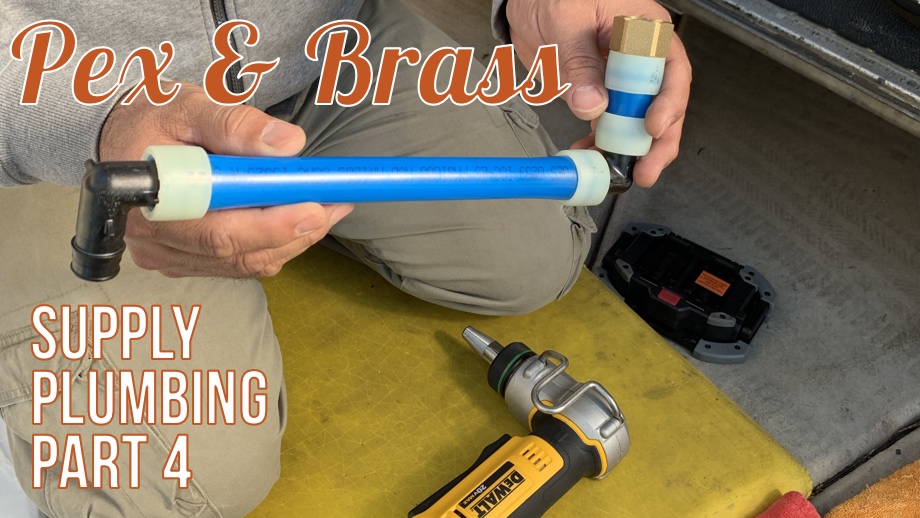
After having the major components of our plumbing installed (pump, water heater, filters), we were ready to start the rest of the supply plumbing. We are using a mix of brass and Pex A plumbing.
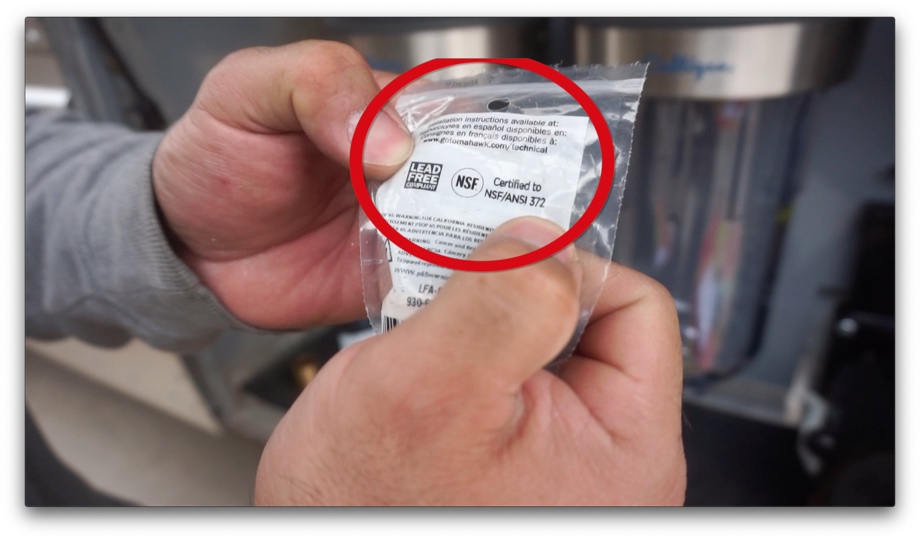
For all of our brass fittings, we were sure to buy only Lead-Free brass certified for potable water. There are many brass fittings out there that are made for gas or fuel or irrigation systems that aren't required to be lead-free. However, with a water supply for human consumption, it is very important that you look for that label on any brass that you purchase.
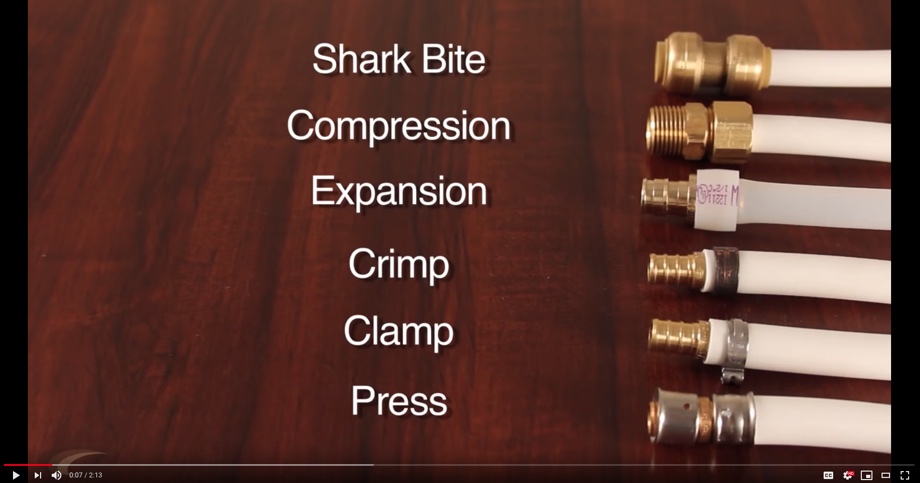
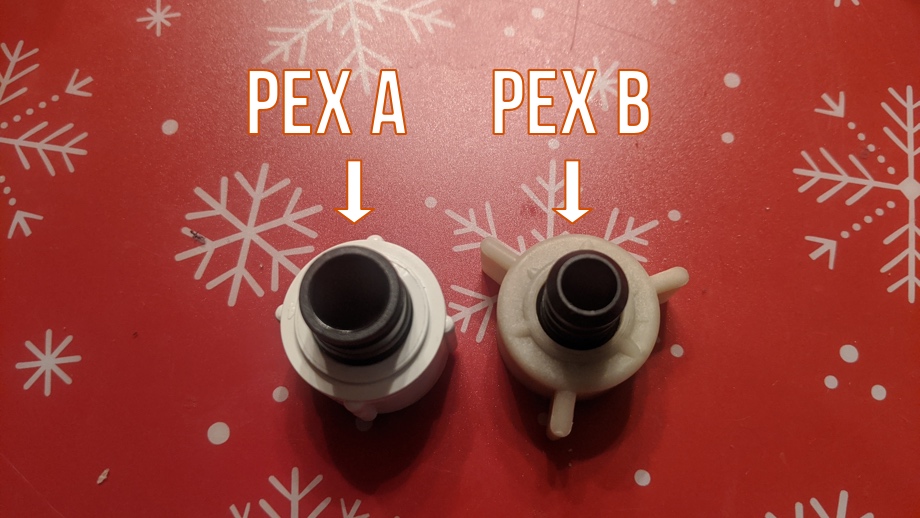
For the Pex, we did plenty of research to decide which system we wanted to use. For Pex-B (which is more common), there are crimp, ring, press, clamp, compression, and the popular Shark-bite fittings. We, however, decided to go with Pex A (also known as ProPex or Uponor, the technical specification is ASTM-F1960) for several different reasons. First and foremost, our plumber friend who has been in the industry for over 25 years said he has never seen an Uponor fitting leak. That was definitely what made us lean that way, but after doing our own research, we were even more convinced Uponor was the way to go. We watched many videos comparing the amount of pressure the different fittings could take before failure, and Uponor always came out on top. It is more flexible, uses a more precise manufacturing process, and the openings of the Uponor fittings are larger than the equivalent size of Pex-B fittings. This should result in a leak-free system with greater flow. Finally, once you have the expansion tool, the actual rings for the connections are much less expensive than Shark-bite fittings (the other style that comes highly recommended, especially in RV circles).
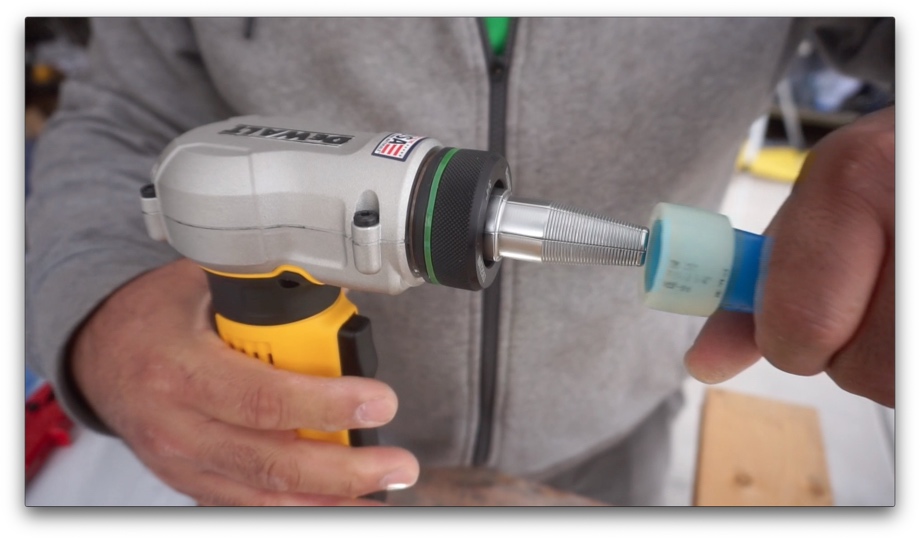
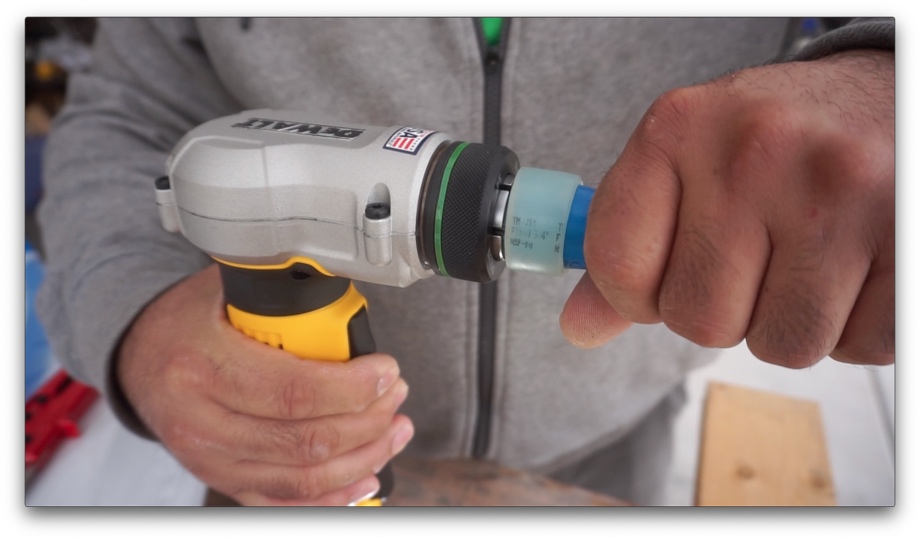
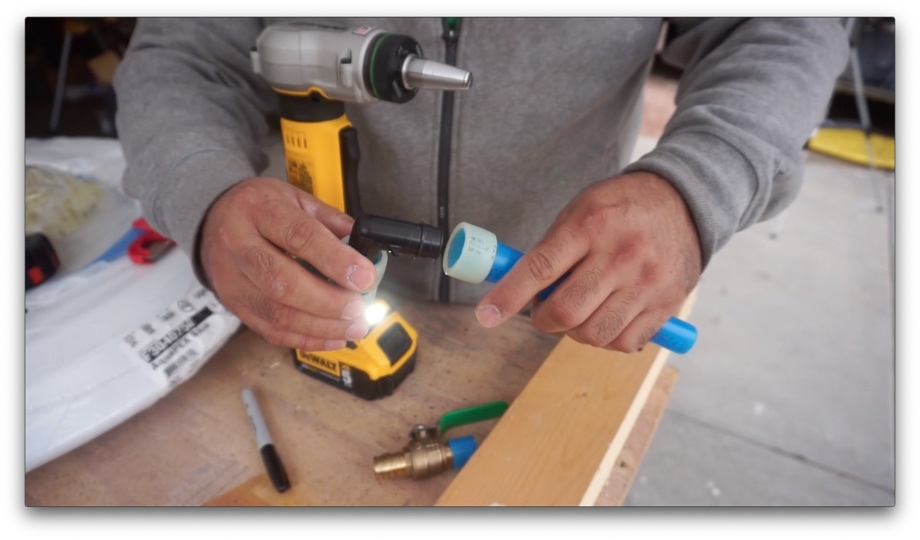
The way that Pex A fittings work is by placing a small plastic ring on the end of the Pex. Then, using a tool (either manual or powered - we chose a Dewalt powered expansion tool), you expand the Pex so that it’s large enough to just slip over the fitting. Then, it compresses back down. Over time it will continue to compress, making the joint tighter and even more leak proof. That’s it. Very simple to use. The expansion tool is not cheap, but it is totally worth it if you have a lot of these fittings to do.
We got started with the lines running from our filter inlet across the bus. This line will serve as a way to refilter the tank water after the pump. We also tee’d off that line to a hose bib. This will allow us to have a hose hook-up for cleaning things off outside.
This was just a quick intro to Pex A, but we will continue with much more in the coming videos and posts, including a few tips and tricks we learned along the way.
Watch the video:
Click here If you cannot see the video.
Parts we used
Dewalt Pex Expander Tool
PEX Tube Cutter
Uponor 3/4" PEX-a blue tubing
Uponor 1/2" PEX-a red tubing
Uponor 1/2" PEX-a blue tubing
Uponor 1/2" PEX-a Ring with Stop
Uponor 3/4" PEX-a Ring with Stop
Uponor 3/4" PEX-a Elbow
Uponor 1/2" PEX-a Elbow
Uponor 3/4" PEX-a TEE
Uponor 1/2" PEX-a TEE
Uponor 3/4" 3/4" 1/2" PEX-a TEE


0 Comments
Comments powered by Disqus